

Dull patches, sticky spots and footprints that never quite wipe away usually mean one thing: layers of old wax sitting on your hardwood. The good news is that wax build-up comes off safely with patience, warmth and gentle tools. This step-by-step guide shows you how, without sanding or harsh chemicals.
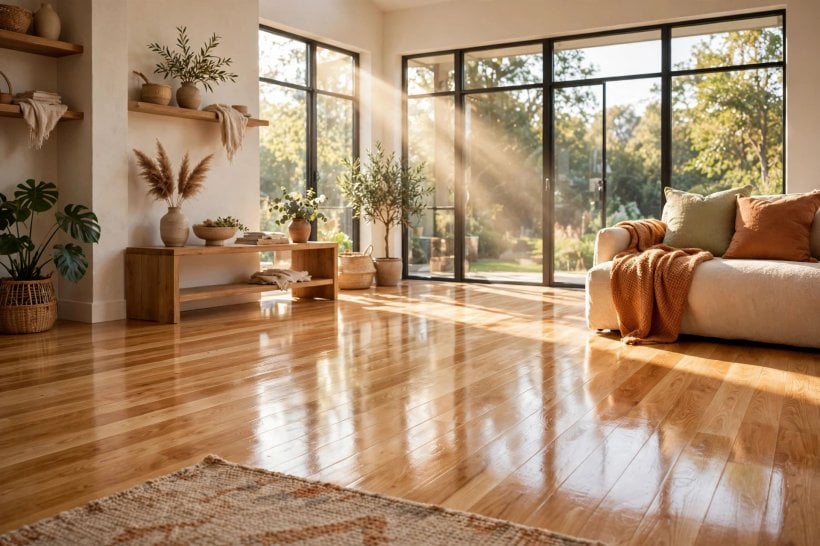
1. At a Glance: The Method in Brief
Wax build-up happens gradually. Each fresh coat of paste wax or wax-based polish traps a little dust and dulls a little more of the shine beneath, until the floor looks cloudy no matter how often you mop. Removing it means softening the wax so it can be lifted, rather than attacking it with force. Work in small sections, keep water minimal, and test every product in a hidden corner first. The whole job is more about order and patience than strength, and most floors need nothing more exotic than mineral spirits or a purpose-made wax remover, soft cloths and a plastic scraper.
| Question | Short answer |
|---|---|
| How do I know it is wax? | A dull, cloudy film that smears when scratched with a fingernail is usually wax. |
| What softens wax safely? | Gentle warmth, mineral spirits or a floor-safe wax remover used as directed. |
| How much water can I use? | As little as possible — damp cloths, never a soaking wet mop. |
| What tools are safe? | Plastic scrapers, soft cloths and fine non-scratch pads; never steel blades. |
| How long does it take? | Work a small area at a time; pace matters more than speed. |
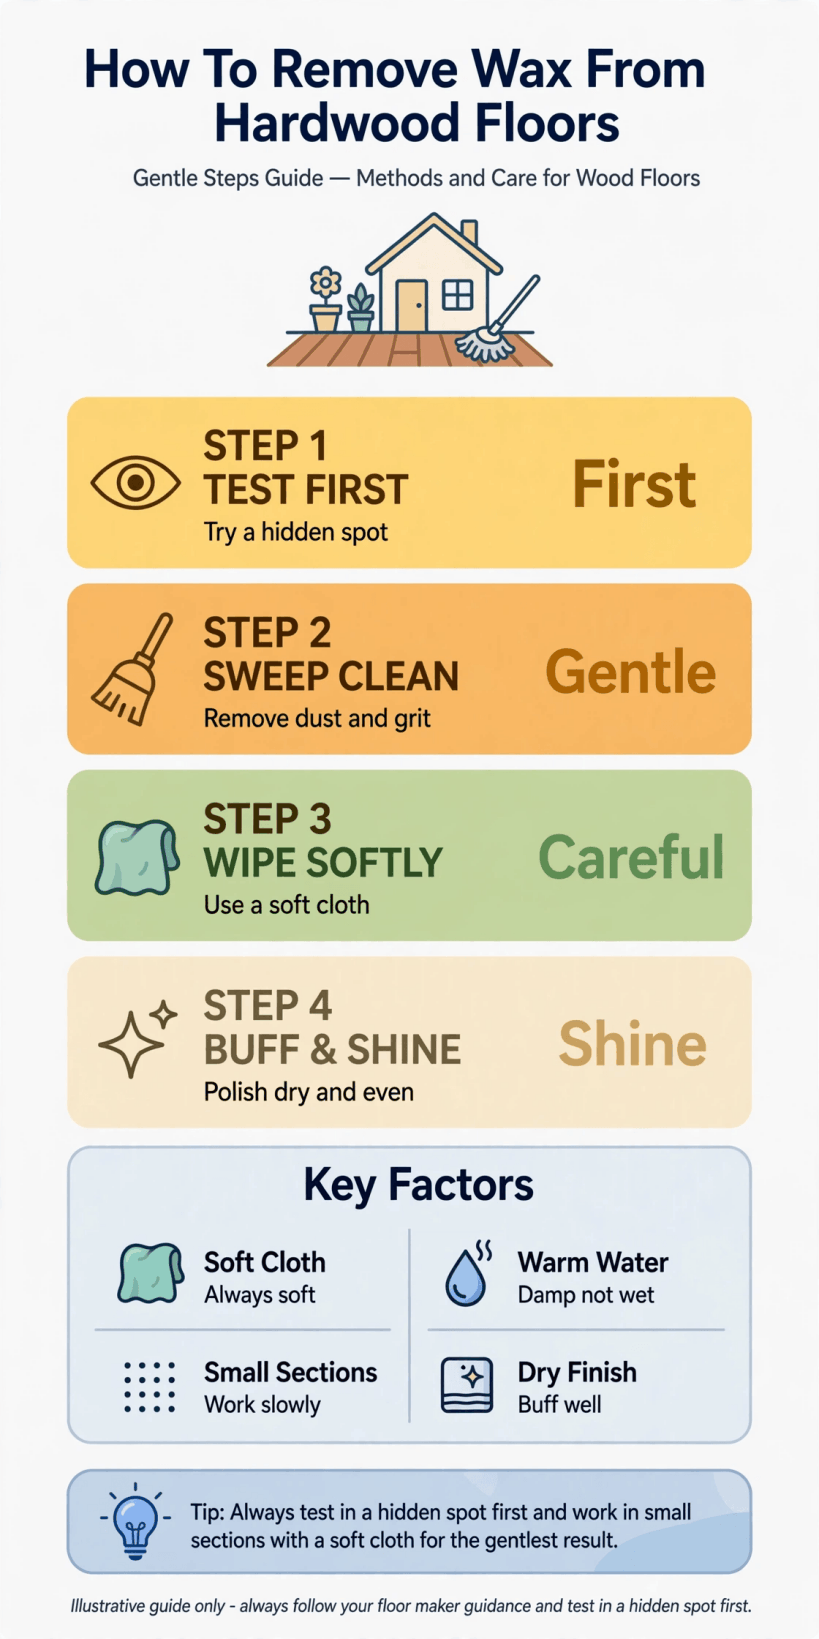
At a glance: confirm it is wax, soften it gently, lift it carefully, then rinse and check before deciding on a new finish.
One caution before you begin: modern factory-finished floors with polyurethane coatings should never have been waxed at all, and wax sitting on top of such a finish needs removing before any re-coating, because new finishes will not bond to wax. If you are unsure which finish your floor has, the tests in the next section will help you decide whether this guide applies to your floor or whether you should simply clean and leave the surface alone.
2. Is It Wax? Confirming Before You Start
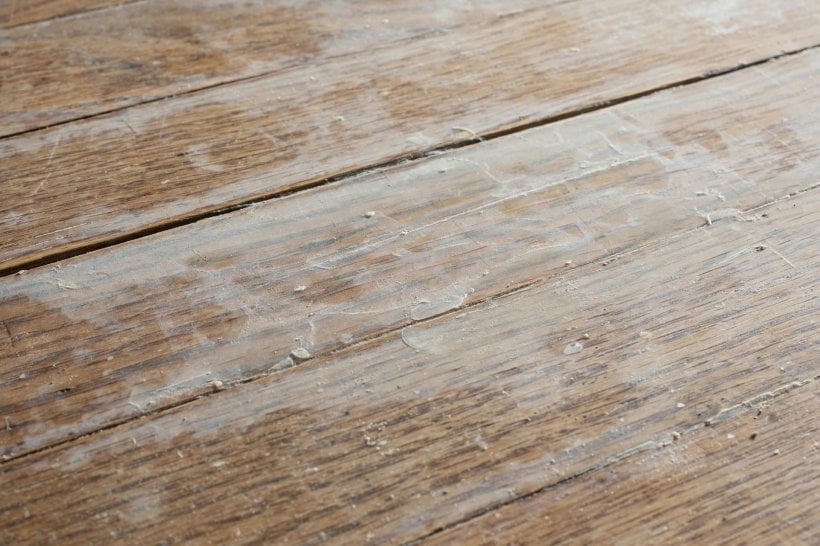
Diagnosis saves damage. Begin with the fingernail test in an inconspicuous place: if your nail raises a soft, translucent shaving, you are almost certainly dealing with wax. Next, dampen a white cloth with a little mineral spirits and rub a small patch; wax will soften and transfer to the cloth, leaving the patch clearer than the surrounding floor. A floor that is merely dirty behaves differently — the cloudiness lifts evenly with ordinary cleaning and no shaving forms. Also consider the floor’s history. Older solid hardwood in period homes was routinely finished with paste wax over sealers or shellac, while most factory-finished boards sold in recent decades carry a hard polyurethane or similar coating that wax clings to poorly and clouds quickly. Knowing which you have shapes everything that follows, because the gentle methods in this guide suit waxed traditional finishes and wax contamination on coated floors alike, but the aftercare differs. When householders ask how to remove wax from hardwood floors, this five-minute detective work is the step that prevents the classic mistake of stripping a floor that only needed cleaning.
3. What You Need: Tools and Materials
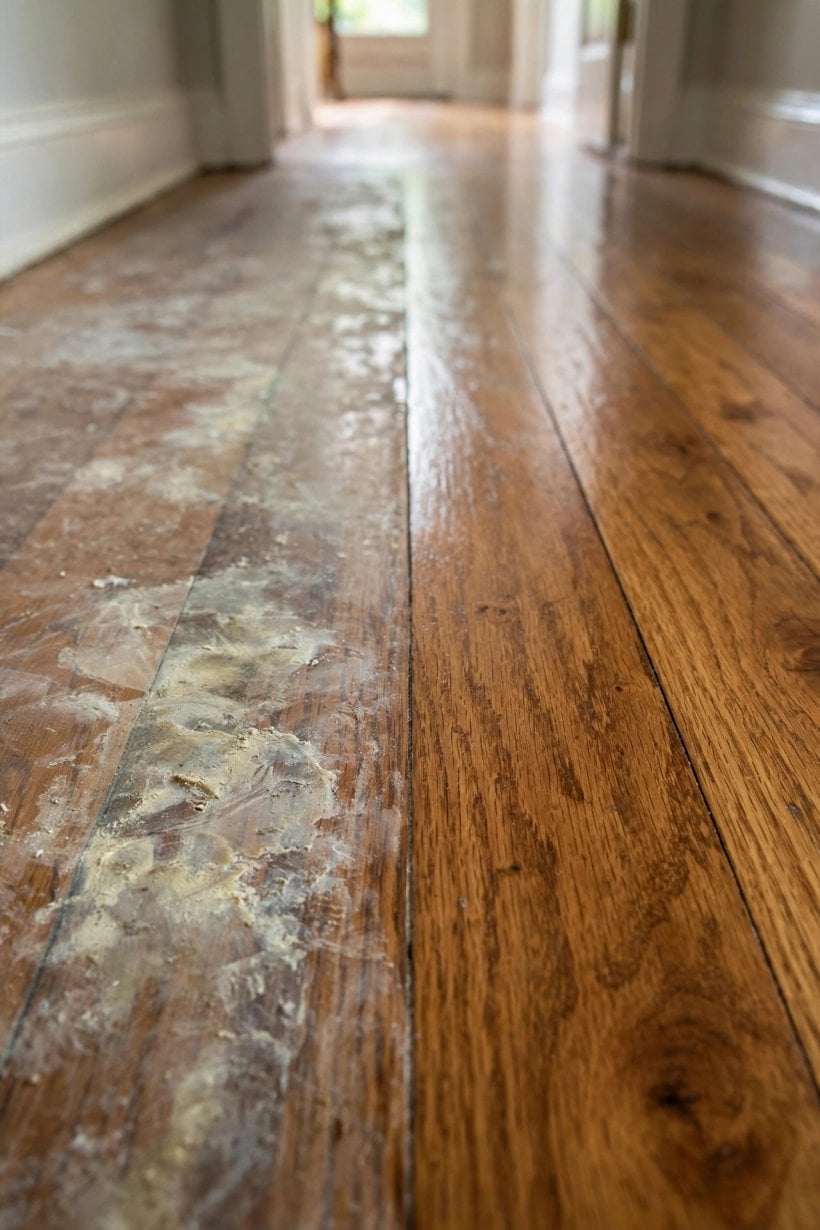
Gather everything before you start, because softened wax waits for nobody. You will need a broom or vacuum with a hard-floor setting, a bucket, soft cotton cloths or old towels you do not mind discarding, a plastic scraper or old plastic card, fine non-scratch pads, and your chosen softening agent: mineral spirits, a commercial wax remover made for wood floors, or, for very light build-up, a weak solution of warm water with a small amount of mild floor cleaner. Knee pads help more than you expect, as does good ventilation when using spirits-based products. Keep paper towels nearby for wiping up softened residue, and a bin bag for used cloths, which can be flammable when soaked in spirits — lay them flat outdoors to dry before disposal, following the product label. Avoid assembling an armoury of aggressive products; the floor needs one method applied patiently, not five applied at once. If you enjoy methodical home care, you will find the same gather-first philosophy in our tiny houses for sale in Dallas, Texas guide, where small, well-prepared jobs keep compact homes running smoothly.
4. Step 1: Clear, Sweep and Wash the Floor First
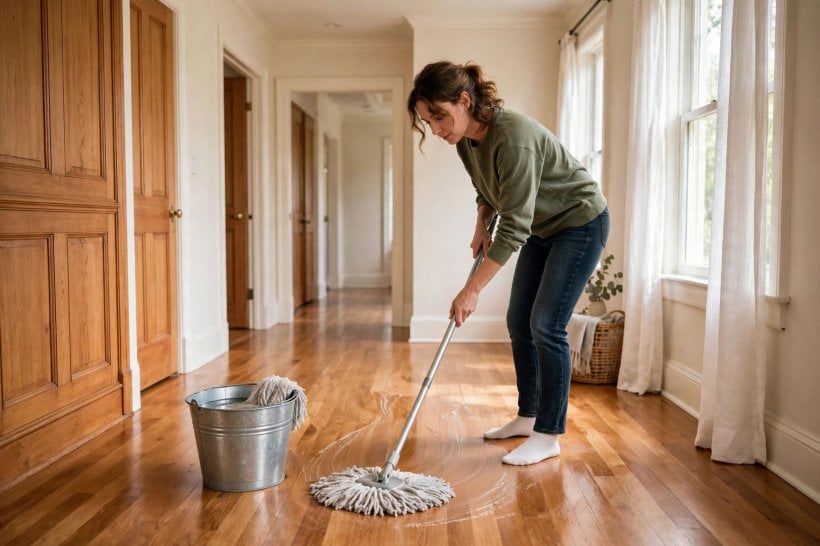
Move furniture out of your first working section — a square of roughly one metre is plenty — and sweep or vacuum thoroughly, because grit under a scraper is how scratches happen. Follow with a light wash using a well-wrung mop or cloth barely dampened with warm water and a drop of mild cleaner, then let the area dry fully. This step surprises people: washing a floor you are about to strip feels backwards, but the logic is sound. Loose dirt and water-soluble grime should come off now, so that later you can see clearly what is actually wax and judge your progress honestly. It also means your softening agent works on wax rather than wasting itself dissolving old mop residue. Inspect the dried section in daylight if you can, tilting your head to catch the sheen at an angle; wax build-up shows as a cloudy, uneven film, often worse in traffic lanes and around furniture feet. Mark the worst patches mentally, or with painter’s tape at the edges, so you can give them extra passes later instead of over-treating the whole floor equally.
5. Step 2: Soften the Wax With Warmth and Patience
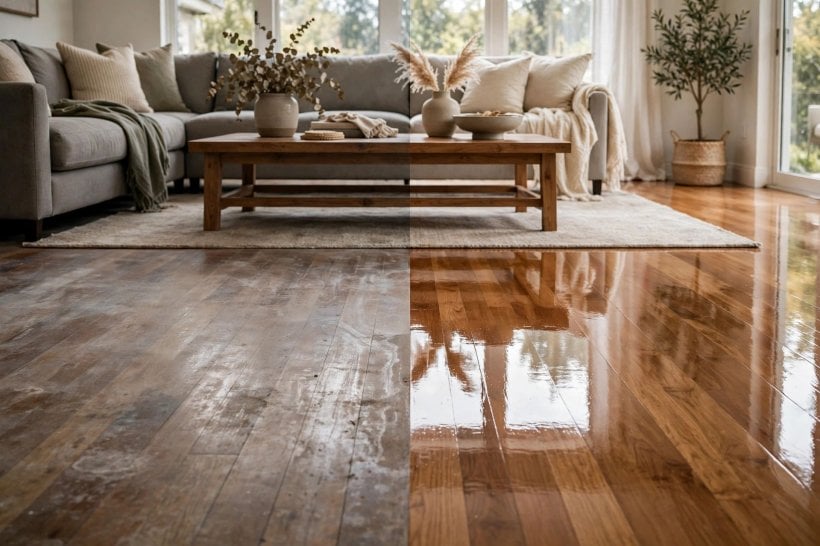
Soft wax lifts; hard wax fights. For light build-up, warmth alone may do much of the work: lay a cloth dampened with hot water over a patch for a few minutes, wring it out well first, and the wax beneath will turn pliable. Some people place a warm — never hot — iron over a dry cloth for a few seconds to loosen a stubborn spot, keeping it moving and checking constantly, but only attempt this if you are confident and the floor’s finish beneath is traditional rather than modern coating. For heavier layers, apply your wax remover or mineral spirits with a cloth, following the label’s directions and working it over a small area at a time. Give it the dwell time the product suggests; this waiting is the actual mechanism, dissolving and loosening the wax so the next step is gentle. The room should be ventilated and flames kept well away when using spirits. Resist the urge to flood the floor: liquid pooling in board joints can swell timber and create new problems worse than dull wax, a warning small-home owners in our gift shop interior design ideas for tiny houses will recognise — in compact spaces, restraint with water protects everything.
6. Step 3: Lift Softened Wax Gently
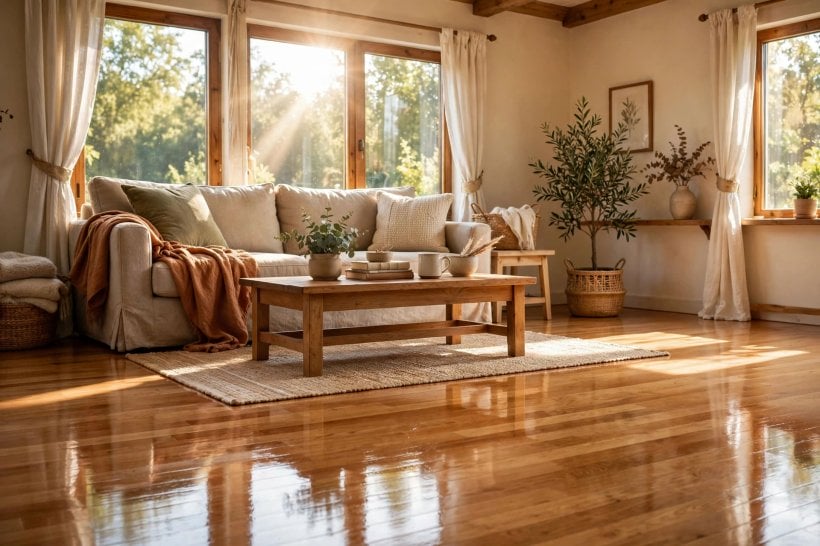
Once softened, the wax should yield to a plastic scraper held at a low angle, pushed away from you in short strokes along the grain. Work slowly and let the tool do the lifting; if you find yourself pressing hard, the wax is not soft enough yet, so reapply your softener and wait rather than forcing it. Wipe the scraper clean on paper towels frequently, since a loaded edge just spreads wax around. Follow each scraped patch by wiping with a clean cloth lightly dampened with your remover, which picks up the thin residue the scraper leaves behind. Turn and rinse cloths often, and swap to fresh ones as they load up; a dirty cloth is a wax-spreading machine. Fine non-scratch pads help on textured or slightly uneven boards where a flat scraper bridges over low spots. Check progress by wiping a small area with a clean damp cloth and viewing it at an angle in good light: if the cloudiness persists in streaks, repeat the soften-and-lift cycle on those streaks only. Patience here is the difference between a clear floor and a patchy one.
7. Step 4: Use a Floor-Safe Wax Remover on Stubborn Areas
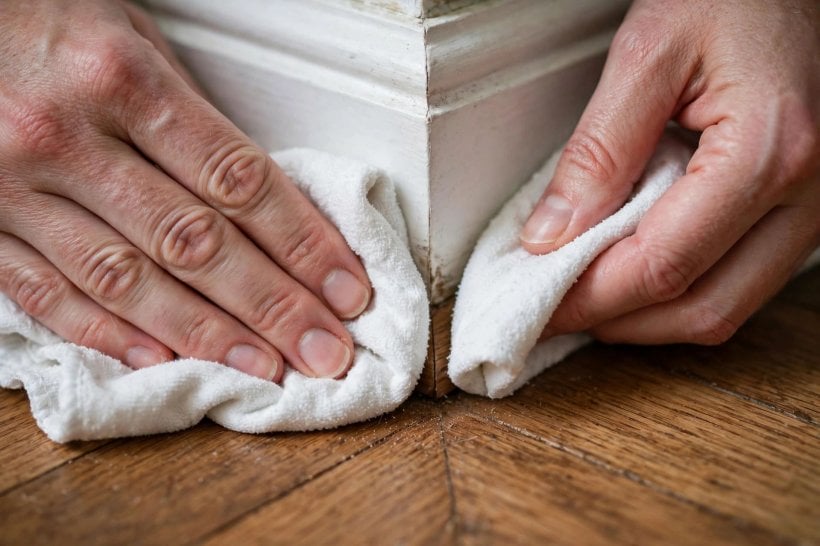
Some build-up — around hearths, under radiators and in the greasy halo kitchens leave near cookers — needs a dedicated product. Choose a wax remover specifically made for wood floors, read the label fully, and test it in a hidden corner to confirm it does not dull or discolour the finish beneath. Apply it as directed, keep it off surrounding finishes it is not intended for, and time the dwell rather than guessing. Work outward from the worst area, section by section, so dissolved wax is always wiped toward a clean cloth rather than across finished floor. Household alternatives are often suggested — vinegar solutions, baking soda pastes, ammonia mixes — but treat them with great caution on real wood: acidic or alkaline mixes can dull finishes, raise grain or leave their own residue, and on waxed traditional floors they may strip more than wax. A purpose-made remover, used sparingly and exactly as labelled, is the safer instrument. Readers who enjoy careful, product-literate maintenance will appreciate the same approach in our modern interior design ideas for tiny houses, where finishes are chosen and cared for deliberately rather than hopefully.
8. Step 5: Rinse, Dry and Check Your Progress
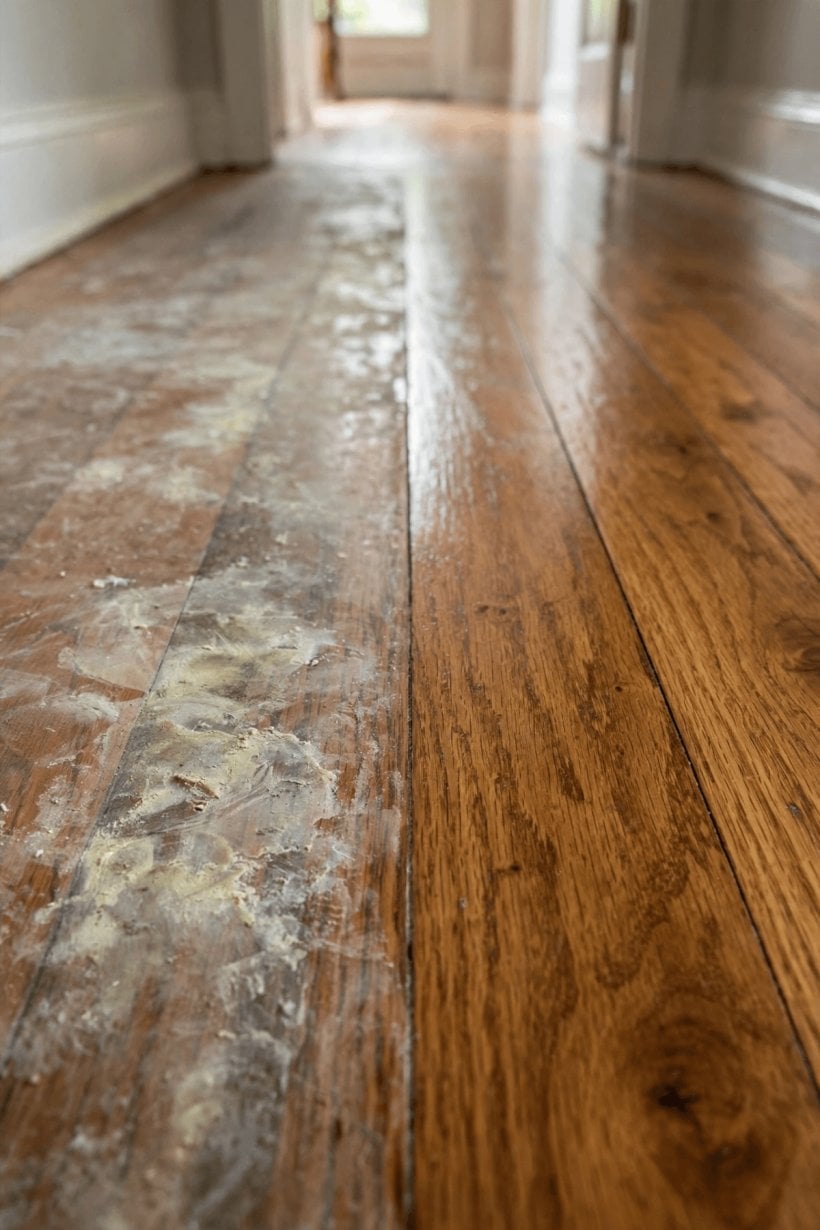
With the wax lifted, rinse the section using a cloth dampened with clean warm water, wrung out well, and wipe along the grain to remove remover residue and the last film of dissolved wax. Change the rinse water as soon as it clouds; rinsing with dirty water simply redistributes the film you worked to remove. Dry the area with a clean towel and let it air fully before judging the result, because a damp floor can look deceptively clear and then dry cloudy in the spots you missed. Inspect from several angles and in different light — morning daylight is the most honest critic — and run a clean white cloth over the surface: it should come away clean, not grey or tacky. Any remaining dull islands get one more localised soften, lift and rinse cycle rather than another whole-floor treatment. Only when a section passes inspection should you move to the next square and repeat the sequence. This unglamorous rhythm is what how to remove wax from hardwood floors really consists of: small areas, fully finished, one after another, in the same way the methodical owners in our tiny houses for sale in Augusta, Georgia guide tackle whole-home projects room by room.
9. What To Avoid: Methods That Harm Hardwood
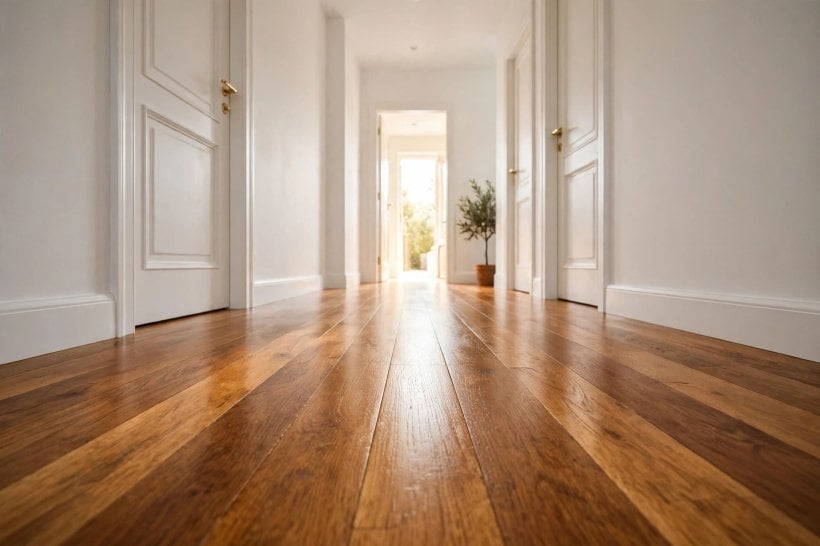
Most hardwood damage during wax removal comes from enthusiasm, not malice. Never use metal scrapers, razor blades or stiff wire brushes, which gouge and scar the surface in seconds. Avoid steam mops entirely on waxed or suspect floors: the combination of heat and forced moisture can drive water into joints, cloud finishes and swell boards. Excess water in any form is the quiet enemy, so retire the soaking mop for this job and keep every cloth merely damp. Strong solvents not intended for floors can soften or strip the finish under the wax, turning a cleaning task into a refinishing project, and mixing products — especially bleach with ammonia-based cleaners — is dangerous as well as ineffective. Do not reach for a sander to speed things up unless the floor genuinely needs refinishing; sanding removes wood, not just wax, and commits you to re-coating the whole room for an even result. Finally, avoid the temptation to simply wax over build-up to make it shine for a weekend. Fresh wax over old, dirty wax seals the cloudiness in and doubles the work later, which is why experienced owners compare it to the false economies warned against in our guide to solar panel costs for a tiny house: cheap shortcuts, properly costed, are rarely cheap.
10. Deciding Whether To Re-Wax or Leave the Finish Bare
Once the build-up is gone, you have a genuine choice. A traditional floor that was designed for wax will look richer and be better protected with one thin, fresh coat of paste wax, buffed well once dry; one coat, honestly applied to a truly clean floor, behaves nothing like the accumulated layers you just removed. Waxing also suits households that prefer a soft, low sheen they can spot-renew in worn areas without re-coating a whole room. Leaving the floor bare of wax makes sense when the underlying finish is a modern coating in good condition — in that case, protect it with felt pads, mats at doors and regular dust mopping instead, and never wax it again, since wax prevents future re-coating from bonding. Whichever you choose, change the habits that created the build-up: use cleaners made for your finish, keep a mat at each entrance, and lift spills promptly. Note what you used and when, in a simple home log. That small record, like the project notes recommended in our tiny houses for sale in Orange County, California guide, turns this year’s hard-won knowledge into next year’s easy maintenance.
Final Considerations
Removing wax build-up is slow, satisfying work that rewards the patient. Confirm it is wax, soften before you scrape, keep water to a minimum, and inspect each small section before moving on. Avoid blades, steam and flooding, and finish with a clear decision about fresh wax or a clean, coated surface. Done this way, the floor under the cloudiness is usually better than you feared — warm, clear-grained and ready for years more use. Take your time, trust the sequence, and enjoy the moment the first finished square catches the light and shows you exactly why the effort was worth it.



0 Comments