

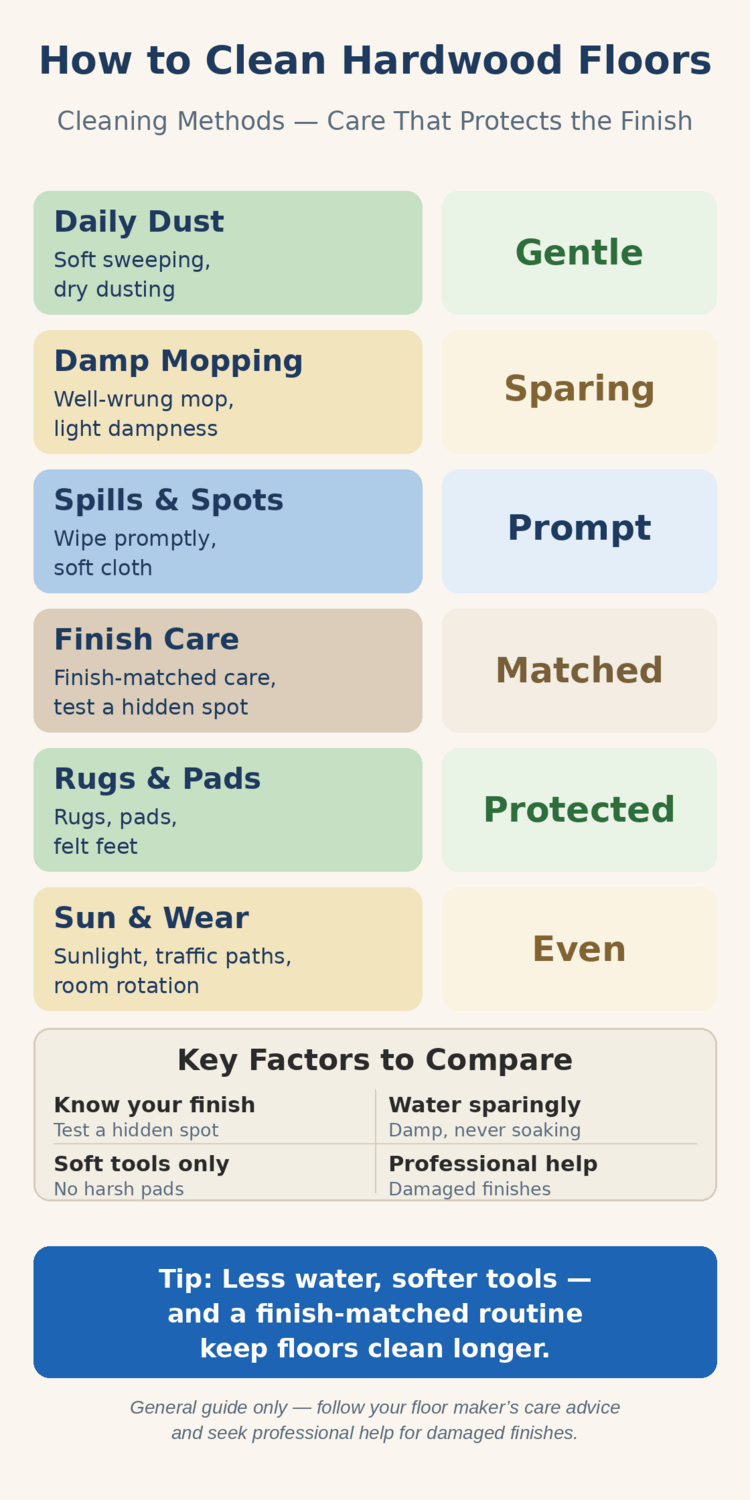
Hardwood floors reward a gentle routine. The boards look their best when dust is lifted often, water is kept light, and the finish is treated as the working surface it is. Cleaning hardwood is less about force and more about habit: a soft pass across the floor, a mop that is barely damp, and a quick response when something spills. This guide walks through that routine room by room, so you can keep the grain visible, the sheen even, and the finish intact for years of everyday use.
Start by looking at the floor in daylight. Notice where the light falls, where traffic passes, and where the finish looks dull or worn. Those observations shape the whole routine, because a floor that carries shoes from the door needs different attention from a quiet bedroom floor. The sections below cover dust, damp mopping, spills, finishes, tools, busy rooms, rugs, sunlight, and the point where cleaning alone is no longer the answer.
1. Start with the Floor You Have
Every hardwood floor is a little different, and the safest cleaning routine begins with knowing what is underfoot. Some floors carry a hard surface finish that seals the wood beneath a clear coat, while others carry an oil or wax finish that sits closer to the grain. The two kinds of finish respond differently to water, to rubbing, and to the products used on them, so the first step is always identification rather than guesswork. Look for care advice left by the installer or the floor maker, check any paperwork that came with the home, and keep that advice where it can be found again. When no paperwork survives, a small hidden spot, such as the floor inside a closet or beneath a large piece of furniture, gives a safe place to test any new method before it reaches the middle of the room.
Colour and grain also matter to how cleaning shows up. Pale boards show dust and footprints quickly, while dark boards show smears and dried water marks with equal clarity. Neither colour is harder to keep clean in any real sense; each simply reveals a different kind of residue, and the routine should answer what the eye actually sees. Walk the floor barefoot or in soft socks and feel for roughness, raised grain, or places where the finish feels thin. Those spots deserve a lighter touch and a closer look, because a finish that is already worn will not be improved by harder scrubbing. Note which rooms face the door, which rooms hold the dining table, and which rooms stay quiet for most of the day, because that map of use becomes the map of cleaning effort.
The finish is the layer you are really cleaning. Dust sits on it, water beads on it or soaks past it, and shoes scuff it long before they reach the wood itself. Treating the finish with respect means avoiding anything that would cut, gouge, or strip it, and it means accepting that some marks belong to the finish rather than to dirt. A dull patch may be wear rather than grime, and a pale ring may be a change in the finish rather than a stain on the surface. Learning to tell those apart saves a great deal of wasted effort, and it keeps a simple cleaning job from turning into accidental damage. When in doubt, choose the gentler option and watch the result over a few days before changing anything.
2. Daily Dust and Grit
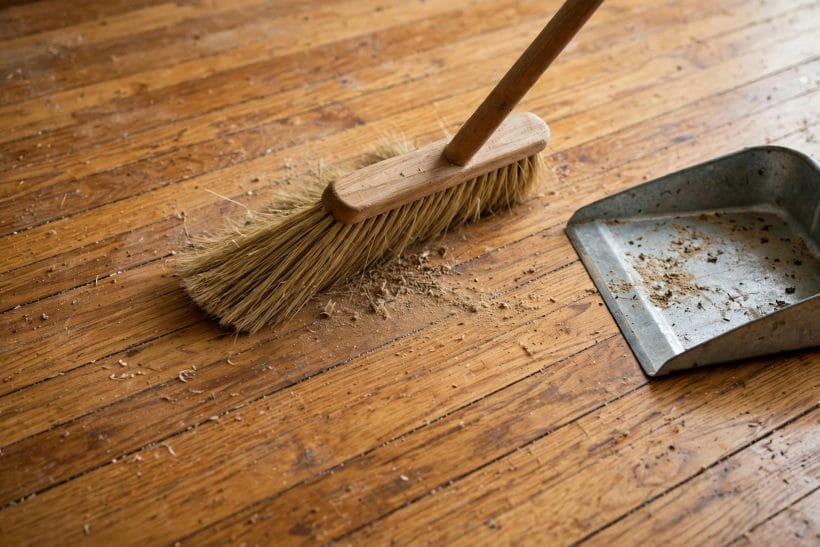
Dust is the quiet enemy of a hardwood floor. It settles invisibly, it gathers along skirting boards and beneath furniture, and it turns abrasive once shoes grind it across the finish. A soft broom or a dry dust mop lifts that layer before it can do harm, and the habit matters more than any single deep clean. Work with the grain where possible, guide dust toward the centre of the room rather than pushing it into corners, and empty the dustpan away from the floor so the same grit does not return on the next pass. Corners, doorways, and the edges of rugs collect dust first, so give those places a little extra attention without turning the whole job into a chore.
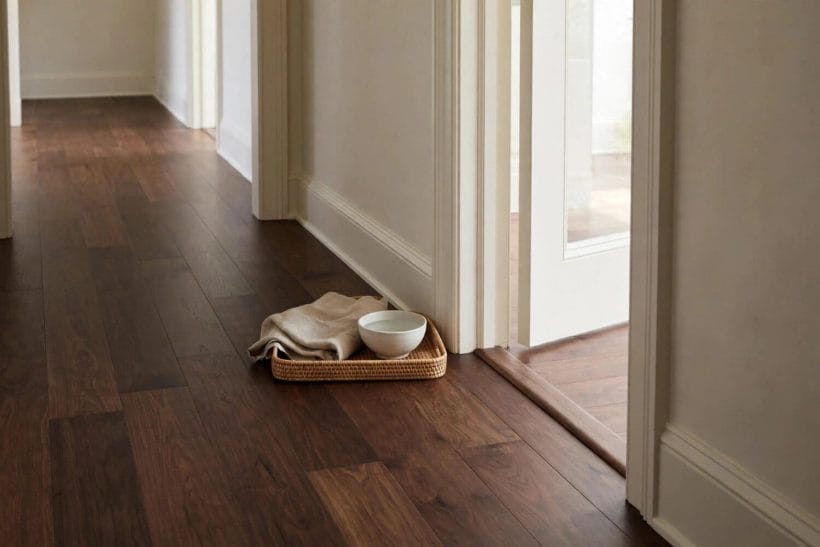
Grit deserves special care because it is harder than the finish it travels across. Sand from the garden, small stones from a driveway, and crumbs from the kitchen all behave like sandpaper underfoot when they are left in place. An entry mat, a tray for shoes, and a quick sweep of the doorway each evening break that cycle at its source. Keep the mat itself clean, because a mat full of grit simply holds the problem at the threshold instead of removing it. Shake mats outside, sweep the step, and wipe the threshold so the dirt stays outside the living space. Inside, a light pass with a soft tool keeps the floor ready for the next stage of cleaning rather than letting grit build into a dull, scratched layer.
The tools for dusting should be soft, clean, and dry. A broom with soft bristles, a dry mop with a washable pad, and a soft cloth for edges all suit hardwood, while stiff brushes and rough pads do not. Wash or shake out dusting pads regularly, because a pad loaded with grit cleans no better than a dirty cloth. Work room by room in a steady pattern so no stretch of floor is missed and no stretch is swept twice for no reason. The goal is a surface that feels smooth underfoot and looks clear in daylight, ready for damp cleaning only when dust has already been lifted away.
3. Damp Mopping, Done Lightly
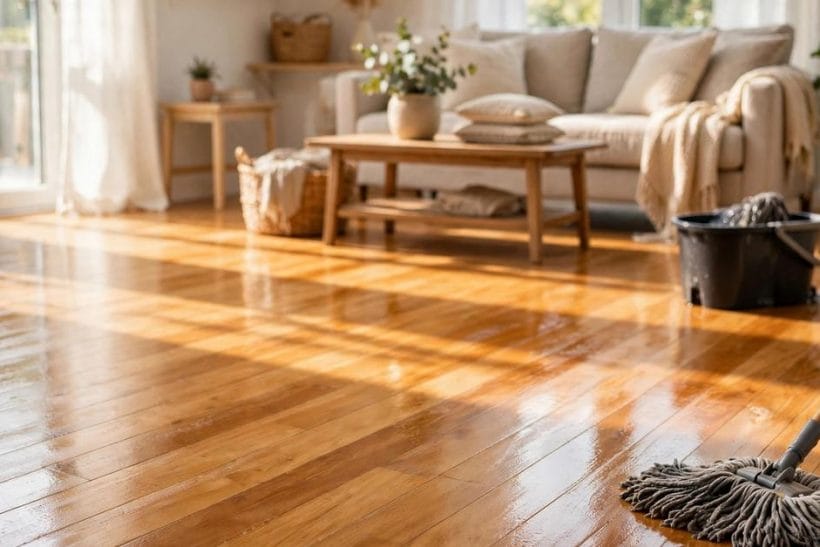
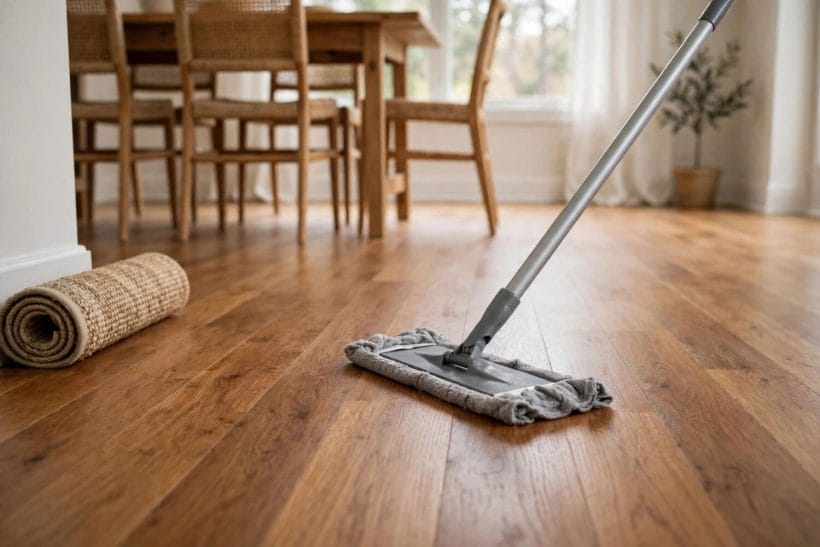
Damp mopping is where most hardwood floors are harmed, and the harm almost always comes from too much water rather than too little effort. Wood swells when it soaks, boards can cup at the edges, and a finish that is repeatedly flooded will lose its even look. The safe version of damp mopping uses a mop that has been wrung until it feels barely damp to the touch, and a floor that dries quickly behind the mop. If water pools, if it gathers in the gaps between boards, or if footprints stay wet long after the mop has passed, the mop is too wet and the routine needs adjusting before the next pass.
Work in small sections so the floor is never left wet while attention moves elsewhere. Mop with the grain, overlap each pass slightly, and follow behind with a dry soft cloth on any spot that still glistens. Plain water, lightly applied, suits many floors for routine cleaning, while a cleaner made for hardwood floors should be used exactly as its label directs and only when the floor maker allows it. Never mix products, never pour cleaner directly onto the boards, and never leave a cleaning solution to soak while something else is done. The mop head itself should be clean before it touches the floor, because a mop that carries grit from a previous job will scratch the very surface it is meant to clean.
Frequency follows use rather than any fixed calendar. A busy kitchen floor may need a damp pass often, while a quiet spare room may need one only rarely, and both floors are being cared for properly when the routine matches the traffic. After mopping, let the room breathe: open a door or a window where the home allows, keep foot traffic off the floor until it feels dry, and replace rugs only when the boards beneath them are fully dry. That pause matters, because a rug laid over a damp floor traps moisture against the finish and undoes the care of the mop. A floor that dries evenly, with no puddles and no streaks, is the sign that damp mopping has been done lightly and well.
4. Spills, Spots and Sticky Patches
Spills reward speed. A drink, a splash from cooking, or a trail of muddy paw prints should be lifted as soon as it is noticed, before liquid finds a gap between boards or a weak spot in the finish. Blot rather than rub, because rubbing spreads liquid and pushes it into the grain, while blotting lifts it onto the cloth. Use a soft, absorbent cloth, work from the outside of the spill toward the centre, and change to a clean section of cloth as soon as one section becomes damp. Once the bulk of the spill is lifted, a barely damp cloth can finish the spot, followed by a dry cloth so the area is left dry rather than damp.
Sticky patches need patience rather than force. Food, drink residue, and tracked-in grime can leave a tacky film that resists a dry pass, and the temptation is to scrub harder. Resist it. A soft cloth, lightly dampened, laid briefly over the patch will soften most residue without flooding the floor, and repeated gentle passes will lift what a single hard scrub would only smear. If a spot remains after gentle cleaning, leave it and return later rather than reaching for a harsher tool. A mark that survives gentle care may be a change in the finish itself, and that question belongs in a later section, where professional advice is the right next step.
Some spots carry a smell or a colour that makes them feel urgent, and urgency still calls for the same gentle method. Pet accidents, plant water, and cooking splashes all follow the same pattern: lift, blot, dampen lightly, dry fully. Keep cloths for floor spills separate from cloths used elsewhere in the home, wash them after use, and store them dry so they are ready for the next spill. A small kit kept near the kitchen or the entry, with soft cloths and a dry mop, turns a quick response into a habit rather than a search. The floor will show the difference, because spills handled promptly rarely leave a trace, while spills left to dry often leave a mark that no amount of later scrubbing will remove.
5. Knowing Your Finish
The finish decides what cleaning is safe, and guessing at it is the most common cause of avoidable damage. A surface finish forms a clear protective coat over the wood, and it generally tolerates a lightly damp mop and a soft cloth. An oil finish, by contrast, soaks into the wood and needs care that respects that open grain, with products and methods matched to oil rather than to a sealed coat. A wax finish adds its own layer, and it responds poorly to water and to products meant for other finishes. When the finish is unknown, the hidden-spot test is the safest guide: try a gentle method in a place no visitor will see, let it dry fully, and judge the result in daylight before using the same method across the room.
Signs of the finish are often visible once you know what to look for. A surface finish usually shows an even sheen across the boards, with a smooth feel under the hand. An oil finish often looks softer and more matte, with the grain showing through in a way that feels closer to bare wood. A wax finish may carry a soft glow that dulls in traffic paths and revives with care matched to wax. None of these signs is proof on its own, and a floor that has been recoated or repaired may carry more than one finish in different rooms. That is why paperwork, installer advice, and the hidden-spot test together give a surer answer than any single glance.
Finish care also means knowing what to avoid. Harsh pads, stiff brushes, and abrasive powders cut through a finish long before they remove dirt, and steam applied directly to boards can force moisture past a finish that would otherwise resist it. Heavy furniture dragged across the floor, sharp heels, and unprotected chair legs damage the finish in a different way, through pressure and scraping rather than chemistry. Protecting the finish is therefore part of cleaning, not separate from it: soft tools, lifted furniture, and a routine matched to the finish keep the protective layer doing its job. For floors whose finish is already thin, worn, or patchy, the right move is professional advice rather than a stronger cleaning product, because no cleaner restores a finish that has worn away.
Related reading on choosing and caring for boards before cleaning begins can be found in the guide to hardwood flooring checks, which covers board types, finishes, and fit in general terms.
6. Tools That Suit Hardwood
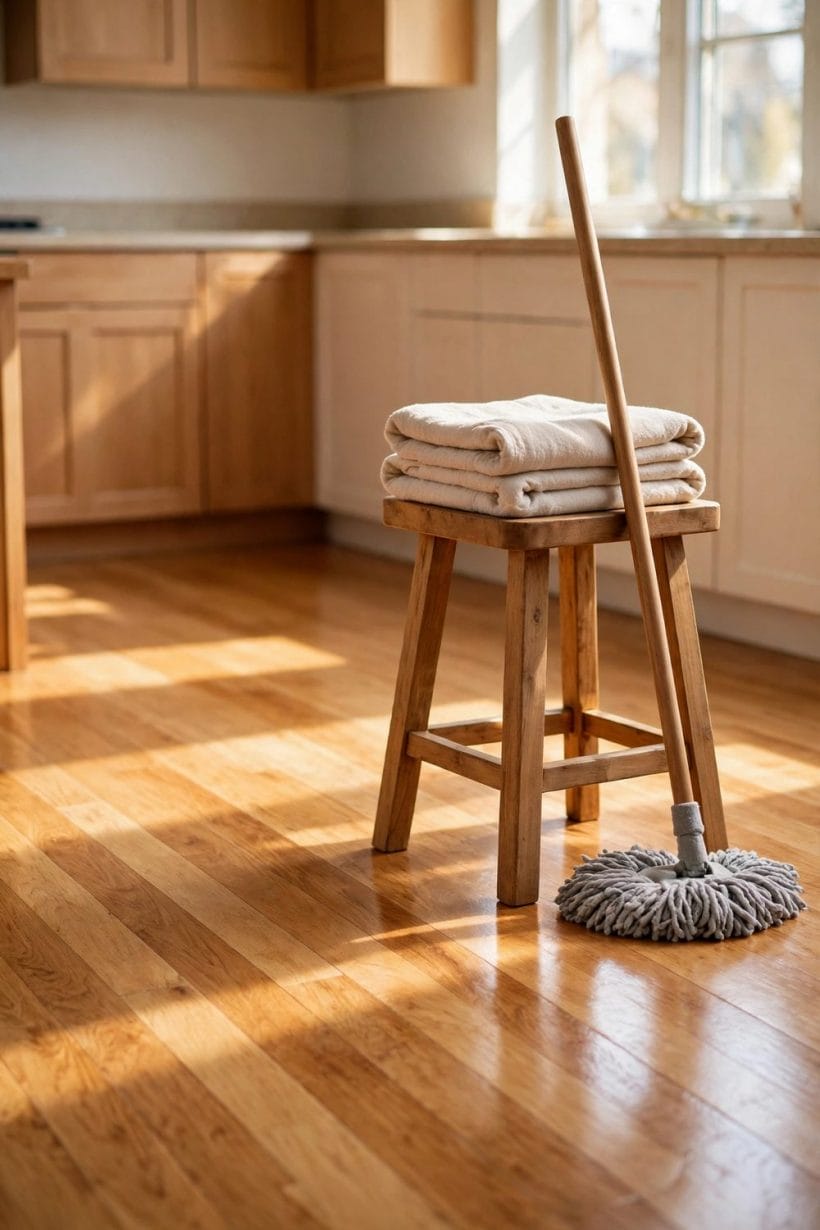
A small set of soft tools covers almost every hardwood cleaning job. A soft-bristle broom handles dust and grit, a dry mop with a washable pad covers large areas quickly, and a flat mop with a well-wrung pad handles damp cleaning. Soft cloths, preferably lint-free, deal with spills, edges, and sticky patches, while a vacuum with a hard-floor setting and a soft brush head can lift dust from gaps and corners without scratching. Each tool should be inspected before use: a broom that has picked up grit, a mop pad that carries sand, or a vacuum head with a damaged wheel will harm the floor it is meant to clean.
Tools to leave aside are just as important. Stiff brushes, scouring pads, and any pad that feels rough to the hand have no place on hardwood, because they abrade the finish with every pass. Wet mops that cannot be wrung properly, buckets that slosh water onto the floor, and machines that flood boards with liquid all push water where it does not belong. Even a soft tool becomes unsuitable when it is dirty, so pads and cloths should be washed, dried, and stored clean between uses. A tool cupboard that holds only hardwood-safe tools, kept separate from tools used on rougher surfaces, removes the risk of grabbing the wrong item in a hurry.
Storage and upkeep extend the life of the tools themselves. Hang brooms so bristles keep their shape, store mop pads dry, and replace pads and cloths when they become thin, rough, or stained beyond washing. A vacuum used on hardwood should be checked for grit caught in the brush head and for wheels that roll smoothly, because a single trapped stone can scratch a whole room. The investment here is modest and the return is visible: soft, clean tools keep the finish smooth, while rough or dirty tools leave marks that cleaning alone cannot undo. Choose tools for gentleness first, and let the routine do the rest.
7. Rooms That Work Floors Harder
Not every room asks the same of a hardwood floor, and the cleaning routine should follow the work each room does. The entry takes the hardest wear in the home: shoes, grit, rain, and mud arrive there first, and the floor beside the door shows it. A mat outside and a mat inside, a place for shoes, and a quick sweep of the entry each evening protect the whole house, because grit stopped at the door never reaches the living room. The entry floor may also need a damp pass more often than quieter rooms, always with the same light touch and a full drying time before rugs return.
The kitchen brings water, food, and constant foot traffic together, and its floor needs prompt spill care above all else. Cooking splashes, drips from the sink, and crumbs from the table should be lifted quickly, and the floor around the sink and the cooker deserves a regular check for damp spots that might otherwise go unnoticed. Keep the area beneath the sink dry, watch for slow drips that could reach the boards, and dry the floor fully after any kitchen cleaning. A kitchen rug, with a proper pad beneath it, can protect the busiest stretch of floor, provided the rug itself is lifted and the floor beneath it is checked and cleaned regularly.
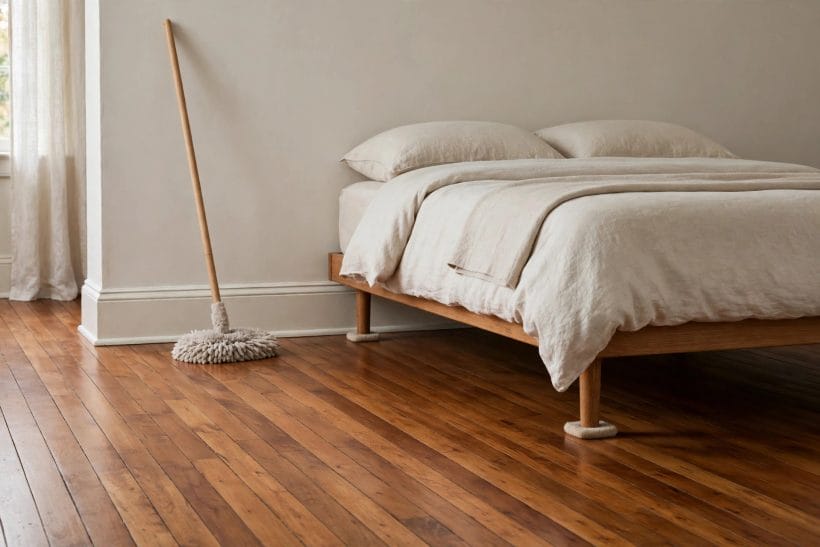
Living rooms and bedrooms ask less of their floors but still benefit from a routine shaped to their use. A living room floor carries furniture, rugs, and the daily path between seating and doorways, so dust along rug edges and beneath low furniture deserves attention. A bedroom floor stays quieter, yet dust gathers beneath the bed and around wardrobes, and sunlight through the window can change the colour of exposed boards over time. The guide to a living room wood floor covers boards, tone, rugs, and light in a living room setting, while the broader survey of light wood floor living room ideas shows how pale boards, layouts, and layered light work together. In both rooms, the same principles hold: dust first, water lightly, spills promptly, and rugs only over dry boards.
8. Rugs, Pads and Furniture Feet
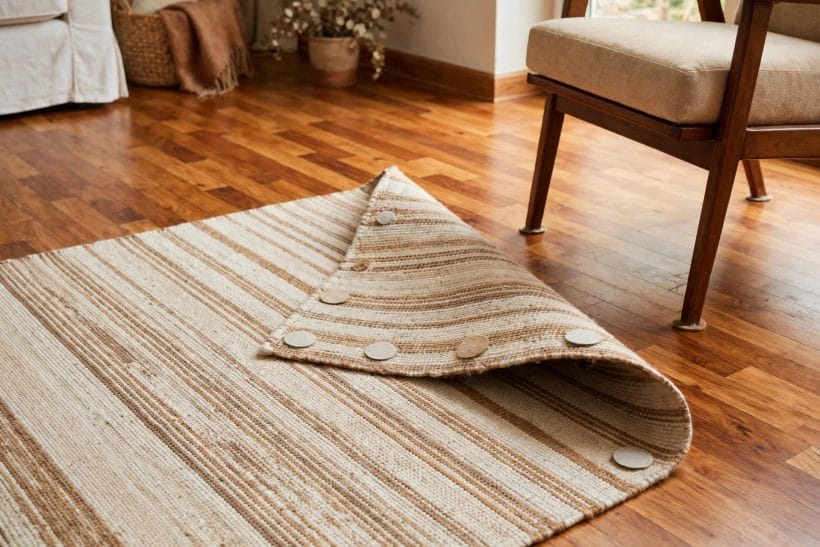
Rugs protect hardwood floors, but only when they are used with care. A rug spreads foot traffic, softens the path between rooms, and shields the boards beneath a dining table or a seating area. The protection fails when grit gathers beneath the rug, when moisture is trapped beneath it, or when the rug itself is dragged across the floor. Lift rugs regularly, clean the boards beneath them, and shake or clean the rug away from the floor so dust does not simply move from one surface to the other. A rug pad beneath the rug keeps it in place, cushions footfall, and stops the rug backing from marking the finish, provided the pad itself suits hardwood and is kept clean and dry.
Furniture feet deserve the same attention as rugs, because a chair that is pulled out daily will mark a floor far faster than a rug will protect it. Felt pads beneath chair legs, table legs, and heavy furniture spread pressure and let pieces move without scraping, but felt pads wear down, collect grit, and peel away over time. Check them regularly, replace worn pads, and clean the floor beneath furniture when pads are changed. Lift heavy pieces rather than dragging them, even for a small adjustment, and use a protective board or blanket beneath furniture that must be moved across the room. Castors need checking too, because a castor that sticks or carries grit will gouge a track across the finish.
The layout of a room also shapes wear. Furniture that never moves concentrates traffic into narrow paths, while a layout that spreads movement across the floor evens out wear and keeps the finish looking consistent. Rotating rugs, shifting a chair by a small amount, and varying the path through a room all help the floor age evenly rather than wearing in a single line. None of this requires new furniture or a new layout, only a willingness to notice where wear gathers and to spread it gently. A floor that is protected at its pressure points, with pads that are checked and rugs that are lifted, will keep its even look far longer than a floor left to take every scrape unprotected.
9. Sunlight, Traffic and Seasonal Change
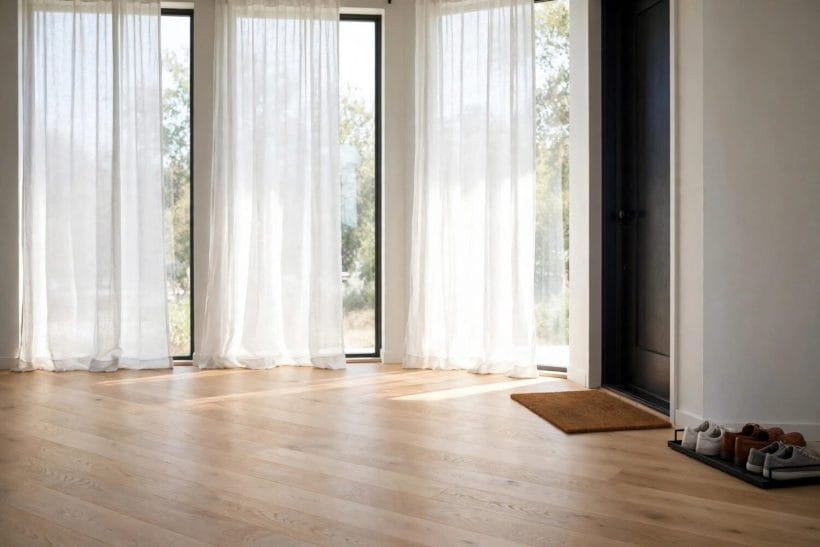
Sunlight changes hardwood slowly, and the change shows most clearly where rugs and furniture have shielded part of the floor. Boards in direct sun may lighten or deepen in tone over time, while boards beneath a rug keep their original colour, leaving a visible outline when the rug moves. Sheer curtains, blinds, and a rug that is rotated with the seasons all soften that contrast, because they spread sunlight more evenly and move the protected areas before a sharp outline forms. The goal is not to shut out daylight, which makes a room feel alive, but to keep it from falling on exactly the same boards in exactly the same way without interruption.
Traffic patterns shape wear in a similar way. The path from door to kitchen, the stretch beside a favourite chair, and the turning circle at the foot of a staircase all carry more steps than the rest of the floor, and the finish there will dull first. Rugs on those paths, a second route through a room where the layout allows, and regular dusting of traffic lines all slow that wear. Seasonal change adds another layer: dry indoor air can leave boards feeling tight and gaps showing slightly wider, while humid periods can leave boards feeling fuller. Both changes are normal for wood, and the cleaning routine should stay gentle through them rather than chasing every seasonal shift with extra water or extra product.
Humidity and temperature in the home affect wood as surely as sunlight does, and a stable indoor climate helps floors stay even. Keep the home ventilated, avoid leaving windows open onto a floor during driving rain, and dry any damp that reaches the boards promptly. In rooms that face strong sun, a light curtain during the brightest part of the day protects both floor and furnishings, while in rooms that stay cool and damp, airflow and a fully dry floor after cleaning matter most. The floor will respond to steady care: even colour, an even sheen, and a surface that feels smooth underfoot are the signs that sunlight, traffic, and seasonal change are being managed rather than left to mark the boards.
10. When Cleaning Is Not Enough
There comes a point where gentle cleaning stops improving a floor, and recognising that point saves both effort and finish. Deep scratches that catch a fingernail, a finish that has worn through to bare wood in traffic paths, boards that have cupped or warped, and dark marks that survive every gentle method all point beyond cleaning. At that stage, stronger products and harder scrubbing will only thin the remaining finish further, and the right next step is advice from a flooring professional who can judge the floor in person. A professional can tell wear from staining, surface damage from structural movement, and a floor that needs recoating from a floor that needs deeper work.
Before seeking that advice, gather what the floor has already told you. Note which rooms are affected, whether the damage follows traffic paths or water sources, and whether the finish feels thin or patchy to the touch. Photographs in daylight, taken from standing height, help a professional judge the problem without a first visit, and any surviving paperwork about the floor and its finish will guide the advice. Avoid covering the problem with a rug and forgetting it, because a worn finish leaves wood unprotected, and unprotected wood absorbs spills and moisture far more readily than a sealed floor. A prompt professional look, even when the advice is simply to monitor the floor, protects the boards better than months of hopeful scrubbing.
Refinishing, recoating, and repair all sit beyond the scope of a cleaning guide, and none of them should be attempted as an extension of cleaning. Each involves judgement about the floor, its finish, and its structure, and each carries risks when done without the right skill and equipment. What cleaning can do, even for a worn floor, is keep the surface free of grit and spills while professional advice is sought, so the damage does not deepen in the meantime. Dust often, mop lightly, handle spills promptly, and keep furniture pads in place. That steady care holds the floor in the best possible state until a professional decides what comes next, and it often means the eventual work is smaller than it would have been without it. For comparison with other floor types and their care, the guides to vinyl plank flooring checks and luxury vinyl plank problems show how wear, water, and subfloor checks differ across materials, while the wider tiny house designs collection and interior design ideas collection place hardwood floors inside whole-room design.
Final Considerations
A clean hardwood floor is the result of small habits repeated steadily, not of occasional heroic effort. Dust lifted before it can scratch, water kept light enough to dry quickly, spills blotted before they soak, and a finish respected as the protective layer it is: those four habits cover most of what a floor needs. Rugs and felt pads spread the wear, sunlight and traffic are managed rather than ignored, and professional advice is sought when cleaning stops helping. Each habit is simple on its own, and together they keep the grain visible, the colour even, and the sheen consistent from room to room.
Begin with the room that works hardest, usually the entry or the kitchen, and build the routine outward from there. Keep soft tools clean and ready, keep cloths dry and within reach, and let the floor dry fully after every damp pass. Check rugs and furniture pads when the seasons change, test any new method in a hidden spot, and follow the floor maker’s care advice whenever it is available. A floor cared for in this way does not demand constant attention; it rewards a light, regular routine with a surface that looks cared for every day, and that is the quiet reward of hardwood done well.



0 Comments