

A bench turns an everyday shower into somewhere you can sit down, slow down and wash in real comfort. Get the seat size wrong, though, and it either takes over the whole shower or leaves you perched awkwardly with your feet dangling above the floor.
This guide explains shower bench depth in plain English, together with the seat heights most people find comfortable and the simple checks that help you choose well before anything is built, tiled or fixed to a wall.
1. Bench Sizes at a Glance: Quick Questions, Straight Answers
Start here if you want the short version first. The ranges below are typical comfort norms that many bathroom designers work to. Treat them as a sensible starting point rather than a rulebook, then verify them against your own body, your own space and any local guidance that applies to your project.
| Question | Short answer |
|---|---|
| How deep should the seat be? | Many people find roughly 15 to 18 inches from front to back comfortable, because the seat supports the thighs without pressing into the back of the knees. |
| How high should it sit? | A finished top around 17 to 19 inches suits many adults, since the feet can rest flat on the floor and standing up again feels steady and unhurried. |
| Can a small shower still fit a seat? | Often, yes. A shallower corner seat or a folding design can work where a full bench will not, so measure the floor and the door swing before deciding. |
| Should the seat slope at all? | A very slight fall toward the front edge or the drain helps water run off instead of pooling, which means the surface dries faster between showers. |
| Where do grab bars usually go? | Bars are commonly planned beside the seat and near the controls so support is within easy reach. Always check local guidance for a layout that suits your room. |
| What if two people of different heights share it? | Aim for the middle of the comfort range, then test the size at home with an ordinary chair before anything is built or fixed in place. |
| Does a bench suit a tiny-home shower? | It can work beautifully, because the seat doubles as a shelf for bottles and a steady footrest. Compact and folding designs keep the floor clear afterwards. |
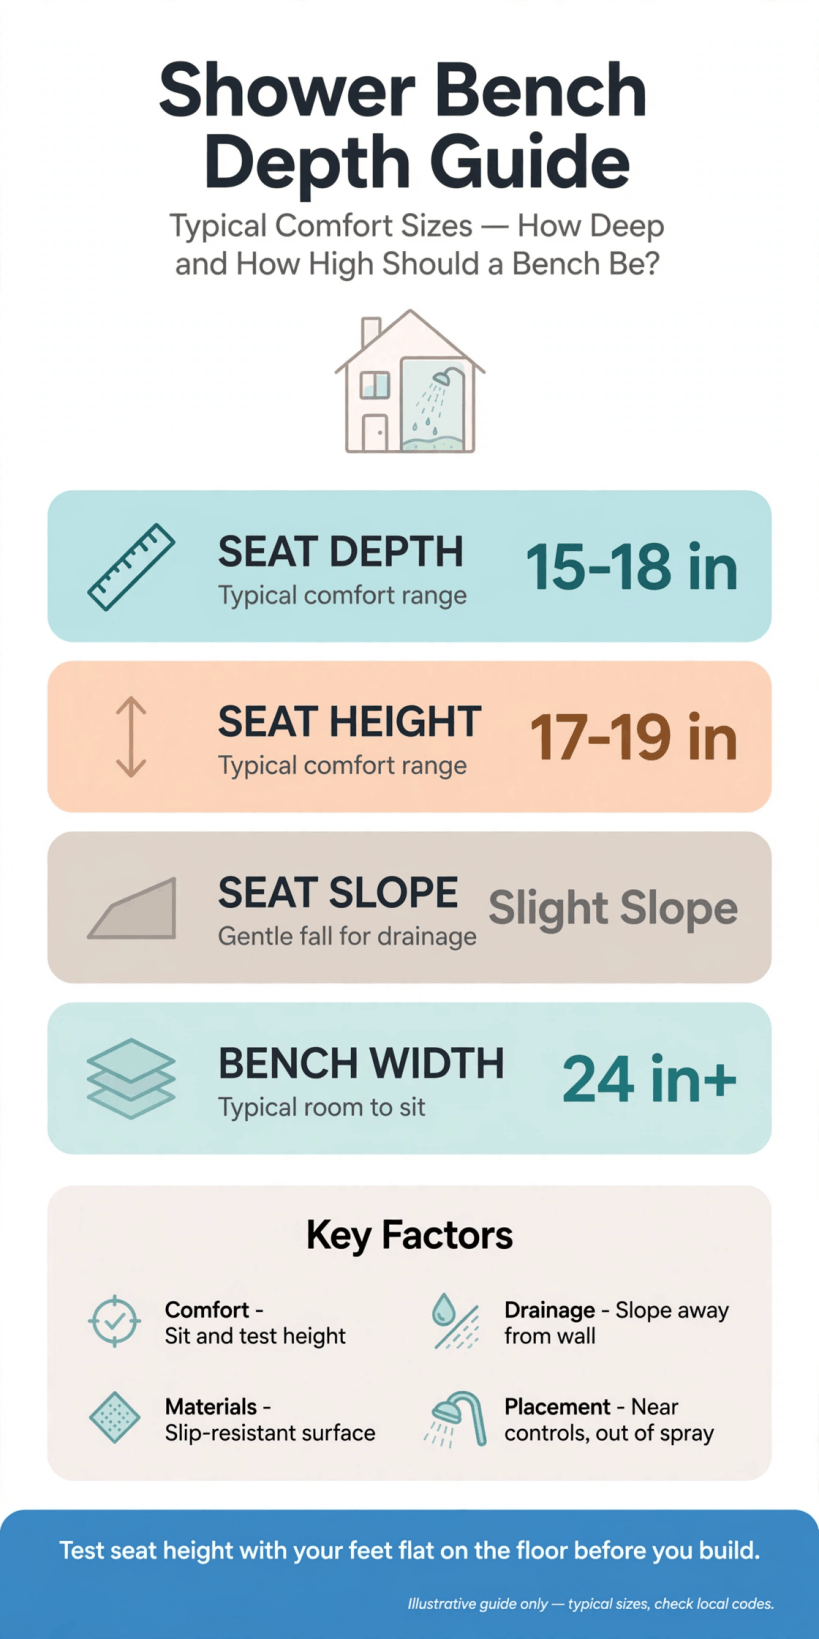
A one-page visual summary of the seat sizes, heights and comfort checks covered in this guide.
Read the table again once you have measured your own shower, because the right answer is always the one that fits your room and your routine. If the shower is part of a bigger small-space project, the layout lessons in our guide to tiny house small-space interior design ideas will help you plan the whole room around the seat instead of squeezing the seat in at the end as an afterthought.
2. Measure the Space You Actually Have
Choosing shower bench depth starts with honest measuring, not with a photograph of somebody else’s bathroom. Measure the shower floor from wall to wall, then note where the door, screen or curtain needs to swing or slide. A seat that looks modest in a showroom can feel pushy once you add the room your knees, elbows and feet need while you are actually washing. Mark the footprint on the floor with painter’s tape, put a sturdy chair inside the outline and go through the motions of a normal shower.
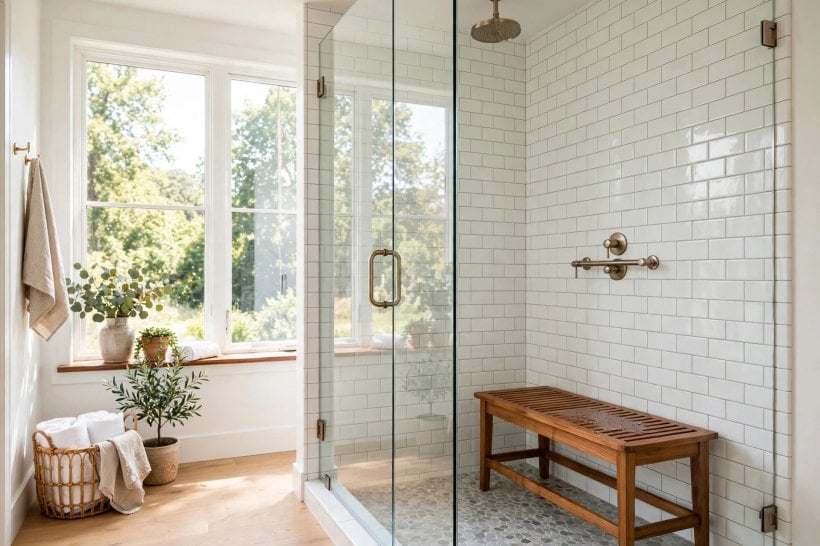
Write every number down before you shop or brief a builder, because memory drifts quickly once you start comparing finishes and prices. Note the drain position as well, since a seat built beside or above it changes how water travels across the floor. The measuring mindset in our roundup of tiny house interior design ideas is worth copying here: measure for the way you really live, not for the way a room looks in a photograph. Finally, leave a little tolerance for tile, adhesive and waterproofing layers, which quietly eat into the clearances you measured on bare walls.
3. Settle on a Height Your Legs Will Thank You For
Height decides how a seat feels in the first five seconds. Too low and your knees ride up while your thighs lose support, which makes standing up again feel like hard work. Too high and your feet dangle, the edge presses into the back of your thighs and you never quite relax. For many adults a finished seat top somewhere around 17 to 19 inches from the shower floor lands in the comfortable middle, but your own leg length matters more than any average.
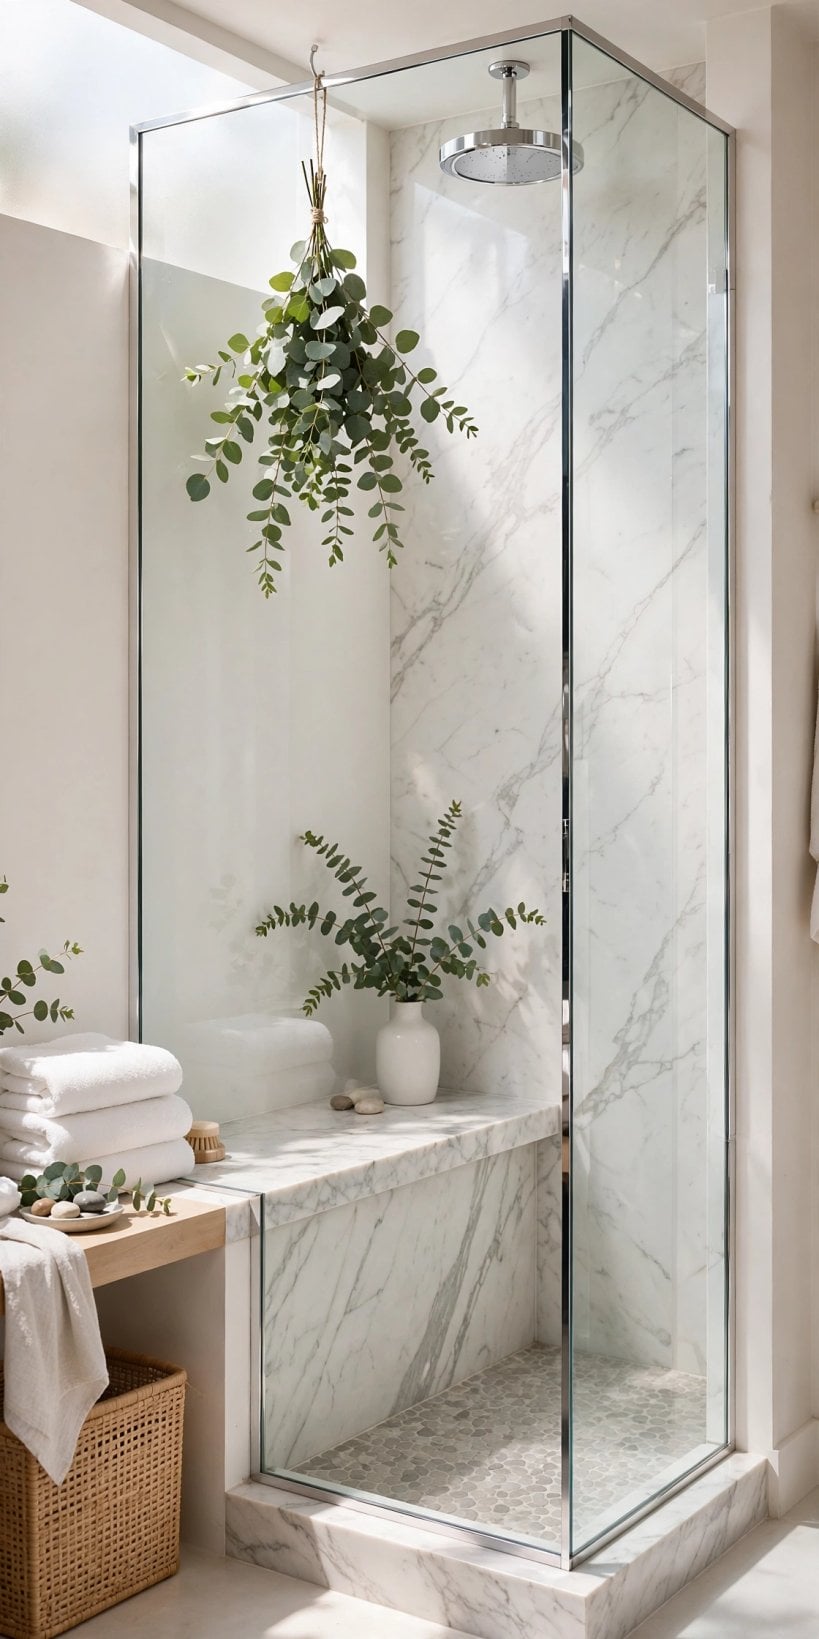
The simplest test needs no tools at all. Line up the chairs in your home, sit on each one in bare feet and notice which height lets your feet rest flat with your knees roughly level with, or a touch below, your hips. That chair is your personal benchmark, and it is a far better guide than a stranger’s measurement. Remember that a built seat gains a little height from its surface finish, so plan the finished top rather than the frame underneath. If anyone in the household is shorter, taller or steadier on some days than others, test together and agree on the middle ground you can all live with happily.
4. Built-In, Floating, Folding or Freestanding?
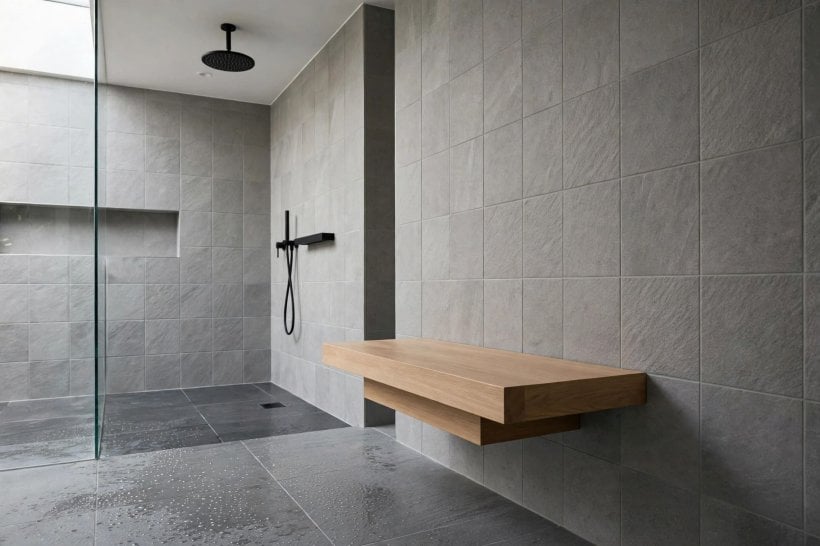
A built-in bench is tiled into the shower itself, so it looks calm, feels rock solid and gives you the most freedom over the finished size. The trade-off is commitment: once it is tiled, changing your mind is messy. A floating seat is fixed to the wall with open floor beneath it, which makes cleaning easier and keeps a small shower feeling light. A folding seat earns its keep in compact rooms because it stands flat against the wall when nobody needs it, then drops down into a surprisingly generous perch.
Freestanding stools and movable benches sit at the flexible end of the scale. They arrive ready to use, they can leave with you when you move, and they let you experiment with position before committing to anything permanent. Their weakness is stability, so look for wide feet, honest weight ratings and materials that shrug off daily steam. Whichever style you choose, think about who fixes it and how. Wall-fixed seats need sound structure behind the tiles, and that is worth a careful conversation with your installer before a single hole is drilled anywhere.
5. Pick Materials That Shrug Off Steam and Water
The top surface of a seat lives a hard life. It is sat on, stood on, scrubbed, soaked and baked in steam, sometimes all in the same morning. Porcelain and ceramic tile over a properly waterproofed base remain the most forgiving choice for built-in designs, because they are easy to wipe down and simple to match with the walls. Stone-look and solid-surface tops give a calmer, joint-free finish, while warm timber slats suit a spa mood as long as the wood is genuinely suited to wet rooms and is allowed to dry between uses.
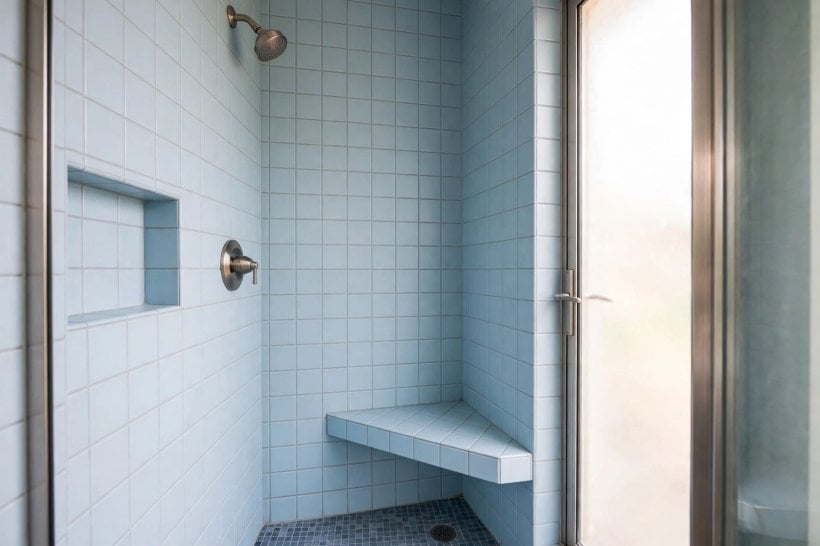
Colour plays a practical role as well as a pretty one. Pale tops show soap film and limescale sooner in hard-water areas, while very dark surfaces highlight every dried droplet. Mid-tone finishes tend to be the most forgiving for busy households. If you are choosing a palette for the whole room, our guide to tiny house interior paint colors explains how to balance walls, tile and trim without the space feeling cold. Whatever you pick, avoid a polished, glassy top: a softly textured finish gives bare feet and seated bodies far better grip.
6. Give the Seat a Slight Slope So Water Runs Away
A perfectly level seat sounds sensible until the first shower leaves a shallow puddle sitting on it all day. Most installers build in a very slight fall, usually toward the front edge or the drain, so water sheets off quietly instead of pooling. The slope should be gentle enough that you never feel yourself sliding, yet definite enough that a splash of water clearly travels in one direction. This is one of those details that is almost free to include at build time and surprisingly awkward to fix afterwards.
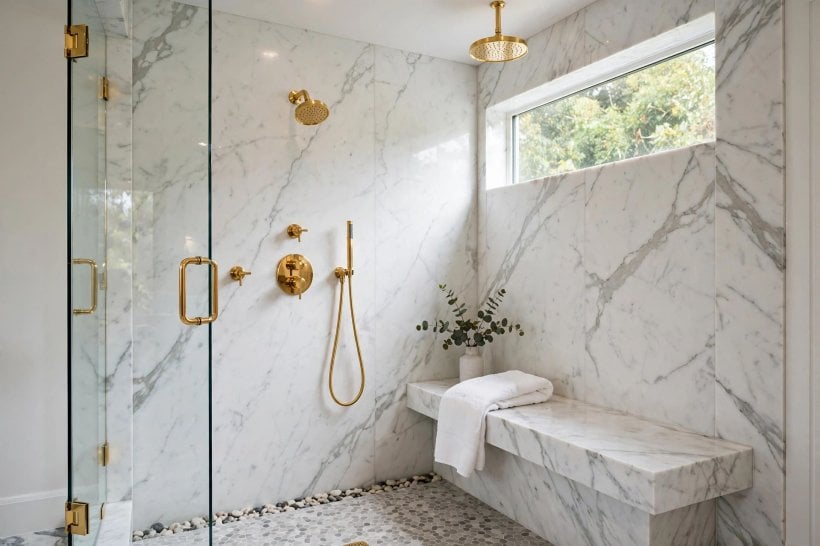
Runoff also depends on what sits around the seat. Keep the junction between bench and wall neatly sealed, because that back edge is where water loves to linger. Think about where shampoo bottles will live, too: a bottle parked in the corner can dam the runoff and leave a ring of soapy water behind it. A small recess or a narrow clear channel at the back of the seat solves this neatly. After the first few showers in a new bathroom, check the seat an hour later. If it is still wet, mention it while your installer is still on the job.
7. Plan Grab Bars, Controls and Storage Within Easy Reach
A seat earns its keep when everything else in the shower is arranged around it. Sit down in your taped outline and reach, honestly, for where the controls, the shower head and the soap would be. If you have to lean, twist or half-stand to reach them, the layout needs adjusting while it is still pencil lines on a plan. Grab bars deserve the same treatment: support should be exactly where a hand naturally lands as you lower yourself down or push yourself up again, not where it merely looks tidy on a drawing.
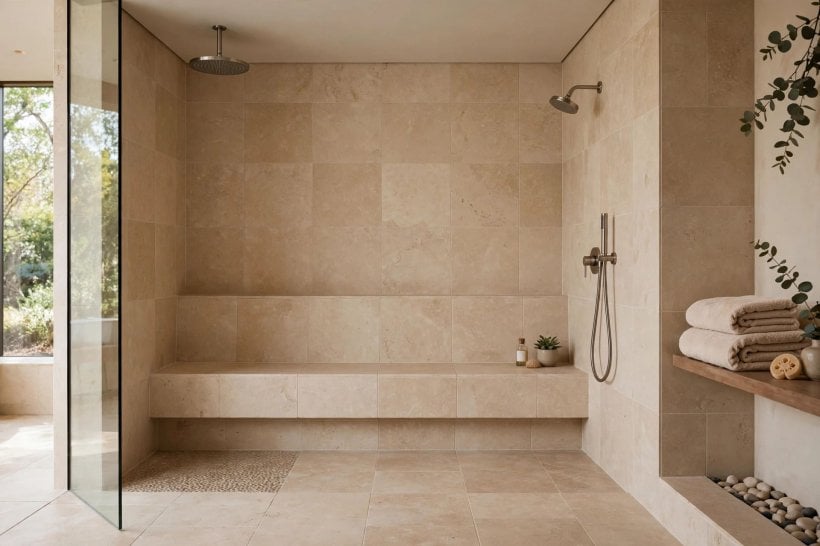
Storage is the quiet third partner in this arrangement. A niche at seated arm height keeps bottles off the seat itself, and a small shelf for a razor or a flannel saves the undignified shuffle along a wet bench. The space-saving thinking in our collection of tiny house closet design ideas translates surprisingly well to shower storage: use vertical space, keep daily items at easy height and give everything a home. Always check with your city or county guidance, and with a qualified installer, before fixing bars or moving plumbing, because local rules and wall construction vary from home to home.
8. One Bench, Two People: Sharing Comfortably
Households rarely contain two people with the same legs, the same balance or the same idea of a perfect shower. When a seat will be shared, plan for the person who finds sitting and standing hardest, then check that the result still feels pleasant for everyone else. In practice that usually means choosing a finished height near the middle of the common comfort range and a generous front-to-back size, because a deeper seat forgives more differences in leg length than a shallow one does.
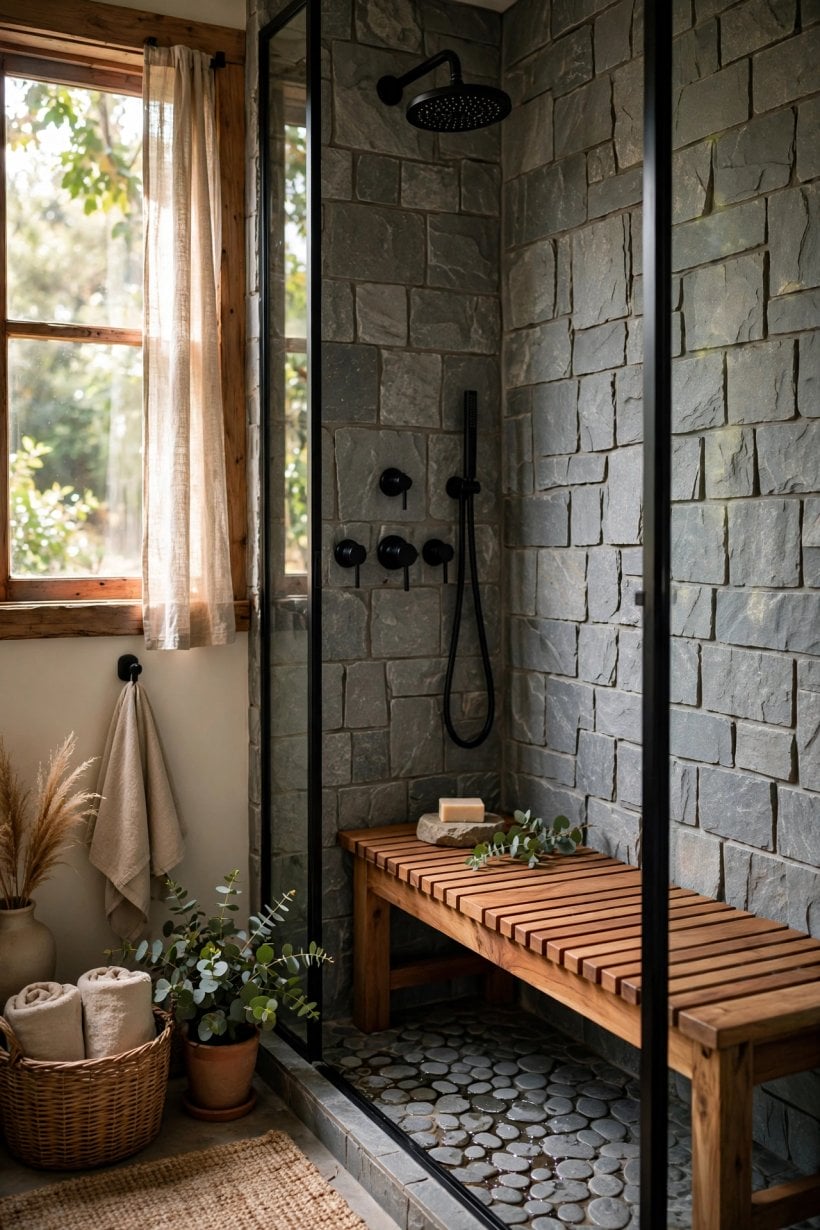
Length matters here as well. A longer bench lets one person sit while the other uses the end as a shelf or a footrest, and it gives future flexibility if mobility changes over the years. If the shower is wide enough, a corner arrangement can offer two slightly different sitting spots in one footprint. Talk it through together, test with chairs side by side at the kitchen table if you need to, and write down the agreed numbers. A five-minute conversation at the planning stage is far cheaper than rebuilding a tiled seat that only one of you enjoys using.
9. Benches in Small Showers and Tiny-Home Bathrooms
Small showers ask the hardest questions, because every inch given to a seat is an inch taken from standing room. Corner seats are the classic answer: a triangular or softly rounded corner perch gives you somewhere to sit while keeping the centre of the shower free. Folding seats go one step further and disappear entirely between uses, which is why they appear so often in compact flats, guest suites and tiny homes where the shower may also be the only washing space in the building.
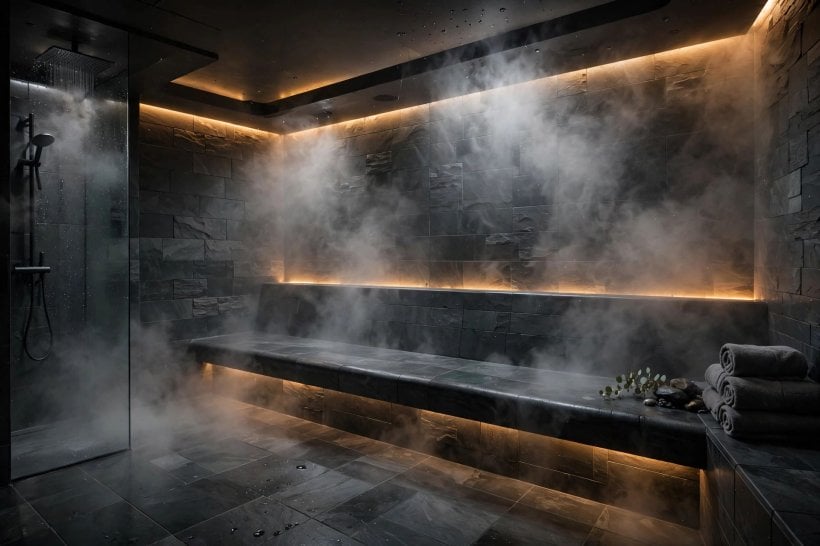
Tiny-home bathrooms reward this kind of double-duty thinking. A well-placed seat becomes a shelf while you shower standing up, a footrest for shaving, a step for cleaning the top of the screen and a seat again at the end of the day. If you are researching the lifestyle as a whole, our overview of tiny house communities in San Antonio shows how real households make small bathrooms work day after day. Keep the floor as clear as you can, choose a seat that drains and dries quickly, and a compact shower will feel considered rather than cramped.
10. Test the Fit at Home Before You Commit
Almost every mistake with a shower seat is a sizing mistake, and almost every sizing mistake can be caught on the kitchen floor for free. Build a mock-up before you order anything: a chair for the height, books or cushions to adjust it, and tape on the floor for the footprint. Sit down in your usual showering position. Rest your feet flat. Pretend to wash your feet, reach for imaginary controls and stand up again slowly. If any part of that pantomime feels strained, your numbers need adjusting while adjusting is still free.
Test on an ordinary day rather than your most energetic one, and if the seat is meant to help on tired, sore or unsteady days, judge it by those days instead. Ask anyone else who will use the shower to run through the same routine, ideally without being told what you concluded, so their feedback stays honest. Photograph the mock-up with the tape measure in frame, because that single picture settles most arguments at the showroom or with your builder. Then, and only then, lock the dimensions in and let the build begin with confidence.
Final Considerations
A good shower bench is a quiet piece of design: the right size in the right place, asking nothing of you and helping every single day. Keep the typical comfort ranges in this guide as your starting point, trust the chair test over any showroom promise, and verify the final plan against your own body, your own room and the local guidance that applies where you live. Depth, height, slope, materials and reach all work together, so change one number and re-check the others before anything is fixed.
If a full bathroom refit is on the horizon, plan the seat alongside the layout, lighting and storage from the very first sketch rather than adding it at the end. Readers planning a whole small home may also enjoy browsing tiny house communities in Dallas for a sense of how compact bathrooms are handled in real projects. Measure twice, test once at home, and the seat you build will feel as though it was always meant to be there.
One last habit is worth building: re-measure everything once the waterproofing and tile are on, not just before the work starts. Finished surfaces shift the numbers by small amounts that your body will notice even when your eyes do not, and catching a surprise at that stage is still far cheaper than catching it after the glass screen has been fitted. Keep a simple note of the final figures with your household paperwork, too. If you ever replace the seat, add a grab bar or sell the home, the next person will be genuinely glad that the thinking was written down somewhere.
And if your plans grow beyond a single seat into a full wet room or a larger accessible shower, slow down and take advice before you commit to anything. A designer or an experienced installer can sanity-check your figures against the way water, glass and people actually move around the space on an ordinary morning. That one short conversation, combined with the simple home test described above, is usually all it takes to turn a rough idea into a seat that quietly earns its place in your daily routine for many years to come.


0 Comments