

An island with a sink and a dishwasher changes how a kitchen works. It turns the island from a slab to stand around into the room’s working centre, where prep, washing and clearing up happen in one flowing sequence. Done well, it shortens every kitchen task and brings the cook into the room instead of facing a wall. Done carelessly, it creates a wet, crowded bottleneck that everyone regrets.
This guide walks through island sink and dishwasher layouts: where each piece sits, how workflow, storage and seating fit around them, and the practical questions to settle before any work begins. Plumbing and electrical work belong to qualified professionals throughout; this guide covers layout and planning, not installation.
Related Guide: Countertop Height Guide: Standard Heights and How To Choose Yours
| Item | What it is |
|---|---|
| Why Put the Sink in the Island | The case for an island sink is social as much as practical. |
| The Layout: Sink, Dishwasher, Workflow | The golden rule of island sink layout is sequence: dirty dishes should travel a short, logical path from table to sink to dishwasher to storage, without crossing the cook's path. |
| The Dishwasher's Place | Dishwasher placement is a small decision with daily consequences. |
| Seating Around a Working Island | Seating and a sink share an island uneasily unless the layout respects both. |
| Storage Below and Beside | An island sink consumes cabinet space below it, so storage must be planned deliberately rather than assumed. |
| Lighting the Island | Island lighting must serve two jobs: bright task light for washing and prep, and softer light for the seating side when the island becomes a gathering place. |
| Worktop and Splash Control | Worktop choice around an island sink matters more than around a perimeter sink, because splashes land where people sit and eat. |
| Plumbing and Practicalities, in General Terms | An island sink needs plumbing that a perimeter sink does not: supply and waste must reach the middle of the room, usually through the floor, and that work has structural and practical implications. |
| Island Shapes and Sizes | Island shape should follow the kitchen's shape and the sink's needs. |
| The Island in the Whole Kitchen | An island sink should be planned as part of the whole kitchen, not as an isolated feature. |
1. Why Put the Sink in the Island
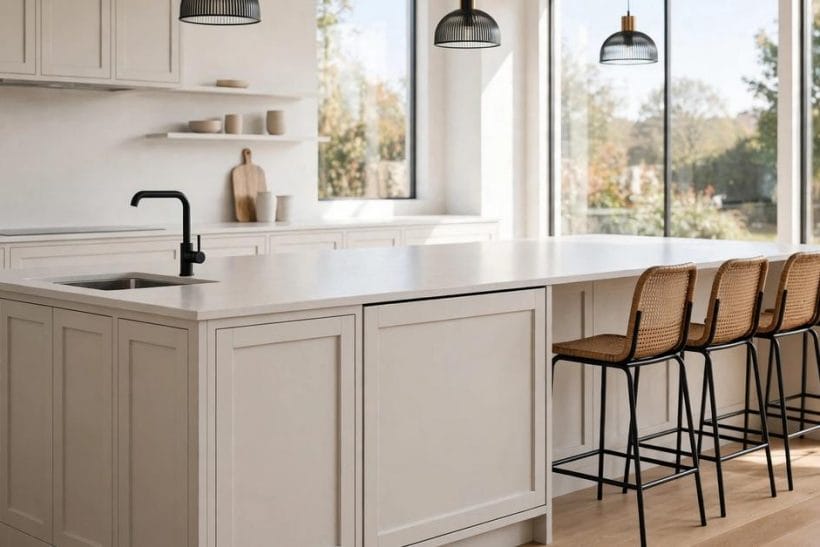
The case for an island sink is social as much as practical. A cook standing at an island sink faces the room, talks to family or guests, and watches children, instead of facing a wall at a perimeter sink. Prep waste goes straight into the sink, rinsing happens where food is prepared, and the journey from chopping board to tap to pan shortens to a step or two.
The trade-off is real and worth weighing honestly. An island sink puts splashes, dirty dishes and washing-up in the middle of the room, in full view, and it takes island space that could have been clear worktop or seating. If your household values a pristine island for entertaining, a perimeter sink may suit you better. If your household values a working island where cooking is a shared activity, the island sink earns its place.
Consider your kitchen’s shape before committing. An island sink suits open-plan kitchens and larger kitchens where the island has room to breathe. In a small or narrow kitchen, an island sink can crowd the room and leave too little clear worktop on either side, and a different layout may serve you better.
2. The Layout: Sink, Dishwasher, Workflow
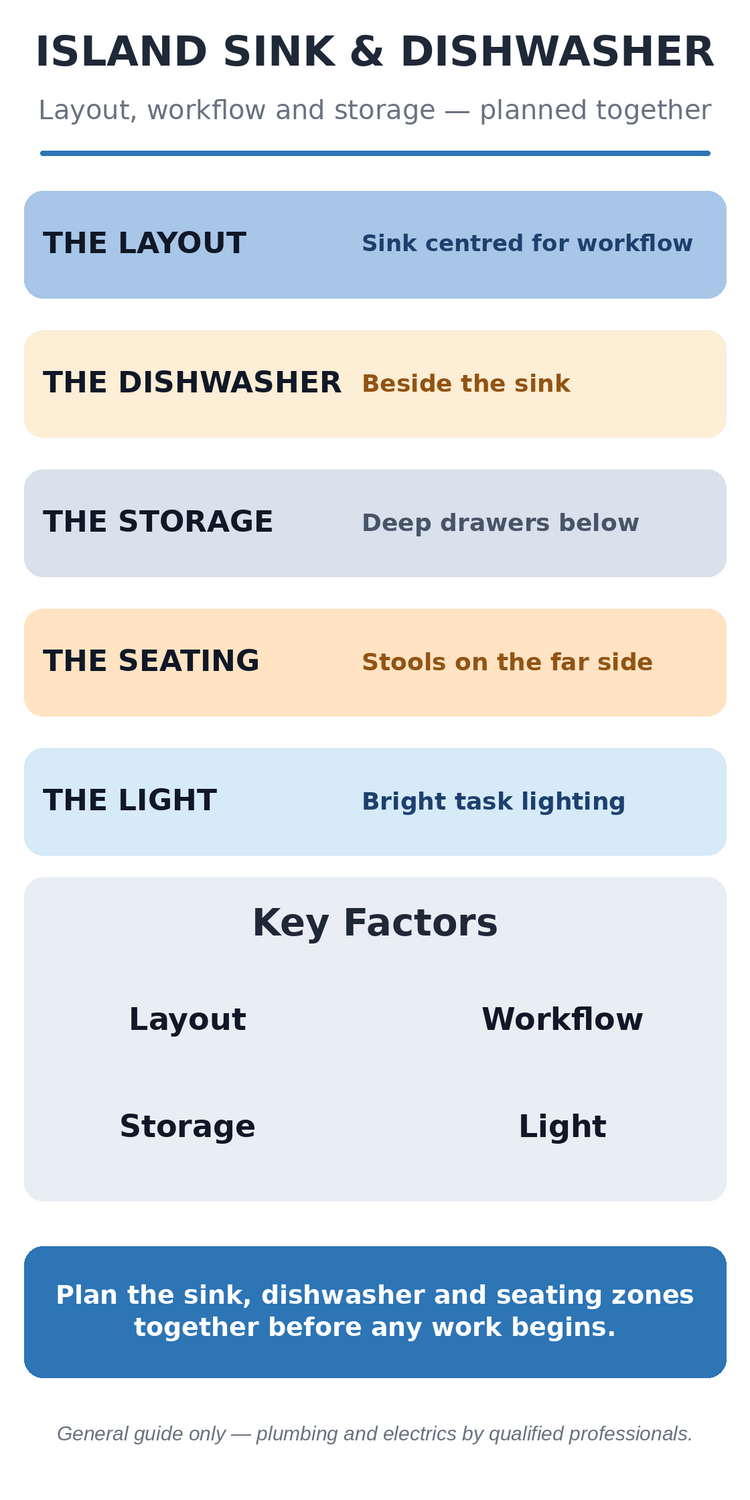
The golden rule of island sink layout is sequence: dirty dishes should travel a short, logical path from table to sink to dishwasher to storage, without crossing the cook’s path. The dishwasher belongs beside the sink, on the side that suits the household’s dominant hand and the room’s flow, so that rinsing and loading happen in one movement rather than a walk across the kitchen.
Think in zones. The island’s sink zone handles washing and prep; the cooking zone, wherever the hob or oven sits, should be close enough to reach but not so close that steam, splashes and heat collide with the washing-up. Storage for everyday plates, glasses and cutlery should sit near the dishwasher, so unloading is a short put-away rather than a trek around the kitchen.
Leave clear worktop on both sides of the sink. A sink squeezed against the island’s edge, with no room to set down a chopping board or a draining rack, is frustrating daily. As a planning guide, the island should offer comfortable landing space on each side of the sink, and the dishwasher should open without blocking a walkway or a cupboard that is needed at the same time.
3. The Dishwasher’s Place
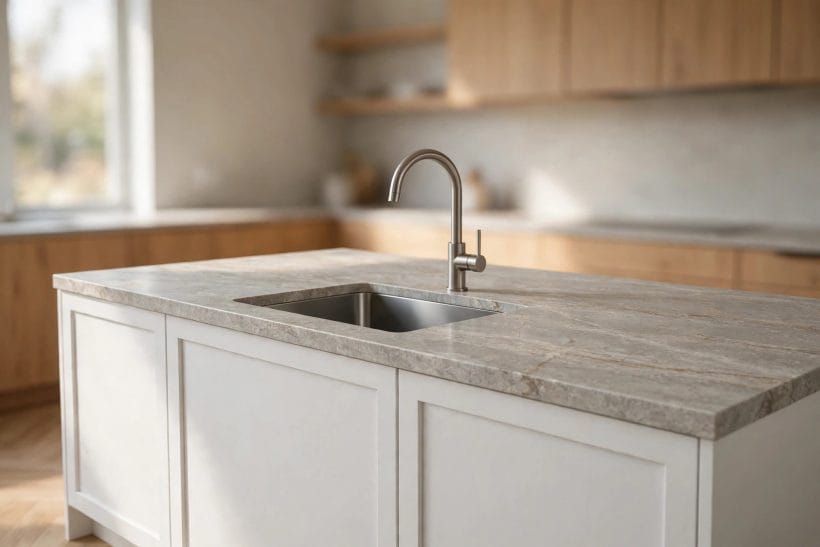
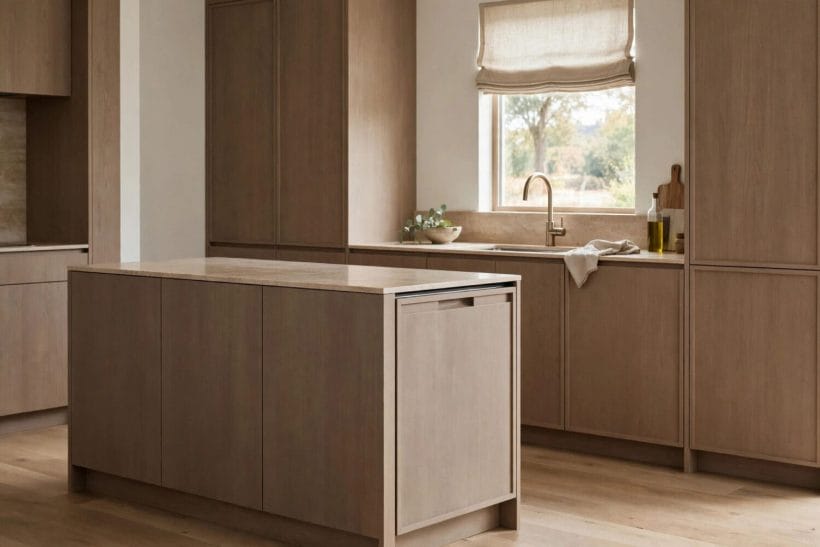
Dishwasher placement is a small decision with daily consequences. Beside the sink is the obvious home, but which side, and how it relates to storage and seating, matters. A dishwasher that opens into a walkway forces everyone to step around it, while one that opens toward storage lets unloading flow straight into cupboards and drawers.
Consider a panelled dishwasher front that matches the island’s cabinetry. It keeps the island looking like furniture rather than a row of appliances, which matters when the island faces a living area. A visible dishwasher front is perfectly fine in a working kitchen, but in an open-plan room where the island is always on show, panelling helps the island read as part of the room rather than as a utility zone.
Noise matters more on an island than at a perimeter, since the dishwasher sits in the middle of the living space. Ask about noise levels in general terms when choosing, and remember that a dishwasher running during a dinner party is far more noticeable from an island than from behind a closed kitchen door.
4. Seating Around a Working Island
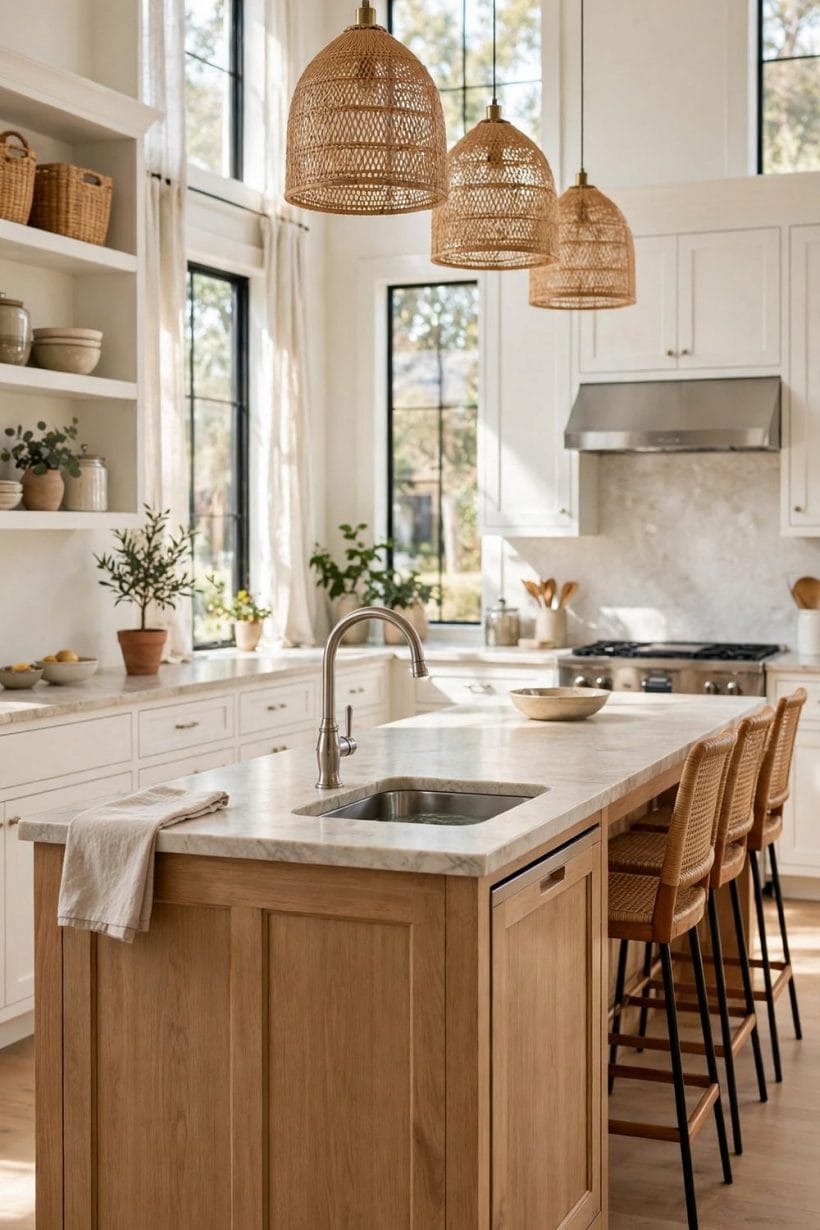
Seating and a sink share an island uneasily unless the layout respects both. The cleanest solution is separation: seating on one side of the island, the sink and dishwasher on the other, so that guests are not sitting in the splash zone and the cook is not hemmed in by stools. A raised bar section or a change in worktop height can mark the boundary gracefully.
Allow enough room for stools to be pulled out and sat in without blocking the dishwasher or the cook’s path. Stools tucked under an overhang look tidy but can be awkward to use if the overhang is too shallow for knees, so test the depth with real stools before committing. Backless stools tuck away neatly; stools with backs are more comfortable for long sits, and the choice depends on whether island seating is for quick breakfasts or long evenings.
Keep the seating side clear of washing-up. A dish rack, a soap bottle or a pile of drying pans on the seating side of the island defeats the purpose of the divide, so plan storage for those everyday items on the working side, within reach but out of the guests’ view.
5. Storage Below and Beside
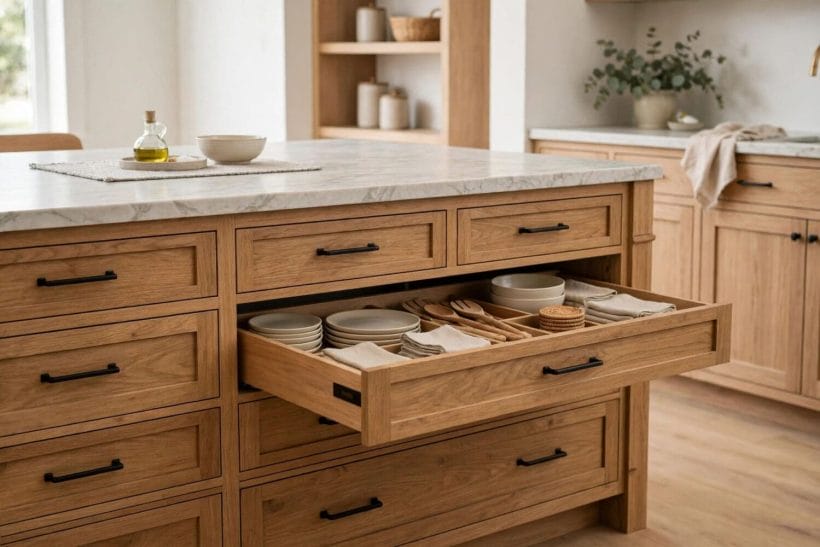
An island sink consumes cabinet space below it, so storage must be planned deliberately rather than assumed. Deep drawers beside the sink hold pots, pans and everyday crockery well, while the cabinet under the sink itself suits cleaning supplies, bins and the less-used items that do not need daily access. Pull-out bins near the sink make clearing up faster and keep waste out of sight.
Think about what the island stores that the rest of the kitchen does not. Prep tools, chopping boards, mixing bowls and the everyday plates used at the island all deserve a home within arm’s reach of the sink, so that cooking flows without constant trips to distant cupboards. Our wood kitchen cabinets guide shows how cabinet styles carry storage across a whole kitchen, and the island should follow the same language rather than looking like a separate piece of furniture.
Do not forget the small things. A drawer for tea towels near the sink, a shelf for washing-up liquid and sponges, and a bin that can be opened hands-free all sound trivial, but they are used dozens of times a day, and their absence is felt immediately.
6. Lighting the Island
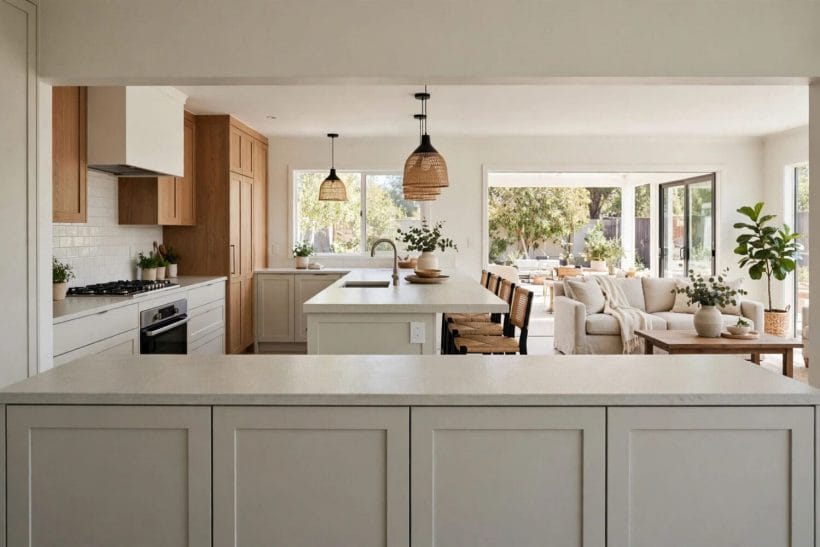
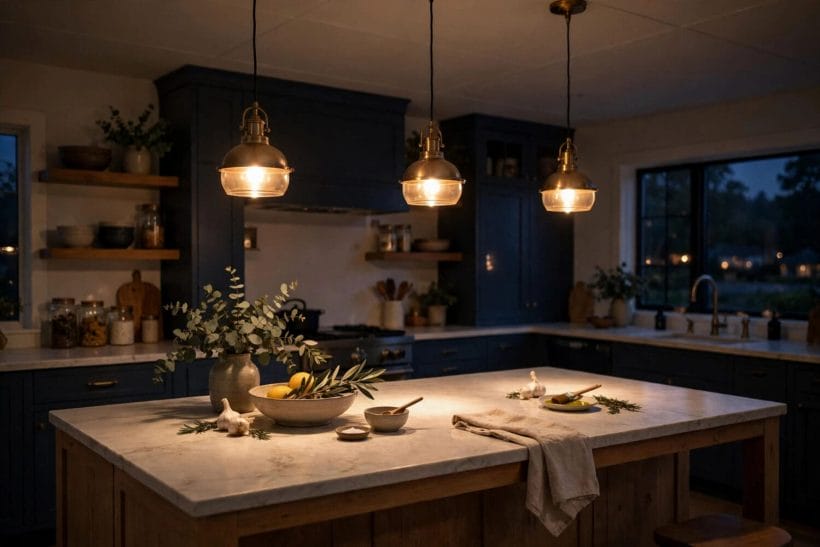
Island lighting must serve two jobs: bright task light for washing and prep, and softer light for the seating side when the island becomes a gathering place. Pendant lights over the island are the classic solution, giving focused light where it is needed while marking the island as the room’s centre.
Hang pendants so they light the worktop without glaring into seated eyes or blocking sightlines across the island. Three smaller pendants usually light an island more evenly than one large one, and dimmers let the same lights shift from task brightness to evening softness. Under-cabinet or in-plinth lighting can add a gentle glow at floor level for evenings.
Keep lighting practical around water. Any fixed lighting or electrical work near a sink should be planned and fitted by a qualified professional, with fittings suited to a kitchen environment. Improvised wiring near water is never worth the risk, and it is one of the clearest cases where professional fitting is not optional.
7. Worktop and Splash Control
Worktop choice around an island sink matters more than around a perimeter sink, because splashes land where people sit and eat. A worktop that resists water, wipes clean easily, and does not stain from everyday kitchen use will age far better than a beautiful but delicate surface. Ask about water resistance and care in general terms, and be honest about how the island is actually used before choosing on looks alone.
Splash control is partly layout and partly habit. A sink set back from the seating edge, a tap height that does not spray, and a habit of keeping a drying mat or rack on the working side all reduce the water that reaches guests. A small upstand or a raised section behind the sink can catch splashes gracefully, though it changes the island’s clean lines and should be weighed against the look you want.
Our quartz backsplash ideas show how a durable, easy-clean surface behaves in a hard-working kitchen, and the same easy-clean thinking applies to the island worktop, where water, food and daily use meet.
8. Plumbing and Practicalities, in General Terms
An island sink needs plumbing that a perimeter sink does not: supply and waste must reach the middle of the room, usually through the floor, and that work has structural and practical implications. It is entirely normal for an island sink to cost more to install than a perimeter sink, and any quote should reflect that honestly. This is planning information, not a how-to: the work itself belongs to qualified professionals, and it should be scoped by them before you commit to the layout.
Ask early whether the floor structure, the existing plumbing routes, and the room’s layout make an island sink straightforward or complicated. In some homes it is a simple extension of existing runs; in others it involves significant work under the floor, and that difference should be known before the island is ordered, not discovered mid-renovation. The same applies to any electrical work for the dishwasher and for island lighting or sockets.
Plan for maintenance access too. Pipes, traps and connections under an island sink should remain reachable for future servicing, rather than sealed behind fixed panels that must be demolished for a simple repair. A removable panel or an access point that is easy to open will save trouble for years.
9. Island Shapes and Sizes
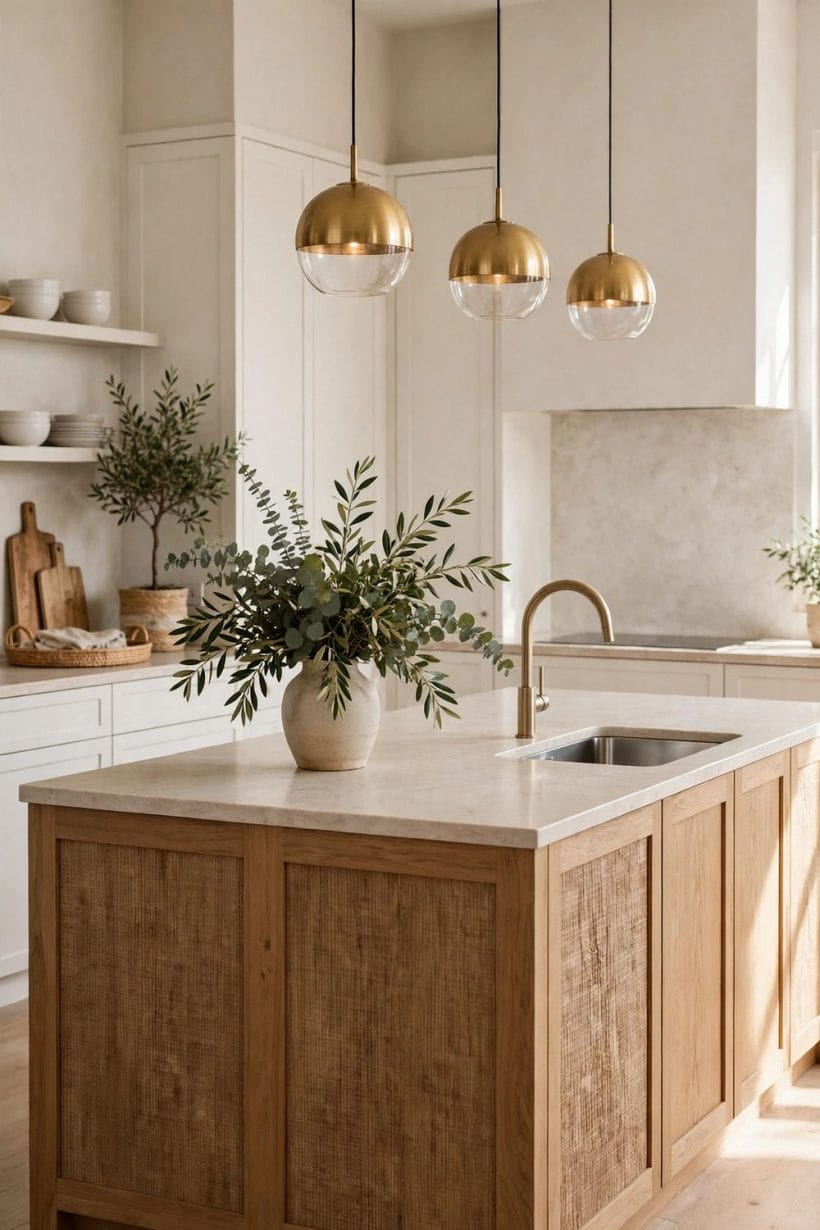
Island shape should follow the kitchen’s shape and the sink’s needs. A long, straight island suits a galley or open-plan kitchen, giving a clear run of sink, dishwasher and worktop. An L-shaped or curved island can wrap seating around a corner, but it complicates plumbing runs and worktop joins, and it should only be chosen when the room genuinely benefits from the shape.
Size is the constraint that governs everything else. An island that is too small for a sink, a dishwasher, seating and worktop will feel cramped whatever its style, while an island that is too large for the room will choke circulation around it. Walk the planned island’s footprint in the room — mark it out with tape or boxes — and live with that footprint for a few days before ordering. The tape test reveals problems that drawings hide.
Keep circulation generous. The walkways around an island should allow two people to pass comfortably, including when the dishwasher is open and someone is standing at the sink. A kitchen that only works when one person is in it is a kitchen that will frustrate a household daily.
10. The Island in the Whole Kitchen
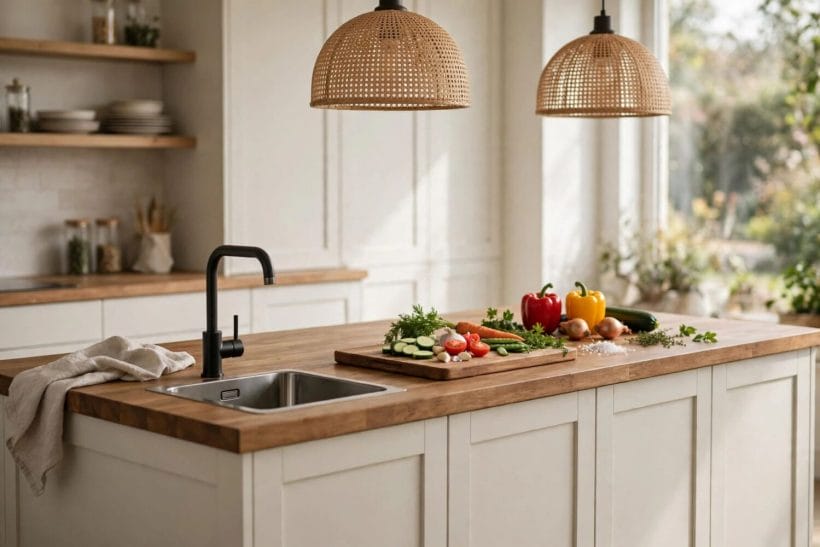
An island sink should be planned as part of the whole kitchen, not as an isolated feature. Its style should match the kitchen’s cabinetry, its worktop should relate to the perimeter worktops, and its lighting should belong to the room’s overall scheme. An island that looks like it was chosen separately from the kitchen will always feel separate, however well it works.
Consider how the island relates to the rest of the home. In an open-plan space, the island faces living areas, and its sink side is on show; in a closed kitchen, the island is a working tool first. Our kitchen ideas pillar and tiny house designs show how kitchens anchor whole-home plans at different scales, and living room wood floors show the flooring side of an open-plan kitchen-living flow. The island should serve the home it sits in, not just the kitchen it fills.
Finally, weigh the island sink against the alternative one last time. A perimeter sink with a clear, generous island is a fine kitchen, and for some households it is the better kitchen. Choose the island sink because it suits how you cook, gather and live — not because it is fashionable, and not because a showroom made it look effortless.
Final Considerations
An island sink and dishwasher succeed when layout, workflow and storage are planned together: the dishwasher beside the sink, storage near the unloading point, seating separated from the splash zone, lighting that shifts from task to evening, and plumbing scoped honestly by qualified professionals before anything is ordered. Walk the footprint, test the seating, and let the room’s real circulation decide. Done that way, the island becomes what it should be — the kitchen’s working heart, and the place where the household gathers. For the bar-side of island living, corner bar ideas show how a small drinks corner can complement a working kitchen without competing with it.



0 Comments