

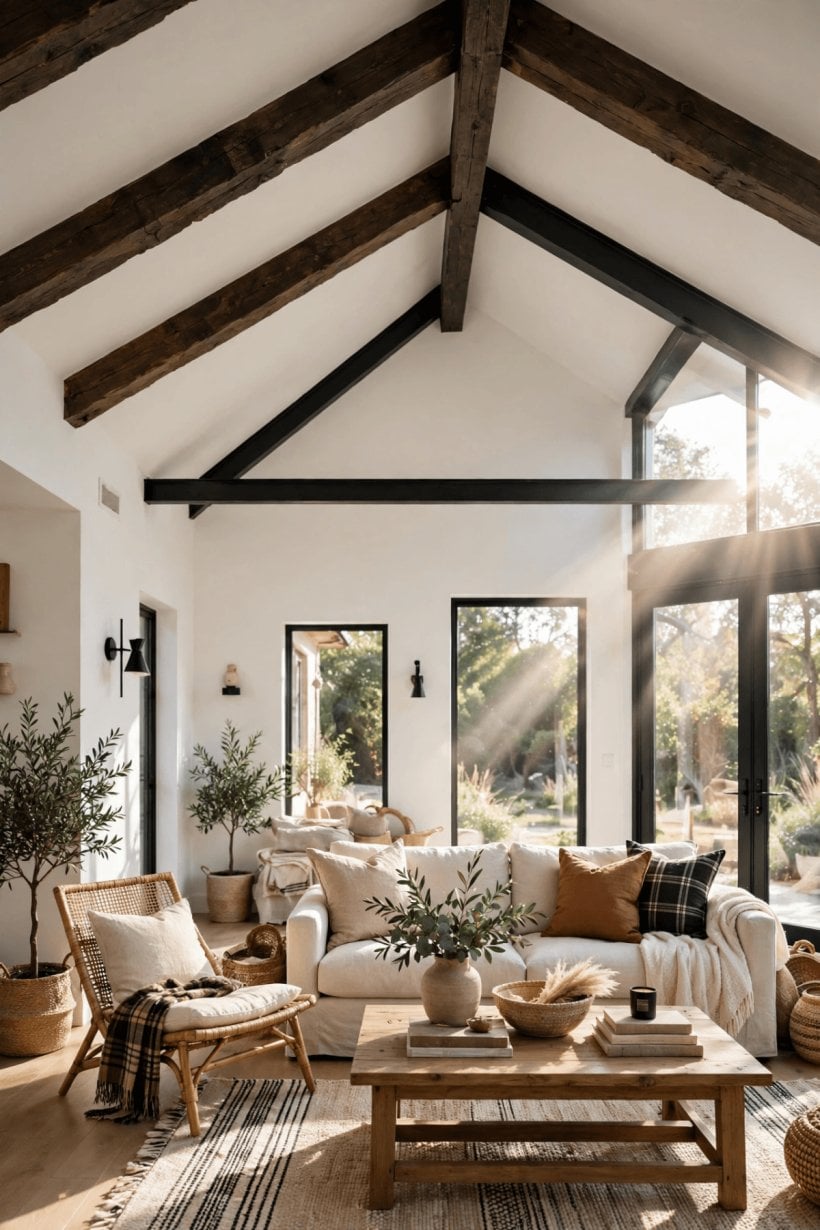
A high, sloping ceiling already gives a room height and drama. Adding beams can give that height structure, warmth and a clear rhythm, as long as the layout suits the roof and the way the room is used every day.
Use this guide to plan the layout first, choose colours with confidence, and understand the practical details before anything is ordered or fitted.
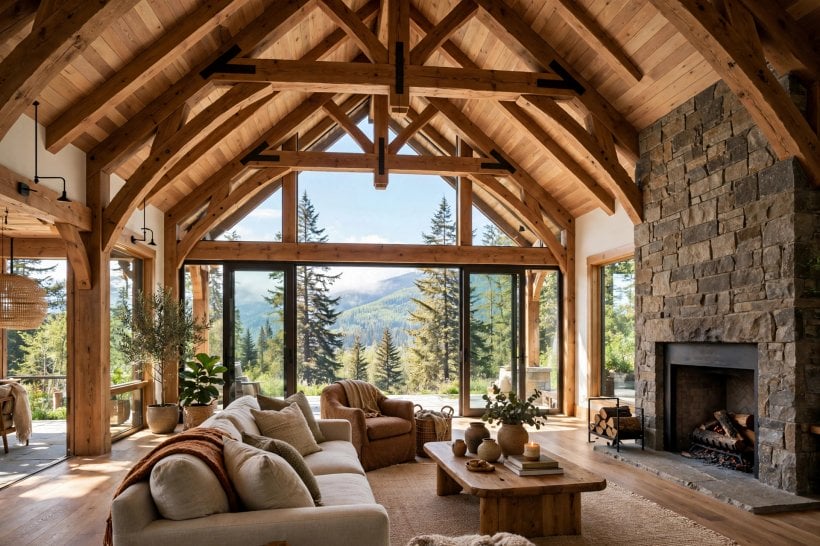
1. At a Glance
Beams work best when they follow the architecture rather than fight it. They should line up with the ridge, the walls and the main pieces of furniture, and they should leave enough headroom for doors, lights and everyday movement. Some beams are structural and carry real loads, while many interior beams are decorative covers that hide their fixings and add character without changing the roof. Knowing which type you have, or plan to add, shapes every later decision about size, material, colour and cost. The table below summarises the checks that matter most, so you can talk to a fitter, joiner or builder in clear, practical terms.
There is also a simple order of work that saves trouble later. Measure and sketch first, then settle the layout, then choose the material, then the colour, and only then book fitting and finishing. Reversing that order, by buying beams before measuring the slope, is how most projects go wrong. Keep a note of every measurement, photograph the ceiling from the doorway and from the far corner, and take those pictures with you whenever you shop or meet a tradesperson, because a photograph of the real slope answers questions that memory cannot.
| Question | Short answer |
|---|---|
| Do beams have to be structural? | No. Many are decorative, but any structural change needs professional advice first. |
| Which layout suits most rooms? | Evenly spaced beams running across the slope, lined up with the ridge and walls. |
| What drives the cost most? | Material, length, access, scaffolding or ladders, and the finish you choose. |
| Can beams work in a small room? | Yes, with slimmer profiles, lighter colours and wider spacing. |
| What should never be cut or drilled? | A structural beam, truss or rafter, unless an engineer has said exactly how. |
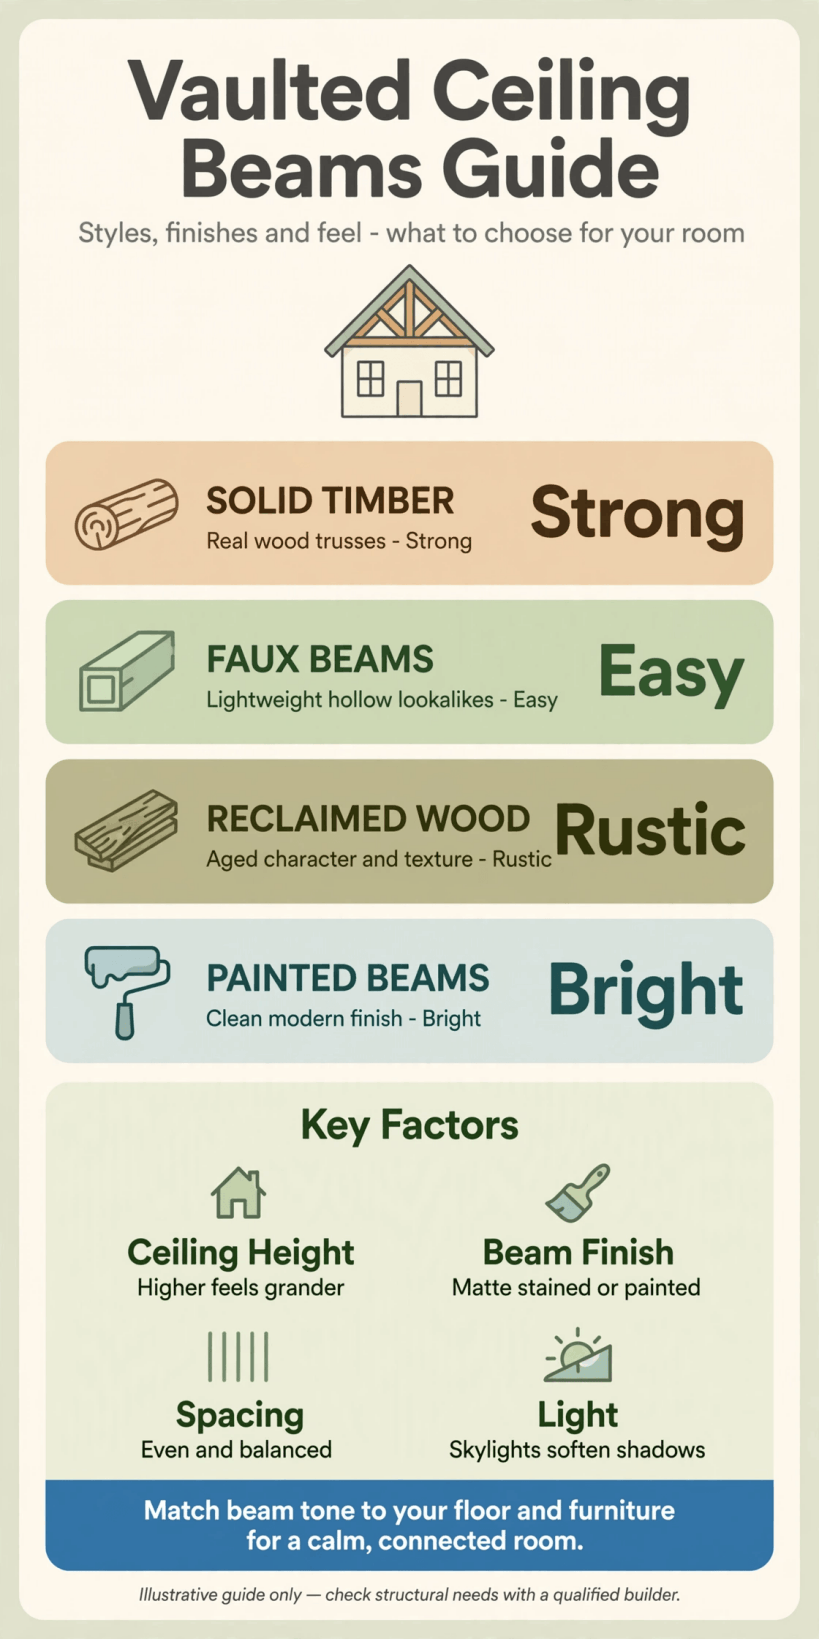
Vaulted ceiling beams at a glance: layout, colour and practical checks before you commit.
2. Start With the Span and the Pitch
The best beams for vaulted ceilings start with the shape of the roof itself, so measure before you fall in love with a finish. Note the width of the room, the height at the ridge, the height where the slope meets the wall, and the angle of the pitch. A steep pitch can take deeper, bolder beams because there is more air above the furniture. A shallow pitch usually looks better with shallower profiles that do not press down on the room. Stand at the doorway and look across: your eye will follow the longest line in the room, so beams that run across the slope tend to calm the space, while beams that run up the slope emphasise height. Mark door swings, tall cupboards and window openings on a simple sketch. If a planned beam crosses a door head or a curtain track, move the layout now, while it is still pencil on paper rather than timber on the ceiling.
3. Choose a Layout That Fits the Room
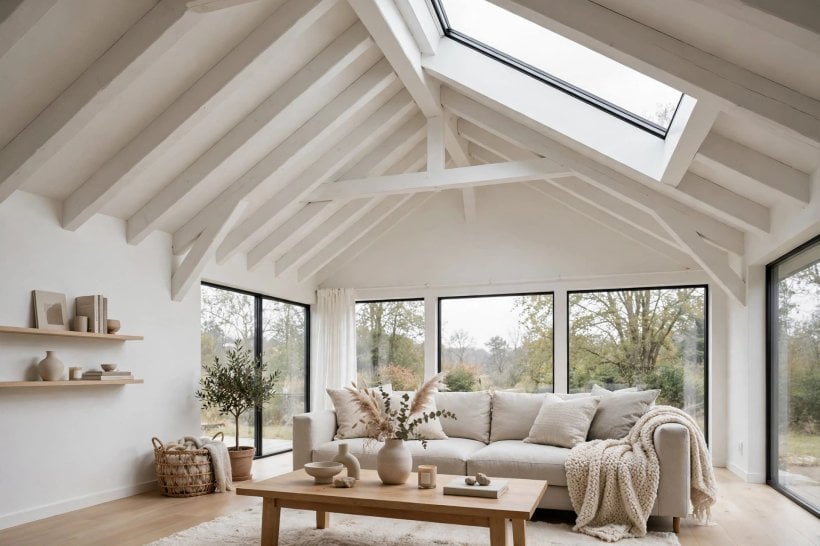
Three layouts cover most homes. Parallel beams across the slope give a steady rhythm and suit living rooms and bedrooms. A single ridge beam, sometimes with shorter cross pieces, keeps the centre line clean and works well in narrow rooms. A grid or coffered pattern adds formality and suits large, squarer spaces, but it uses more material and can feel busy in a small room. Whatever you choose, keep the spacing even and let the beams relate to something below: a sofa, a dining table or a kitchen island. In an open-plan space, beams can quietly mark zones without walls, a trick that pairs well with the layouts in our guide to living room interior design for a tiny house. Before fixing anything, run masking tape lines on the ceiling or floor to test the spacing at full size. Live with the tape for a day, check it in morning and evening light, and adjust until the rhythm feels calm from every seat. Count the bays the layout creates, too: an odd number of bays usually centres the room on a beam or on a space in a way the eye finds restful, while a layout that lands a beam directly over a doorway or a window centre tends to look like a mistake even when the measurements are perfectly even.
4. Real Timber, Faux Beams or Boxed Beams
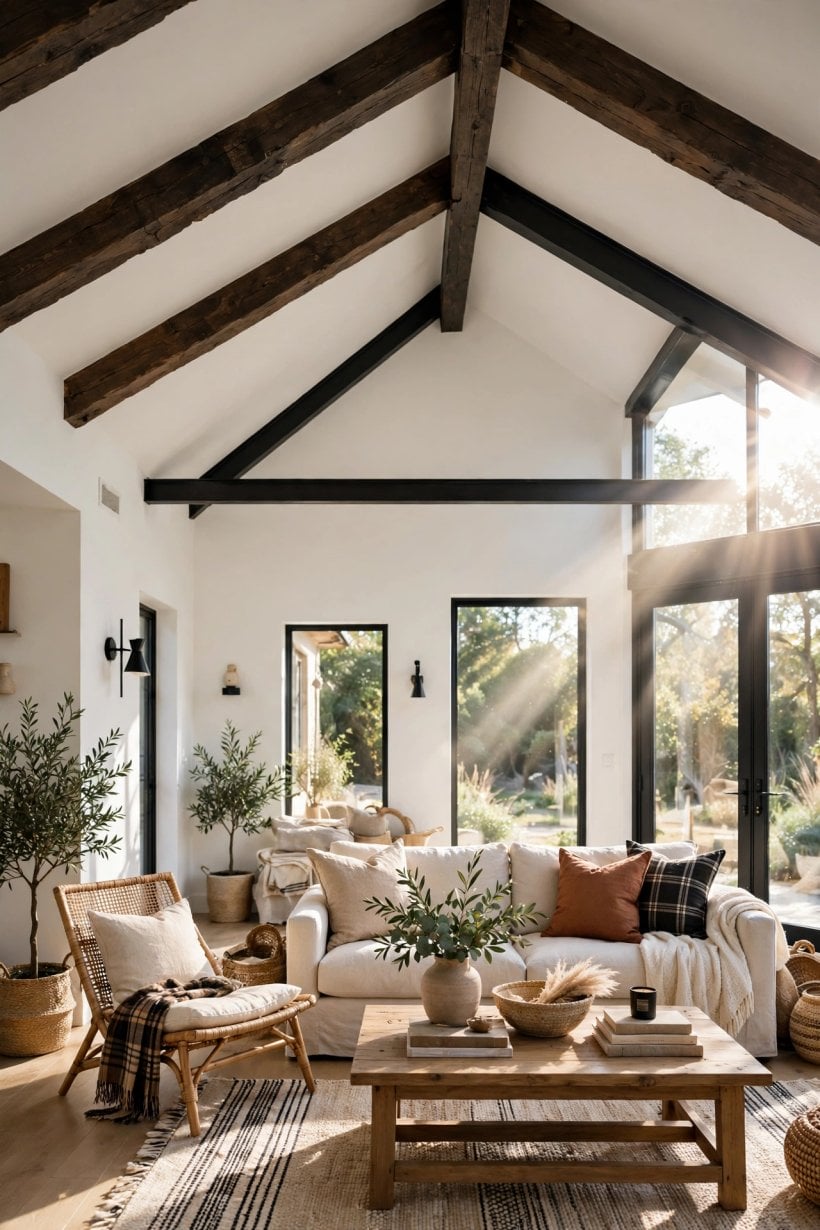
Solid timber has grain, weight and presence, and it can be the right choice where a beam is genuinely working. It is also heavy, needs proper support, and can move slightly as the seasons change. Faux beams, made from lightweight materials moulded to look like wood, give a similar read from floor level and are far easier to lift and fix on a finished ceiling. Boxed beams, built from boards joined into a hollow U shape, sit between the two: real wood on the surface, much less weight inside, and a handy channel that can hide cables or pipes. Think honestly about viewing distance. In a tall hall where nobody gets close, a good faux beam is hard to fault. At eye level in a cosy sitting room, real boards reward the touch. Compare samples at home, in your own light, before deciding. For more small-space material lessons, see these modern living room interior design ideas and notice how wood tones are repeated in furniture to make ceilings and floors feel connected. Whichever material you choose, order one piece first if you can, offer it up in position, and check the colour, the texture and the shadow it casts before the full set is made or delivered.
5. Colour: Stain, Paint or Leave It Natural
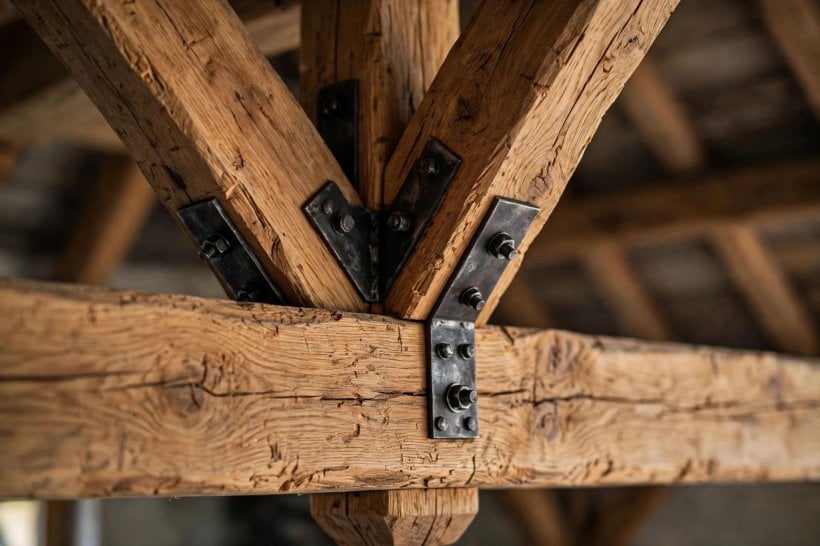
Colour decides whether beams lead the room or support it quietly. Dark stain against a pale ceiling gives the strongest contrast and a traditional, grounded feel, but it also shows every line, so spacing must be spot on. Mid-tone stains are forgiving and sit happily with oak floors, rattan and linen. Painted beams in the same colour as the ceiling almost disappear, leaving texture and shadow to do the work; this is a good route in a small or low room. Painting beams a soft contrasting colour, such as a warm off-white against white, adds definition without heaviness. Always test colour on an offcut fixed temporarily overhead, because light from above changes how a stain reads. Look at it beside your wall colour at different times of day. The relaxed palette in these beachy interior design ideas shows how pale wood, white and natural fibres keep a high ceiling feeling airy rather than stark. Remember floors as well: beams that match the floor exactly can feel heavy, while a tone one step lighter or darker usually looks richer and more relaxed.
6. Lighting Between the Beams
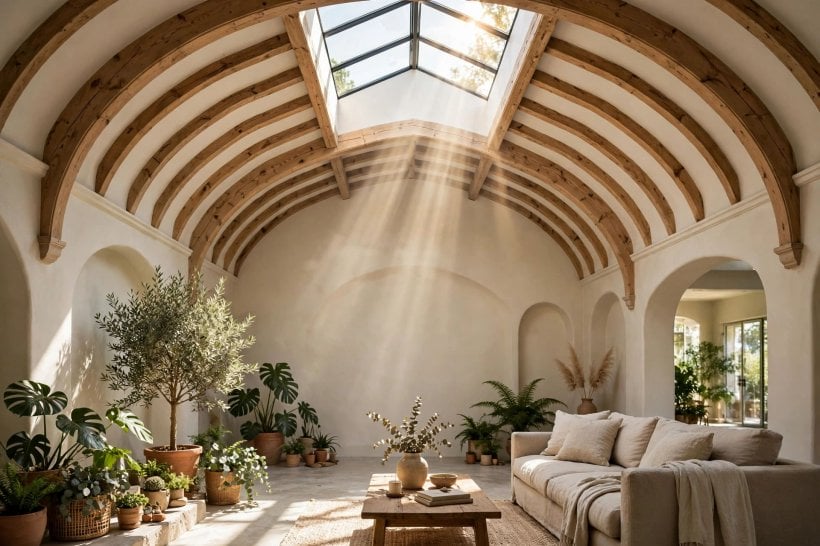
Beams and lights share the same ceiling, so plan them together. A central fitting hung from the ridge gives a clear focal point, but its drop must clear heads and doors, and its chain or rod should hang level even though the ceiling slopes. Recessed lights sit neatly between beams if the positions are set out before the beams are fixed; afterwards, retrofitting means awkward cutting. Wall lights and lamps often do the heavy lifting in vaulted rooms, because light thrown upward shows off the slope while light at eye level keeps faces and books comfortable. If you run cable inside a hollow beam, agree the route with your electrician first and keep access where it is needed. Avoid placing a beam where it will block a pendant over a table or cast a hard shadow across a worktop. Stand in the room after dark with temporary lamps if you can, and check for glare, dark corners and reflections before the final positions are drilled. Dimming helps in high rooms, where a fitting that is comfortable at full brightness for cleaning can feel harsh for an evening, so plan controls you can reach easily from the door.
7. Costs and Where the Money Goes
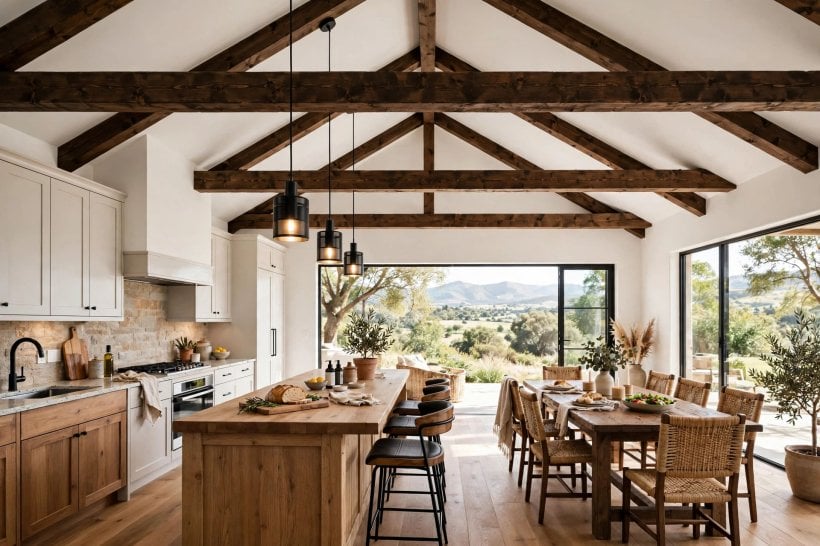
It is safer to think in cost drivers than in fixed figures, because every roof, room and region differs. Material is the first driver: solid sections, long single lengths and premium finishes usually cost more than hollow or faux options. Labour is the second: working at height takes time, care and often two people, and access equipment adds to the bill on steep or tall ceilings. Finishing is the third: staining, painting, filling and touching in around a new beam all take longer than the fitting itself. Finally, allow for the extras that are easy to forget, such as fixings, trims where beams meet walls, making good plaster, and redecorating the ceiling afterwards. Ask for quotes that separate materials, labour and finishing, so you can compare like with like and choose where to save. A simpler layout with a beautiful finish usually looks better, and lasts longer in your affections, than a complicated layout done cheaply in a finish you tolerate. Keep a contingency in the budget as well, not because anything should go wrong, but because opening up a ceiling sometimes reveals a cable, a pipe or a patch of tired plaster that is far cheaper to deal with while the access equipment is already in the room.
8. Fitting, Fixings and Building Checks
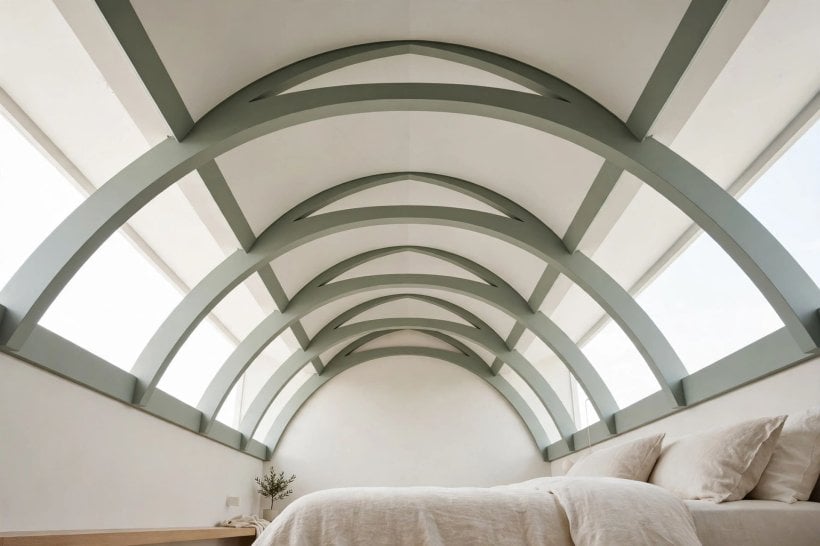
Decorative beams must still be fixed securely to something solid, usually the rafters or a prepared mounting board, never to plasterboard alone. Find and mark the structure above the ceiling before drilling, and check for pipes and cables with a detector and common sense. Hollow beams are often fitted over a fixed timber plate or cleat, which makes alignment easier and lets the visible beam slide into place. Joints where beams meet walls rarely sit perfectly against old plaster, so a neat trim, a careful scribe or a flexible filler finished cleanly makes the difference between homemade and professional. If there is any doubt about whether an existing beam is structural, or if you want to move, cut or add a load-bearing piece, stop and get advice from a qualified professional and your local building control where required. Our wider guides to small-space projects, including this kitchen and tiny house small-space design overview, repeat the same rule: structure first, decoration second, always.
9. Beams in Kitchens, Bathrooms and Busy Rooms
Steam, grease and splashes change what a beam needs to survive. In a kitchen, choose a finish that can be wiped clean, keep beams clear of the direct plume above a hob where possible, and think about how an extractor will share the ceiling. Open shelves and tall units should stop short of the beams so doors open fully and the lines stay clean. In a bathroom, ventilation matters more than looks: a good extractor protects timber and paint from the damp air that collects at the highest point of the room. Faux or well-sealed beams are often the practical choice in wet rooms. In hallways and playrooms, check headroom twice, because people move quickly and children grow. The planning habits in our tiny house kitchen design guide apply here too: measure the busiest route through the room, protect the finish where life is hardest, and choose details you can clean without a ladder every week. A beam above a busy sink or a family dining table will gather dust and the odd splash, so a smooth finish you can reach with a long-handled duster keeps maintenance realistic.
10. Small Rooms, Low Pitches and Tricky Ceilings
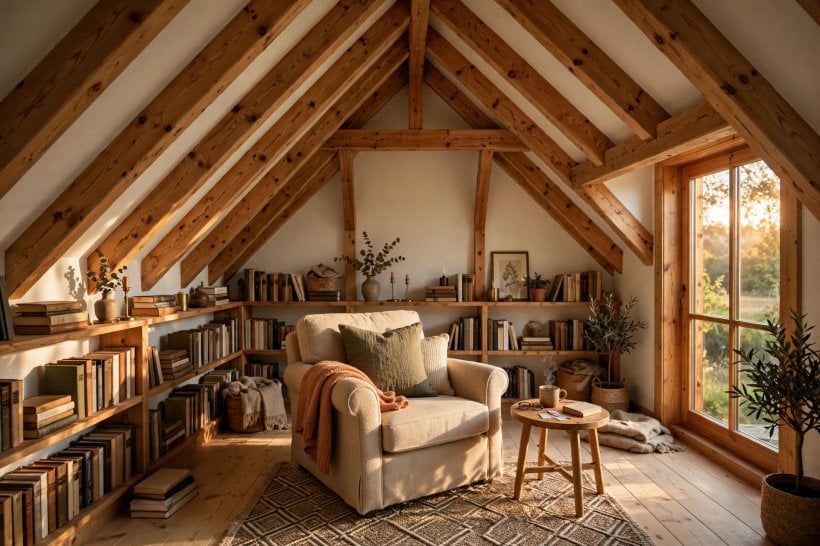
A modest room is not a reason to give up on beams; it is a reason to edit them. Use fewer beams, space them wider, choose a slimmer profile and keep the colour close to the ceiling so the eye reads height rather than stripes. In a bedroom, one ridge beam or a pair of gentle cross beams can be enough to give the bed a sense of place. The room-by-room examples in these small bedroom interior design ideas and this modern tiny house bedroom tour show how restraint upstairs keeps sleep spaces calm. Where a ceiling has odd angles, old lath or visible joints, let the beams follow the strongest line and hide the weakest one; a beam placed over an untidy junction can look intentional and tidy at once. If the pitch is very low on one side, stop the beams before that wall rather than forcing them into a cramped corner. Test with tape, photograph the room from the doorway, and trust the photograph: it shows stripes, clashes and crowding more honestly than standing underneath. In a rented or listed home, ask before fixing anything permanent, and consider whether a single statement beam gives you the character you want with the least intervention.
Final Considerations
Well-chosen beams for vaulted ceilings do not shout; they organise the room, warm the light and make a high ceiling feel finished rather than empty. Start with the span and pitch, pick a layout that matches the furniture, and choose a material and colour you can live with in every season. Keep lighting, headroom and cleaning in the plan from the first sketch, and treat any structural question as a job for a professional. Do the tape test, live with it, and only then order. A ceiling you look up at with pleasure, years later, is almost always the one that was planned slowly and fitted once, properly. Finally, photograph the finished ceiling in daylight and in the evening, and keep a note of the finish you used; a labelled offcut in a cupboard makes future touch-ups simple, and the next person who paints the room will thank you for it.



0 Comments