

Somewhere under the dated tiles, the orange brick or the surround somebody chose in a hurry, most tired fireplaces are a good fireplace waiting to be released. A makeover is the art of finding it — the remodel that changes a room’s whole temper without moving a single wall.
This page is the fireplace cluster’s transformation specialist: assessment, paint, surrounds, mantels and the working fire itself, in the order a real makeover happens. The general survey is the fireplace living room pillar; the materials in depth live at the stone fireplace page; the corner problem has its own page at corner fireplace ideas. This one is about before and after.
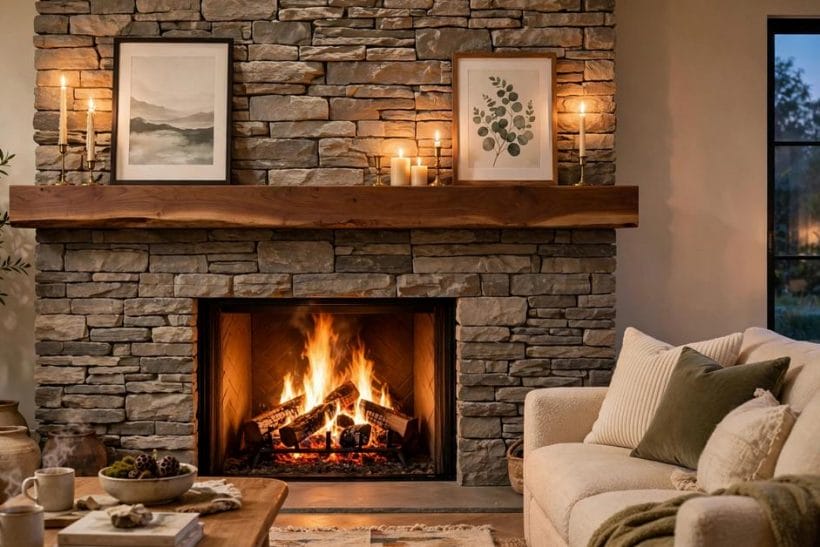
1. Fireplace Makeover Ideas at a Glance
A fireplace makeover — a fireplace remodel in the trade’s language — is the renewal of an existing fireplace’s surround, mantel, hearth, firebox or fire itself to change how it looks and how it serves the room, without relocating the chimney. Its working parts are the honest assessment, the surface strategy (paint, tile, stone, timber or plaster), the mantel and hearth decisions, the fire’s own renewal, and the styling that declares the transformation finished.
| Question | Short answer |
|---|---|
| What is the cheapest fireplace makeover that actually works? | Paint or limewash on sound brick, a cleaned firebox, a dressed hearth and a mantel styled with intent. The transformation is mostly labour and honesty, not materials. |
| Can any fireplace be made over? | Nearly — the bones decide the scale. A sound chimney and firebox take anything from paint to a full re-facing; a condemned flue limits the makeover to the decorative shell and a different kind of fire. |
| Should the makeover follow the house’s period or fight it? | Follow its grain, not its letter. A makeover that respects the house’s proportions and materials while updating colour and detail ages slowly; one that imports an alien style dates by Christmas. |
| Do I need a professional? | For the fire itself, the flue and anything structural — yes, without exception. For paint, tile on a sound surround, mantel dressing and styling, a careful amateur is the traditional workforce. |
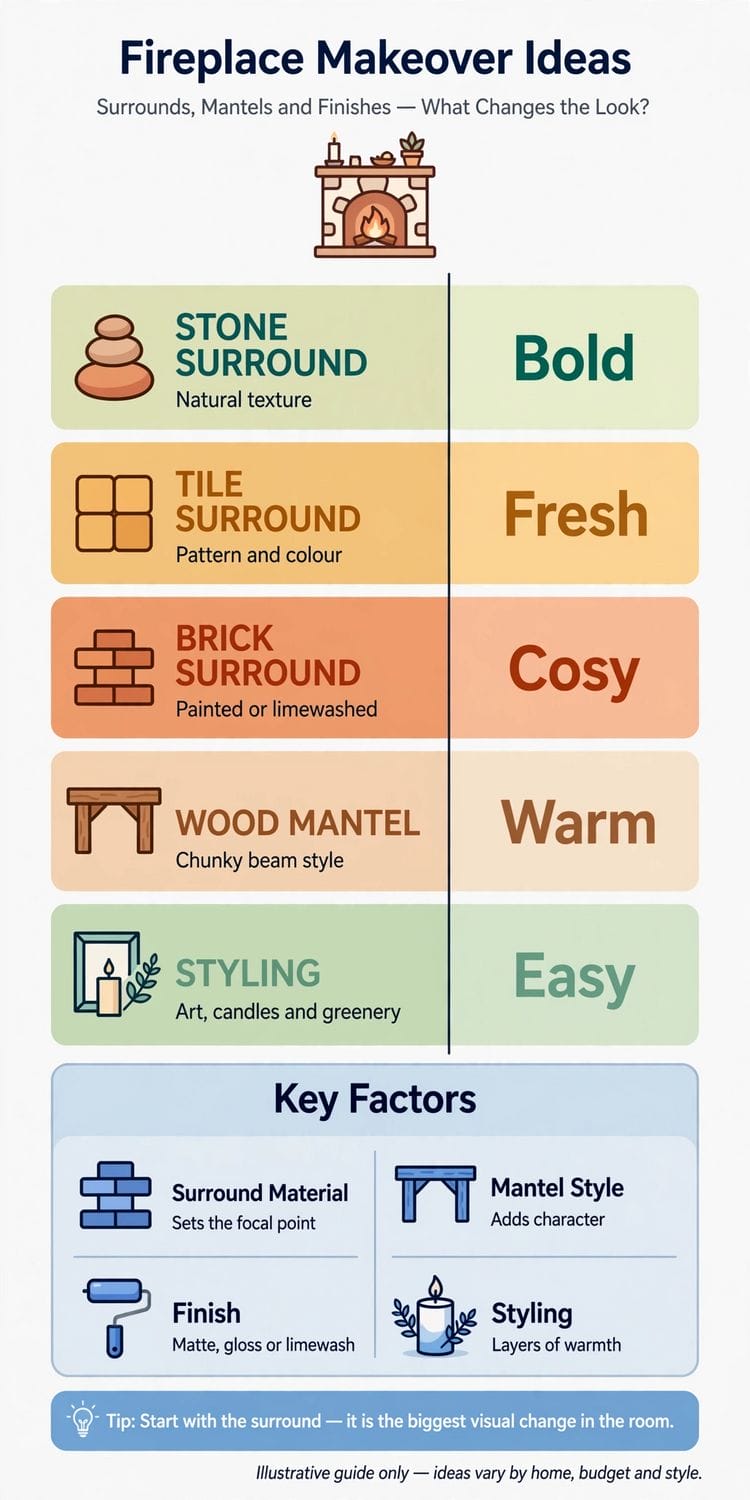
2. Assessing the Old Fireplace: What Can Stay, What Must Go
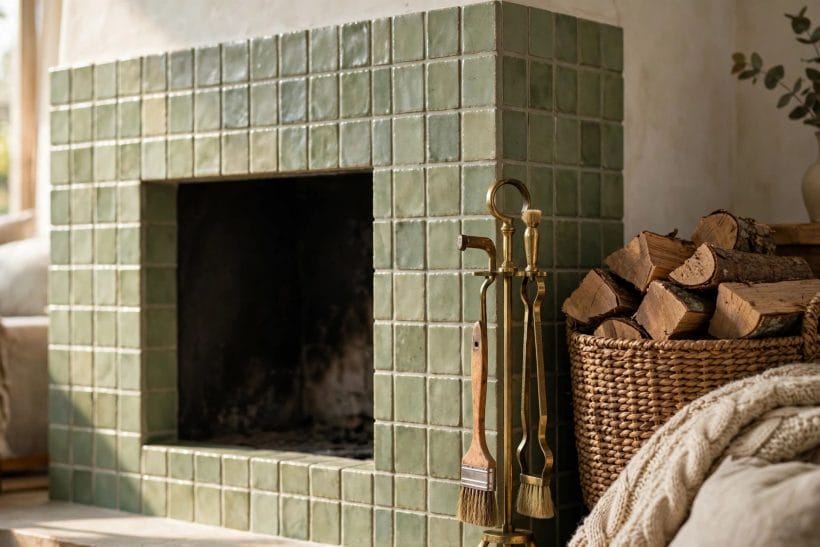
A makeover begins as an audit, not a shopping trip. The chimney’s health, the firebox’s condition, the surround’s soundness and the room’s proportions decide whether this is a weekend of paint or a season of masonry — and the audit is what stops money being spent beautifully on a fireplace that cannot safely burn.
1. Start with the chimney’s health, not the surround’s looks
Have the flue swept and inspected before a single aesthetic decision.
2. Read the firebox for its honest condition
Cracked firebricks, crumbling mortar and a rusted damper tell you the fire’s own renewal leads the project. Sound boxes, however sooty, need only cleaning; tired ones set the budget’s first line.
3. Decide which era the fireplace is actually from
Many tired fireplaces are layers: a Victorian opening under a mid-century surround under last decade’s paint.
4. Keep good bones wherever they survive
A sound cast-iron insert, a solid timber mantel, honest brick under paint: these are the makeover’s inheritance, worth more than their replacements.
5. Photograph the before from the doorway and the sofa
The makeover will be judged from where the room is entered and where it is sat in. Before photographs from those two stations keep the project honest and give the after its full, deserved effect.
6. Set the makeover’s ambition in one sentence
Brighten it, modernise it, restore it, disguise it: one sentence, agreed by everyone who lives with the result. Makeovers that drift between ambitions mid-project finish as compromises nobody chose.
7. List what the room needs from the finished fire
Heat, looks, a working chimney for winter, a clean decorative shell for a warm flat — the finished fireplace’s job description decides everything downstream, from insert choice to whether the flue is lined or retired.
8. Check the hearth’s level, edges and extent
Hearths crack, lift and shrink out of usefulness as extensions and stoves arrive. The assessment should name the hearth’s fate early: repair, extend, replace or cover — it anchors the surround’s proportions.
9. Measure everything twice, photograph it once
Opening width and height, breast depth, mantel height, hearth projection: the makeover’s purchases all hang on these. A measured, photographed record saves the project from the classic wrong-size insert discovered on delivery day.
10. Agree the dust plan before the work plan
Fireplace makeovers are demolition-adjacent: soot, mortar and rubble find the whole house.
11. Forgive the old fireplace one thing
Every dated fireplace has one virtue — generous proportions, a deep hearth, a mantel at the right height.
3. Paint, Limewash and Whitewash: The Fast Transformations
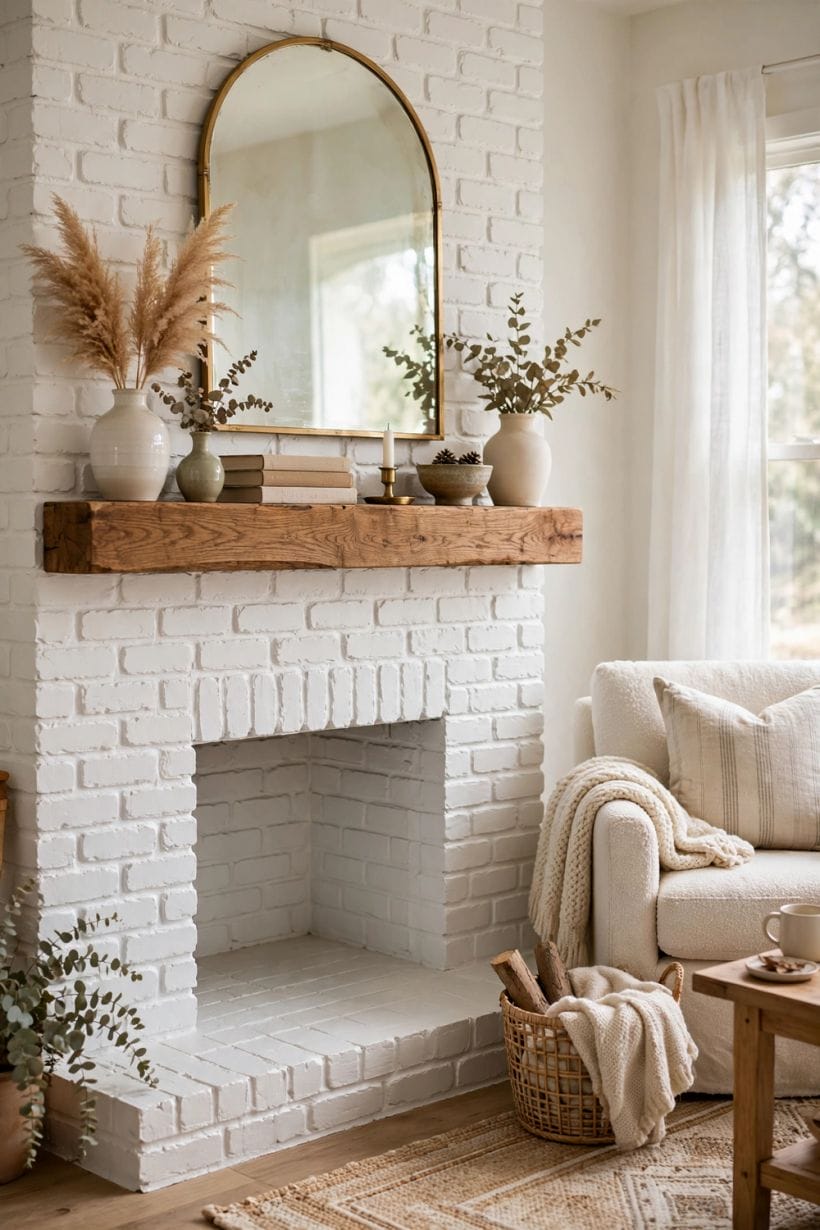
Paint is the makeover’s first resort because it is reversible, cheap and astonishingly effective on the fireplace’s commonest eyesore: brick or stone whose colour fights the room. The finishes differ in temper — paint commits, limewash breathes, whitewash whispers — and choosing among them is choosing how much of the old material still speaks.
12. Paint brick for the complete colour reset
Painted brick is the makeover’s boldest simple move: the texture remains, the argument ends.
13. Limewash brick for the soft, mineral fade
Limewash settles into brick like weather: the colour softens, the bricks’ variation glows through, and the finish can be thinned, deepened or washed off entirely.
14. Whitewash stone to lighten without erasing
A diluted whitewash over dark stone lifts the whole corner’s light while the stone’s faces and joints still read.
15. Paint the surround to match the walls for quiet
Where the fireplace should recede — small rooms, busy rooms, rooms where art leads — painting the surround the walls’ own colour retires it gracefully. The fire becomes a dark, warm picture in a calm wall.
16. Paint the surround darker than the walls for drama
The opposite discipline: a deep, saturated surround — near-black, ink, forest — turns the fireplace into the room’s jewellery and makes the flames read brighter. It is the cheapest grand gesture in the whole makeover catalogue.
17. Refresh a timber surround with honest paintwork
A sound wooden surround under tired varnish or chipped paint wants stripping, filling and a proper eggshell, not replacement. Timber takes paint kindly and repays the preparation every time the firelight crosses it.
18. Blacken the firebox interior for depth
A heat-rated black finish inside the firebox deepens the fire’s theatre and hides a decade of soot staining in an afternoon. It is the makeover’s smallest job with the largest photographic effect.
19. Paint the mantel shelf a contrasting note
Where the surround stays neutral, a mantel painted one deliberate shade apart — or stripped to its timber — gives the makeover its signature.
20. German schmear and mortar washes for the rustic middle way
A troweled mortar wash, partially wiped, gives brick a cottage-softened, old-plaster character between paint and bare. It suits fireplaces whose brick is too loud bare and too handsome to hide completely.
21. Test every finish in firelight before committing
Paint colours beside a working fire lie charmingly: warm light flatters cool shades and murders some warm ones.
22. Know when paint is the wrong answer entirely
Fine stone, rare brick, an original tiled surround in sound condition: these are inheritances, and paint on them is vandalism with a brush.
4. New Surrounds: Tile, Stone, Timber and Plaster
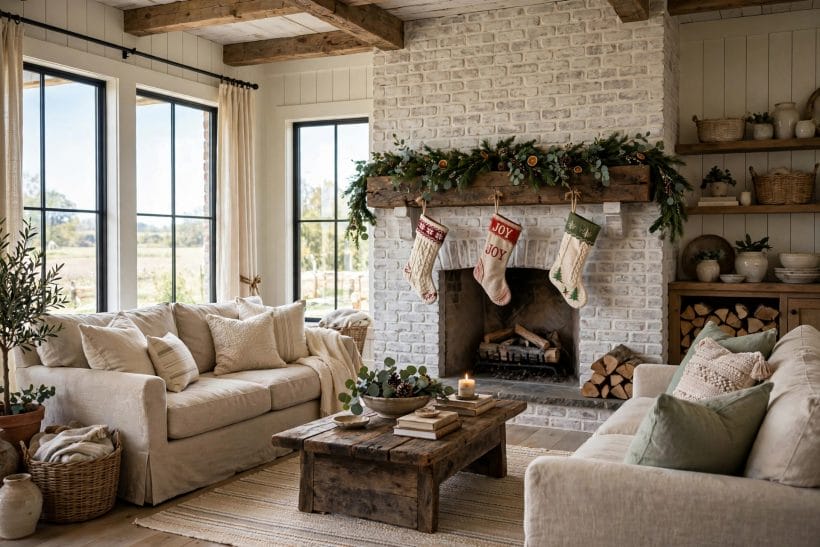
When the surround itself is the problem — wrong style, damaged fabric, proportions that fight the room — the makeover re-faces it. Each material brings a temper: tile is pattern and glaze, stone is weight and time, timber is warmth and joinery, plaster is the quiet modern canvas. The chimney behind them does not change; everything the room sees does.
23. Re-face with tile for pattern at the fire’s scale
Tile is the makeover’s most expressive material: handmade glazes, quiet metro rows, or bold patterned faces that make the fireplace the room’s artwork. Small formats suit the surround’s scale and forgive its irregularities kindly.
24. Carry tile inside the opening’s edges for a finished reveal
A tiled surround that stops at the opening’s face leaves the reveal unfinished at the exact point the eye visits.
25. Veneer stone for the full masonry transformation
Modern stone veneers re-face a tired brick or block breast with real stone’s face at a fraction of the weight and building. Honestly pointed and carried around the returns, veneer performs the stone fireplace transformation without touching the chimney’s bones.
26. Build a timber surround for warmth and proportion
A new wooden surround — mantel, legs and frieze in proportion to the opening — is the joiner’s classic makeover: it can widen a mean opening’s apparent grace, add a proper shelf, and bring the fireplace into a panelled room’s family.
27. Plaster the breast smooth for the contemporary reset
A tired, busy breast rendered smooth and painted becomes modern architecture: all proportion and shadow, no material noise. The plastered makeover suits inserts and stoves especially, where the fire itself supplies the texture.
28. Microcement and polished plaster for the seamless look
Trowelled mineral finishes wrap breast, surround and hearth in one continuous skin — the makeover as sculpture.
29. Slate and stone slabs for the tailored slab surround
Large, plain slabs of slate, limestone or marble-faced board make the tailored surround: few pieces, perfect mitres, nothing to prove. It is the makeover for rooms where the fire should read as design, not nostalgia.
30. Salvage a period surround and give it a second room
Architectural salvage yards hold the surrounds other houses lost — marble, cast iron, carved timber of a quality new work rarely matches at the price.
31. Frame the opening with a simple bolection or border
Where the breast is sound and only the opening looks mean, a bold moulded border around the firebox upgrades the whole composition without re-facing a wall.
32. Extend the surround’s width to correct the room
A narrow fireplace lost on a wide breast can be re-faced wider — tile or stone carried beyond the original surround’s lines — rebalancing the wall it stands on.
33. Finish the returns or regret them at every angle
Surrounds are seen from the side more than the front in real rooms.
5. Mantels, Hearths and Fireboxes Refreshed
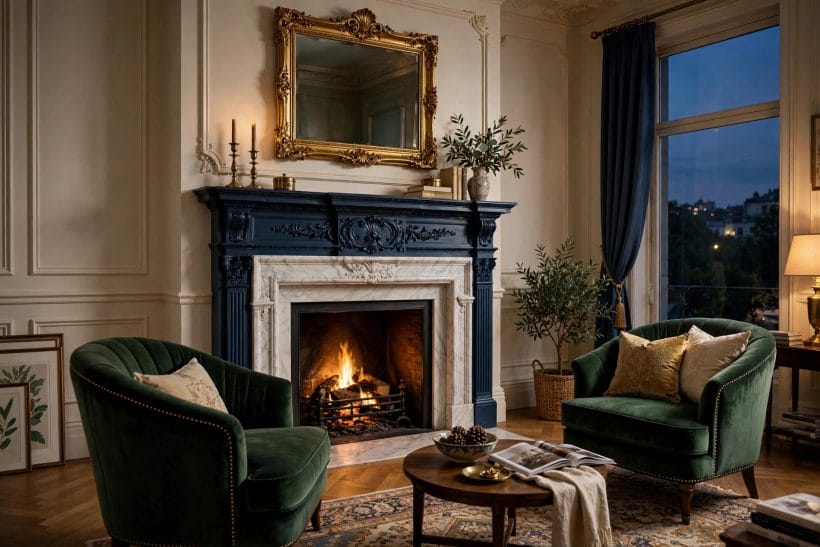
Below the surround’s grand gestures, the makeover is won in its furniture: the mantel that holds the room’s small treasures, the hearth the fire stands on, the firebox where the flames actually live. Renewing these three — often without touching the surround at all — is the middle path between paint and reconstruction, and the fireplace mantel page covers the shelf’s styling in full.
34. Replace a mean mantel with one of proper depth
A mantel shelf too shallow for a clock or a candlestick fails daily.
35. Strip a painted mantel back to its timber
Generations of paint hide good wood more often than bad. A stripped and waxed timber mantel brings warmth to a painted or stone surround and gives the makeover its one natural, unrepeatable material.
36. Add a mantel where the design never had one
Slab surrounds and minimalist breasts often omit the shelf the room secretly wants. A floating timber or stone shelf, fixed at the traditional height, gives the fireplace its display line and the room its mantelpiece back.
37. Re-lay or replace a cracked hearth
A cracked, stained hearth undermines every other improvement above it. Stone, slate or tile re-laid level and generous — sized to the fire it serves, to the maker’s guidance — grounds the whole composition in competence.
38. Extend the hearth for a stove or a bigger fire
New fires often want more hearth than the old one offers, in depth especially. Extending in a matching or deliberately contrasting stone makes the necessity a design event rather than an apology in two materials.
39. Fit a fender or a hearth trim for the finished edge
A brass, iron or stone fender finishes the hearth’s front edge, keeps logs and ash in their parish, and gives the makeover its jewellery line.
40. Repoint and repair the firebox’s brickwork
Renewed mortar and sound firebricks inside the box transform a fire’s burn as much as its look — and are the professional’s territory within the amateur’s makeover.
41. Fit a new grate, basket or fireback
The fire’s own furniture — a handsome basket grate, a cast fireback that throws heat forward and carries a relief the flames light — renews the firebox’s whole performance and photograph in one purchase.
42. Line the opening with tile or brick slips for a clean reveal
Where the firebox’s mouth is ragged, a lining of tile, brick slips or stone inside the reveal gives the opening tailored edges. The fire then burns inside a finished frame rather than a hole.
43. Raise the fire with a raised grate or hearth for presence
Small fires sit low and apologetic. A raised grate or a thoughtfully raised hearth lifts the flames into the seated eye’s line — a modest change that makes the same fire feel twice the ceremony.
44. Dress the empty summer firebox as part of the makeover
The finished fireplace spends half its life unlit.
6. Styles to Steer By: The Look the Makeover Is Aiming At
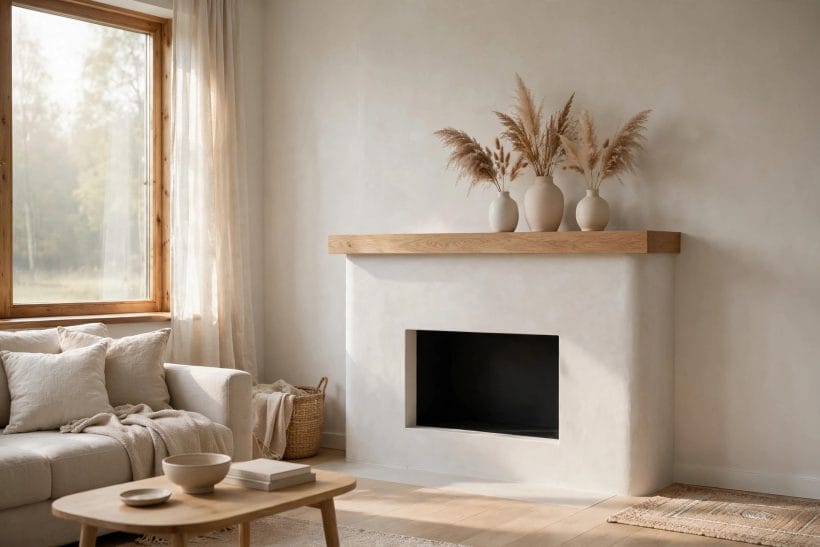
A makeover without a destination becomes a pile of samples. The styles below are the reachable harbours — each with its own surround, mantel and colour logic — and the wise project names its harbour before buying anything. Borrow across them sparingly: the finished fireplace should sound like one voice, ideally the house’s own.
45. Aim at cottage: limewash, timber and a deep hearth
The cottage makeover softens: limewashed brick, a chunky timber mantel, a deep stone hearth and a basket grate.
46. Aim at traditional: proportion, panelling and a marble or timber surround
The traditional makeover corrects proportions and restores manners: a mantel of classical depth, a surround in marble, stone or painted timber, the wall above dressed for one good picture. The traditional living room is its natural home.
47. Aim at contemporary: the smooth breast and the ribbon of fire
The contemporary makeover subtracts: plaster-smooth breast, no mantel or a floating shelf, a wide insert whose flame runs in a line. Every kept detail must earn its place against the fire’s simplicity.
48. Aim at rustic-luxe: stone, black iron and one grand gesture
Stone veneer, blackened steel, a mantel beam like a lintel from a barn — the rustic-luxe makeover spends its drama on scale and material honesty. It asks the room’s furniture to be equally unembarrassed.
49. Aim at coastal: pale washes and driftwood tones
Whitewash over brick, a mantel in weathered timber tones, a hearth of pale stone: the coastal makeover lightens the fireplace to the room’s sea-lit register and lets the fire be the warm note in a cool room.
50. Aim at industrial: black steel, brick and concrete’s calm
Bare brick cleaned rather than painted, a steel surround or blackened insert, a concrete hearth: the industrial makeover treats the fireplace as the room’s machine and dresses it with corresponding honesty.
51. Aim at Scandinavian: white, pale wood and the stove’s simplicity
The Nordic makeover whitens the surround, simplifies the mantel to a pale shelf, and often exchanges the open fire for a neat stove in the corner of the composition. Light, order and one warm flame.
52. Aim at mid-century: brick, walnut and the long low line
Face brick left or restored, a long walnut mantel shelf, a raised hearth running wide: the mid-century makeover honours the era when the fireplace was a wall-length event and the room arranged itself along it.
53. Aim at the country-house eclectic: layers kept, colours deepened
Some fireplaces should not be purified into a style at all.
54. Let the house’s architecture veto the catalogue
A makeover style that fights the room’s ceiling height, window shapes or floor will lose daily arguments with all three.
55. Name the style in the brief and buy nothing off-brief
Once the harbour is named, every purchase answers to it — tile, mantel, insert, paint. The discipline sounds limiting and is in fact the makeover’s freedom: decisions become quick, and the finished fireplace coheres.
7. The Working Fire: Inserts, Stoves and Safer Burning
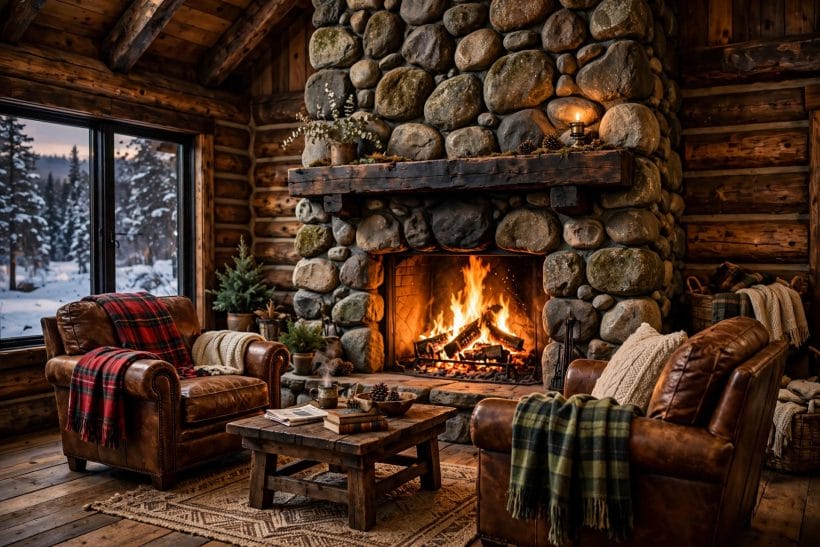
A makeover that ignores the fire itself is set-dressing. The renewal of the actual burning — an insert in the old opening, a stove before the breast, a chimney made honest — decides whether the finished fireplace is the room’s warm heart or its prettiest ornament. Everything structural and flue-related here belongs to qualified professionals; the makeover’s job is to choose well and commission properly.
56. Fit an insert to make an open fire efficient and clean
A modern insert — a sealed, efficient firebox within the old opening — transforms an open fire’s warmth and cleanliness while keeping its face.
57. Set a stove in the opening or before the breast
A freestanding stove standing in an enlarged opening or on the hearth before the breast is the makeover’s most honest machine: visible, efficient, and the room’s undeniable warm heart.
58. Convert to gas or electric where the chimney cannot serve
Where the flue is condemned or the household is done with solid fuel, a well-chosen gas or electric fire keeps the fireplace’s ceremony without its labour.
59. Line the flue when the professionals advise it
A liner makes an old, doubtful chimney into a known quantity matched to the new fire.
60. Fit a chimney cowl or cap suited to the new fire
Downdraughts and rain ingress undo many a finished fireplace. The right terminal — chosen for the fire, the flue and the roof’s weather — is a small purchase guarding the whole investment below it.
61. Add a carbon monoxide alarm as part of the project
Any room with a fuel-burning fire earns an alarm, sited per its maker’s guidance and checked like the smoke alarms. It belongs in the makeover’s shopping list between the insert and the mantel clock, without debate.
62. Plan the fuel store into the finished design
Logs, kindling or the gas fire’s remote: the fuel’s daily logistics belong in the makeover’s drawings, in a store sized for a week’s burning beside the hearth.
63. Commission a first-lighting and a lesson
Have the installer light the new fire first, demonstrate its controls and its cleaning, and leave the household its instructions. The makeover ends with competence, not just a photograph.
64. Keep the paperwork: certificates, sweeps and services
Installation certificates, the sweep’s record, the insert’s manual — filed with the house’s papers, they protect warranties, insurance and the next owner’s confidence. The makeover’s least romantic and most grown-up deliverable.
65. Sweep and service on the calendar, not on memory
The finished fireplace’s beauty is maintained by routine: the sweep booked, the stove serviced, the alarm tested. Put them in the household calendar the week the makeover completes, while the intention is warm.
8. Finishing the Makeover: Styling, Light and Living With It
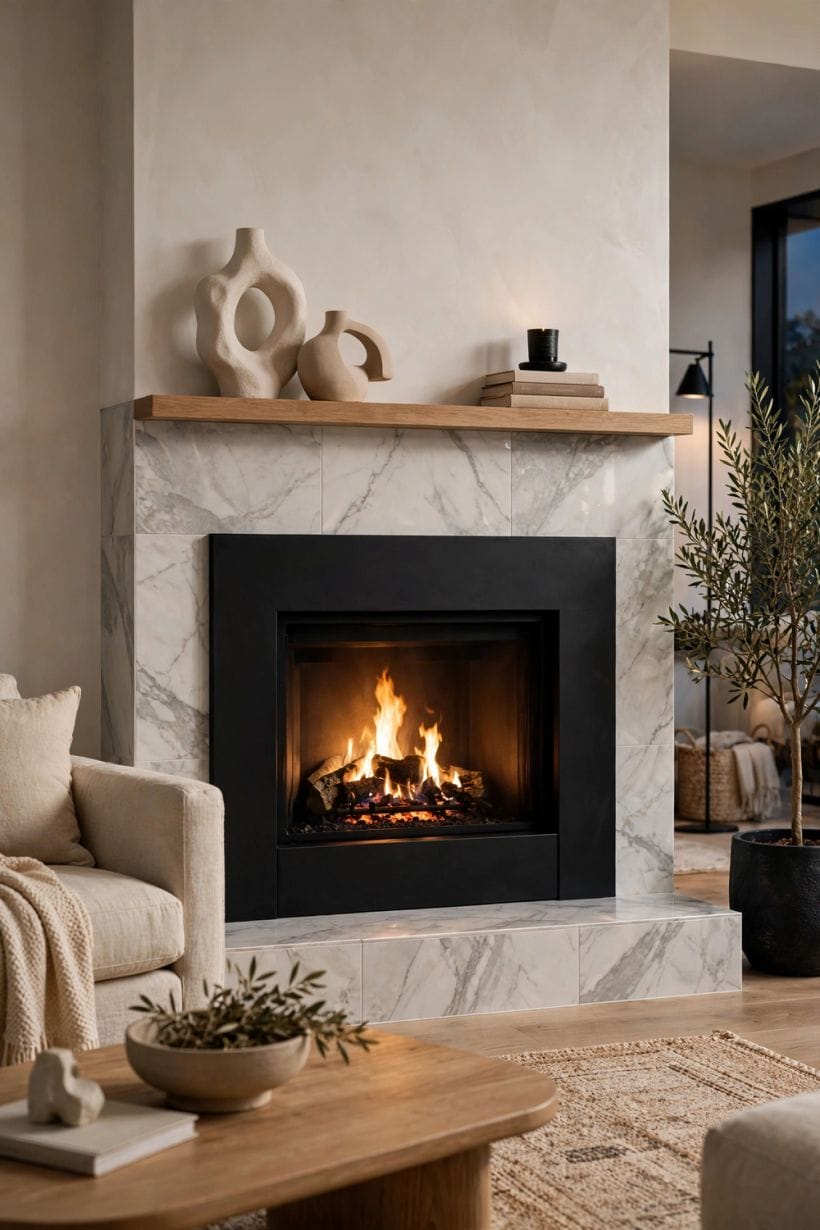
The last ten per cent of a makeover is what the photographs actually show: the mantel dressed, the light composed, the fireside furnished, the room’s other elements agreeing with the new fireplace’s rank. It is also where the project hands over to life — the finished fire must survive toddlers, Christmas and February, not just its unveiling.
66. Dress the new mantel once, decisively
The finished mantel wants one arrangement, chosen for the room’s seated view: height at one end, weight at the other, air between. The fireplace mantel styling page is the deep guide; the rule here is to dress it once and leave it alone to become familiar.
67. Hang the picture the new surround deserves
A makeover changes the wall above the fire’s weather entirely.
68. Re-place the seating to the fire’s new rank
If the makeover promoted the fireplace from embarrassment to focal point, the seating must re-pledge its allegiance: the arc turned, the rug re-angled, the lamps moved to the new composition.
69. Light the finished fireplace for the evening photograph
Lamps low and warm at the seating, a gentle wash on the new surround’s material, the fire itself the brightest thing in the room: the finished lighting scheme should be set once, on a firelit evening, with everything dimmable doing so.
70. Add the fireside’s working furniture
Log store filled, tools handsome and few, the fireside chair in its place, a small table for the drink and the book. The makeover is finished when the fireplace works like a room, not a backdrop.
71. Dress the hearth for the first fire’s ceremony
First fires are remembered. Lay it well, light it at dusk, and let the household be present: the makeover’s completion is an event the room’s people should attend, not discover.
72. Live with it a month before judging the styling
New fireplaces look strange for a fortnight the way new haircuts do.
73. Photograph the after from the same two stations
Doorway and sofa, same hour, same lamps: the honest after photographs that prove the makeover to yourself and everyone who doubted the paint choice. They are also the project’s archive and its applause.
74. Plan the first repaint and refresh before they are needed
Surrounds near a working fire yellow, mark and ash-dust over seasons. Knowing the makeover’s maintenance — a wash, a touch-up, a regrout — keeps it finished-looking for years rather than unveiling-looking for a month.
75. Let the fireplace be used, marked and loved
The makeover’s final test is not perfection but use: scorch-free care, yes, but also the mantel’s evolving clutter, the hearth’s worn sweet spot, the chair that migrates closer.
9. Checks and Mistakes: Before the First Purchase or the First Stone
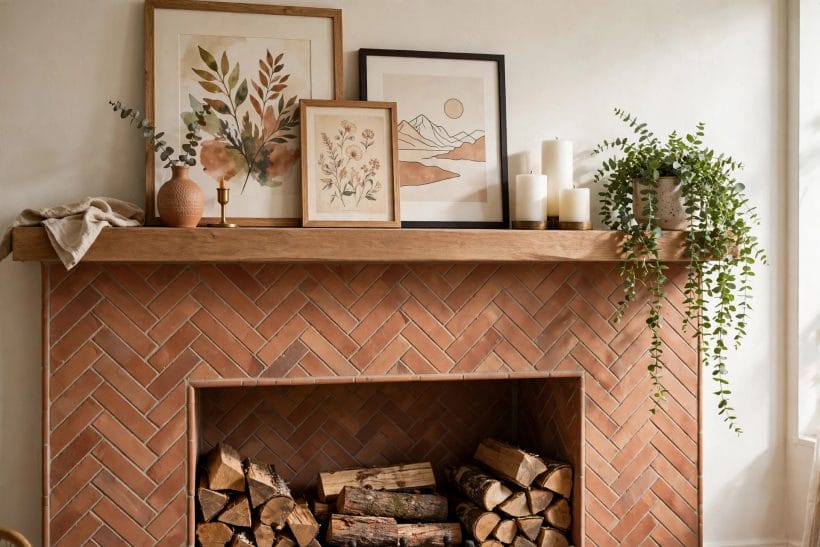
Before spending, run the makeover’s audit in order: the chimney and flue’s professional verdict; the firebox’s condition; the surround’s soundness and the house’s own style; the finished fire’s job description; and only then materials, colours and the mantel’s future. Money spent before the audit is money spent on a guess.
The faithful mistakes: painting fine original material that wanted cleaning; a surround re-faced on its front and abandoned at its returns; an insert bought by its photograph and wrong for the opening; a makeover styled into a harbour the house’s architecture vetoes; the fire itself left unrenewed while its frame was gilded; and the project declared finished before the seating, the light and the summer firebox were dressed.
Two checks stand above the rest. Safety is a professional’s signature — flue, clearances, hearth extent for the new fire, alarms fitted and tested; the maker’s and installer’s guidance outranks every idea on this page, including the attractive ones. And honesty about scope: a cosmetic makeover described as such will delight; the same work pretending to have renewed a dangerous chimney will not be forgiven by the house.
10. Costs and Pulling It Together
Costs arrange themselves in the makeover’s own order: cleaning, paint and styling at the modest end; a new mantel, hearth or tiled re-face in the middle; veneers, inserts, stoves and flue work at the committed end, priced by the trades who will warrant them rather than estimated here. Spend in the audit’s order — chimney first, surface second, styling last — and the budget protects the house before it pleases the eye.
Pulling it together: audit honestly; name the harbour; renew the fire itself before its frame; carry every finish around the returns; dress the mantel once; turn the seating to the finished fire; and light the room for the evening the fire is first lit. The fireplace the house already owned then does what the whole fireplace living room cluster promises — it becomes the room again, in the spirit of the outdoor fires at stacked stone fire pit brought indoors and made permanent.
Final Considerations
Every tired fireplace is two fireplaces: the one the room has been apologising for, and the one a honest audit, a named style and a ordered budget can release. The distance between them is rarely a demolition. It is usually a decision, made in the right order.
Begin with the sweep’s visit and the before photograph. The rest of the makeover — the paint, the stone, the first fire’s ceremony — follows from those two acts of honesty like a story from its first line.


0 Comments