

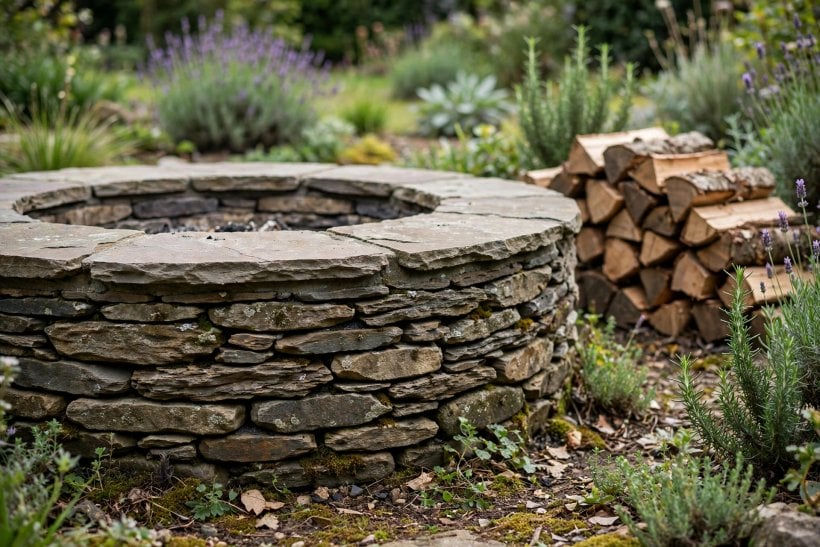
A stacked stone fire pit is the most satisfying build in the garden: no mortar to master, no machinery to hire — just stone chosen well, a base made honestly, and courses laid with patience until a circle stands that looks as if it has always been there.
This guide explains how to build a fire pit in stacked stone in general terms: choosing the place, respecting fire safety, preparing a stable non-combustible base, laying the courses, and finishing the circle well. For the design and picture side — shapes, settings and seating — see its companion fire pit ideas.
1. Stacked Stone Fire Pit at a Glance
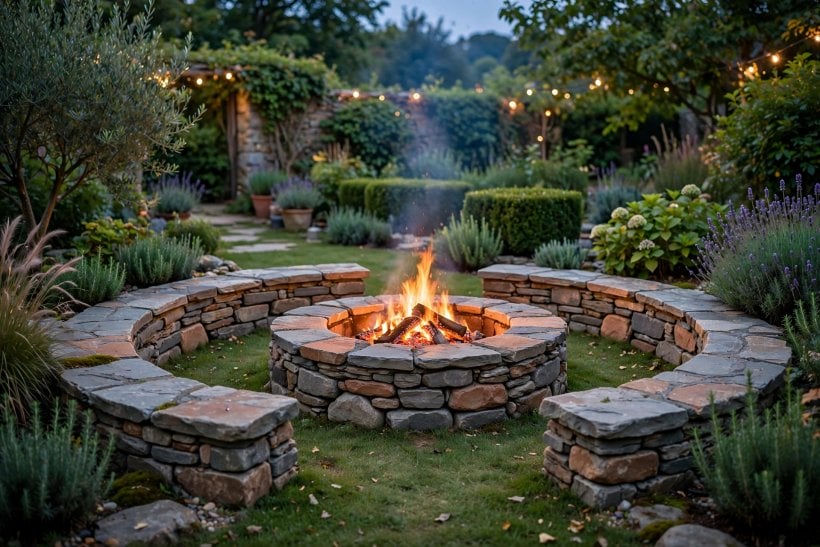
The central entity is the stacked stone fire pit: a dry-laid or lightly bonded ring of natural or manufactured stone forming a contained outdoor hearth, whose attributes are its siting, its base, its stone, its drainage, and the care taken around fire. Built well, it is a permanent garden feature that asks little and gives evenings for years.
| Question | Short answer |
|---|---|
| Is this a beginner’s project? | Yes, in general terms — heavy and slow rather than technically difficult, provided the planning and safety framing below are respected. |
| What matters most? | Siting and the base: a well-chosen spot on a stable, level, non-combustible foundation decides the pit’s whole life. |
| What about rules? | Check the local rules for open fires, permits and any restrictions where you live before building — they vary, and they govern. |
| What is the biggest mistake? | Rushing the base and the first course; every later problem is a first-course problem wearing a disguise. |
2. Is Stacked Stone Right for Your Garden?
Stacked stone suits gardens that want permanence and a natural register: it settles into planting, ages without complaint, and can be taken apart and rebuilt if a garden changes its mind — a forgiveness few built features offer. It asks, in return, for time and lifting. Stone is heavy, courses are slow, and the work rewards a weekend’s patience rather than an afternoon’s sprint. Households wanting instant or portable fire should look at the bowls and tables in fire pit ideas; households wanting a hearth that outlasts them have found their project.
The style also suits a wide range of stone — quarried walling stone, fieldstone gathered or bought, and manufactured stone made for the purpose — provided every piece used near heat is suitable for the job. River rock and unknown decorative stone are not assumed safe around fire; where there is any doubt about a stone’s suitability for heat, choose purpose-made fire-rated materials for the inner lining instead, and let the handsome stone form the outer face. That division of labour — fire does the science, stone does the beauty — is the design’s quiet core.
3. Planning: Place, Size and the Shape of the Circle
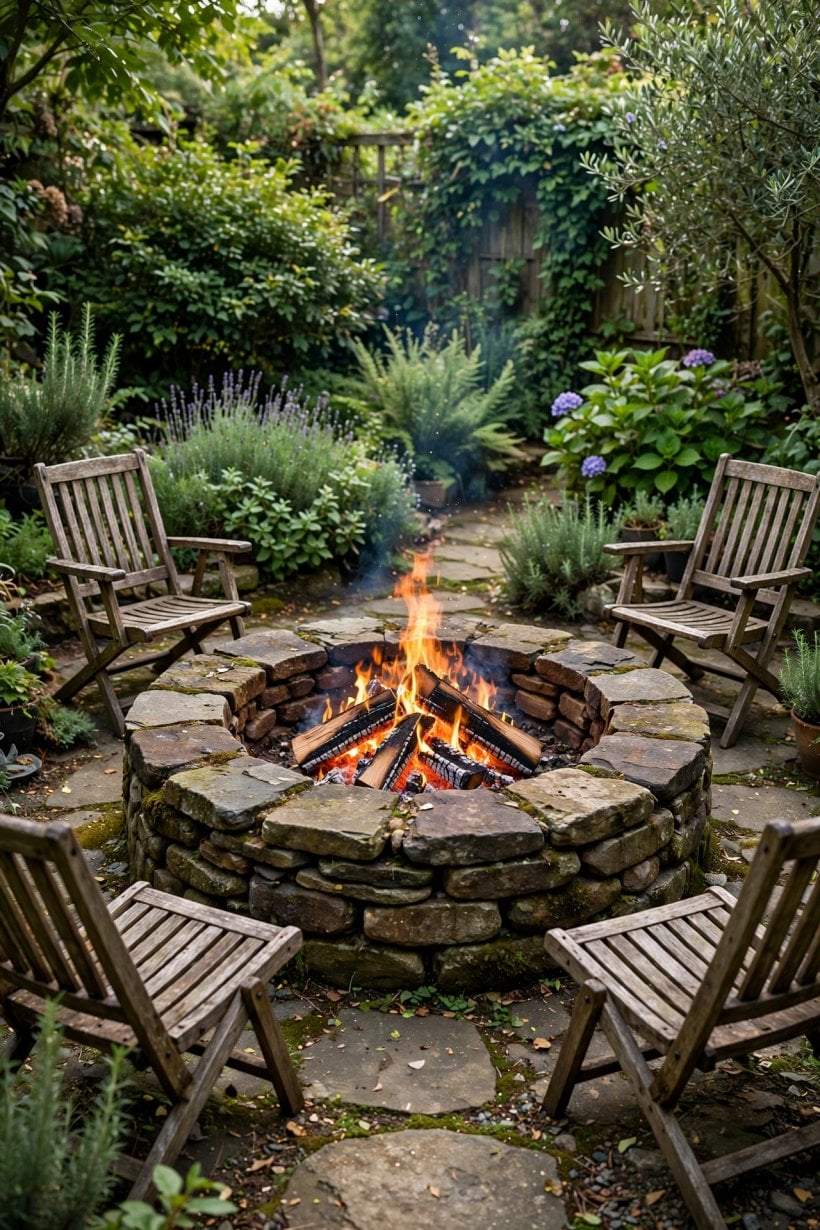
Planning begins with the evening you want. Sit in the garden at dusk and decide where a fire would gather people naturally — where the seating wants to be, where the view from the house flatters it, where the path arrives. Then test that spot against the practical list: level ground or ground that can be made level; drainage that does not turn the site into a pond each winter; and a position that will not fight the garden’s other lives — play, planting, the route to the shed — for the decades the pit will stand.
Size is a social decision before it is a construction one. The pit must be large enough to hold a real fire and small enough that a circle of chairs around it still feels intimate, with the seating planned as part of the same drawing — the circle compositions in fire pit seating in natural materials show the proportions working in practice. Draw the whole feature — pit, surround and seating — on the ground with a hose or rope before a single stone is ordered, and live with the drawing for a day or two. Gardens forgive redrawn plans; they charge for rebuilt stone.
Shape deserves the same honesty. A round pit is the natural stacked-stone form — it is how dry stone wants to stand, it seats a circle evenly, and it suits the informal gardens this material belongs to. Square and rectangular stacked pits are possible where a formal garden demands them, but their corners are the build’s hardest work and its weakest points, asking for the most careful stone selection at exactly the places the eye visits first. Most first-time builders who choose the circle are not taking the easy option; they are taking the option stone itself recommends.
4. Fire Safety, Stated Generally and Taken Seriously
This section is deliberately general, because fire safety is governed locally and specifically — by your area’s rules, your property’s conditions and common sense applied to both. No figures are stated here as code, because codes differ; obtain yours before building and follow them over anything this guide suggests.
First, clearances: a fire pit belongs well away from structures, fences, overhanging branches, stored fuel and anything combustible, with a surround of non-combustible ground — stone, gravel or similar — between the fire and the garden’s softer materials. Second, the base and setting must be stable and non-combustible, so the pit cannot tip, settle unevenly or pass its heat into anything that can burn. Third, check local rules: many places govern open fires with setbacks, seasonal bans, permit requirements or outright restrictions, and some properties carry their own covenants; a short enquiry before building is part of the project, not paperwork after it.
Finally, plan the fire’s whole life, not just its building: where dry fuel will be stored away from the pit’s sparks, how water or another extinguishing method will always be within reach during use, how children and pets will be kept at the seating’s distance rather than the fire’s, and how the pit will be confirmed fully out before the household sleeps. A stacked stone pit built with that framing — clearances respected, base honest, rules checked, use planned — is the garden’s safest pleasure as well as its warmest.
5. Materials and Tools, in General Terms
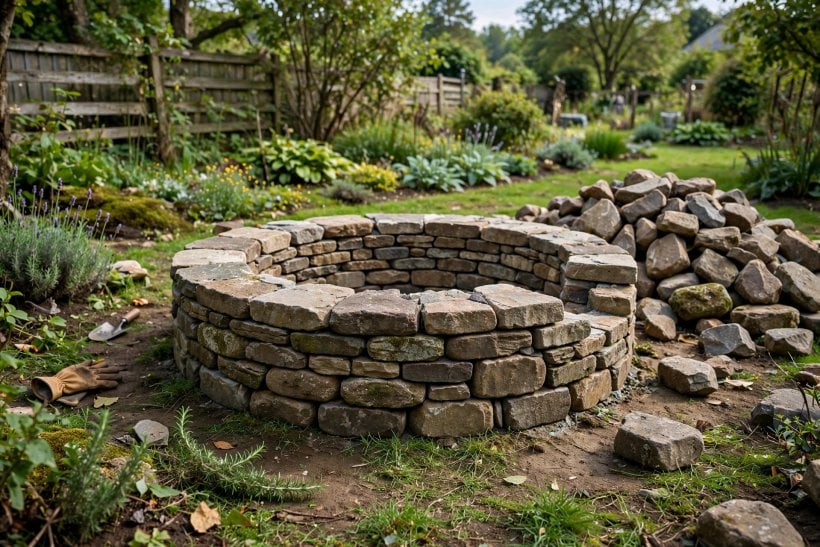
The material list is short. Stone for the walling — chosen for flat-ish faces and a range of sizes, with the longest, flattest pieces reserved for the cap. A fire-suitable inner lining where the stone’s heat tolerance is in any doubt — purpose-made fire brick or a steel liner ring are the common answers. Material for the base and surround: a stable, non-combustible foundation layer and a ground finish such as gravel or stone that keeps the seating area clean and the pit’s footing dry. And inside the pit, a floor that drains — the pit must never become a stone bucket that holds water against its own footings.
Tools are the garden’s usual heavy kit: spade and rake for preparation, a tamper for firming the base, a level and string for truth, a mallet for settling stones, gloves equal to the stone’s edges, and a wheelbarrow whose importance will be understood by the second hour. Sort the stone before building — by size, by shape, by beauty — and the laying that follows becomes a selection exercise instead of a search through a pile. The finishing touches live with the setting: seating, a log store, and the surround planting planned in backyard landscaping ideas.
6. Preparing the Site and the Base
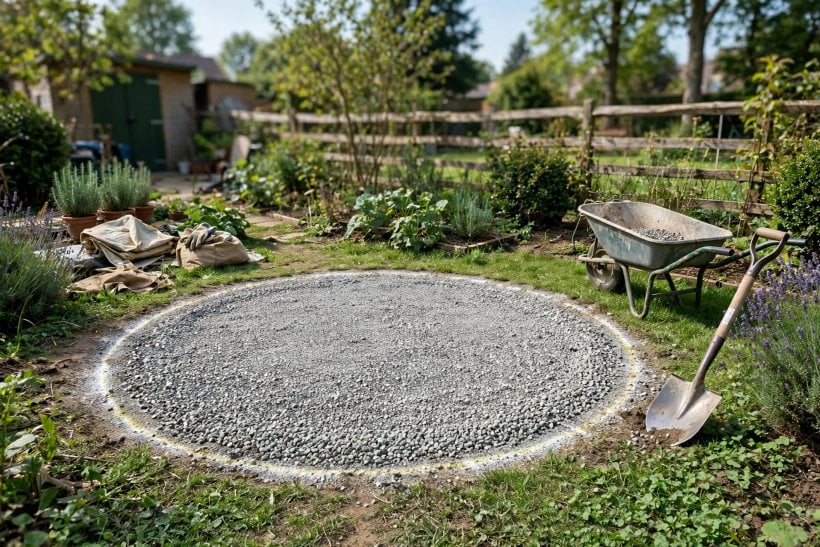
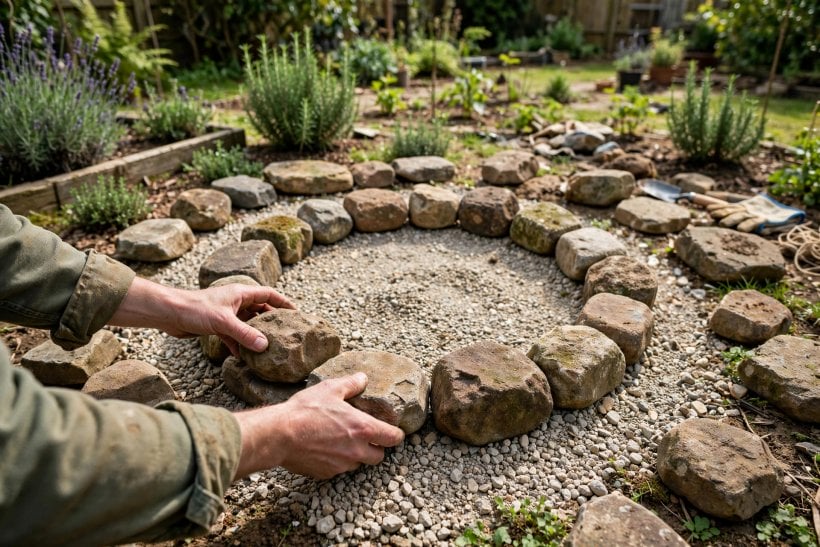
Every good stone feature is won or lost underground. Clear the site of turf, roots and soft topsoil down to firm ground. Mark the circle truly — a centre peg, a string, a line of sand or paint — because the eye cannot judge a circle from inside it. Level the site honestly, checking in every direction; a pit that begins tilted ends tilted, and stone does not forgive a slope it was asked to hide.
Lay the base as a stable, non-combustible foundation: a compacted layer of suitable hardcore or gravel-type material, firmed in stages and checked for level as it builds, wide enough to carry the wall and give the builder standing room. Within the circle, prepare the pit’s own floor so water escapes rather than gathers. Take time here beyond what feels reasonable. The base is invisible in every photograph of the finished pit and present in every year of its life — stone laid on a true, firm, draining base simply stands, while stone laid on a hurried one begins its slow argument with gravity the first winter.
7. Building the Wall: Courses, in General Terms

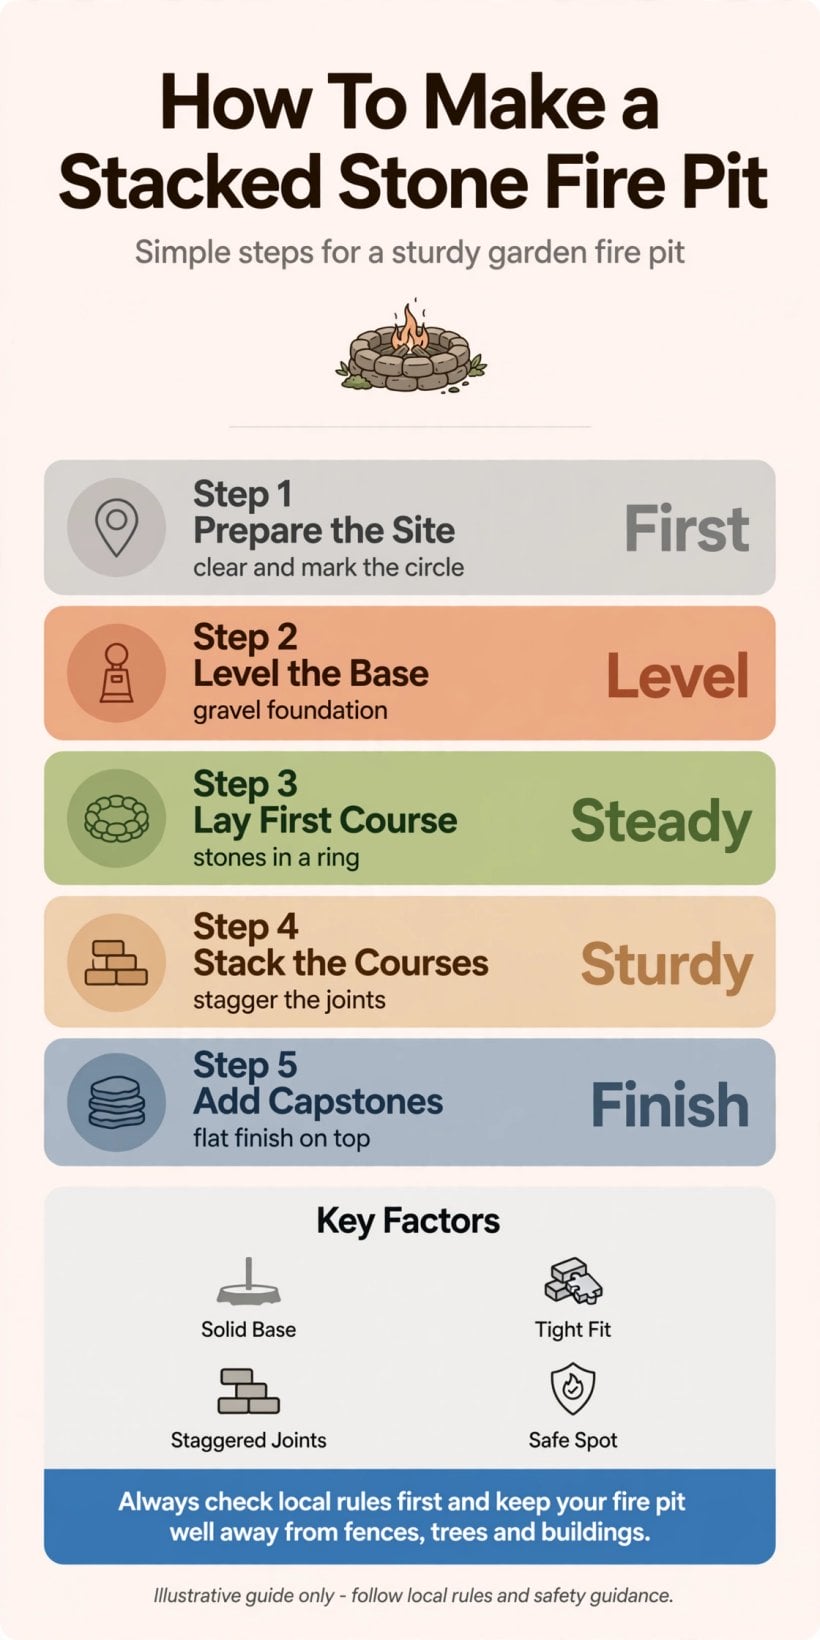
With the base true, the building becomes a patient, satisfying rhythm. Work through the steps as a sequence, checking as you go:
Step 1. Lay the First Course Like It Is the Only One
Set the largest, flattest stones in a full circle on the base, faces out, butted closely, and check level all the way round. Adjust with firm packing beneath, never with hope. The first course is the template every other course obeys.
Step 2. Stagger Every Joint
Lay the second course so each stone bridges the joint below it, as bricklayers have always done. Staggered joints are the dry wall’s strength: no continuous crack for the wall to think along.
Step 3. Keep the Best Faces Outward
Turn each stone until its handsomest, flattest face shows, and let the uneven faces hide inside the wall’s thickness. Work a full course at a time, stepping back often to read the circle as a whole.
Step 4. Pack the Heart of the Wall
Fill the wall’s middle with smaller stones packed firmly as courses rise. A wall that is two pretty faces and a hollow heart will move; a packed heart makes the ring behave as one piece of masonry.
Step 5. Mind the Inner Face and the Lining
Keep the inner face reasonably true as courses rise, and fit the fire-suitable lining — where one is used — as the wall grows, so stone and lining finish as one structure rather than strangers introduced at the end.
Step 6. Check Circle and Level at Every Course
String from the centre peg, level across the top, eye down the face: three checks, every course, taking a minute. Errors caught at course two are adjustments; caught at course six, they are archaeology.
Step 7. Cap the Wall With the Longest, Flattest Stones
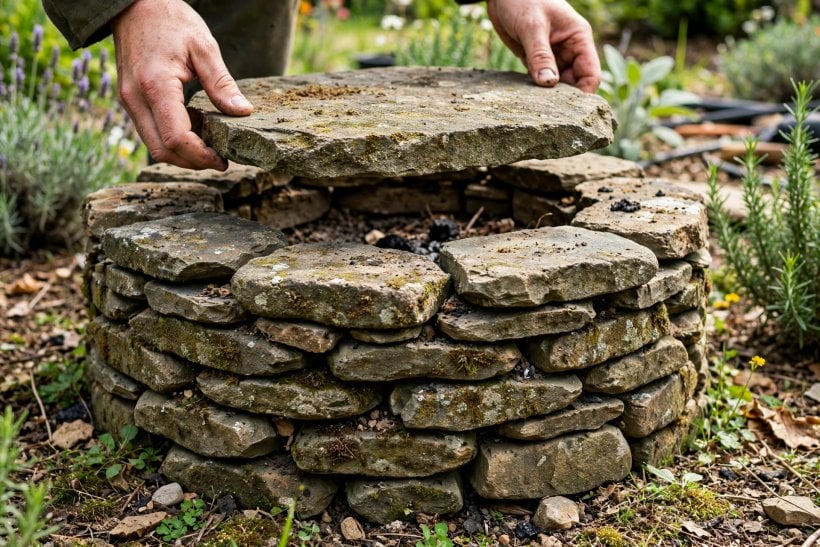
Finish with a cap course of the best stones reserved at sorting — long pieces bridging joints, overhanging slightly, settled firmly. The cap is the pit’s rim, its seat-edge, its photograph line: choose it like it matters, because in every picture it does.
Step 8. Finish the Surround and the Floor
Lay the surround’s non-combustible ground finish up to the wall, firm the pit’s draining floor, and clear every loose offcut from the area. Then stand back. A well-built circle announces itself — even, settled, and looking older than its afternoon.
8. Finishing, First Fire and Looking After It
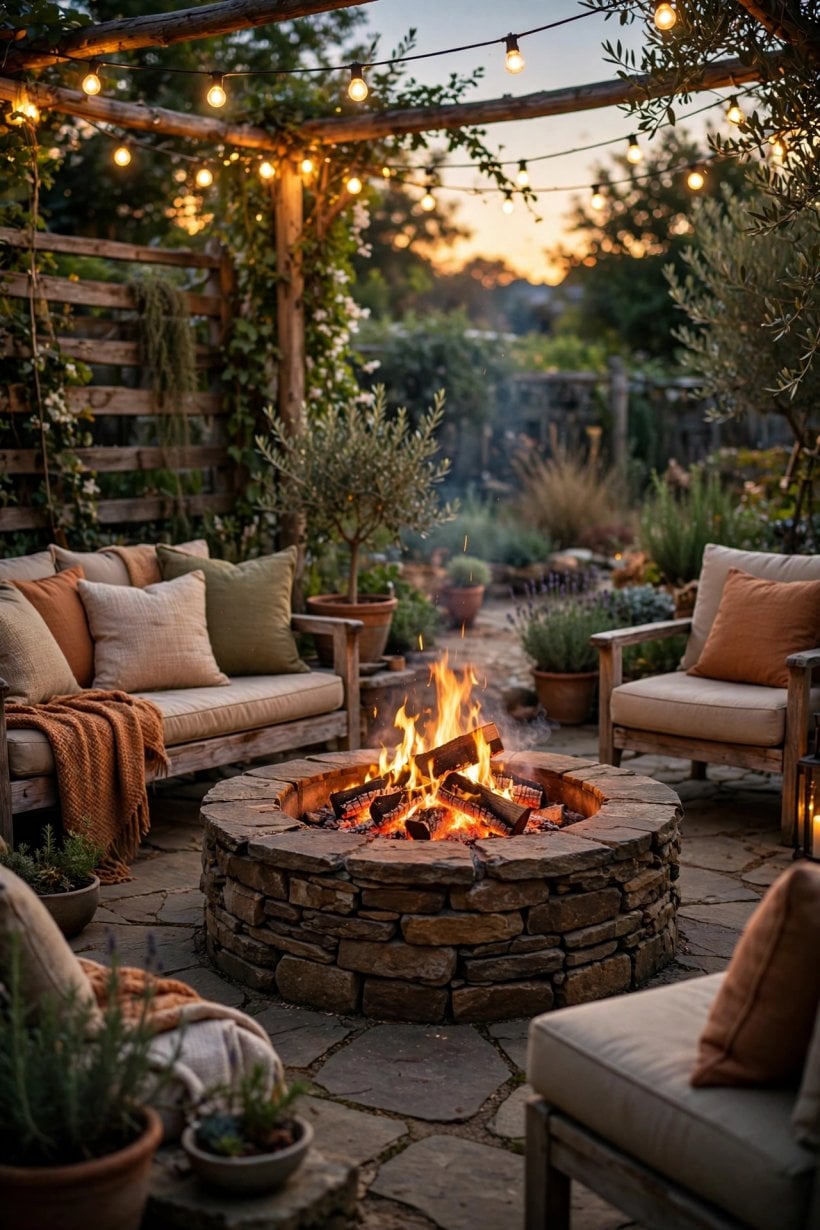
Let the finished pit settle, then walk the circle and press-test stones with a hand and a boot; a stone that rocks is re-seated now, kindly, before heat and weather make the conversation harder. Arrange the seating at the distance your planning drew, set the log store in its planned place away from sparks, and put the water or extinguishing method where §4 promised it would live.
The first fire should be small — a gentle christening rather than a bonfire — while the household learns its new hearth: how it draws, where its smoke travels on a still evening, where the seats want to move to. Looking after a stacked stone pit thereafter is mostly tidiness: ash removed when fully cold and disposed of safely, the surround kept clear of leaves and combustible clutter, the cap stones checked each spring for winter movement and re-seated as needed, and the drainage kept open so the pit never sits in water. Stone asks so little that giving it this much feels like gratitude rather than maintenance — the small-care ethos garden shed ideas applies to the garden’s other structures.
The seasons add their own short list. Spring is for the check already described — cap stones, drainage, any frost movement quietly corrected. Summer asks only that the surround stay clear and the log store stay stocked and dry. Autumn is the working season: leaves kept out of the pit and off the surround, because a fire feature surrounded by dry leaves has had its safety framing undone by tidiness neglected. Winter, in cold gardens, is for leaving the pit drained and, where the household prefers, covered — stone that sits dry through the freeze-thaw months ages far more gracefully than stone that sits wet.
9. Checks and Mistakes: What Goes Wrong and How It Is Avoided
Check, before building: the local rules and any permits; the site’s drainage on a wet day, not a dry one; the stone’s suitability for heat, with a proper lining wherever doubt exists; and the full drawing — pit, surround, seating, log store — marked on the ground and lived with. Check, during building: level and circle at every course, joints staggered, heart packed. Then the mistakes, which are reliable: a base skimped because it would not show; decorative stone trusted near flame without question; joints stacked in continuous lines that invite movement; a pit built where the smoke’s evening route crosses the seating; combustible clutter allowed to colonise the surround; and water left standing in the pit through winter. Every one is avoided by the same unglamorous virtues — a true base, staggered courses, honest materials and clearances respected — applied slowly, once.
10. Costs and Pulling It Together
Costs divide into stone, base and time, and they behave unusually kindly. Stone is the headline band, varying with whether it is bought new, bought as reclaimed walling, or already on the property — and with the pit’s size far less than with the stone’s character. The base and surround form a modest second band of bulk materials. Tools are mostly borrowed from the garden’s own kit. The third band is time: a stacked stone pit is one of the few garden features whose main ingredient is the builder’s own weekend, which is precisely why it feels so owned when it is finished.
Pull the project together in order: rules checked and site chosen by the evening test; the whole feature drawn on the ground; stone sorted with cap pieces reserved; base dug, firmed, levelled and draining; courses laid with staggered joints and a packed heart; lining fitted as the wall rose; cap set; surround finished; and the first, small fire lit with the extinguishing method standing by. Built in that order, how to build a fire pit stops being a question the internet answers and becomes a circle of stone in your own garden — with patio ideas and the seating circle ready to complete the room around it, and the compact-garden lessons of small backyard rockscaping there for tight plots.
Final Considerations
A stacked stone fire pit is a promise made in the garden’s most permanent material: evenings will happen here. Keep the promise honestly — a well-chosen site, clearances and local rules respected, a true non-combustible base, stone laid with staggered patience — and the feature will repay it for decades.
Build slowly, check often, and let the first fire be small. By the second, the circle will already feel like the oldest thing in the garden, which is exactly what great stone work is supposed to feel like.


0 Comments