

A good wooded garden never looks planted all at once. It looks settled — tall trees overhead, soft planting underneath, a path that knows where it is going and a clearing where the light finally lands.
Getting there is mostly about restraint. Keep what the site already does well, add layers in the right places, and let native planting, natural materials and simple care do the rest.
1. Forest Landscape at a Glance
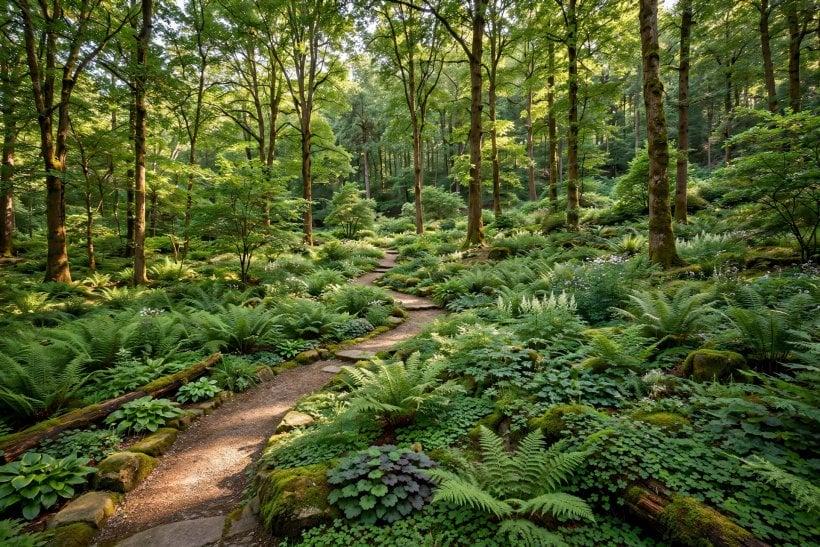
A forest landscape is a garden built around trees rather than against them: a tall canopy, a middle layer of small trees and shrubs, and a living floor of ferns, groundcover and leaf litter, held together by winding paths and small clearings. Native planting does most of the work, shade is treated as an asset, and fallen wood, stone and water are kept as habitat instead of tidied away.
| What defines the style? | Layered planting under existing trees — canopy, understorey and groundcover — with natural materials, curved paths and clearings that feel discovered rather than built. |
| Which plants belong? | Species native to your area and matched to the soil and light you actually have: canopy trees, flowering understorey shrubs, ferns, woodland perennials and shade-tolerant groundcover. |
| How much sun does it get? | Mostly dappled shade under the canopy, with brighter clearings and edges. Planting is chosen for those conditions instead of fighting them with constant watering and feeding. |
| Is it high maintenance? | No, once established. Native layers suppress weeds, leaf litter feeds the soil, and care is seasonal and light: mulch, path upkeep, safety checks and occasional thinning. |
| Does it suit a small plot? | Yes. Even a few mature trees, one path and a small clearing can carry the whole effect, especially around a cabin or compact home where the garden is seen up close. |
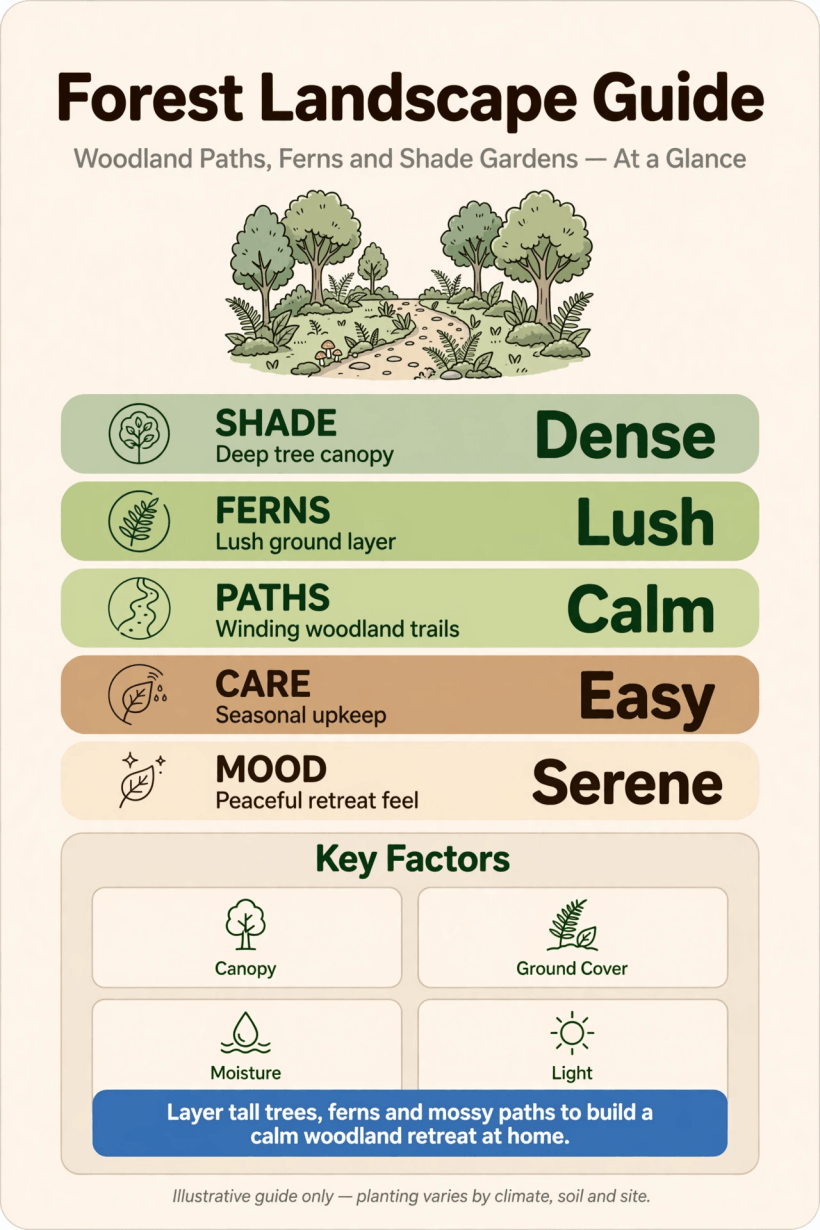
At a glance: keep the trees, plant in layers, path lightly, open small clearings, and let leaf litter, logs and native planting hold the whole woodland together.
2. Start With the Site: Reading Light, Soil and Existing Trees
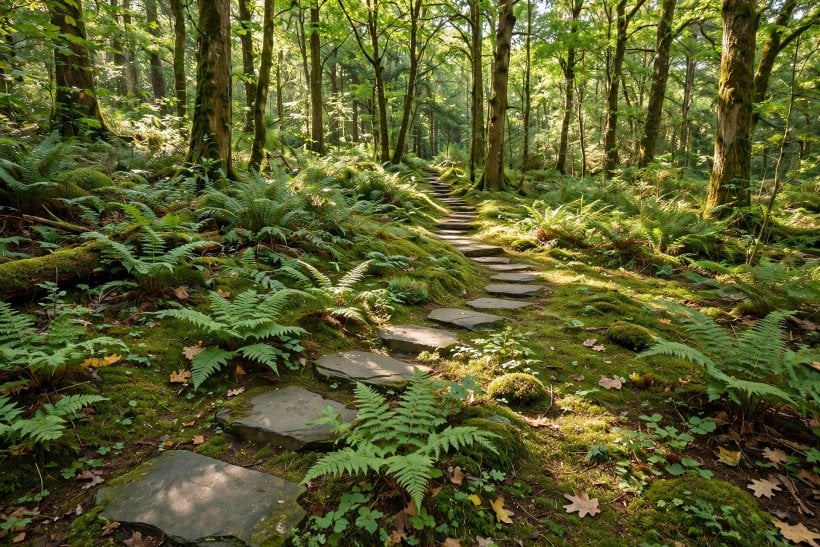
Every decision later depends on this first reading of the ground. The same principles behind tiny house landscaping ideas for compact plots apply in the woods at any scale: work with the shade, slope and soil already present, keep access simple, and let the existing trees set the structure before a single new plant is ordered.
1. Walk the Site in Different Seasons Before You Plant
Visit the plot wet and dry, in leaf and out of leaf, before fixing any layout. Note where puddles linger after rain, where frost settles, which corners stay dark all day and where low winter sun still reaches. A scheme drawn from one summer afternoon will miss half of this, and the mistakes — a path through a bog, seating in permanent gloom — are awkward to undo later.
2. Map Shade, Wet Ground and Root Zones on Paper
Sketch a simple plan showing the canopy spread of each tree, the damp and dry areas, slopes, and the shallow root zones you should not dig or compact. Mark where people actually walk now, because desire lines usually reveal the most natural path routes. This one drawing becomes the reference for planting, drainage and seating, and it stops good intentions from damaging the trees the garden depends on.
3. Keep Healthy Mature Trees as Your Framework
A mature tree is decades of structure you cannot buy. Unless a tree is diseased, dangerous or crowding out everything else, design around it: give its roots room, keep grade changes and stored materials away from the trunk, and let its canopy decide where shade planting and clearings belong. Removing a sound tree to gain a little lawn almost always leaves a hotter, emptier and less private plot.
4. Test the Soil and Match Plants to What You Find
Woodland soils are often acidic, thin and full of roots, and they vary across a single plot. Dig a few test holes, feel the texture, check how fast water drains, and note where leaf litter has built richer ground. Then choose plants that suit each patch rather than amending the whole site. Plants matched to real soil settle faster, need less feeding and watering, and look natural sooner.
3. Plant in Layers: Canopy, Understorey and Groundcover
A real woodland is not trees with plants underneath; it is distinct layers, each occupying its own height and light level. Copying that structure is what makes a planted garden read as woodland within a few seasons. Build from the top down — canopy first, understorey second, floor last — and keep each layer a little looser than feels tidy, because softness is the whole effect.
5. Keep the Tall Canopy Light and Layered
The canopy sets the light for everything below, so manage it gently. Remove dead or crossing branches for safety, lift the lowest limbs where a path or clearing needs headroom, and thin sparingly if one tree is starving the rest of light. Avoid hard, uniform pruning: a varied canopy edge, with trees of different heights and ages, casts the moving, dappled shade that woodland plants evolved for.
6. Fill the Understorey With Small Trees and Large Shrubs
The middle layer does the visual heavy lifting. Small trees and large shrubs — the flowering, fruiting, autumn-colour layer — screen boundaries, frame views along paths and give birds food and cover at reachable height. Plant them in loose groups rather than a solid wall, leaving glimpses through to trunks and clearings beyond. That partial screening is what makes a modest plot feel deep and quietly mysterious.
7. Use the Shrub Layer to Soften Edges Without Closing Views
Where paths bend and clearings open, low and medium shrubs soften the transition between open ground and dense planting. Feather them out in decreasing heights towards the edge, repeat the same few species so the planting reads as one community, and keep gaps where a view, a log seat or a drift of ferns deserves to be seen. Edges should feel gathered, never clipped into a green fence.
8. Carpet the Floor With Shade-Tolerant Groundcover
Bare soil under trees quickly turns to mud, weeds or dust, so give the floor a living finish. Shade-tolerant groundcover, ferns and spreading perennials knit together over time, protect roots, hold moisture and suppress weeds far better than repeated mulching alone. Plant in generous drifts following the shade pattern, water only while they establish, and let fallen leaves settle into the planting each autumn as free feed.
4. Native Planting That Belongs to the Place
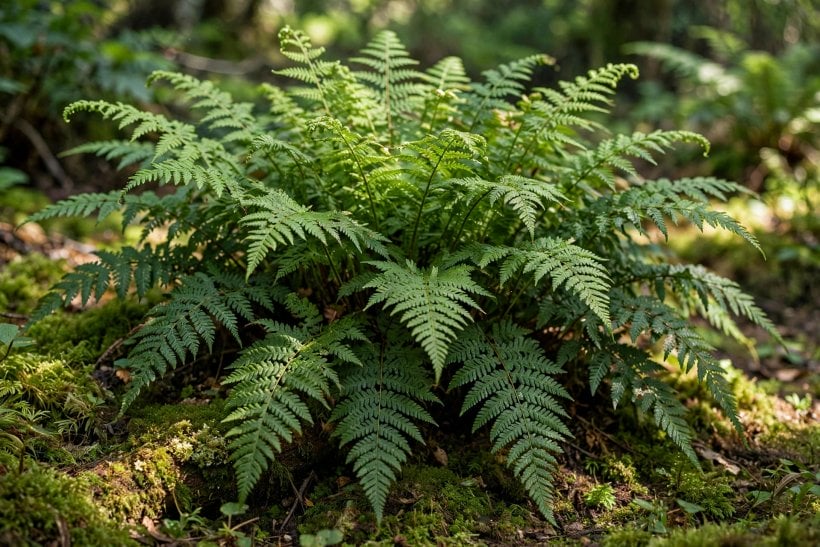
Native planting is the practical core of the whole approach, not a stylistic extra. Plants that evolved locally already suit the soil, rainfall and shade, and they feed the insects and birds that make a woodland feel alive. Guidance on choosing native plants suited to tough, free-draining spots makes the same underlying point: the right local plant in the right place asks for remarkably little once it has settled in.
9. Choose Native Trees First for Long-Term Fit
Any tree you plant is a thirty-year decision, so start with species native to your region and suited to your soil and available space. Check the mature height and spread honestly, plant well away from buildings, drains and paths, and favour a mix of species rather than a single type, so one pest or dry summer cannot take the whole canopy. Young native trees establish quickly and support far more wildlife than ornamental imports.
10. Add Native Shrubs for Flowers, Fruit and Cover
Native shrubs give the understorey its seasonal rhythm: blossom for pollinators in spring, fruit and berries for birds later, and dense cover for nesting and shelter all year. Choose a small palette whose seasons overlap, plant in groups of three or more so pollinators can find them easily, and resist pruning them into balls — their natural, arching shapes are what make the planting feel woodland rather than suburban.
11. Plant Ferns, Grasses and Woodland Perennials in Drifts
At ground level, repetition matters more than variety. Long drifts of one fern, a sweep of shade grass, colonies of spring woodland flowers — these read as nature, where one of everything reads as a collection. Place spring bulbs and early perennials where winter and spring light reaches before the canopy closes, and summer foliage plants in the deeper shade, so each patch of floor has its own season of interest.
12. Group Plants by Moisture and Light Needs
Plant communities fail when thirsty and drought-tolerant species are mixed in one bed. Group instead by the conditions each area actually offers: moisture-loving plants in the damp hollow and beside any water, dry-shade plants under dense evergreen canopy and against walls, and the hungriest feeders where leaf litter runs deepest. Grouped this way, watering, mulching and troubleshooting stay simple, and each group establishes as a self-supporting patch.
5. Paths That Lead Without Damaging Roots
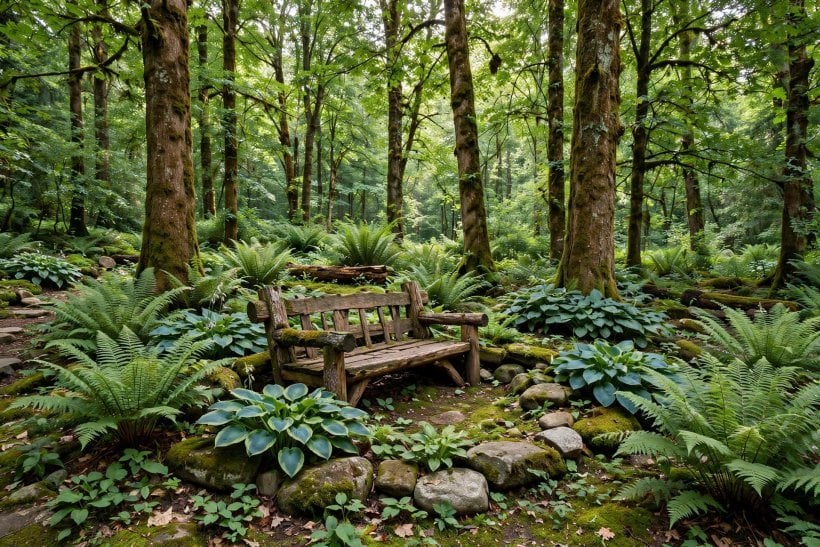
Paths are how a wooded plot becomes usable rather than merely admired. They protect roots and groundcover from trampling, keep feet dry, and quietly choreograph what visitors see and in what order. The route planning in collections of backyard landscaping ideas for everyday family plots translates directly here, with one woodland addition: the surface must sit lightly on the ground, because the roots below matter more than the path itself.
13. Lay the Main Path on the Driest, Firmest Line
Choose the route the land suggests: along contours rather than straight down slopes, through naturally drier ground, and between trees rather than tight against trunks. A slightly longer, curving route on firm ground will outlast a direct line through a wet hollow every time. Walk the route in wet weather before committing — if your boots sink there in March, no surface material will fully rescue it.
14. Surface Paths Lightly Over Roots
Where a path crosses root zones, build up rather than digging down. Bark chip, coarse gravel on a permeable base, or wide stepping stones bedded on sand all spread weight and let air and water reach the roots. Avoid solid concrete and deep excavated foundations near trees. Bark and gravel also suit the setting visually, are easy to top up, and can be lifted and relaid if a route needs adjusting.
15. Keep Paths Narrow, Curved and Low-Impact
A woodland path should feel like a trail, not a pavement. Keep it just wide enough for comfortable walking, let it bend out of sight so the garden unfolds in stages, and edge it loosely with logs, stone or planting rather than hard kerbs. Narrow, informal paths cost less material, disturb less ground and preserve the sense of exploration that makes even a small wooded garden feel like a much larger place.
16. Add Simple Steps or a Boardwalk Over Difficult Ground
Steep banks and boggy patches do not need to block a route. Wide timber or stone steps, dug in shallowly and backfilled with gravel, make slopes safe without retaining walls, while a short raised boardwalk crosses wet ground without damming it or churning it into mud. Keep structures simple, slip-resistant and repairable in sections, and check fixings and surfaces each year as part of routine care.
6. Clearings, Edges and Places to Sit
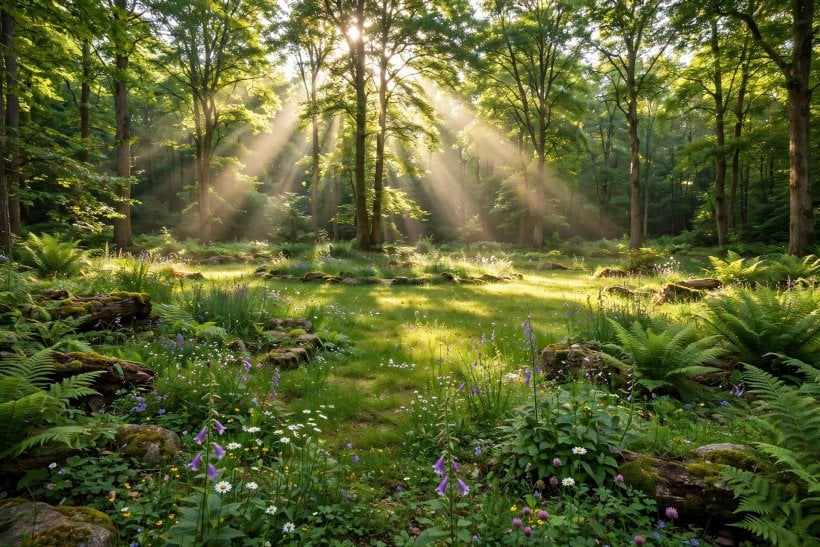
A garden of unbroken shade can feel heavy, which is why clearings matter so much. One or two small openings bring in light for flowering plants, give people somewhere to sit in the sun, and create the contrast that makes the surrounding shade feel cool and inviting. Keep clearings modest and few — their power comes from being the exception, discovered at the end of a shaded path.
17. Open One Small Clearing for Sitting and Light
Start with a single clearing, sized for its job: room for a bench and a small table, or a patch of sun-loving planting, and no more. Create it by thinning understorey and lifting canopy edges rather than felling mature trees. A modest opening keeps its sheltered, glade-like character, warms quickly in spring sun, and leaves the rest of the plot feeling properly wooded rather than gradually suburbanised.
18. Shape Clearing Edges With Planting, Not Hard Lines
The edge of a clearing should be the richest planting in the garden, because it gets both light and shelter. Layer it: flowering shrubs at the back, perennials and grasses in front, groundcover at the feet. Let the boundary bulge and retreat irregularly instead of following a neat circle or straight line. That scalloped, planted edge feeds pollinators, hides the clearing until you reach it, and avoids any hint of a lawn dropped into the trees.
19. Place Seating Where Shade and View Meet
The best seat in a wooded garden sits at an edge: back in the shade, face to the light. A simple log bench, a pair of sturdy chairs or a hammock between two sound trees all work better than formal furniture. Face the seat along a path, across a clearing or towards water so there is something to watch — birds, moving shade, weather crossing the canopy — and keep a small, firm, well-drained patch beneath it.
20. Keep One Quiet Corner Completely Undisturbed
Reserve a corner where nobody walks, sits or tidies. No path, no lighting, no planting plan — just existing trees, fallen wood and whatever colonises naturally. Undisturbed ground is increasingly rare in gardens and disproportionately valuable: fungi, invertebrates, amphibians and ground-nesting birds all depend on it. It also disciplines the rest of the design, because everything you remove from elsewhere in the name of tidiness has one honest place to go.
7. Water, Shade and Wildlife Habitat
Water and habitat turn a pleasant wooded garden into a living one. Even a small pond or damp hollow brings dragonflies, birds and amphibians, while logs, stone and undisturbed litter quietly house far more life than any feature you can buy. A dedicated wildlife-friendly garden plan covers the wider habitat picture; here the focus is on fitting those elements naturally into shade, slope and existing drainage.
21. Add a Shallow Pond, Birdbath or Damp Hollow
Water does not need to be large to be valuable. A small pond with gently sloping edges in a natural low spot, a stone birdbath near a clearing, or simply a damp hollow left unplanted and undrained each gives wildlife drinking, breeding and feeding space. Keep at least one shallow edge so animals can climb out, avoid steep liners and hard edging, and let marginal planting soften the rim.
22. Guide Runoff With a Dry Creek or Shallow Swale
Where roofs and paths shed water, give it a slow, visible route instead of letting it carve its own. A shallow swale or a stone-lined dry bed, following the lines explored in guides to a river rock dry creek bed for drainage, slows runoff, protects paths and tops up damp habitat areas. Keep gradients gentle, plant the banks, and check after heavy rain that water goes where you intended.
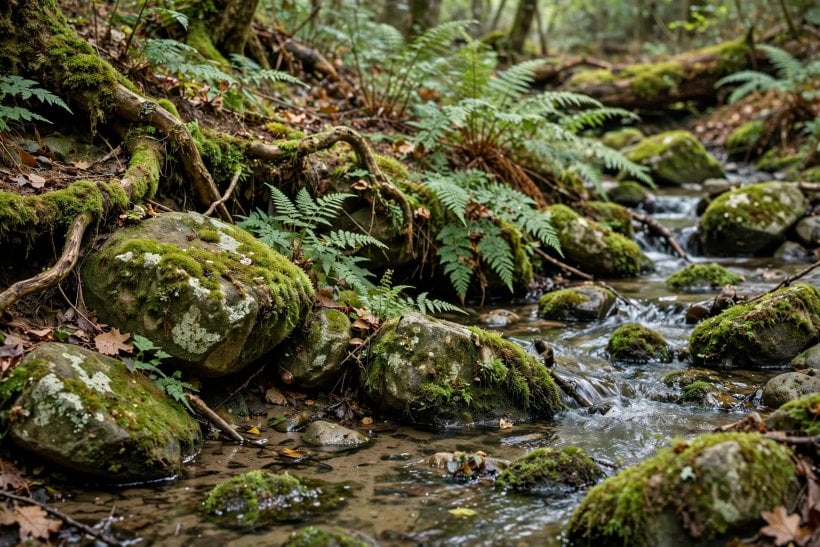
23. Keep Fallen Logs and Stone Piles as Habitat
A fallen tree is not a problem to clear; it is furniture for half the woodland. The habitat value described in guides to fallen log landscaping with nurse logs and wildlife habitat applies in any wooded garden: leave sound logs where they fall when safe, stack cut timber in a shady pile, and add a loose stone pile in a quiet corner. Together they shelter insects, fungi, amphibians and small mammals for years.
24. Plant for Food and Shelter Through the Whole Year
Habitat planting works when the seasons join up. Aim for blossom from early spring onwards, fruit and seed through autumn, and evergreen or dense structure for winter shelter, with no long gaps where nothing is on offer. Leave seed heads standing over winter instead of cutting everything back in autumn, delay heavy tidying until spring, and keep garden lighting low and localised so night wildlife can still use the plot.
8. Practical Details: Edging, Mulch, Stone and Timber
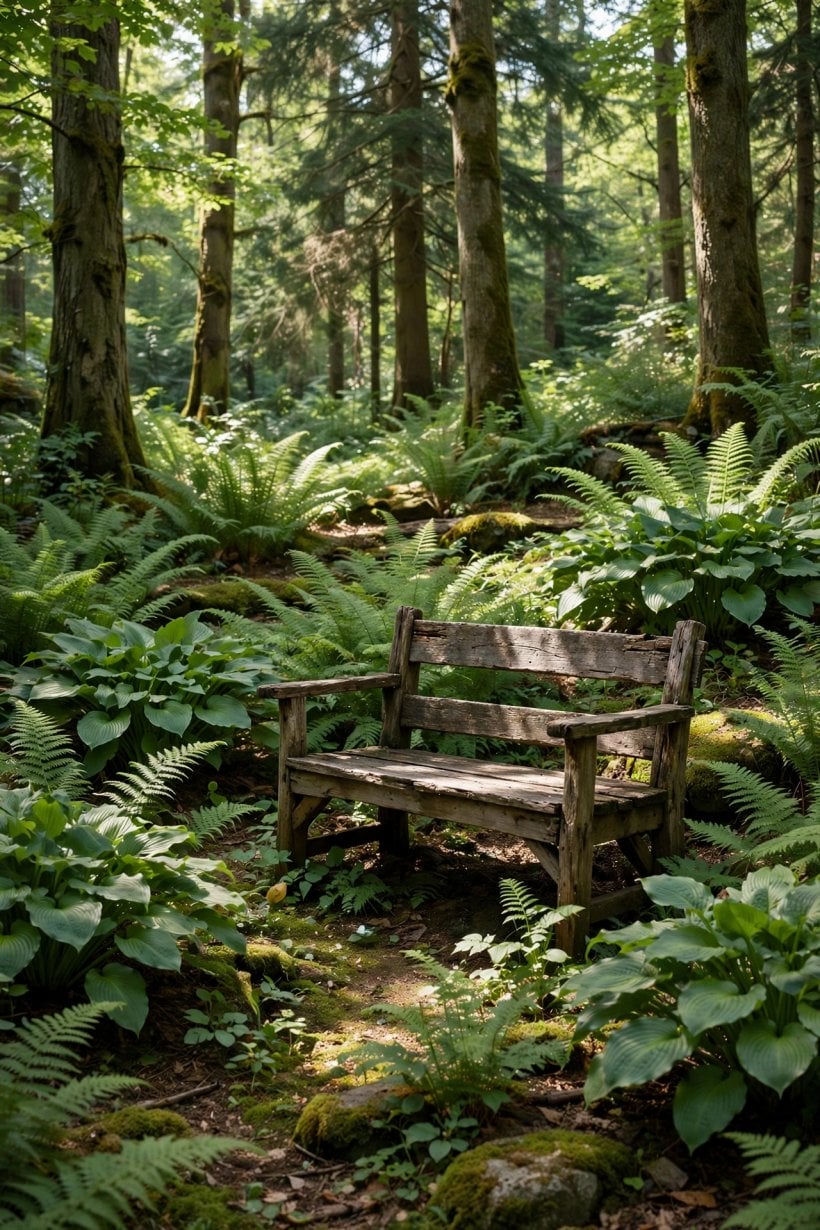
The details that finish a wooded garden are deliberately humble: edging you barely notice, mulch that imitates the woodland floor, and stone and timber used where their weight and durability earn their place. Hard landscaping here should look gathered from the site, not delivered to it, and the material choices in guides to rock landscaping ideas with natural stone show how far a few well-placed pieces go compared with a load of small, scattered decoration.
25. Edge Beds and Paths With Stone, Logs or Low Hurdles
Edging keeps mulch on beds, gravel on paths and planting in its intended drifts. Use what suits the setting: a single line of chunky stone, half-buried log rounds, or low woven hurdles along a clearing edge. Keep edging low and slightly irregular, and skip plastic and metal strips, which look wrong in woodland and heave in frost. A soft, natural edge also forgives the gradual creep of groundcover across it.
26. Mulch Deeply With Leaf Mould, Bark or Woodchip
Mulch is the woodland floor, imitated on purpose. A generous layer of leaf mould, composted bark or ramial woodchip suppresses weeds, holds moisture through dry spells, protects roots from temperature swings and feeds soil life as it rots down. Keep it a hand’s width away from trunks and stems, top it up little and often rather than in one deep annual dump, and let autumn leaves lie where they fall on beds.
27. Choose Natural, Permeable Materials Throughout
Consistency of materials is what makes the garden feel inevitable rather than assembled. Timber, stone, gravel, bark and woven plant material for every path, edge, step and seat; permeable surfaces everywhere so rain soaks in where it lands instead of running off to erode paths. Avoid glossy finishes, bright colours and anything that needs painting to survive. Materials that weather to grey and brown will quietly disappear into the woodland, which is the point.
9. Safety, Costs and Seasonal Care Checks
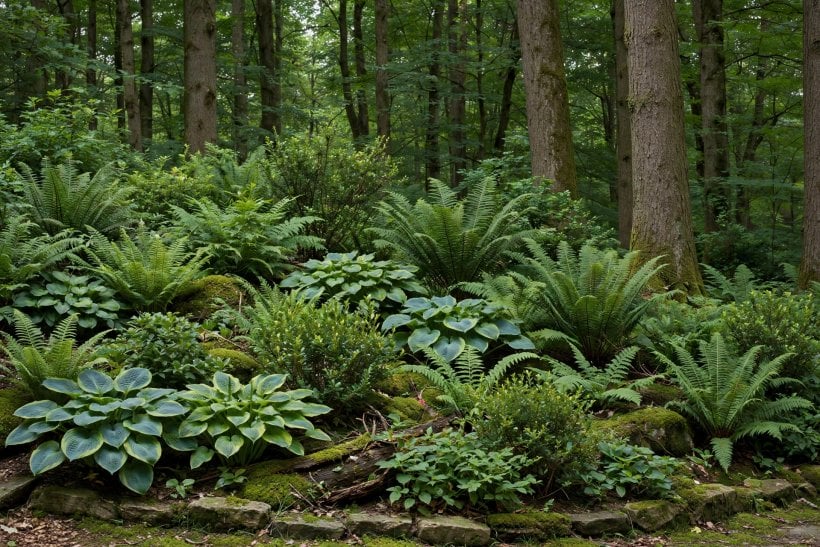
The last three ideas are checks rather than features, and they protect everything planted above. Trees, fire risk, access and seasonal care decide whether a wooded garden stays an asset or becomes a worry, so run through them before major spending and then briefly each season. None of this needs to be heavy work — it needs to be regular, recorded and done before small issues become expensive ones.
28. Plan Fire Safety and Tree Safety Together
Near any home or cabin, keep a sensible cleared zone: leaf litter and firewood stored away from walls, low branches lifted over roofs and paths, and access kept open for maintenance. Have mature trees inspected periodically by a qualified arborist, and deal promptly with dead limbs over paths, seating and buildings. Sensible spacing, green native planting and tidy ground near the house reduce risk far more than clearing the wider woodland ever would.
29. Understand What Drives Cost Before You Start
Costs in a wooded garden concentrate in a few predictable places: professional tree work, path and boardwalk construction, drainage, and large quantities of plants. Save by phasing the work — site reading and safety first, paths and clearings second, planting in stages as budget allows — and by planting smaller, younger stock, which usually establishes better in shade anyway. Mulch, logs, stone and labour you supply yourself carry much of the scheme at modest cost.
30. Set a Seasonal Care Routine — Little and Often
Woodland care is a calendar, not a campaign. Spring: check paths, steps and tree damage after winter, and plant while the soil is moist. Summer: water new planting only, and watch for drought stress. Autumn: leave leaves on beds, top up mulch and plant trees and shrubs. Winter: inspect structures, prune for safety in dormancy where appropriate, and plan. An hour or two at the right moment replaces whole weekends of rescue work.
10. Pulling It Together Around a Cabin or Tiny Home
Around a cabin or tiny home, keep the garden close and legible: one firm path from the door, a small clearing for sitting out, layered native planting against the walls where it does not trap damp, and the wilder, undisturbed areas pushed a little further out. Shade from the retained canopy will cool the building in summer, shelter it in winter and make even a modest footprint feel embedded in the woods rather than parked on a plot.
Work in the order this guide follows — read the site, keep the trees, plant the layers, then add paths, clearings, water and detail — and expect the garden to improve for years as groundcover knits, shrubs mature and leaf litter deepens the soil. That slow compounding is the real character of woodland gardening: you are not installing a finished picture, you are setting up conditions and then editing gently while the place becomes itself.
Final Considerations
The whole approach rests on one exchange: the trees give you structure, shade and atmosphere for free, and in return you plant, path and tidy with a light hand. Site reading, layered native planting, low-impact paths, small clearings, kept logs and shallow water do most of the work between them. When those elements agree, the garden needs no ornament, no irrigation system and no constant attention to feel complete — it simply feels like a woodland that happens to welcome people.
Start smaller than your ambitions: one path, one clearing, one well-planted layer at a time, checking each stage against the site through a full season before expanding it. Resist importing a suburban garden’s habits — close mowing, hard edging, autumn clear-outs — into a place that runs on opposite rules. Given patience, a wooded plot rewards restraint more generously than almost any other kind of garden, growing shadier, richer and more alive every year you leave its systems working.



0 Comments