

Exposed brick, sturdy steel and honest timber can turn a dim lower level into the most characterful room in the house. This collection gathers layout, lighting, flooring and moisture-smart ideas that keep the raw look while making the space warm, dry and genuinely useful every day.
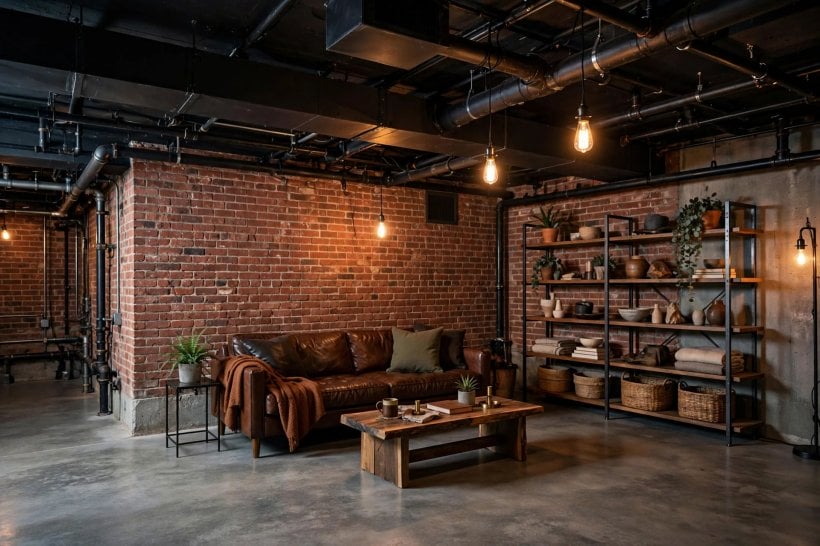
1. At a Glance: The Look in Brief
| Question | What to know |
|---|---|
| What defines the look? | Brick, concrete, metal and wood left visible and honest, then softened with warm light, woven textiles and comfortable seating so the room feels lived in rather than left over. |
| Can an industrial basement suit a small home? | Yes. The style loves compact footprints because exposed structure, open shelving and multi-use furniture all save space while adding character. |
| Where do I start? | Sort out moisture, light and layout first. Paint colours and vintage finds come last, once the room is dry, safe and planned around how you will actually use it. |
| What lighting works best? | Layers. Ambient light for the whole room, task light where you read or work, and warm accent light to soften hard surfaces and low ceilings. |
| Which floors cope below ground? | Sealed concrete, tile and other hard-wearing surfaces that tolerate cool, slightly damp conditions, warmed up with washable rugs in the sitting zones. |
| How do I stop it feeling cold? | Texture and tone. Timber, leather, wool and warm white light take the chill off brick and concrete without hiding what makes the style appealing. |
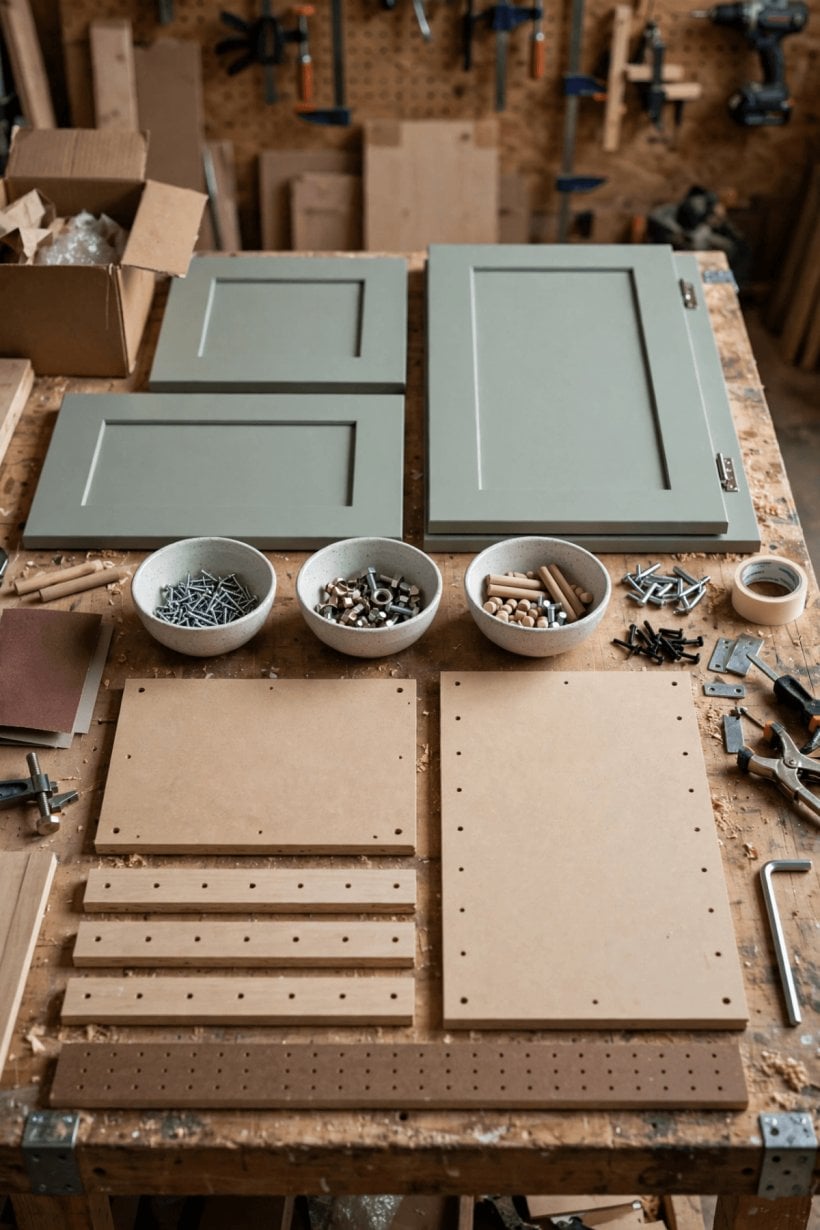
A quick visual summary of the layout, lighting, flooring and moisture checks behind every idea in this collection.
Think of this table as your filter. Every idea that follows earns its place by being practical below ground first and stylish second, because a lower-level room punishes shortcuts faster than any other room in the house. If you are still deciding how the space should function day to day, our broader guide to basement design ideas for tiny houses is a good companion read before you commit to a layout, a floor or a single tin of paint.
2. Plan the Layout Around Zones, Not Walls
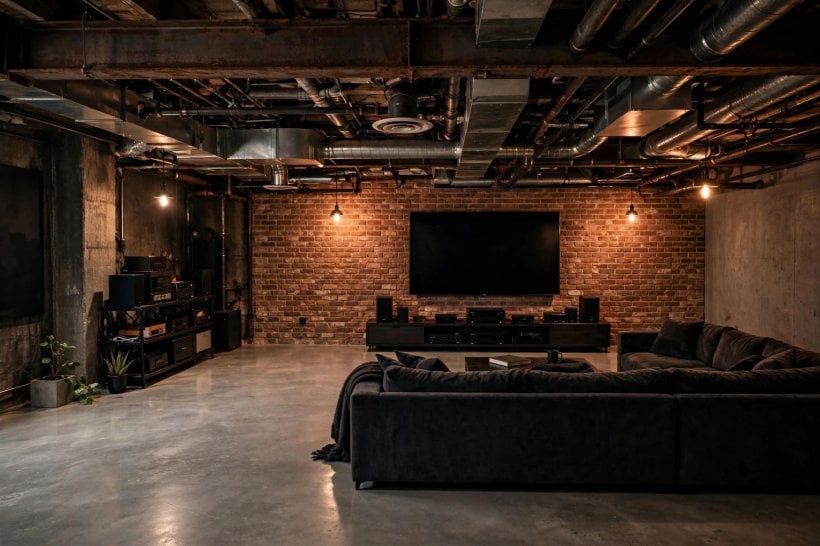
Start by dividing the floor into jobs rather than rooms. A sitting zone with a sofa and low table, a media corner, a small work bench, a bar shelf, a reading chair near the best light: each job gets a patch of floor, a rug or a change of lighting to mark it. Open shelving, a console table or a run of low storage can separate zones without stealing headroom or light the way a full partition would. Leave a clear walking route from the stairs to every zone so the room never feels like an obstacle course.
Measure honestly before you buy anything oversized. Lower ceilings and stair turns limit what will physically fit, so sketch the room, mark columns, pipes and the boiler corner, and plan furniture around those fixed points instead of pretending they are not there. Slim-framed sofas, nesting tables and stools that double as side tables all suit the look and the footprint. The zoning lessons in modern living room design for tiny houses translate directly downstairs, because a well-zoned small room and a well-zoned lower level solve exactly the same problem.
3. Keep the Structure Honest Above Your Head
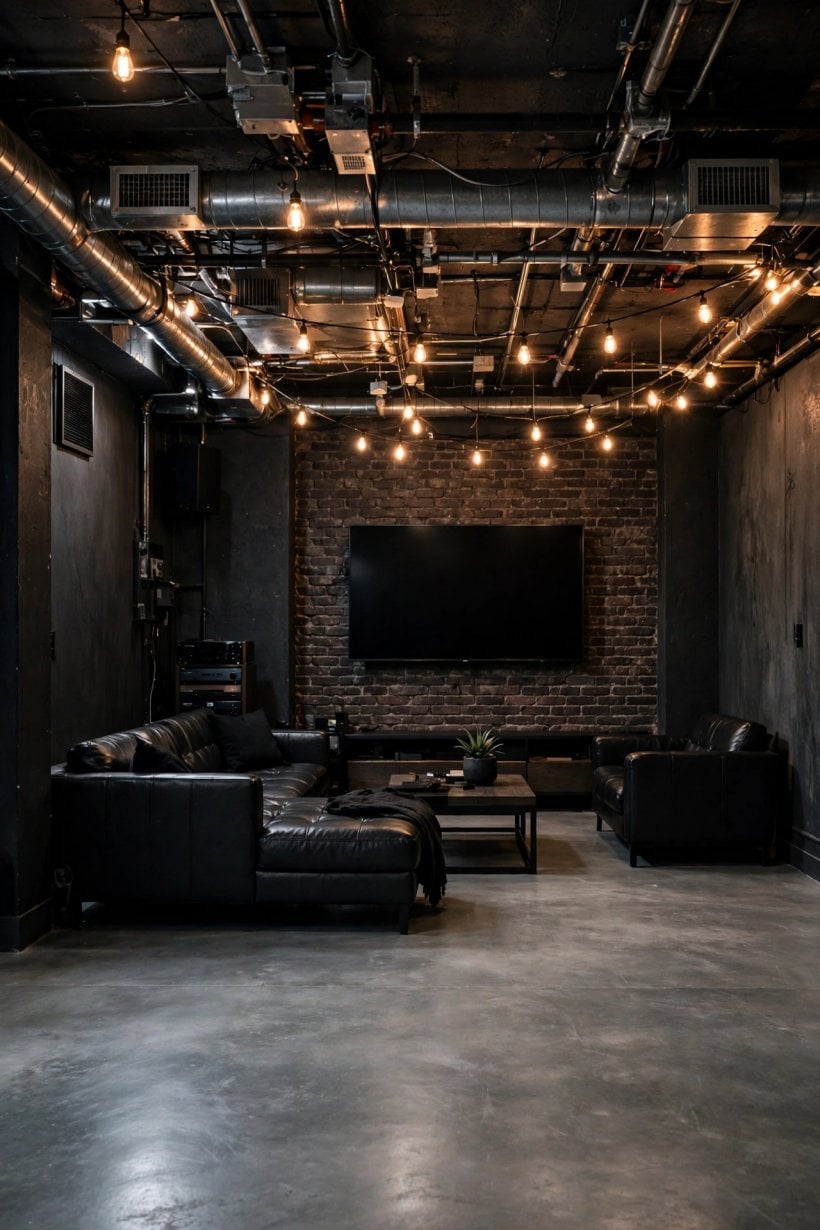
An exposed ceiling is the fastest route to the look. Joists, beams and ductwork left visible keep every centimetre of headroom, which matters more below ground than any decorative finish. Painting the whole ceiling one colour, often a deep charcoal or a warm off-black, pulls the tangle of pipes and cables together into a single calm surface, while leaving one run of ducting in bare metal gives you that factory note without visual chaos. Brick walls can be left raw, limewashed for softness, or painted where the brick itself is patched and uneven.
Honest does not mean neglected. Brush down dust, seal crumbly mortar where it sheds, and check that anything you expose is sound before you decorate around it. Pipes should be lagged where they sweat, cables should be properly fixed, and anything involving wiring, gas or structural timber belongs to qualified trades, not weekend guesswork. Once the structure is clean and safe, it becomes the room’s architecture. You will spend less on cladding and boxing-in, and the space will feel taller, calmer and far more deliberate than a low, flat ceiling ever allowed.
4. Layer the Lighting Like a Workshop, Finish It Like a Lounge
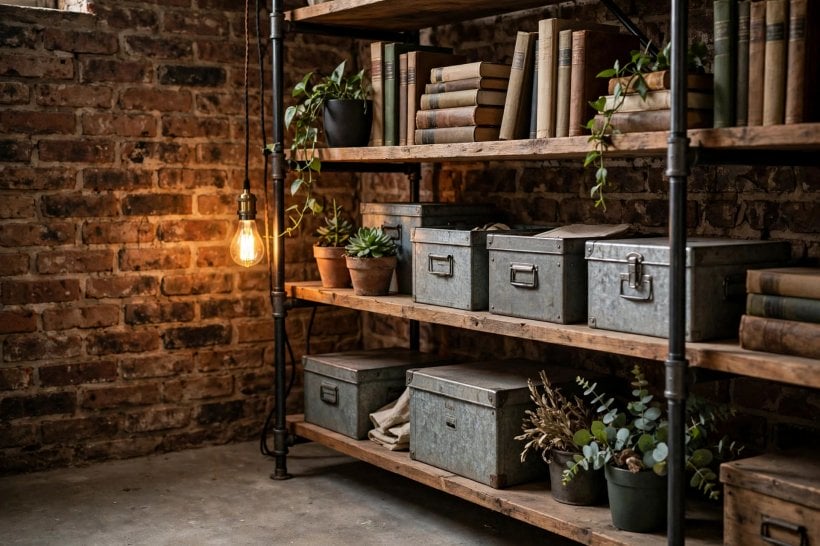
Basements live or die by their lighting, so borrow the workshop habit of lighting in layers. Track or rail systems suit exposed ceilings beautifully because fittings clip along the structure you already have, and heads can aim at walls, shelves and seating rather than glaring straight down. Add a second layer of table and floor lamps with warm bulbs at sitting height, and a third layer of small accents: a picture light over art, a lamp inside a shelving bay, a strip beneath a bar shelf. Each layer on its own control lets the room shift from bright work mode to soft evening mode.
Work with whatever daylight exists instead of fighting it. Keep window wells clean and pale, hang a mirror opposite the window to borrow its light, and choose lighter finishes near the window wall so brightness travels deeper into the room. Avoid a single central fitting doing all the work; it flattens faces, pools light in the middle and leaves the corners, where your seating probably is, in gloom. Metal shades, cage pendants and enamel-style fixtures all fit the theme, but the fitting matters less than placement. Light the people and the tasks, then let the brick and beams catch the spill.
5. Pick Flooring That Shrugs Off Cool and Damp
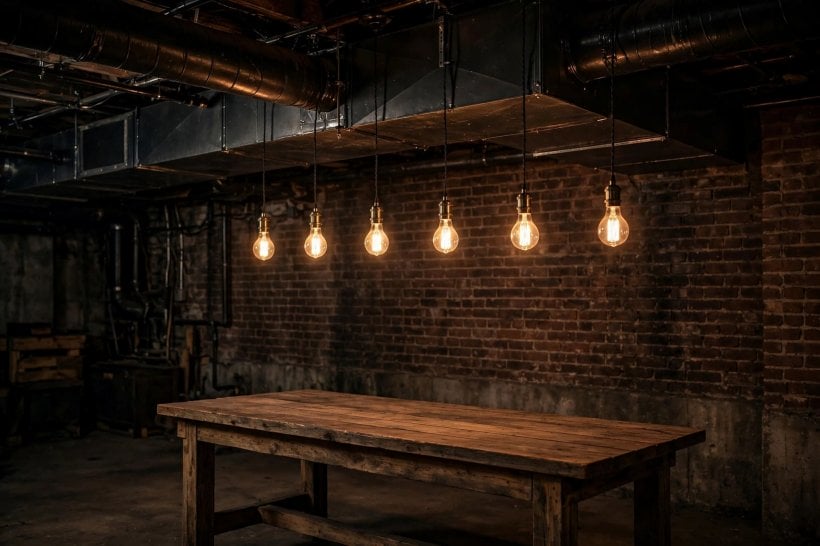
The floor you already have may be the right one. Sound concrete can be cleaned, repaired and sealed, then polished or painted for a true workshop finish that no flood scare can ruin. Large-format tile is another honest option, cold underfoot but easily warmed with rugs, and it handles the odd spill or leak without complaint. Where you want a softer feel, choose flooring the maker confirms is suitable for below-grade rooms, lay it exactly as instructed, and accept that the subfloor must be dry and level first. Shortcuts under a floor always resurface as smells, bumps and lifting edges.
Warmth comes from what you add on top. A big woven rug under the seating zone, a runner along the work bench and washable mats near the door give you comfort you can lift, clean and dry if the room ever gets wet. Keep rugs away from known damp corners, and leave a small gap between furniture and external walls so air can move. The moisture-first thinking in our guide to bathroom design ideas for tiny houses applies here too: choose materials that tolerate water gracefully, and plan for drying as carefully as you plan for looks.
6. Make Walls Moisture-Smart Before You Make Them Beautiful
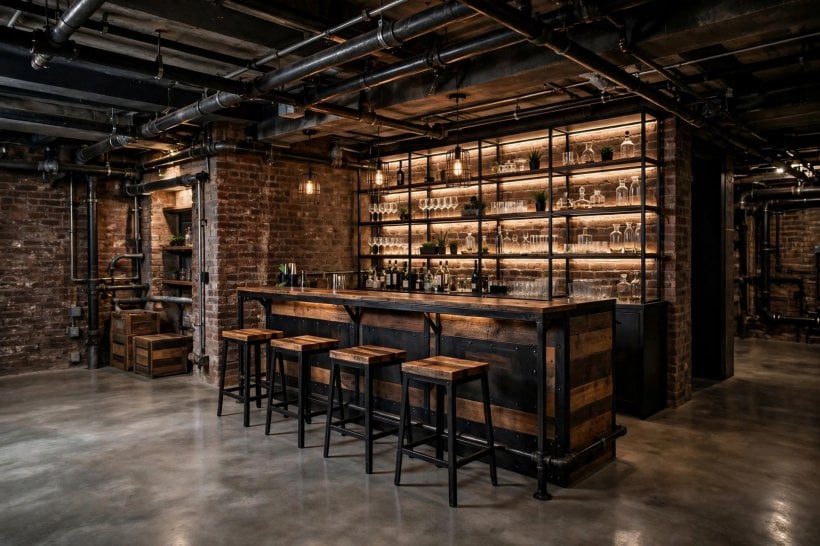
Every wall finish below ground starts with one question: is water getting in, and where from? Gutters, ground levels and cracked pointing outside cause more basement damp than anything happening inside, so walk the exterior first and fix causes before symptoms. Inside, condensation on cold walls is the other usual suspect, and it responds to warmth, airflow and not pushing furniture tight against external walls. Paint and panelling over an unresolved damp problem simply hides it while it quietly worsens behind your new finish.
Once walls are sound and dry, choose finishes that can breathe and be inspected. Limewash and mineral-style paints suit brick and age gracefully, touching in invisibly when you repaint a patch. If you line a wall, keep an inspection gap and access panels for pipes and stopcocks, because below ground you will eventually need them. Metal or open timber shelving fixed to walls beats deep closed cupboards against external walls, since air can circulate behind your stored things. Moisture-smart is not a product; it is the habit of letting the room dry, checking it seasonally and decorating only what is genuinely sound.
7. Build a Bar and Social Corner Worth Lingering In
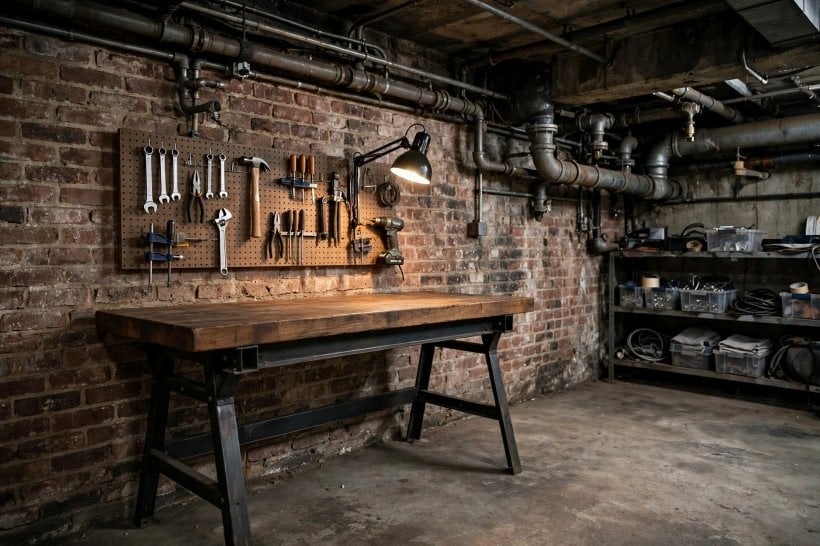
A small bar corner gives the whole room a destination. It can be as simple as a chunky timber counter on steel brackets, open shelves for glasses, a small fridge tucked beneath and a couple of metal stools that stack or slide away. Pipe-rail shelving, a chalkboard for the evening’s offerings and a row of jars and bottles against brick all deliver the look without a big spend or a big footprint. Place the bar near the stairs if you can, so fetching drinks never means crossing the quiet zones with a full tray.
Build the social seating around how you actually gather. A deep sofa and a low table suit film nights; a games table with stackable chairs suits card players; a standing-height bench along one wall works for vinyl, crafts or a buffet. Keep a clear serving route, somewhere to put a drink beside every seat, and lighting that can drop low without going dark. If your lower level includes a small kitchenette, the planning notes in kitchen design for tiny houses will help you fit storage, worktop and appliances into a corner without overwhelming the room around it.
8. Give Work and Hobbies a Proper Home Downstairs
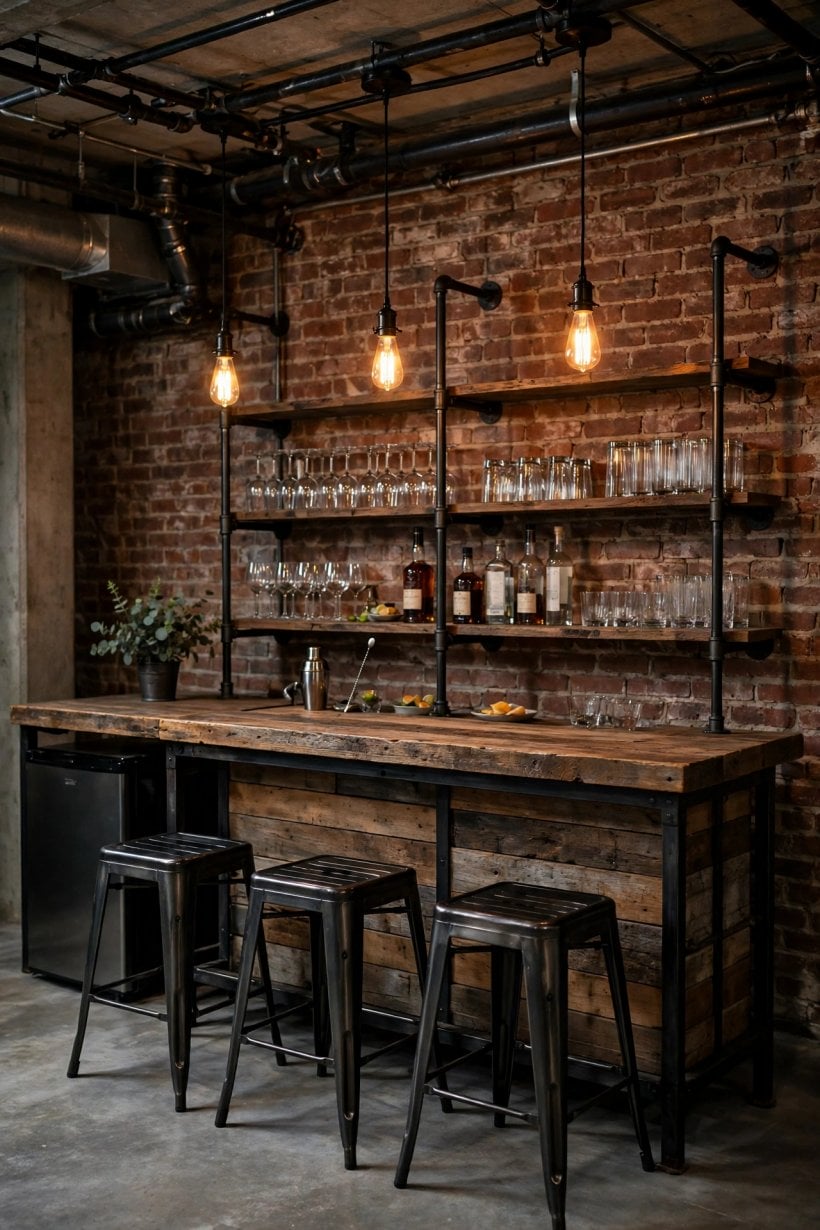
A lower level quietly absorbs the activities that clutter the rest of a small home. A sturdy bench along one wall becomes a repair station, a potting bench, a craft desk or a model-making table, with pegboard or rail storage above it keeping tools visible and off the worktop. A smaller desk zone with a good chair, a task lamp and one shelf can serve as a homework spot or a laptop corner for the days you work from home. The style suits honest work furniture: nothing needs to match, it just needs to be solid, wipeable and well lit.
Plan the unglamorous details and the zone will actually get used. You need sockets where the work happens, a bin within reach, storage for the current project that does not involve packing everything away nightly, and a door or curtain if fumes, dust or noise need containing. Labelled crates on open shelves beat anonymous boxes in a pile. For layout and lighting pointers specific to desk work, borrow freely from tiny house home office ideas; a basement desk follows the same rules about daylight, chair comfort and keeping cables tame, just with more brick.
9. Soften the Edges With Texture, Colour and Greenery
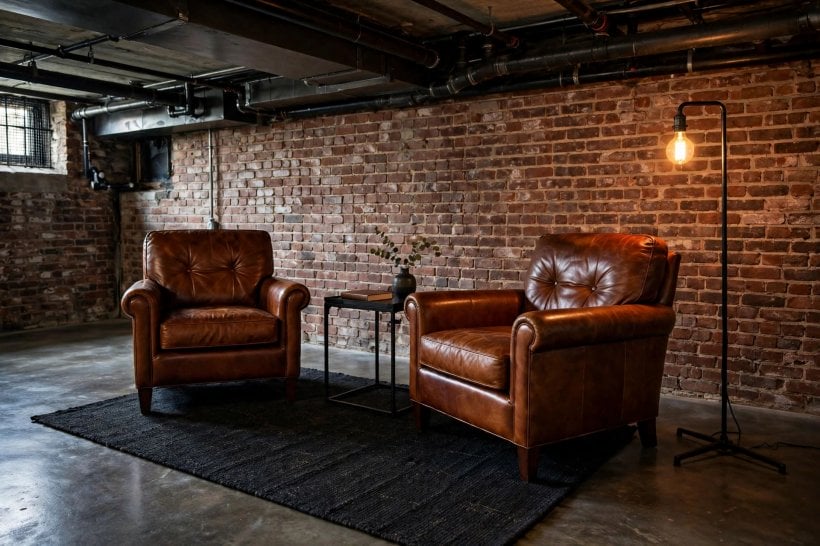
Raw materials need relief or the room tips from characterful to chilly. Layer textiles the way you layered light: a wool or woven throw over the sofa arm, cushions in canvas, corduroy and worn leather, curtains or a heavy door draught curtain at the stair foot. Timber side tables, a leather reading chair and woven baskets warm metal and masonry at every touchpoint. Colour can stay restrained, rust, ochre, deep green and ink blue all sit happily against brick and concrete, and a single painted wall or bookcase in one of those tones gives the eye a resting place.
Finish with the living details. Plants that tolerate lower light, in sturdy pots raised off the floor, soften corners and prove the room is cared for. Art looks strong on brick, especially in simple black frames grouped as one composition rather than scattered. If colour confidence is the sticking point, the guidance in living room paint ideas for tiny houses helps you test tones against your light before committing, and the palettes in beachy interior ideas for tiny houses show how far a little white and natural fibre can lift a darker scheme.
10. Store Smart, Keep Air Moving, Respect the Room
The best-looking scheme fails if storage is an afterthought. Use the awkward spaces the style gives you: under-stair cupboards with pull-out crates, shelving between columns, a bench seat with storage inside, hooks and rails on the one internal wall that never gets damp. Store in labelled, lidded crates raised slightly off the floor, and keep anything precious or paper-based in the driest zone, never against an external wall. A seasonal sort-out, the same habit that keeps tiny house library and office ideas workable, stops a lower level slowly becoming the place good intentions go to be forgotten.
Finally, look after the air. Gentle, regular airflow is a below-ground room’s best friend: open windows when weather allows, run extraction where fitted, and let a dehumidifier earn its shelf space during damp spells if your home needs one. Keep stored items a hand’s width from walls, lift rugs occasionally to check beneath them, and treat any new musty smell as information, not ambience. Rooms that are aired, checked and used stay fresh; rooms that are sealed and ignored quietly decline. Use the space weekly and it will reward you by staying the easiest room in the house to love.
Final Considerations
Strip everything back and an industrial basement succeeds on three habits: fix moisture before decorating, light in layers instead of relying on one fitting, and zone the floor around real activities rather than filling it with furniture. That is the second time the keyword phrase has appeared in this article, and it is placed here on purpose, because the style is a method, not a shopping list. Exposed structure, honest materials and second-hand finds will do the rest, and they cost less than cladding every surface in new finishes.
Start with one zone, finish it completely, and live with it before tackling the next. A completed reading corner teaches you more about your light, your damp and your habits than a whole-room makeover planned in the abstract. Build slowly, keep what is sound, soften what is stark, and your lower level will stop being storage with a sofa in it and become the room everyone chooses first.


0 Comments