

A tiny bathroom can feel twice the size without moving a single wall.
These nine makeovers show how layout tweaks, brighter finishes and smarter storage turn cramped, dated rooms into calm, easy spaces. Steal the ideas that fit yours.
1. At a Glance: What Changes Most in a Small Bathroom
When you compare enough small bathroom remodels before and after, a pattern appears. The rooms that change the most rarely gain a single extra inch. Instead, they gain light, they gain clear floor, and they lose visual clutter. A bulky vanity becomes a floating one. A solid shower door becomes clear glass. Dark, busy tile becomes one calm surface that runs from wall to wall without interruption. Each swap sounds modest on its own, yet together they change how the room feels every single morning.
Use the table below as a quick map before you tour the nine transformations. It sums up where the biggest wins usually hide, which jobs refresh a room fastest, and where a little patience pays off. Then read each makeover as a recipe: note the starting problem, the one or two moves that solved it, and the finishing touches that made the result feel intentional rather than improvised. Small rooms reward simple plans, so keep your own list short.
| Question | Short Answer |
|---|---|
| Best first change? | Lighten the largest surface: walls, tile or floor. |
| Biggest space win? | Swap a tub for a walk-in shower, or float the vanity. |
| Fastest refresh? | New mirror, lighting and hardware in matching finishes. |
| Storage hero? | Recessed niches and medicine cabinets that hide in the wall. |
| Light trick that works? | Clear glass and one pale palette carried across every surface. |
| Budget mindset? | Spend on layout and waterproofing; save on decorative extras. |
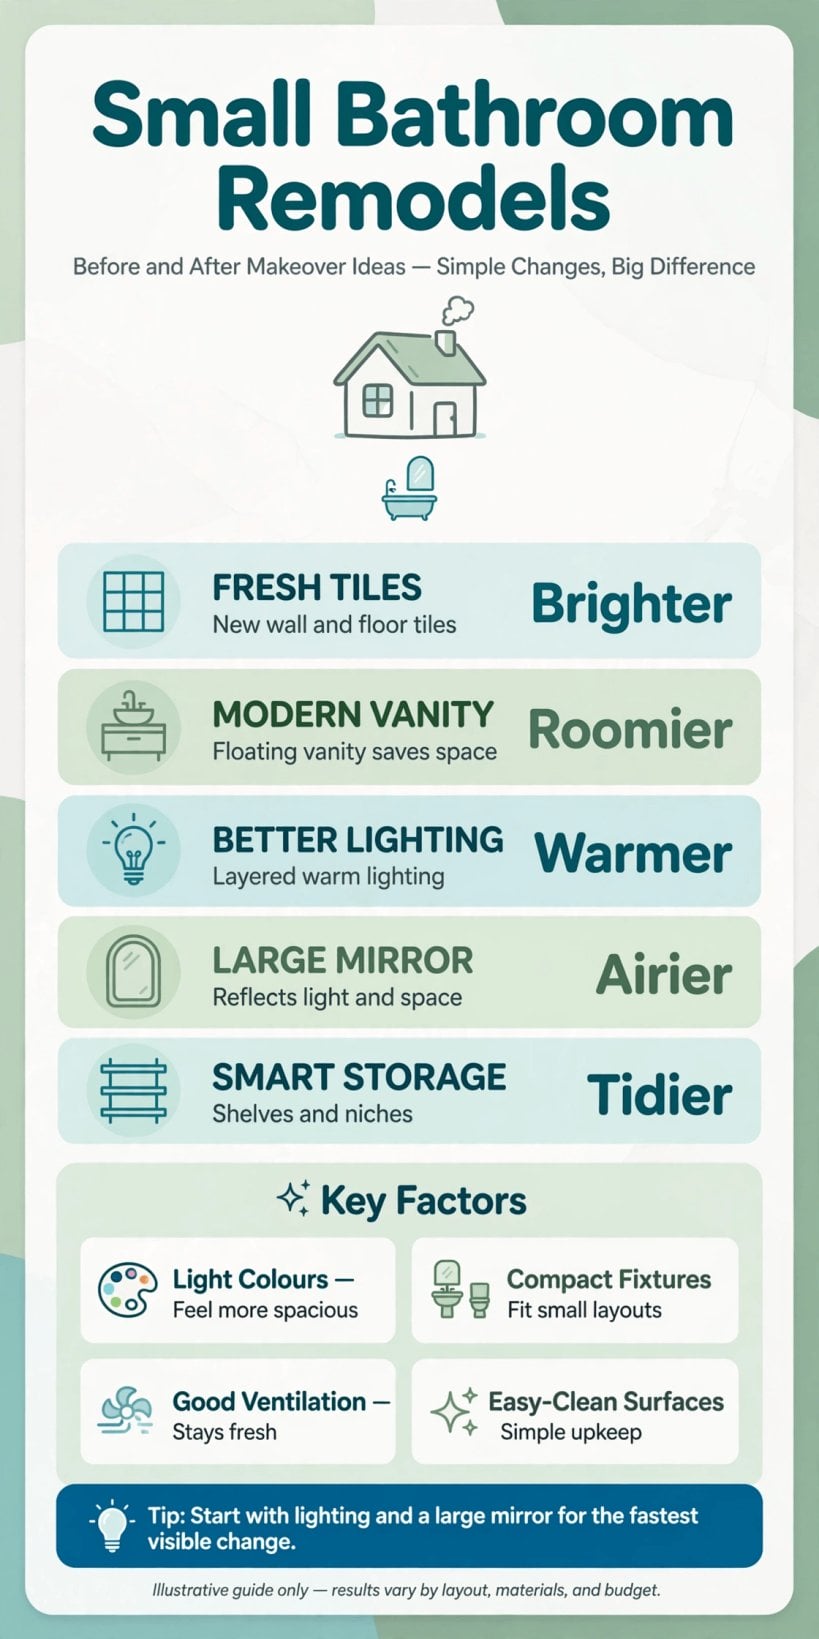
Nine compact bathroom transformations at a glance, from layout swaps to light, bright finishes.
One more habit helps before any work begins: photograph your room from the doorway, at standing height, with the lights on. That single honest picture shows what guests see and what you have stopped noticing — the towel rail in the wrong place, the bottles colonising the tub edge, the mirror too small for the wall. Every makeover below started with that same clear-eyed look, and each one solved a short list of problems rather than chasing a whole new room.
2. Makeover 1: The Dark Box Becomes Bright and Airy
The first transformation tackles the most common small-bathroom complaint: a room with no window and a heavy, dated colour scheme. The starting point had beige walls, a dark timber vanity and a frosted shower screen that swallowed what little light the single ceiling fitting produced. Nothing was broken, yet the room felt smaller than its measurements and permanently gloomy, even at midday.
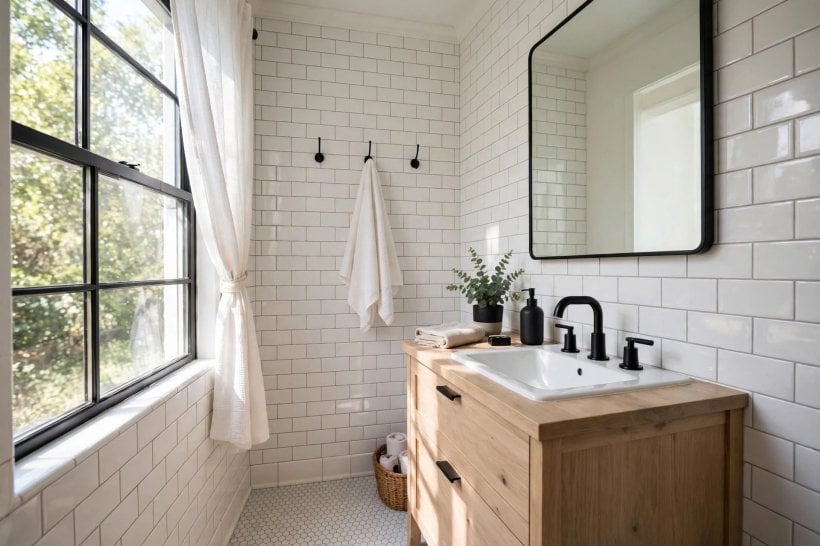
The fix kept the layout exactly where it was and changed only surfaces and fittings. Walls went to a warm white, the shower screen became clear glass, and large pale tiles replaced the small busy ones, cutting the number of grout lines the eye has to cross. A wider mirror now runs nearly the full width of the vanity wall, bouncing light back into the room, and the vanity itself floats, so the new floor runs uninterrupted from door to shower. Brushed metal taps and a simple rail keep the palette tight. If you are sketching your own version, our guide to tiny house bathroom layouts shows how much feeling you can change before you touch a single pipe.
3. Makeover 2: The Tub-to-Shower Swap That Frees the Floor
Some small bathrooms lose most of their floor to a tub nobody uses. In this second example, a deep, chipped bath dominated the room, leaving a narrow strip to sidle along. The owners showered every day and bathed almost never, so the tub was really an oversized, hard-to-clean shelf. Removing it was the boldest move in this whole collection, and it changed everything.
In its place sits a walk-in shower that runs the full width of the room, with the floor tile flowing straight in and no step or tray lip to interrupt it. A single fixed glass panel keeps spray contained while sightlines stay open, so the room now reads as one continuous space instead of two chopped halves. A recessed niche holds bottles at shoulder height, a slim bench folds down when needed, and the toilet and vanity traded places on paper only — in reality they stayed put, which kept the plumbing simple. The lesson travels well: when floor area is precious, give it to the fixture you use daily, and let everything else earn its footprint.
4. Makeover 3: Warm Wood and a Round Mirror Soften a Boxy Room
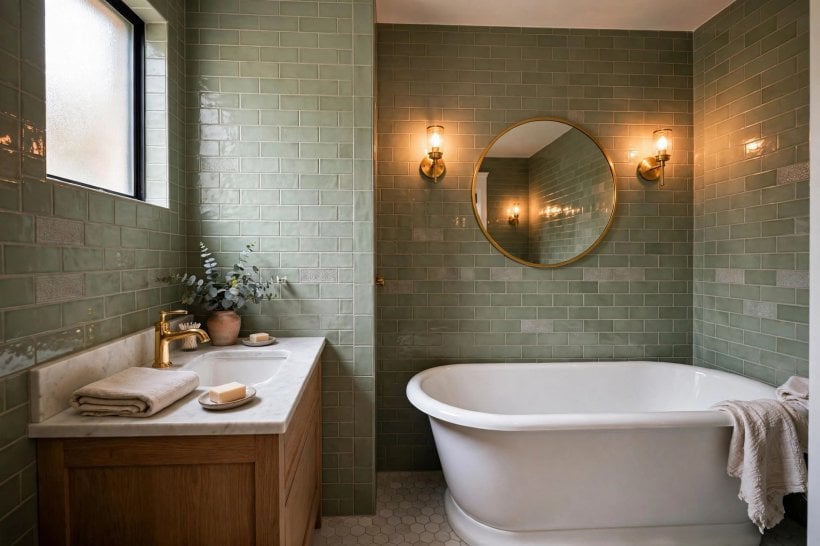
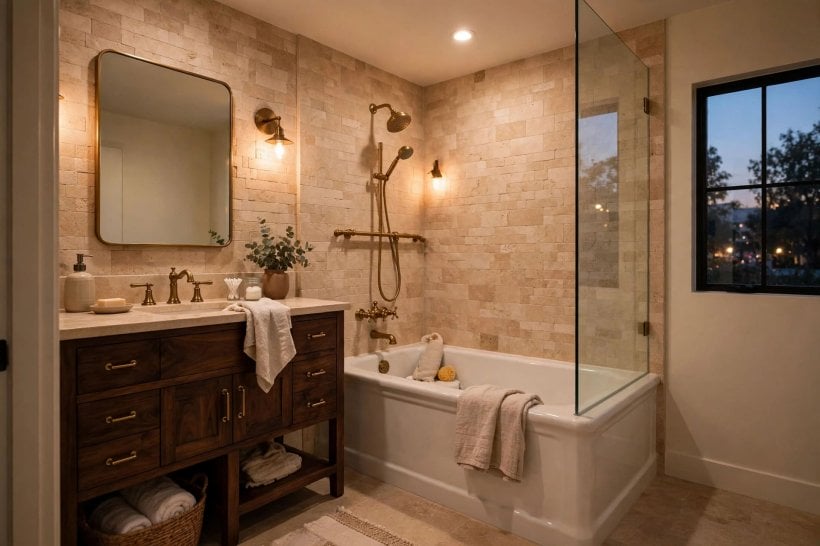
Not every transformation chases brightness. This third room began cold and angular: grey floor, white walls, a square mirror and a boxy cabinet that made the space feel like a corridor. The makeover leans into warmth instead. A timber-look vanity with soft-close drawers replaces the cabinet, bringing grain and a mid-tone that the room was missing, while a large round mirror breaks up the grid of straight lines above it.
Details do the heavy lifting here. The mirror is backlit, so faces are lit evenly without a harsh overhead glare. Wall tiles in a soft, handmade-look finish stop the room feeling clinical, and the grout is tinted to blend rather than contrast. A woven basket corrals spare towels, and a small trailing plant on a high shelf adds life without stealing counter space. Because the shower area was rebuilt, the owners took the chance to do the hidden work properly; our walkthrough on waterproofing a tiny house bathroom explains the framing and tiling checks that keep a wet zone sound for years. Warmth, it turns out, is a space trick too: a room that feels welcoming feels bigger.
5. Makeover 4: Pale Blue Calm With Storage Hidden in the Walls
The fourth room suffered from surface clutter. Every ledge held bottles, the medicine cabinet bulged, and cleaning meant moving a dozen things first. The redesign hides storage inside the architecture instead of adding furniture to an already tight floor plan. Between the wall studs, a tall recessed cabinet now swallows toiletries behind a flush, push-to-open door, painted the same pale blue as the walls so it nearly disappears.
The colour itself is part of the transformation. A gentle blue-grey wraps the walls and the cabinet in one continuous tone, which blurs the room’s edges and makes its boundaries harder to read — a classic small-space illusion. The vanity is a narrow console with an open shelf beneath, where rolled towels live in two neat stacks, visible and easy to grab. A frameless mirror and a single elegant wall light finish the calm. For more ways to tuck storage into unlikely places, browse our favourite tiny house closet design ideas and steal the thinking for your own walls: shallow, recessed and close to where things are used beats deep and distant every time.
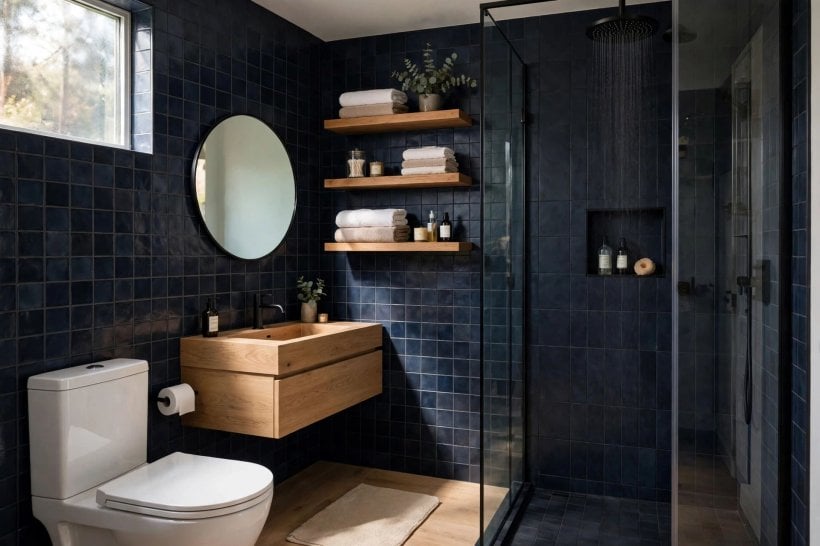
6. Makeover 5: Black Fixtures Give a Plain White Room Its Edge
Sometimes a small bathroom is simply forgettable: white suite, chrome taps, nothing wrong and nothing memorable. The fifth makeover keeps almost every fixture and changes the accents instead. Chrome becomes matte black — taps, shower head, towel rail, mirror frame and even the flush plate — and that single consistent finish gives the plain room a deliberate, designed rhythm.
Because nothing structural moved, this was the fastest transformation of the nine, and it shows how far contrast can carry a compact space. The black elements act like punctuation, guiding the eye in a tidy circuit instead of letting it wander. A pale floor keeps the contrast from closing the room in, and one deep-green plant softens the graphic edge. Colour on the walls stayed light for the same reason; if you are weighing shades, our notes on tiny house interior paint colors explain which pale tones stay fresh under artificial light and which can turn dull. The takeaway: when a room is plain rather than broken, edit the finishes before you price up a rebuild.
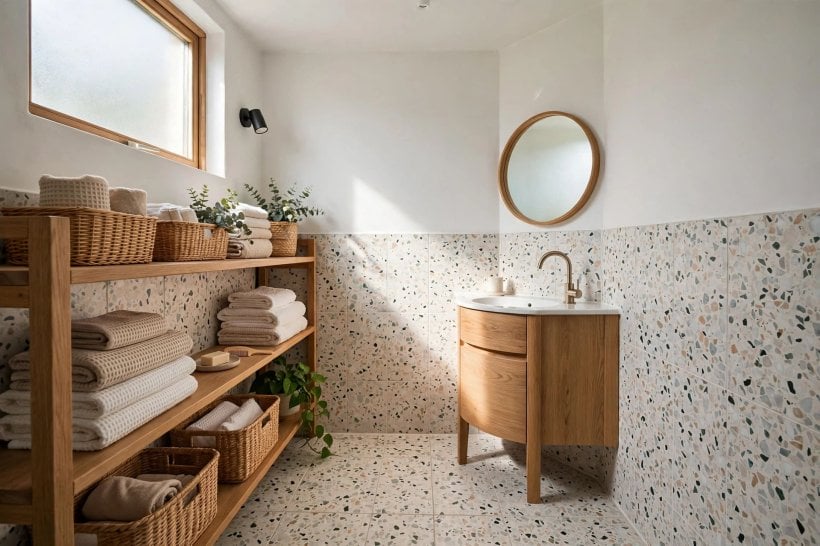
7. Makeover 6: A Guest Bath Learns Hotel Tricks
Guest bathrooms work hard in a small footprint: they must feel welcoming to visitors yet survive daily family use. This sixth room began as a dumping ground with a pedestal basin that offered nowhere to set anything down. The redesign borrows from small hotel rooms, where every centimetre is planned. A wall-hung vanity with two deep drawers replaces the pedestal, giving guests a clear counter and the family hidden storage in the same move.
Layered lighting does the rest. A soft ceiling light handles the whole room, twin sconces flank the mirror for faces, and a low night-light strip under the vanity guides midnight visits without a blast of brightness. Tiles run in a stacked vertical pattern that draws the eye upward, making the ceiling feel higher, while the shower niche is tiled in the same stone-look finish for a quiet, expensive feel. Small luxuries — a heated towel rail, a hook at the right height, a spare-roll holder within reach — cost little and register strongly. For more compact-room thinking, see these smart tiny house design ideas and note how many are really about anticipating the next minute of someone’s routine.
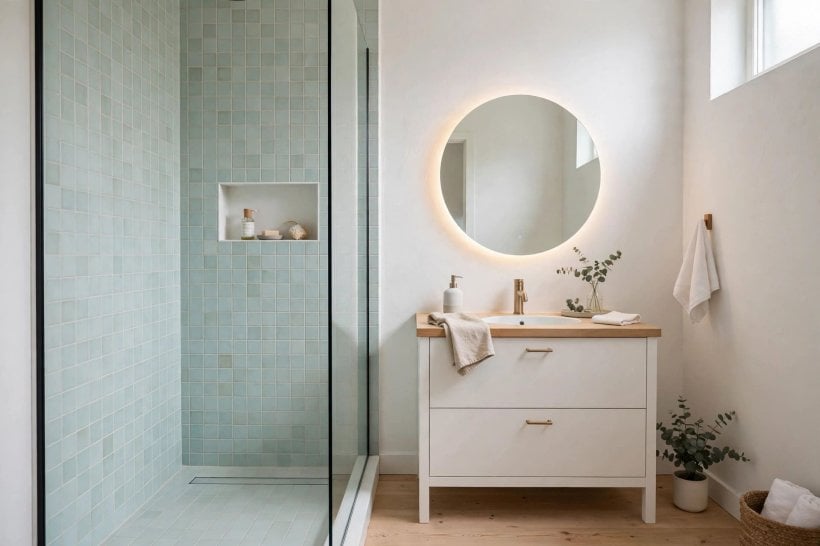
8. Makeover 7: Vintage Character, Modern Manners
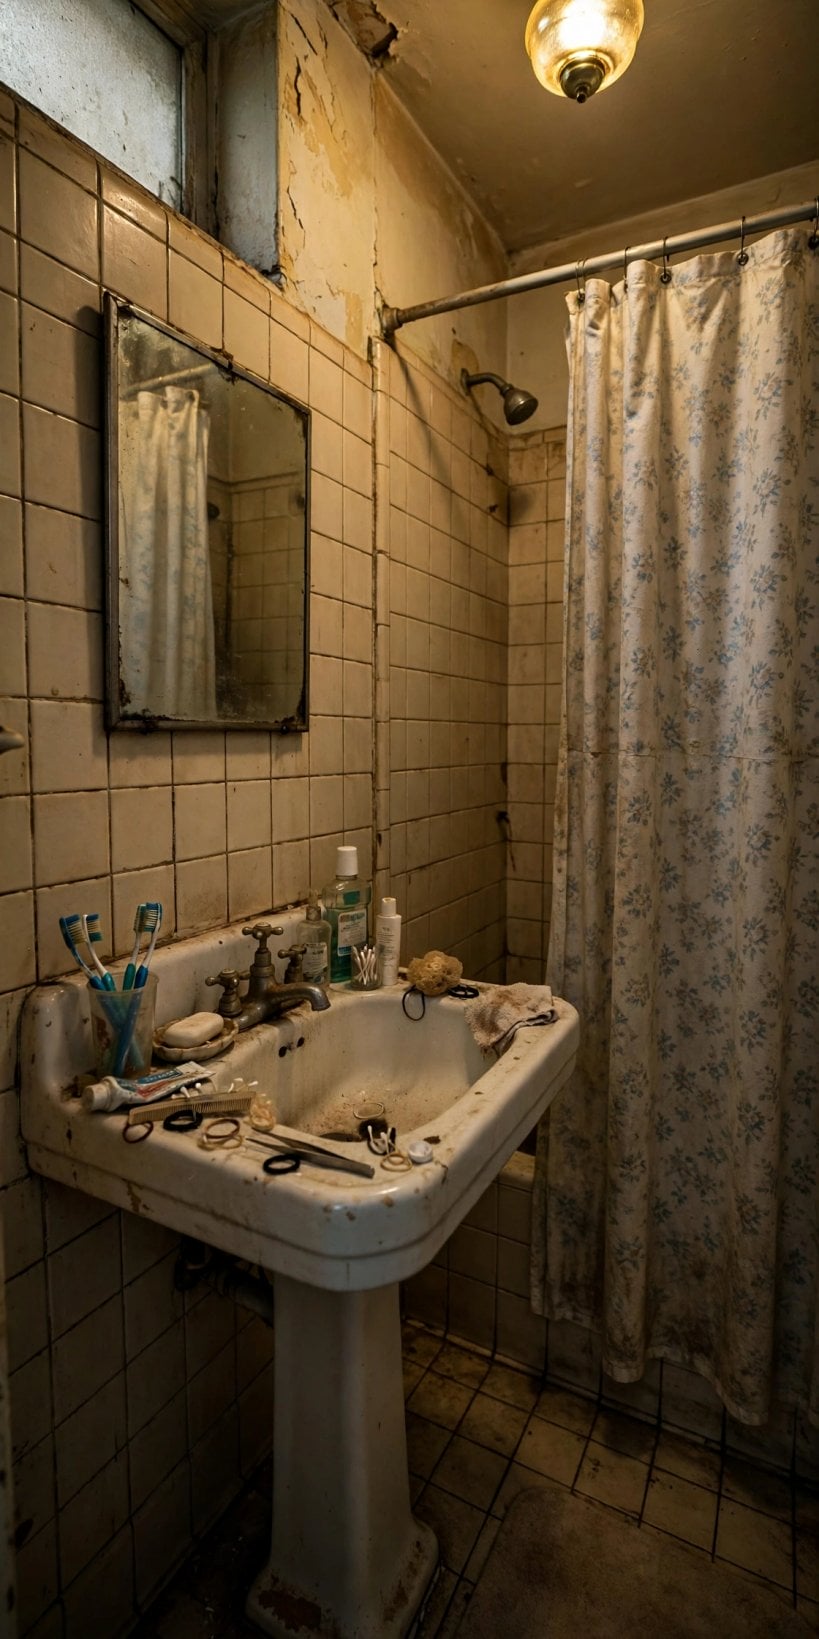
The seventh transformation proves a small room can keep its soul. The starting bathroom had a lovely old cast-iron tub and a cracked pedestal basin, but peeling paint, a dripping tap and a single bare bulb made it feel neglected rather than charming. The owners kept the tub — re-enamelled in place — and rebuilt everything around it to modern standards of comfort.
New hexagonal floor tiles nod to the home’s age while hiding everyday dust better than plain white would. The basin is a period-style console with crosshead taps, yet the plumbing behind it is entirely new, and a modern thermostatic shower over the tub, with a clear curved screen, brings the bathing up to date. Walls are a deep, inky green on the lower half and warm white above, a split that grounds the room and lifts the ceiling at once. Brass accents warm the palette and will patina gracefully. Character, handled this way, is not the opposite of practicality; keeping one beloved piece can focus the budget and the design, so everything else is chosen to support it.
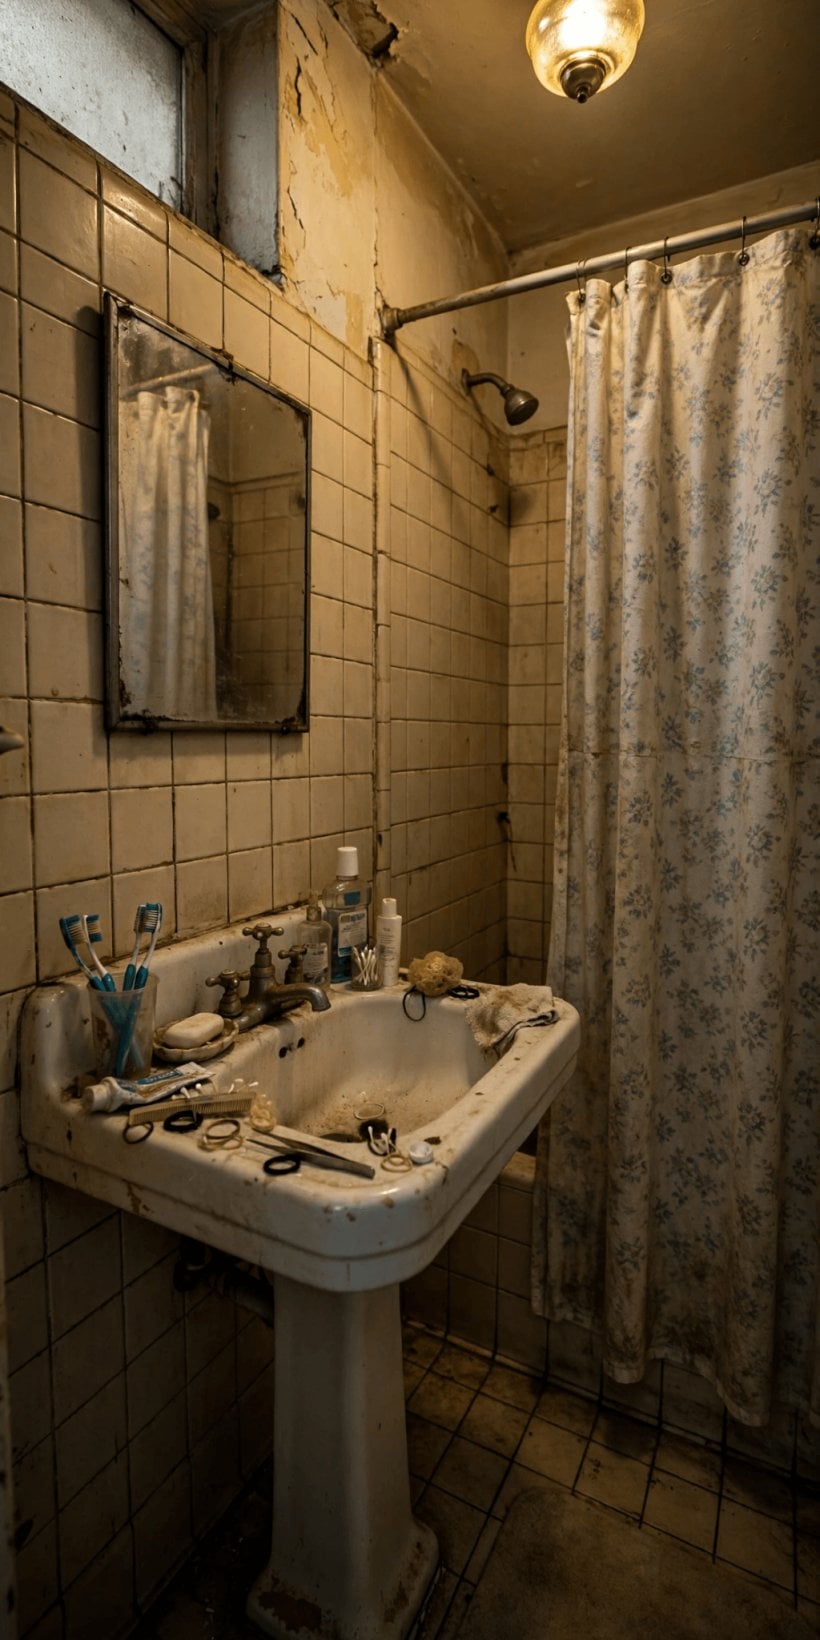
9. Makeovers 8 and 9: A Corner-Sink Rescue and a Family Speed-Up
The last two transformations solve opposite problems in equally tight rooms. Makeover eight is a tiny ensuite where the door once struck the basin. The rescue replaces that basin with a compact corner sink, freeing the door swing and opening a surprising amount of floor. A mirrored cabinet above does double duty, the toilet is a short-projection model, and a pocket-style sliding door was considered but proved unnecessary once the corner sink landed — a reminder to try the smallest fix first.
Makeover nine is a family bathroom with a morning queue. Nothing grew, yet two people can now get ready at once: a trough-style double basin on a single floating unit, two mirrors, and a shower moved to the far end behind a half-height tiled wall that keeps the room feeling open. Individual baskets under the counter end the counter wars. Both rooms share the same moral as our broader tiny house and small-space interior design guide: measure the chore, not just the room. When a layout matches the routine — door swings, elbow room, two toothbrushes at 7 a.m. — even a very small bathroom stops feeling like a compromise.
10. Planning Your Own Transformation: Order of Work and Checks
Feeling inspired to start your own chapter of small bathroom remodels before and after? Plan in the order the work actually happens. Begin with honest photos and measurements, then decide the layout and keep plumbing runs as close to existing as you can; moving soil pipes and water lines is where budgets quietly balloon. Our overview of a tiny house plumbing layout shows why short, simple runs are worth protecting.
Next, check the rules that apply where you live. Bathroom electrical work, ventilation and plumbing changes often need permitted trades or inspections, and the details vary, so check with your city or county building office before anyone lifts a tile. Choose waterproofing and ventilation early, since both protect every finish you add later. Then sequence the trades: demolition, plumbing and electrical rough-in, waterproofing, tiling, fixtures, and finally paint, mirrors and accessories. Build a small contingency into the budget for the surprises old walls hide, keep one bathroom or a neighbourly arrangement available while yours is out of action, and order fixtures before demolition day so the room is never waiting on a delivery. A calm plan, followed in order, is the real secret behind every transformation above.
Final Considerations
Nine rooms, nine different answers, one shared lesson: small bathrooms improve most when each change earns its place. Lighten the biggest surface, free the floor where you can, hide storage inside the walls, and let one calm palette tie the room together. Treat the makeovers here as design ideas to adapt — scaled to your measurements, your rules and your routine — rather than templates to copy blindly. Start with the photograph from the doorway, make your short list, and take it one well-planned step at a time. Your after photo is closer than you think.


0 Comments