

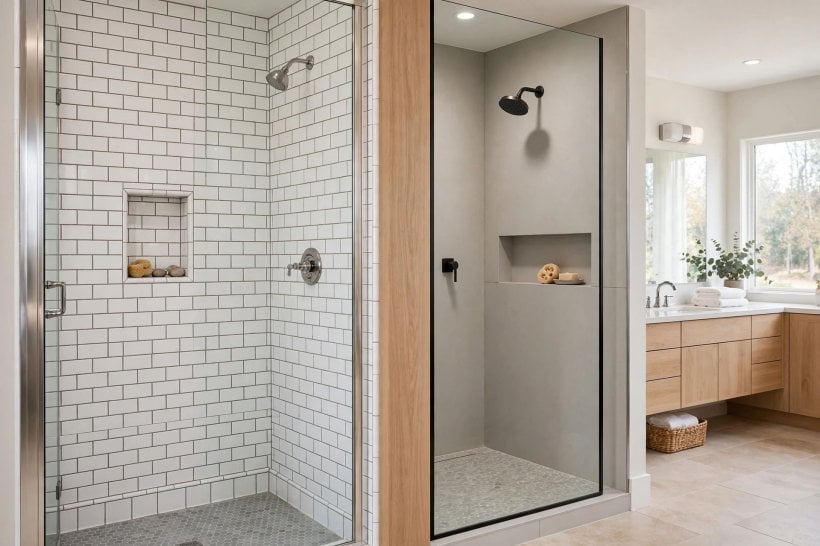
Shower wall panels promise the clean look of stone or tile without a single grout line to scrub, and solid-surface panels sit at the serious end of that promise. They are also a genuine commitment: large sheets, permanent adhesive and details that are difficult to undo once they are on the wall.
This guide walks through what these panels are, where they suit, what has to sit behind them, and the questions worth settling before you order, so the enclosure you commit to is one you will still be glad of in ten years.
1. Panel and Solid-Surface Showers at a Glance
Start with the short version. The table below answers the questions people ask first about panel systems; the sections after it unpack each answer properly, because almost every one of them has a condition attached.
| Question | Short answer |
|---|---|
| What is a solid-surface panel? | A sheet of mineral-filled resin composite: solid all the way through, non-porous, and usually finished matt or satin rather than glossy. |
| How is it sold? | As individual wall panels for showers, and as kits — including three-sided sets sold as a solid surface tub surround for over-bath showers. |
| Can panels go over existing tiles? | Often yes, if the tiles are sound, flat and thoroughly degreased — but the honest answer depends on the wall, as section 5 explains. |
| Is it waterproof on its own? | The sheet itself is non-porous, but the installation is only as waterproof as its joints, trims and sealant lines. |
| How is it cleaned? | Warm water and a soft cloth, or a non-abrasive cleaner. There is no grout to scrub, whiten or re-seal. |
| Can damage be repaired? | Usually, yes. Light scratches and scuffs can be sanded and blended out because the material is the same all the way through. |
| Is it a DIY job? | On flat, square walls, a confident DIY fit is realistic. Out-of-square rooms and moved plumbing argue for a professional. |
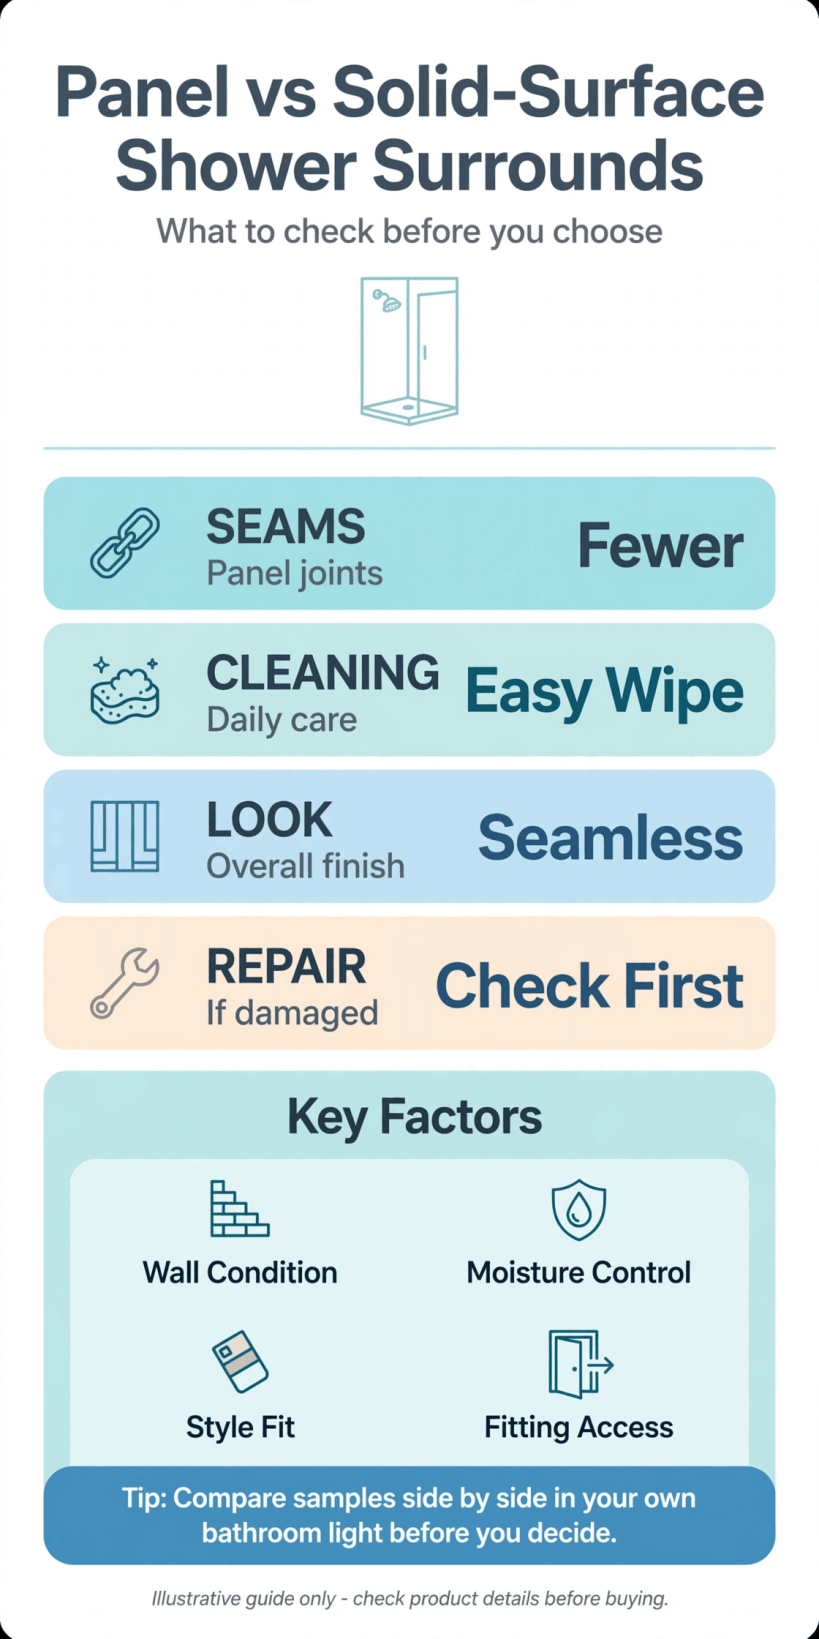
The questions that decide whether panels are right for your bathroom, gathered in one place before the detail that follows.
2. What Solid-Surface Panels Actually Are
Solid surface began life as a worktop material: a blend of mineral filler and resin, cast or pressed into sheets that are the same substance from face to core. That one fact explains most of its behaviour in a shower. There is no coating to wear through, no printed layer to scratch off, and no pores for water, soap or dye to soak into. The colour and pattern — plain, stone-veined, concrete-look, softly marbled — run through the sheet, which is also why minor damage can be sanded back to invisible.
The sheets are rigid but not brittle, warm to the touch compared with stone or ceramic, and quieter under running water than thin moulded plastics. They can be cut with ordinary woodworking tools, drilled for valves and shower arms, and, in thicker grades, gently thermoformed to curves — a trick rarely needed in a domestic shower but useful to know exists. When you are planning the room around them, the layout thinking in our guide to tiny house bathroom ideas transfers directly: panels reward simple, rectangular enclosures and punish complicated shapes, because every cut edge and corner is work and money.
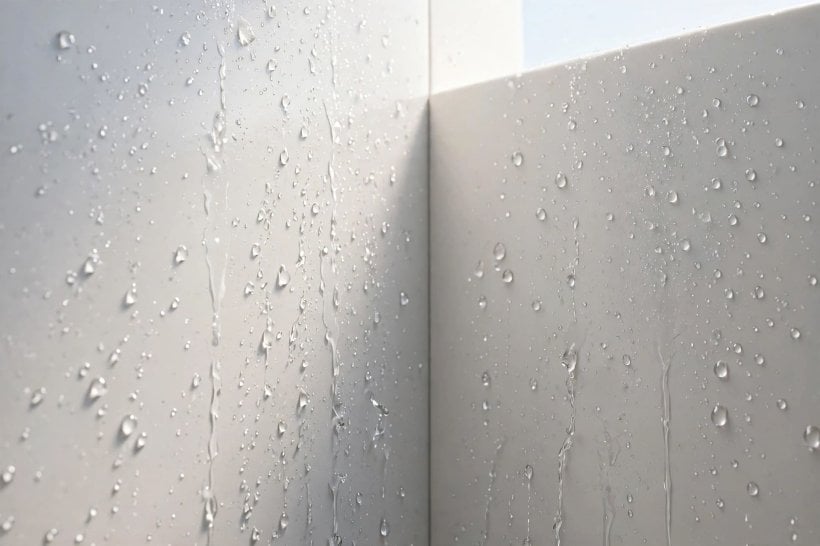
Two distinctions matter when you shop. First, thickness: thinner sheets are lighter and easier to handle but need a flatter, better-supported wall behind them; thicker sheets forgive more and feel more substantial. Second, finish: matt surfaces hide water marks and fingerprints kindly, while polished ones look richer and show every dried droplet. Neither is better — but choose with your real cleaning habits, not your showroom intentions, in mind.
3. Panels, Tiles and One-Piece Units: an Honest Comparison
Panels are usually chosen against two alternatives, and it helps to be honest about what each does best. Tiles offer endless pattern, easy small repairs and a surface most people read as permanent and valuable; they also bring grout — the one part of a tiled shower that ages, stains and eventually needs renewal. One-piece moulded units, in acrylic or fibreglass, are the fastest and cheapest route to a working shower and have no joints at all, but their sizes are fixed, their feel under hand is thinner, and replacing one usually means replacing everything.
Panels sit between the two. Like a moulded unit, they cover large areas with few or no vertical joints in the splash zone and clean down in moments. Like tile, they look deliberate and substantial, and a damaged sheet can sometimes be swapped without disturbing its neighbours. Their weaknesses are equally real: big sheets are unforgiving of wavy walls, patterns rarely repeat so a badly cut panel cannot be quietly replaced from the same pack, and the material costs more than basic moulded units before fitting is counted. If you enjoy the pattern side of the decision, the schemes in our colourful tiny house interior ideas show how much of a room’s character comes from its largest surfaces — which, in a shower, is exactly what these panels are.
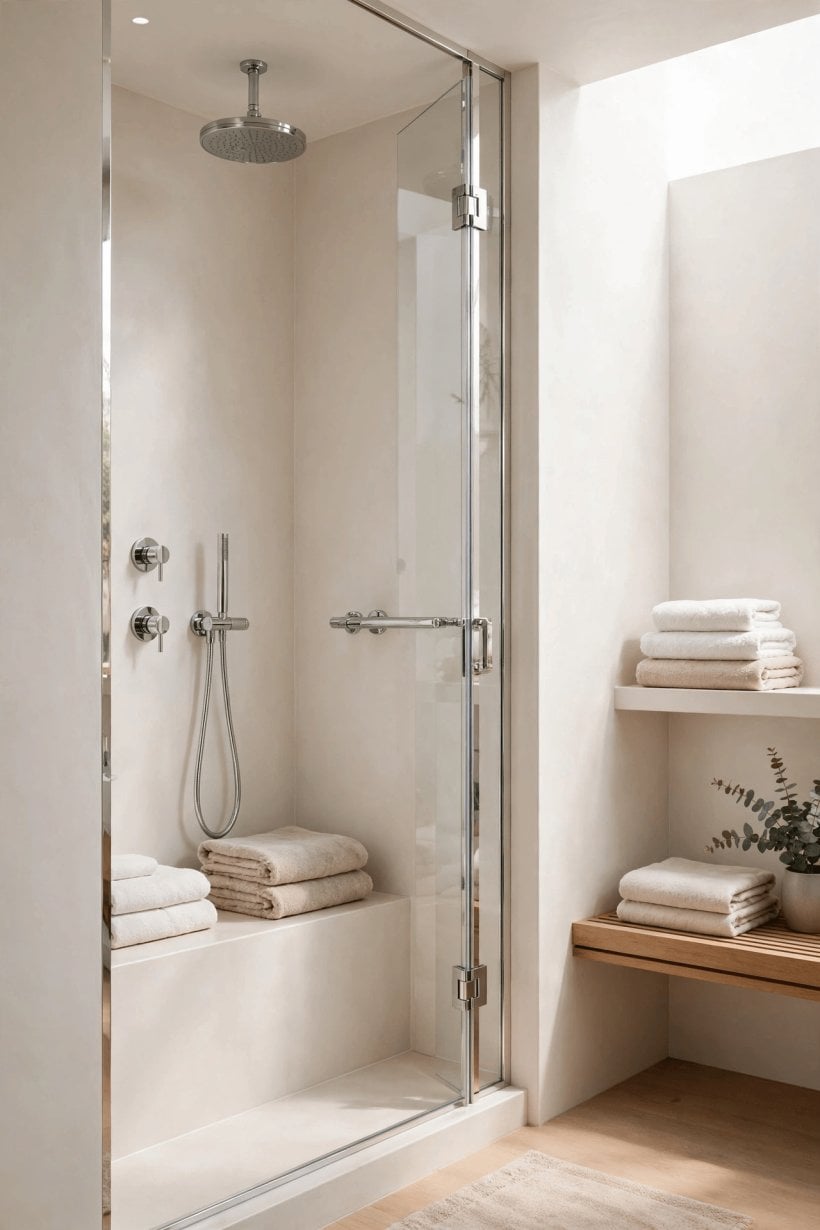
One more comparison rarely appears in brochures: time. A panel installation over a sound wall can be watertight in a day or two. A tiled enclosure takes longer — adhesive, grout and sealant each need their turn — and a moulded unit is quickest of all but dictates the shower’s size and shape. Decide which currency you are shortest of — money, time or design freedom — and the choice usually makes itself.
4. Sizes, Kits and What a Set Usually Includes
Panels are sold singly for made-to-measure work and in kits for standard enclosures. A kit typically covers two or three walls of a shower cubicle, or the three sides of a bath, and may include corner trims, end caps, adhesive and sealant matched to the material. Buying a kit is simpler and usually better value than assembling the same parts yourself, and it guarantees the trims and sealant are the ones the maker intends for the sheets you have chosen.
The bath version deserves its own sentence, because it is where many people meet this material first: a three-panel solid surface tub surround turns an ordinary bath into a respectable over-bath shower, covering the splash zone in the same wipe-clean finish, with the panels sized to run from the bath rim to above shower height. Measure the bath’s actual footprint before ordering one — older baths vary more than catalogues admit, and a surround cut for a nominal size can leave a gap exactly where water lands. The compact-room logic in our tiny barn house interior guide applies here too: in small bathrooms, standard kit sizes often map neatly onto the room, which is one reason panels suit compact homes so well.
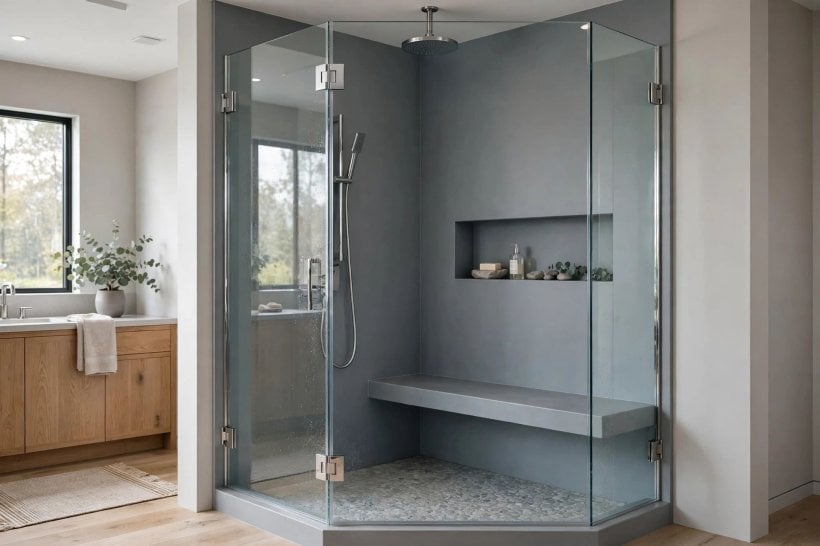
Whatever format you choose, order with the cuts in mind. List every sheet the room needs, mark which edges will be trimmed on site, and keep one spare panel in the budget discussion if the pattern is heavily veined — a cutting mistake on the last sheet is the most expensive sentence in any panel project. Check, too, what the quoted price includes: trims, adhesive and delivery of very large, flat, damageable sheets are frequent extras.
5. What Sits Behind the Panels Matters More Than the Panels
Here is the least glamorous and most important section of this guide. A panel is only a skin; what it is stuck to decides whether the installation lasts three years or thirty. The wall behind must be flat within the maker’s tolerance, structurally sound, and dry before the first sheet goes up. Panels bridge small imperfections kindly but telegraph big ones: a bowed wall shows as a stressed sheet, a gap at the trim, or a joint that will not sit closed.
Waterproofing is the second half of the story. The panel face sheds water, but the system relies on sealed joints and trims, and any water that does find its way behind — through a failed sealant line in five years’ time, say — should meet a wall that can cope. In wet zones that means a proper waterproof substrate or tanking system behind the panels, not bare plasterboard optimism. If your bathroom walls are being rebuilt anyway, this is the moment to do the hidden layer properly; the thinking in our guide to bedroom interior design for tiny houses about building the room in the right order applies with even more force in a wet room.
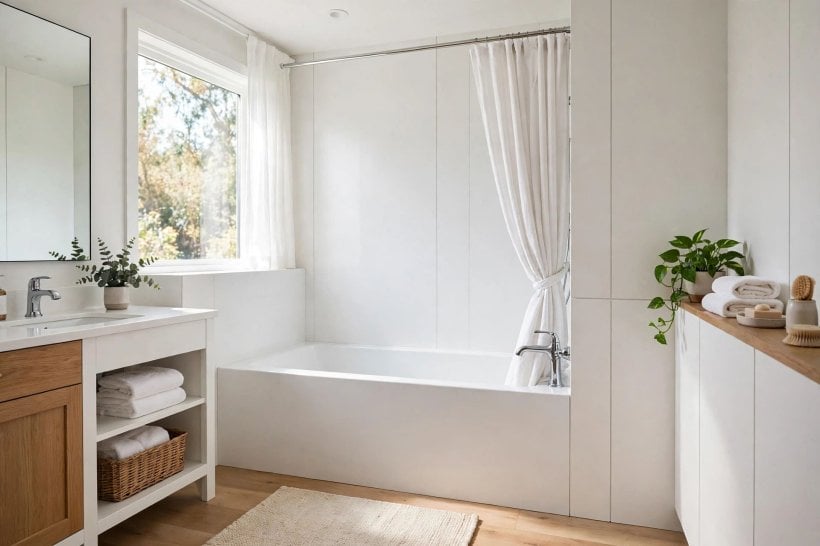
Going over existing tiles is the tempting shortcut, and it can be legitimate: tiles that are sound, well bonded and flat make a decent substrate once degreased. But test honestly. Hollow-sounding or cracked tiles, a wall that is already soft anywhere, or any history of leaks behind the tiles all argue for stripping back and starting from a known surface. Saving a day by paneling over a problem does not remove the problem; it just makes it more expensive to reach later.
6. Joints, Trims and Sealing: Where These Installations Succeed or Fail
Ask experienced fitters where panel showers fail and almost none of them name the panels. They name the joints. Solid-surface sheets are joined with colour-matched adhesive for near-invisible seams in some systems, overlapped or trimmed in others, and finished at edges and corners with profiles that exist to do three jobs: hide the sheet’s edge, allow a whisper of movement, and give the sealant a proper shape to sit in.
Sealant is a maintenance item wearing a permanent costume. It is the most flexible, most worked and shortest-lived part of the whole installation, and the one that will need renewing during the enclosure’s life. Fit it well — correct bead size, clean surfaces, no stretching it thin to make a tube go further — and plan on the basis that you will redo it one day, which argues for sealant lines you can actually reach with a tool when that day comes. The same discipline applies at the tray or bath rim, the hardest-working joint in the room, where the panel meets a surface that flexes slightly under load and water arrives daily.
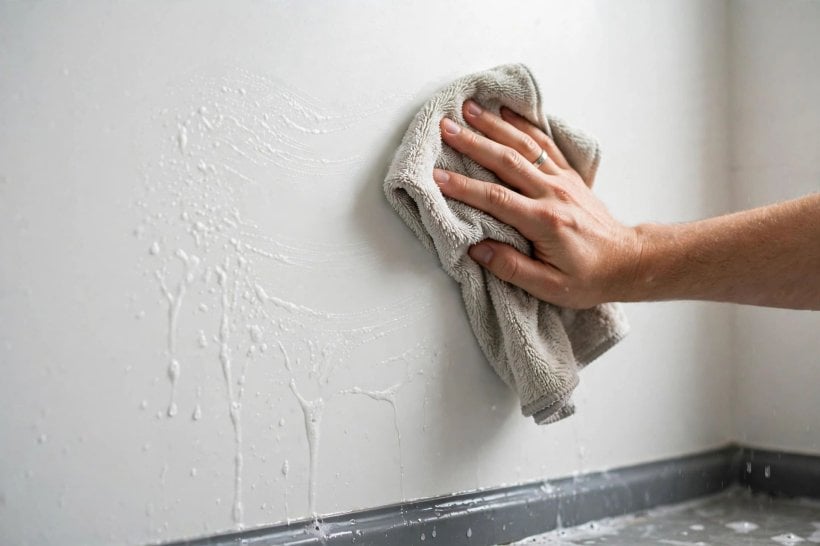
Corners deserve a decision before ordering, not during fitting. Internal corners can be formed with a folded or thermoformed sheet, a butt joint and trim, or a silicone line, and each looks and lasts differently. External corners need a trim that can survive knocks from bottles, elbows and cleaning. Write the corner treatment into the order, confirm the trims are included, and the installation stops containing surprises at exactly the points where water concentrates.
7. Fitting Order, Tools and the DIY Question
The fitting sequence is logical and worth picturing whole before you start. The tray or bath is installed and levelled first; plumbing for the valve and outlet is roughed in and tested; walls are prepared and waterproofed; then panels are dry-fitted, cut, and offered up one at a time — plumbing wall first in most layouts, so cutouts for the valve are made with the sheet on the bench, not on the wall. Adhesive goes on in the pattern the maker specifies, the sheet is pressed home and supported while it grabs, and joints and trims follow, with sealant last of all, once everything else is finished and cleaned.
The tools are ordinary — saw with a fine blade, router or plane for edges, drill and hole saws, levels, clamps, sucker handles for moving sheets — but the sheets themselves are the challenge: large, flat, heavy enough to be awkward, and easy to chip on a corner in a doorway. Two people is not a luxury; it is the method. Work through our tiny house bedroom ideas and you will notice the same theme the other rooms share with this one: in compact homes, access is half the job — measure the route the panels will travel from door to bathroom before assuming they can make the trip.
So, DIY or professional? Honest DIY is realistic in a square, dry, simple enclosure with a kit designed for it, by someone patient enough to dry-fit twice. Commission a professional when walls are out of square, plumbing moves, the pattern must align across sheets, or the bathroom is the home’s only one and cannot be out of action for long. Either way, get the maker’s fitting instructions for your exact system and follow them over generic advice — including this guide.
8. Cleaning, Care and Repairs
Day to day, this is the easiest shower surface most people will ever own. A soft cloth or sponge, warm water and a mild cleaner deal with soap film and shampoo; a squeegee pass after showering keeps dried droplets from marking matt finishes; and there is no grout to darken, whiten or dig out. What the material dislikes is abuse of two kinds: abrasive scouring creams and pads, which dull the finish in patches, and strong solvents or drain chemicals left sitting on the surface, which can mark it. Limescale in hard-water homes responds to a mild acidic bathroom cleaner used promptly, rather than heroic scrubbing later.
The repair story is the material’s quiet superpower. Because a solid-surface sheet is the same substance throughout, light scratches, scuffs and many stains can be worked back with fine abrasive pads, moving through the grades the way you would refinish wood, until the mark blends into the surrounding finish. Deeper damage — a dropped-tool chip, a crack from a badly supported sheet — is a professional conversation, and a cracked panel is not a sanding job. Keep the offcuts from your installation: they are test pieces for cleaning products, colour references for sealant, and occasionally the raw material for a matching shelf or upstand.
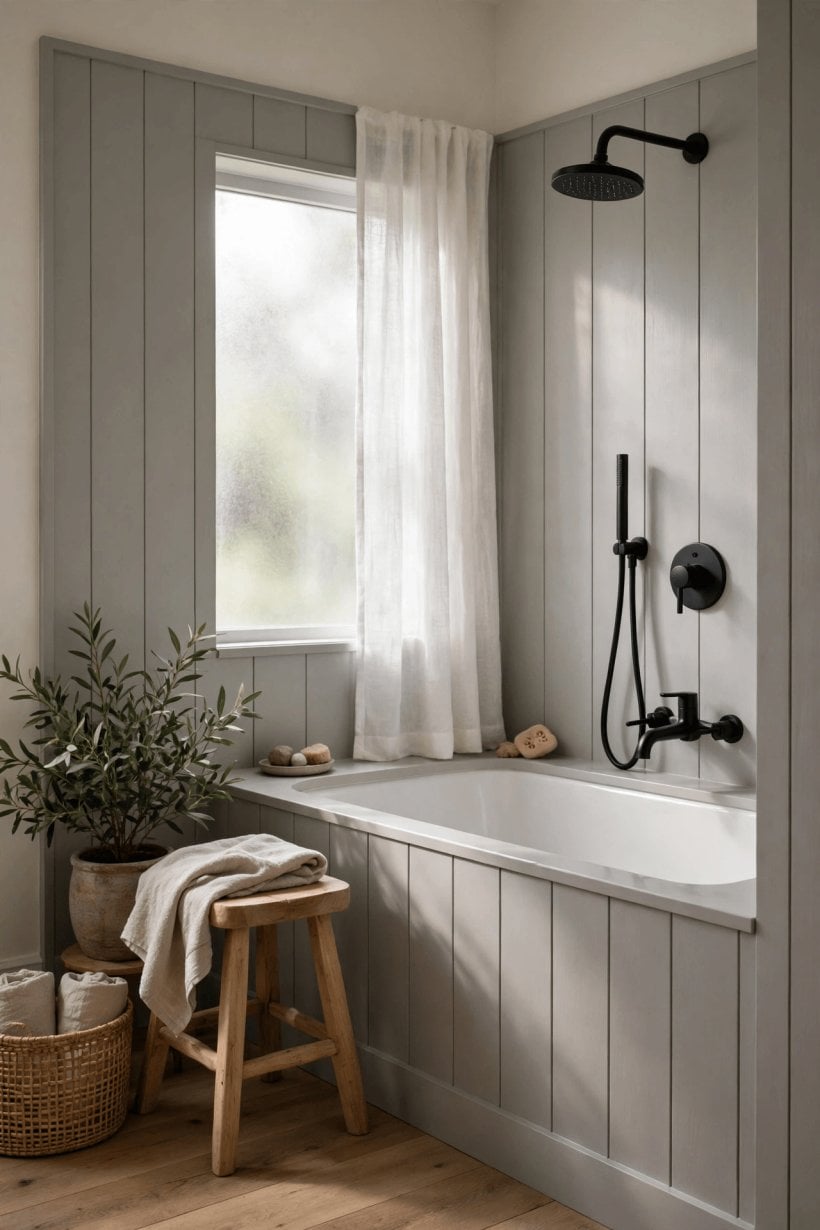
Build one habit and the surface will repay it: ventilation. Panels do not grow mould the way grout lines can encourage, but a steamy, unventilated room still feeds mildew on sealant and keeps every surface wetter for longer. An extractor that actually runs, or a window that actually opens, protects the whole installation — panels, seals and paintwork alike — more cheaply than any product you can buy in a tube.
9. What Drives the Cost
Panel projects are priced in layers, and seeing the layers stops the total from feeling arbitrary. The sheets themselves are the obvious layer, and their price moves with thickness, finish and pattern — heavily veined, stone-look surfaces sit at the top of most ranges, plains at the bottom. Around them sit trims and profiles, adhesive and sealant specified for the system, the substrate and waterproofing work behind the panels, cutting and fitting labour, and delivery — large flat sheets travel as freight, not parcels, and are priced accordingly.
The two surprises that catch people out are preparation and waste. Preparation, because a wall that needs rebuilding flat and waterproof costs real money before a single panel is opened — and it is money that buys the installation’s lifespan, so it should be budgeted gladly rather than resented. Waste, because pattern alignment and one miscut sheet can mean ordering another full panel; buying from a range your supplier stocks locally softens that risk. Set these costs in context with the rest of a compact home’s budget — the priorities in our tiny house living room ideas and tiny house landscaping ideas show the same pattern of spending where it is touched and seen daily, and saving where it is not.
Quotes, finally, should be itemised in the same layers: materials, trims and consumables, preparation, labour, delivery, disposal. A single round figure hides which layer is thin — and in this trade the thin layer is almost always the invisible one behind the panels, which is precisely the layer this guide has been asking you to protect.
10. Questions To Settle Before You Commit
Work through this list before money moves; every item has stopped a real project mid-installation somewhere. Are the walls flat, sound and dry enough, and if not, who is making them so, at what cost, before the panels arrive? Is there a waterproof layer behind the wet-zone panels, or is the system relying on sealant and optimism? Which joint and corner system does your chosen range use, are all its trims in the quote, and can you see a fitted example rather than a render?
Then the practicalities. Do the panels physically fit through the doors, stairs and turns between the street and the bathroom — measure the route, not just the room. Where will sheets be cut, and who disposes of offcuts? If the pattern is veined, have you agreed how it aligns across joints, and ordered accordingly? Is the bathroom the home’s only one, and if so, what is the plan for the days it is out of action? And when something needs attention in three years — a sealant line, a scuff — do you have the maker’s care instructions, leftover material and the fitter’s number stored somewhere findable?
None of these questions argues against panels; solid-surface systems, honestly specified and properly fitted, are among the most liveable shower surfaces available. They are simply the questions that separate the installations people praise from the ones people warn about — and every one of them is cheaper to ask now than later.
Final Considerations
A panel or solid-surface shower asks more of your decisions up front and less of your time every week afterwards: no grout to maintain, a surface that can be refinished in place, and a finish that makes a small bathroom feel calm rather than busy. Commit to it with the hidden layers funded, the joints planned and the measurements double-checked, and it will repay the care quietly, every single morning. If you are weighing the whole project as part of a build or a renovation, our step-by-step guide to how to build your own tiny house shows where a bathroom decision like this one sits in the larger sequence — early, structural, and worth getting right the first time.


0 Comments