

Few single changes lift a plain room like a tray ceiling: a recessed centre, one or more stepped edges, and light placed exactly where it flatters the space below. It adds a sense of height, gives chandeliers and pendants a natural home, and turns an ordinary flat surface into architecture.
Below are fifty numbered designs grouped by shape, room, lighting, colour, materials and budget, starting with a summary table so you can shortlist a direction before reading the details.
1. Tray Ceiling at a Glance: Shapes, Steps and Light
Every design in this guide is a variation on three choices: the shape of the recess, the lighting hidden or displayed within it, and the colour and trim used to finish the steps. Settle those three, check the structure above, and the rest is detailing.
| Element | Main options | What it changes |
|---|---|---|
| Shape | Rectangle, curved, oval or shaped to the room | The character of the room and how formal it feels |
| Steps | Single, double or perimeter-only | Depth, shadow lines and suitability for lower rooms |
| Lighting | Hidden cove, downlights, central pendant or layers | Mood, glare control and how the recess glows at night |
| Colour | Tone-on-tone, darker recess or contrast edge | Whether the design whispers or becomes the focal point |
| Trim | Shadow gap, crown moulding or timber cladding | The style family the finished room belongs to |
| Structure | Joist direction, wiring routes and access | What is possible without deeper building work |
| Cost drivers | Size, steps, lighting, finish and labour | Where the budget goes — covered qualitatively in section 10 |
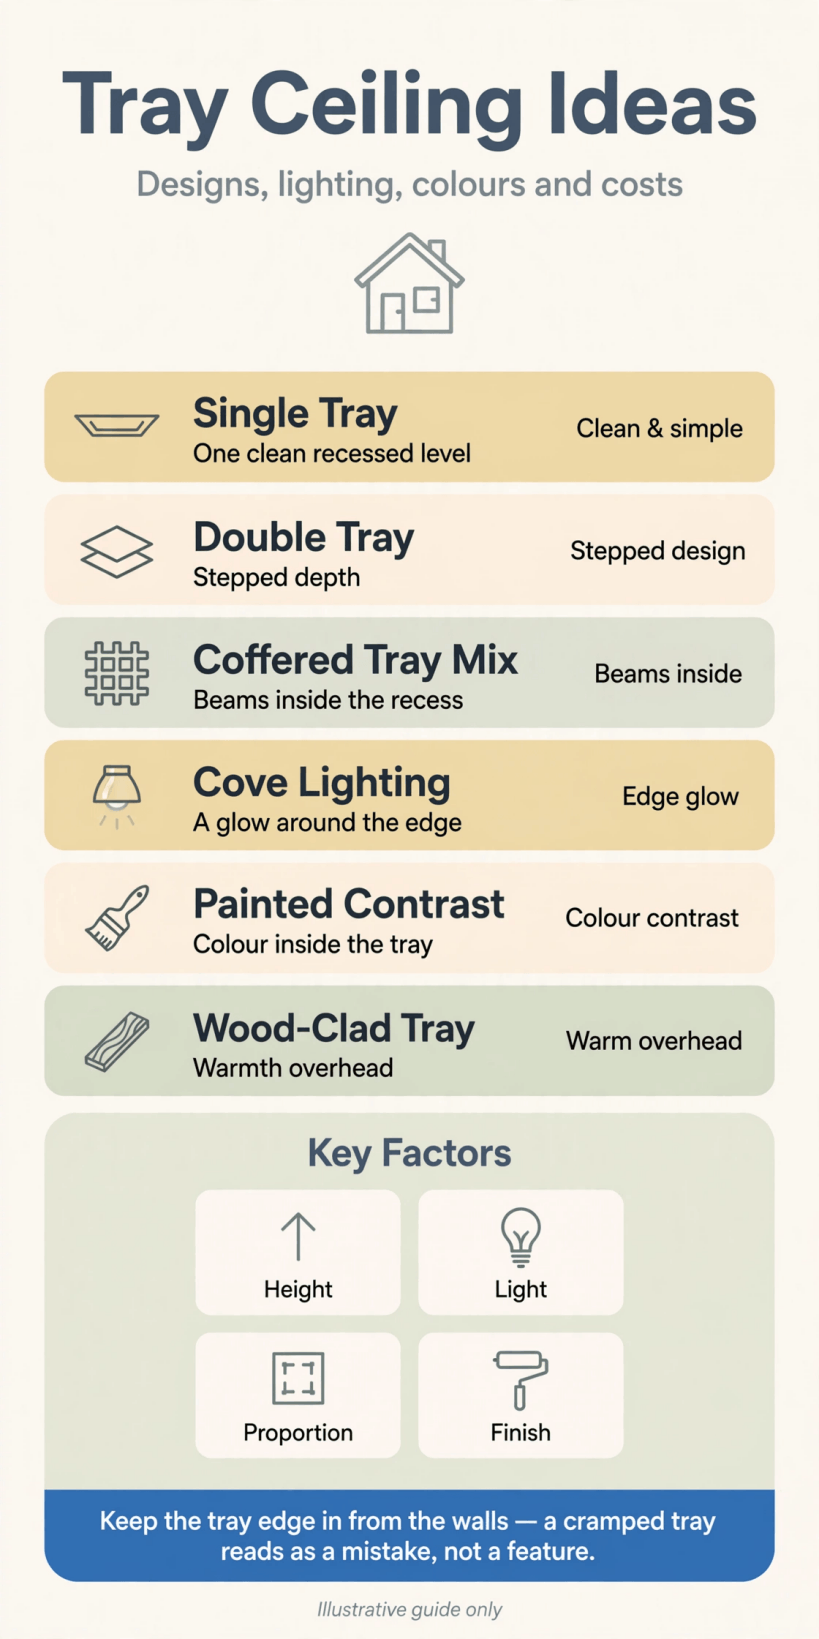
A quick visual summary of shapes, steps, lighting layers and colour choices before the numbered designs begin.
- Classic single-step design. One recessed rectangle centred in the room is the timeless starting point. It suits most living rooms and bedrooms, reads as calm architecture rather than decoration, and is the simplest form for a builder to frame and finish neatly.
- Double-step design. Two graduated steps climbing towards the centre add depth and shadow play, giving larger or taller rooms a more formal, layered finish. The extra step also creates a natural shelf for a second run of hidden lighting.
- Inverted design. Here the centre panel sits lower than the perimeter instead of higher, which can suit very tall rooms that feel cavernous. It brings the centre light closer to the people below while the edges keep their full height.
- Curved design. Rounded corners or a fully curved step soften the geometry, echoing arched doorways and curved furniture. Curves feel gentle and contemporary, though they ask more of the plasterer and usually sit at the bespoke end of a project.
- Shaped design. An oval, octagonal or room-shaped recess follows the architecture rather than fighting it. This works beautifully in dining rooms where the recess can mirror the table, and in older homes with angled or irregular walls.
2. Living Room Designs
The living room is where this feature earns its keep daily, organising lighting over seating and giving the whole arrangement a centre. The layouts below pair well with the seating-first thinking in our Tiny House Living Room Ideas guide.
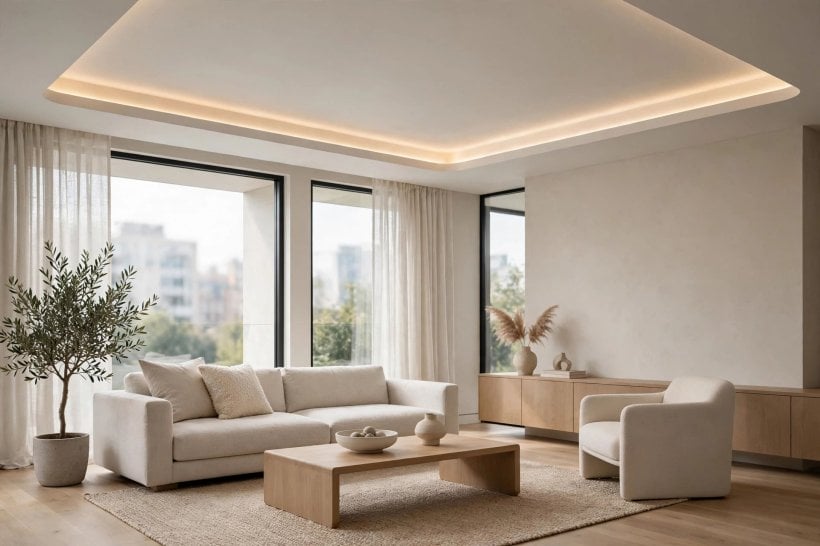
- Cove-lit family design. A hidden strip washing the recess with soft light makes the everyday family version: no glare on screens, a gentle glow for evenings, and a centre pendant position left free for a fan or a simple fitting.
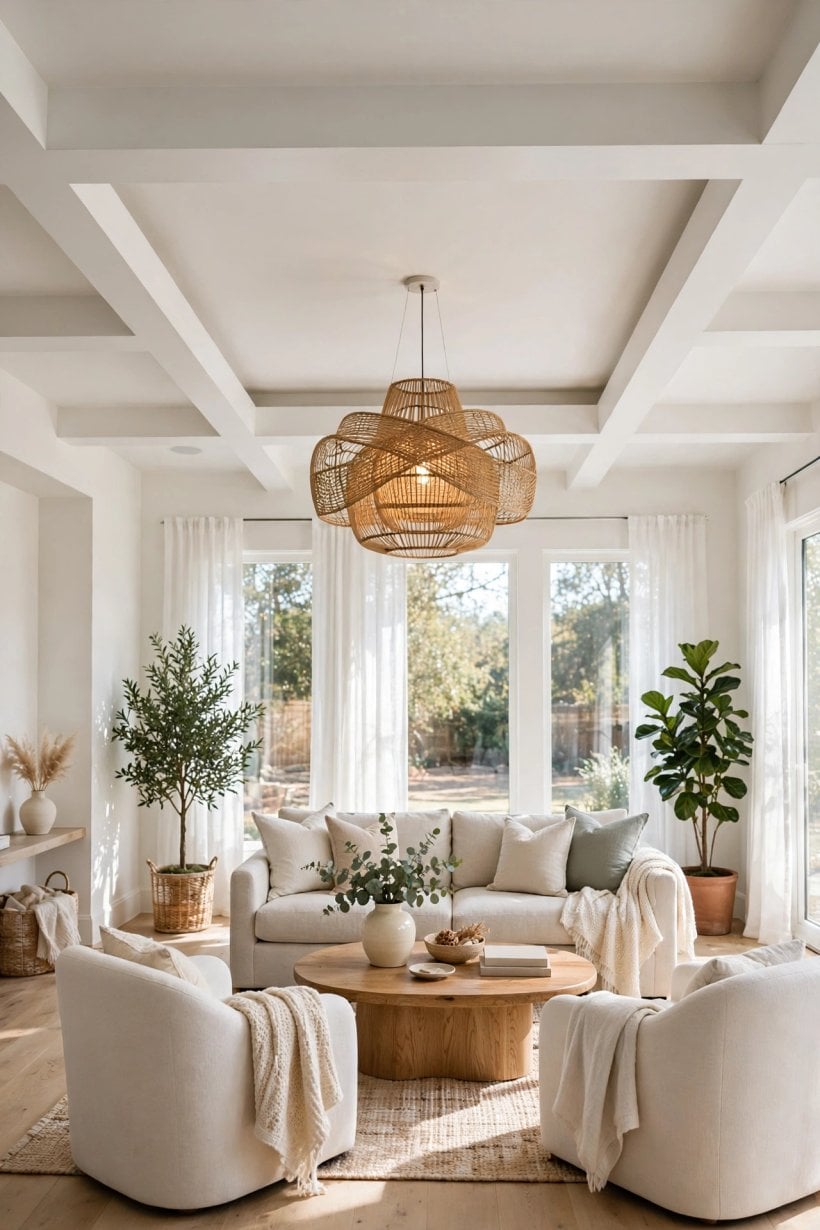
- Design with beams. Timber or timber-effect beams crossing the recess add rustic weight and divide a large centre into calmer bays. Keep the beams aligned with the furniture below so the composition feels planned from floor to top.
- Statement centre-light design. A single generous recess built around one beautiful chandelier or sculptural pendant. The steps stay plain so all attention lands on the fitting, which should be sized boldly enough to hold the centre.
- Low-profile design. For rooms with modest height, a shallow single step and pale finishes borrow the look without stealing headroom. The shadow line still reads clearly, especially with a slightly deeper tone inside the recess.
- Seating-zone design. Instead of centring on the room, centre the recess on the seating arrangement. This works in long or L-shaped rooms where the geometric middle of the space is not where people actually sit.
3. Bedroom Designs
Bedrooms want the softest version of the idea: indirect light, quiet colour and nothing glaring above the pillows. These five designs keep that restful brief, and our Tiny House Bedroom Ideas offer matching small-space thinking for the rest of the room.
- Soft cove design for restful light. Concealed lighting around the recess gives a hotel-like glow with no visible source, ideal above a bed. Put it on a dimmer by the door and, if possible, on a separate switch within reach of the pillows.
- Design centred over the bed. Align the recess with the bed rather than the room so the composition greets you as you enter. This is especially effective where wardrobes or a bathroom door push the bed off the room’s true centre.
- Double-step design with a fan. In warm climates the centre of the recess is the natural home for a ceiling fan. A double step frames it handsomely, and the fan’s drop rod can be sized to keep blades at a comfortable height.
- Painted inner panel design. Keep the steps white and paint only the inner panel in a muted, restful colour — a soft sage, dusty blue or warm clay. The effect is a quiet canopy of colour that changes the room’s mood completely.
- Layered design with reading control. Combine the cove glow with small, well-aimed reading lights on their own circuit. One partner can read while the other sleeps, and the recess still looks serene because every source is planned rather than added later.
4. Dining Room and Kitchen Designs
Over a table or island, the recess becomes a frame for gathering: it marks the eating zone in open-plan spaces, organises pendants, and gives celebrations a sense of occasion on ordinary Tuesdays too.
- Design mirroring the table. Shape and size the recess to echo the dining table below — rectangle for rectangle, oval for oval. The echo is subtle but powerful, and it keeps pendants, table and architecture in one calm conversation.
- Island-aligned kitchen design. A long, slim recess centred over a kitchen island organises task pendants and gives the work zone definition in an open-plan room. Keep the steps slim so the design reads as a line of light, not a lid.
- Pendant cluster design. Group three or more pendants inside the recess at varied heights for a relaxed, collected look. The recess contains the cluster visually, stopping it from feeling scattered across a large open space.
- Open-plan zoning design. Use one recess to claim the dining territory within a big shared room, leaving the sitting area plain or giving it its own simpler treatment. The contrast quietly tells everyone where each activity lives.
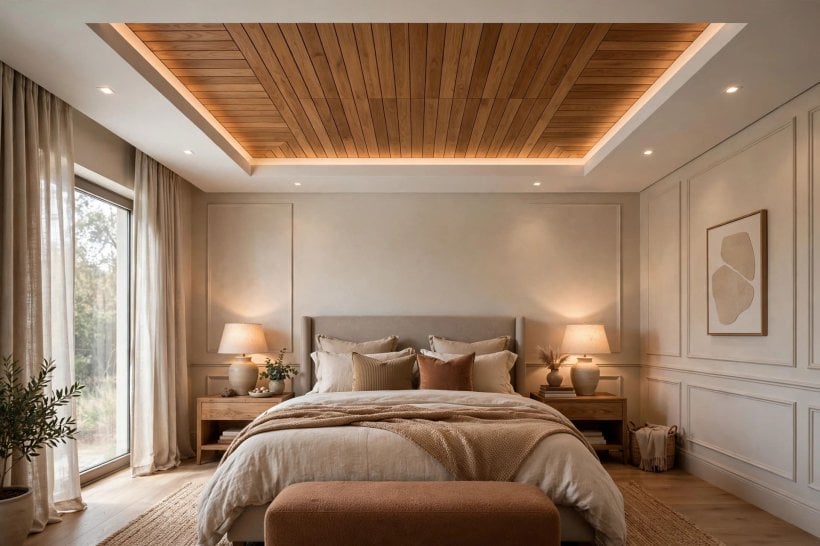
- Timber-inlay centre design. Line the flat centre panel with warm timber or a timber-effect finish while the steps stay painted. The contrast brings a dining space instant warmth and pairs naturally with wooden tables and flooring.
5. Lighting Designs
Lighting is where these designs succeed or fail. Plan circuits before anything is built, because moving a cable after plastering is the expensive way to learn. Film lovers should note the dimming ideas — they pair beautifully with the setups in our Tiny House Home Theater guide.
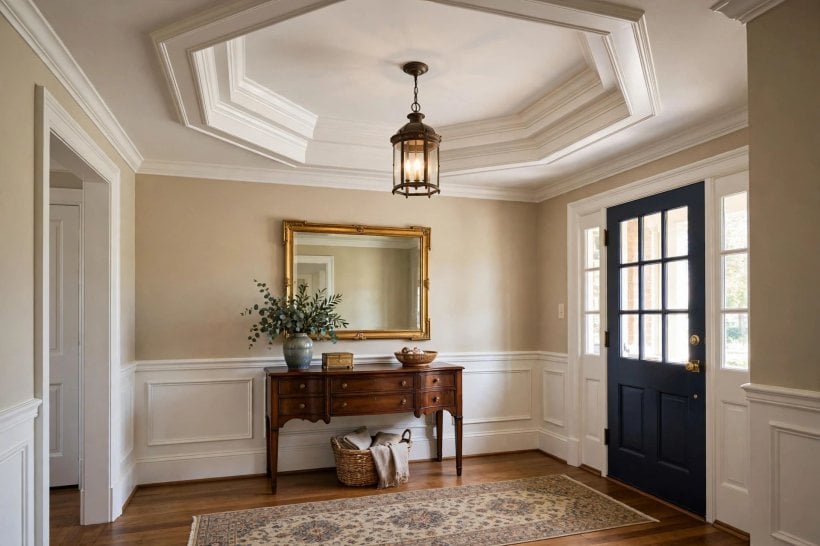
- Hidden cove strip. A continuous strip concealed behind the step washes the centre with indirect light. Choose a quality strip and driver, mount it so individual points of light never reflect visibly, and the glow will look like daylight held in reserve.
- Downlights in the step. Small recessed downlights set into the horizontal step give focused pools of light for reading corners or artwork. Space them evenly, aim them away from screens, and keep them off the flat centre where they would glare.
- Central statement fitting. One chandelier, lantern or pendant at the centre remains the classic arrangement. The recess acts as its frame, so even a modest fitting looks deliberate; just size the drop so the fitting hangs within the recess’s visual field.
- Layered circuits on dimmers. Put cove, centre and downlights on separate dimmable circuits. Bright for cleaning and games, low and warm for films and dinners — one built feature then serves every mood the room ever needs.
- Tunable evening scenes. Adjustable white light lets the recess feel crisp at breakfast and candle-warm at night. Preset scenes on a simple control remove the nightly fiddle of balancing three dimmers by hand.
6. Colour Designs
Colour decides whether the feature whispers or sings. Sample generously on the actual steps before committing, because light inside a recess changes every shade — the method in our Tiny House Interior Paint Colors guide applies perfectly here.
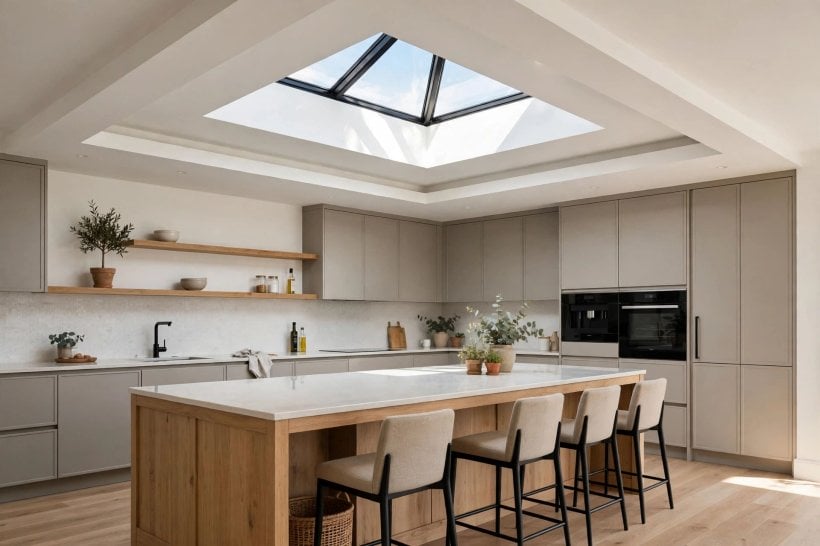
- Tone-on-tone white design. Keep every surface white but vary the sheen — matte on the centre, a fraction softer on the steps. The architecture shows through shadow alone, which is the most forgiving scheme for bright or north-facing rooms.
- Darker inner recess. A deeper tone inside the recess adds drama and makes pale rooms feel considered. It is especially effective with cove lighting, where the colour glows rather than darkens once the lights come on.
- Pale colour wash. The gentlest hint of colour — barely-there blue, green or blush across the whole feature — softens white rooms without commitment issues. From the door it reads as white; from the sofa it reads as atmosphere.
- Contrasting step edge. Paint only the vertical face of one step in a contrasting tone to draw a crisp line around the recess. This graphic touch suits contemporary rooms and needs a steady hand or a good decorator’s tape line.
- Warm metallic accent. A fine line of warm metallic paint or leaf-effect finish inside the cove catches the hidden light and glows at night. Used sparingly, it gives plain plaster the feel of a bespoke detail.
7. Materials and Trim Designs
Trim is the vocabulary that places the design in a style family. The same recess reads modern, classic or rustic purely through its edges, which is why these choices belong with the broader scheme ideas in our Modern Tiny House Interior Ideas.
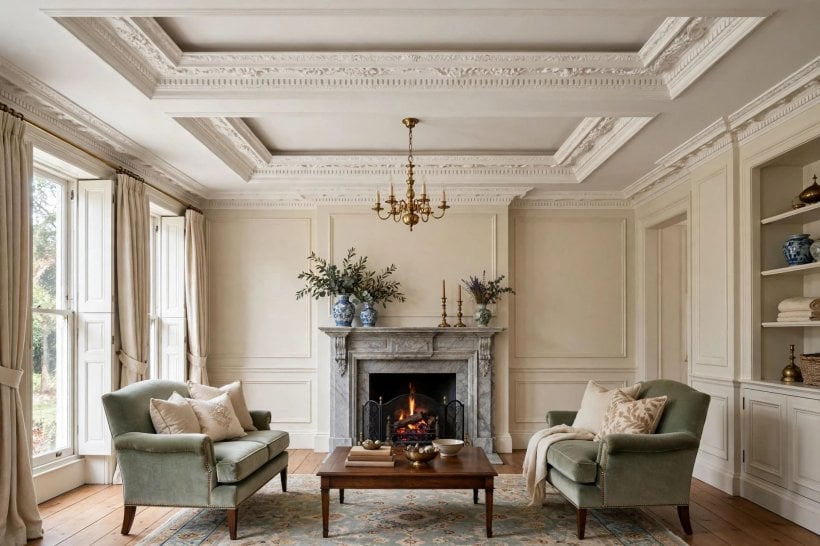
- Smooth plasterboard steps. Clean, square plastered steps are the versatile default: paint them any colour, light them any way. Crisp mitres and careful sanding matter more than any upgrade, because plain surfaces show every flaw.
- Timber-clad step. Veneer or solid timber on one step brings warmth and natural grain overhead. It links the design to floors, doors and furniture, and looks particularly good in dining rooms and calm, nature-leaning schemes.
- Crown moulding finish. A traditional moulding where the feature meets the wall gives an instantly classic reading. Match its profile to skirting and architraves so the room’s woodwork tells one consistent story.
- Minimal shadow-gap edge. A slim recessed gap instead of a trim creates a floating, architectural edge loved by contemporary schemes. It demands precise setting-out, but the resulting line of shadow is unmistakably deliberate.
- Coffered hybrid design. Cross the recess with beams to form shallow coffers inside the tray shape. The hybrid suits large formal rooms, adding rhythm overhead while keeping the perimeter step that defines the style.
8. Small Room and Low Ceiling Designs
Low rooms are not excluded — they simply need shallower steps, paler colours and lighting that lifts rather than lowers. These restrained versions keep the architecture and protect every centimetre of headroom.
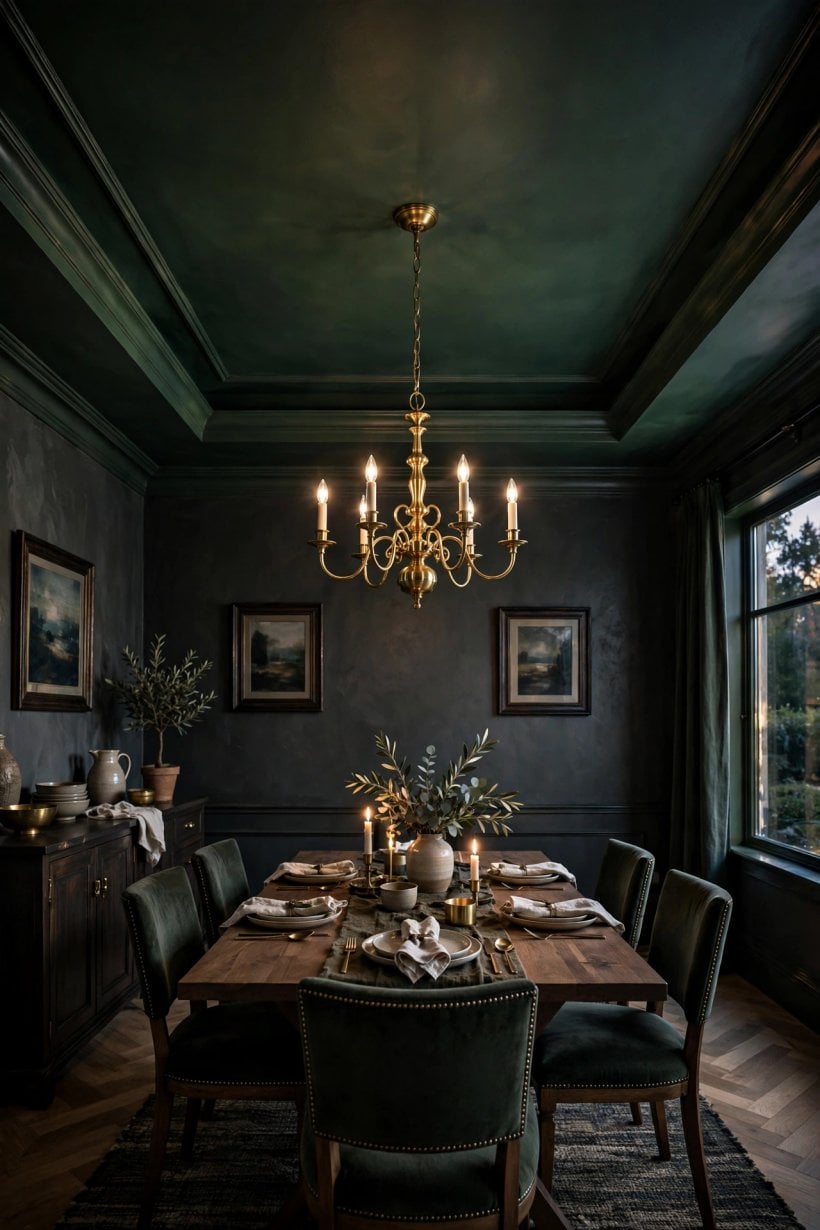
- Shallow single-step design. The smallest honest version: one modest step, finished pale, with the centre kept light. In a standard-height room it still delivers the framed effect, especially once the cove glow comes on in the evening.
- Perimeter-only design. Drop only a border around the room’s edge and leave the centre at full height. This suits rooms where a fan or tall furniture needs the middle untouched, and it hides a cove strip beautifully.
- Hallway and entry design. A slim recess running along a hall or centred in an entry porch gives the smallest spaces in the home a designed moment. Add one pendant and even a narrow corridor feels arrived at, not passed through.
- Compact bedroom cove design. In a small bedroom, a shallow perimeter cove replaces bedside glare with a ring of soft light. It frees the centre for a simple fitting and makes low rooms feel taller at night, when it matters most.
- Height-borrowing pale design. Combine the shallowest step with the palest colour scheme and gentle uplighting. The eye reads brightness as height, so the finished room feels airier than its measurements suggest — a useful illusion in cottages and conversions.
9. Style Directions
Finally, dress the architecture in a clear style. Mixing vocabularies — rustic beams with a shadow gap, ornate moulding with a graphic colour line — usually muddles the result, so pick one direction from this list and let it lead, as our Tiny House Interior Design guide recommends for whole rooms.
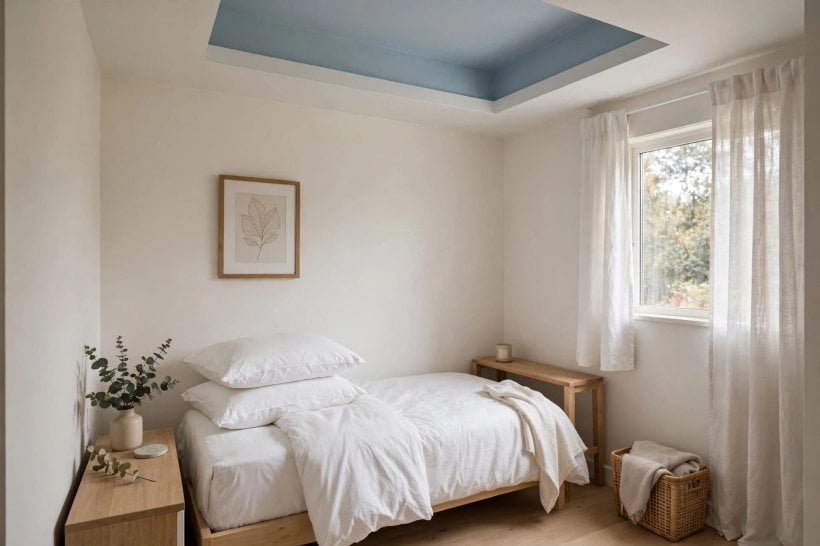
- Modern minimalist design. Square steps, a shadow gap, tone-on-tone colour and one sculptural light. Nothing else is needed; the discipline of leaving things out is exactly what makes this direction feel expensive.
- Classic traditional design. Crown mouldings, a centred chandelier and a gentle two-tone paint scheme give the timeless version. It suits period homes beautifully, where the feature should feel as if it was always part of the house.
- Rustic design with beams. Warm timber, a plastered step and soft cove light create the farmhouse-leaning option. Keep metalwork dark and simple, and let the wood’s grain carry all the decoration the design needs.
- Contemporary dark-line design. A single dark trim line or a deep-toned recess gives a crisp, current look in otherwise pale rooms. Repeat the dark tone in one or two furniture accents so the gesture feels grounded, not floating.
- Transitional soft-contrast design. The diplomatic middle path: gentle moulding profiles, a recess one or two shades deeper than the walls, and layered lighting. It flatters most homes and ages gracefully as tastes change around it.
10. Costs and Planning: What Drives the Budget
Honest cost talk for this feature is qualitative, because prices swing with region, room size, access and the trades available locally. What can be stated reliably is where money goes: complexity, lighting and finish quality, in that order. Use these five scope levels to brief builders and compare like-for-like quotes.
- Simplest scope. A single painted step using the existing central light position is the most economical route. Costs stay focused on framing, plastering and decorating, with no new electrical work beyond reconnecting what was already there.
- Mid-level scope with cove lighting. Adding a hidden strip, its driver and a dimmer introduces an electrician and better materials. This is the level most households choose, because the evening transformation is where the design truly pays back.
- Double-step scope with trim. A second step plus crown moulding or timber cladding adds joinery time and finishing care. Quotes rise mainly through labour hours, so a tidy, experienced plasterer is worth more here than premium paint.
- Bespoke shapes and curves. Curved or shaped recesses need formwork, patience and often a specialist plasterer. Expect this scope to sit at the top of the range, and protect it with a clear drawing everyone has agreed before work starts.
- Full renovation scope. If the project also moves wiring, adds circuits, repairs the surface above or alters structure, costs belong to the wider renovation, not the feature alone. Ask for itemised quotes so the ceiling’s share is visible and comparable.
Final Considerations
Choose the design from the room’s life, not from a photograph: how you light evenings, where people sit, what the surface must hide or hold. A shallow, well-lit, honestly finished recess will delight for decades, while a deep, complicated one in a low room will be regretted every day.
Always have the structure and wiring checked by qualified trades before building, agree the exact shape and circuits in a drawing, and sample colours inside the finished recess before the final coat. With those steps taken, the result is the rare upgrade that improves a room morning, noon and night.


0 Comments