

Mortared stone paths are a bet against nature, and nature always collects. Frost heaves, roots push, ground settles — the rigid slab cracks, and the repair means demolition. Dry-laid flagstone concedes the fight gracefully: each stone moves on its own, the path breathes, and a repair is just lifting one stone and bedding it again.
1. Dry-Stack Stone Path at a Glance
A dry-stack stone path is a walkway built from individual flagstones bedded on sand over a compacted crushed-stone base, with no mortar anywhere in the system. Its strength comes from the profile beneath the stone rather than from anything binding the stones together: a woven geotextile separator, a structural crushed-stone base, a thin screeded bedding layer, and stones fitted tightly enough to lock against each other. Because nothing is rigid, the finished walkway flexes through frost, roots and settling instead of cracking — and every part of it can be lifted, adjusted and reset by hand. The table below gathers the whole build in one place; the sections after it take stone selection, excavation, laying, jointing, edging and upkeep apart in turn.
| Attribute | Detail |
|---|---|
| The Method | Flagstone dry-laid on sand over crushed stone — no mortar anywhere in the system |
| Flagstone Thickness | 1.5–2″ — 2″ is the walkway standard; thinner flags crack underfoot |
| Stone Size | 18–36″ across — big enough to step on wholly, the stride stone |
| Stone Types | Sandstone, limestone, bluestone — flat-ish and splittable; avoid rounded fieldstone for walking surfaces |
| Coverage | 1 ton covers ~80 sq ft — a 3×20 ft path needs ~3/4 ton |
| Excavation Depth | 6–8″ — 4″ compacted base + stone thickness + 1″ bedding |
| The Base | 4″ of 3/4″ minus crushed stone, compacted in 2″ lifts, over woven geotextile |
| Joint Width | 1/2–1.5″ — filled with stone dust, creeping thyme or 3/8″ chip |
| Level Tolerance | Lippage under 1/4″ between neighbouring stones — the trip-free path |
| Lifespan | Indefinite — the base is permanent, the stones are forever, only the joint filler renews |
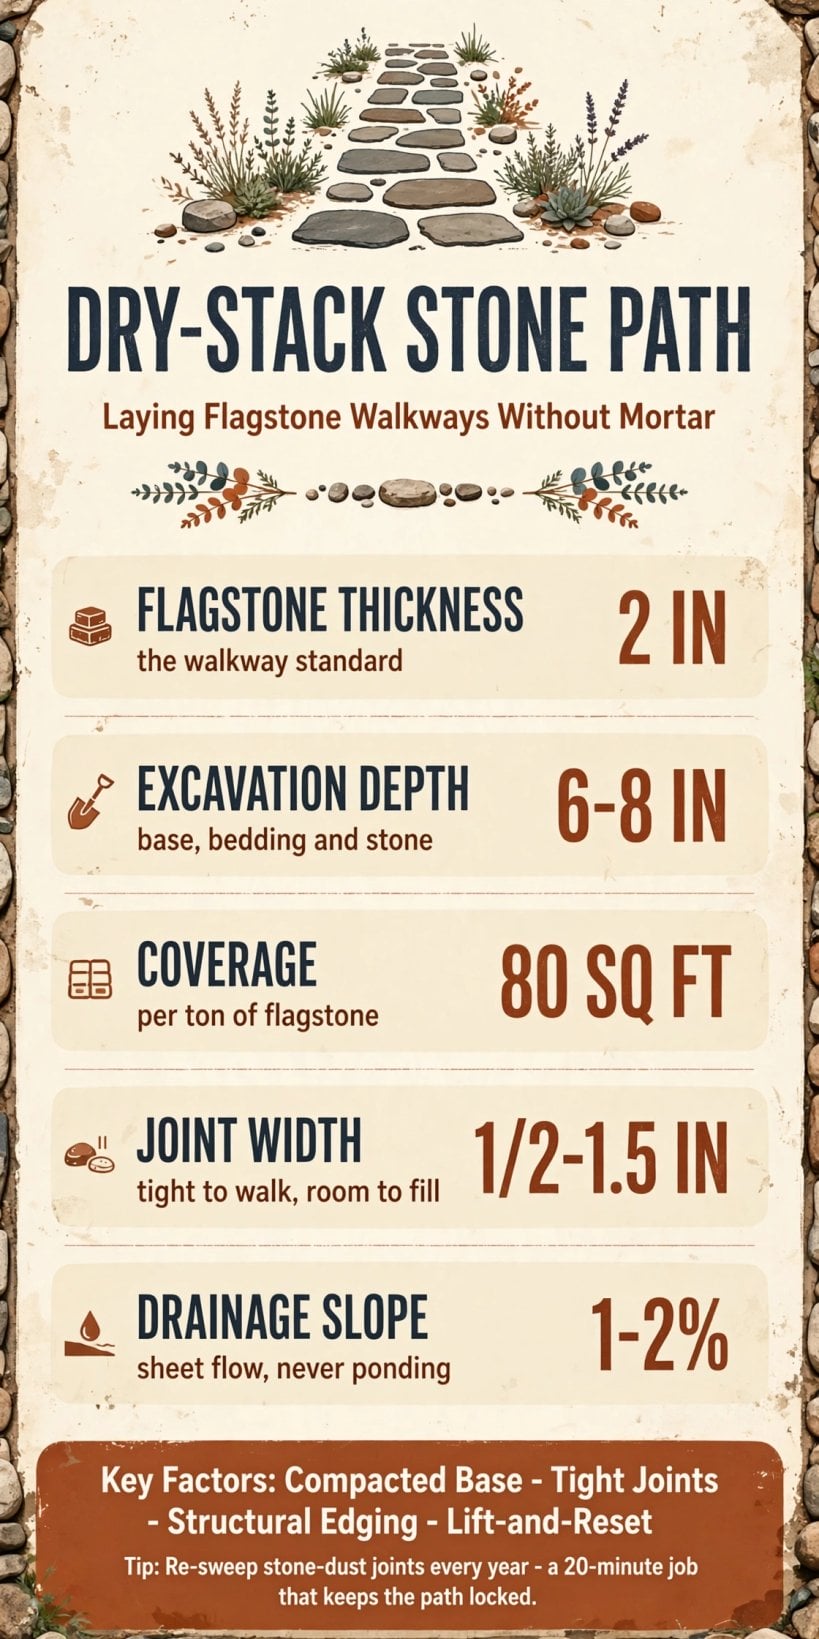
Two inches of stone, six to eight inches of excavation and zero mortar — the path that flexes instead of cracking, on one card.
Read the table as a profile, from the bottom up. The geotextile keeps the soil from pumping into the base; the base carries the load and drains the water; the bedding gives each stone a seat it can be levelled into; and the stones themselves, fitted close and jointed tight, spread every footstep across the whole structure. Skip a layer and the path tells you about it within a season — which is why the excavation section below matters as much as the stone you choose.
2. Stone Selection: Thickness, Size and the Flagstone Eye
Everything about a dry-laid walkway is decided at the stone yard, because the stone is the one part you cannot adjust later. Thickness comes first: 1.5–2″ is the working range, and the 2″ stone is the walkway standard — thinner flags crack underfoot, flexing on a bedding layer that is meant to support a rigid slab, not a wafer. Size comes second: choose pieces 18–36″ across, big enough to step on wholly. The stride stone is the unit of the whole design — a path of large flags reads as calm and deliberate, while small flags make a fussy path that is slower to lay and harder to keep level.
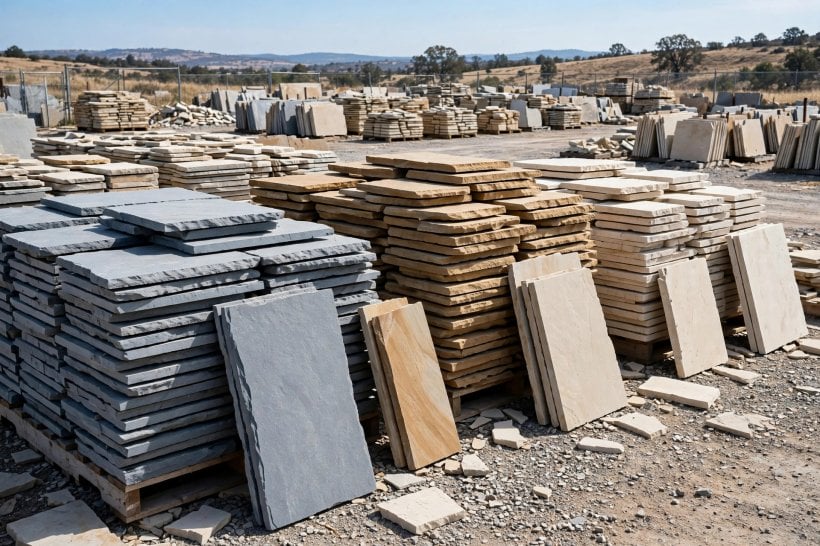
Type comes third. The classic flagstones are sandstone, limestone and bluestone — flat-ish, splittable stones that split along their bedding planes into naturally level walking surfaces. Rounded fieldstone is the one to avoid for a walking surface: it belongs in walls and borders, not underfoot. The fuller comparison of the two families is worked through in the guide to flagstone vs fieldstone, and it is worth reading before you buy, because the two stones behave completely differently once they are on the ground. Quantity is simple arithmetic: 1 ton covers roughly 80 sq ft, so a 3×20 ft path needs about 3/4 ton. And if the delivered price makes you wince, the sourcing guide shows how to find free landscaping rocks from quarries and construction sites — flat offcuts and seconds are often exactly the sizes a path wants. Finally, sort before you dig: lay out all the stones first in a dry run and arrange the puzzle on the ground. The 30-minute sort saves hours of lifting and re-lifting later.
3. Laying the Stone Puzzle: Pattern, Joints and the Wobble Test
Laying is a puzzle, not a tiling job. The pattern is irregular — the natural look — but it follows one structural rule: avoid four corners meeting at a point. The cross-joint where four stones converge is the weak spot of any dry-laid surface, a hinge the path will work at with every season; stagger the joints like brickwork instead, so every stone is braced by its neighbours on all sides. Work from the dry run you sorted earlier, keeping the largest, flattest stride stones for the centre of the walking line and the smaller or odder pieces for the edges, where the eye forgives them.
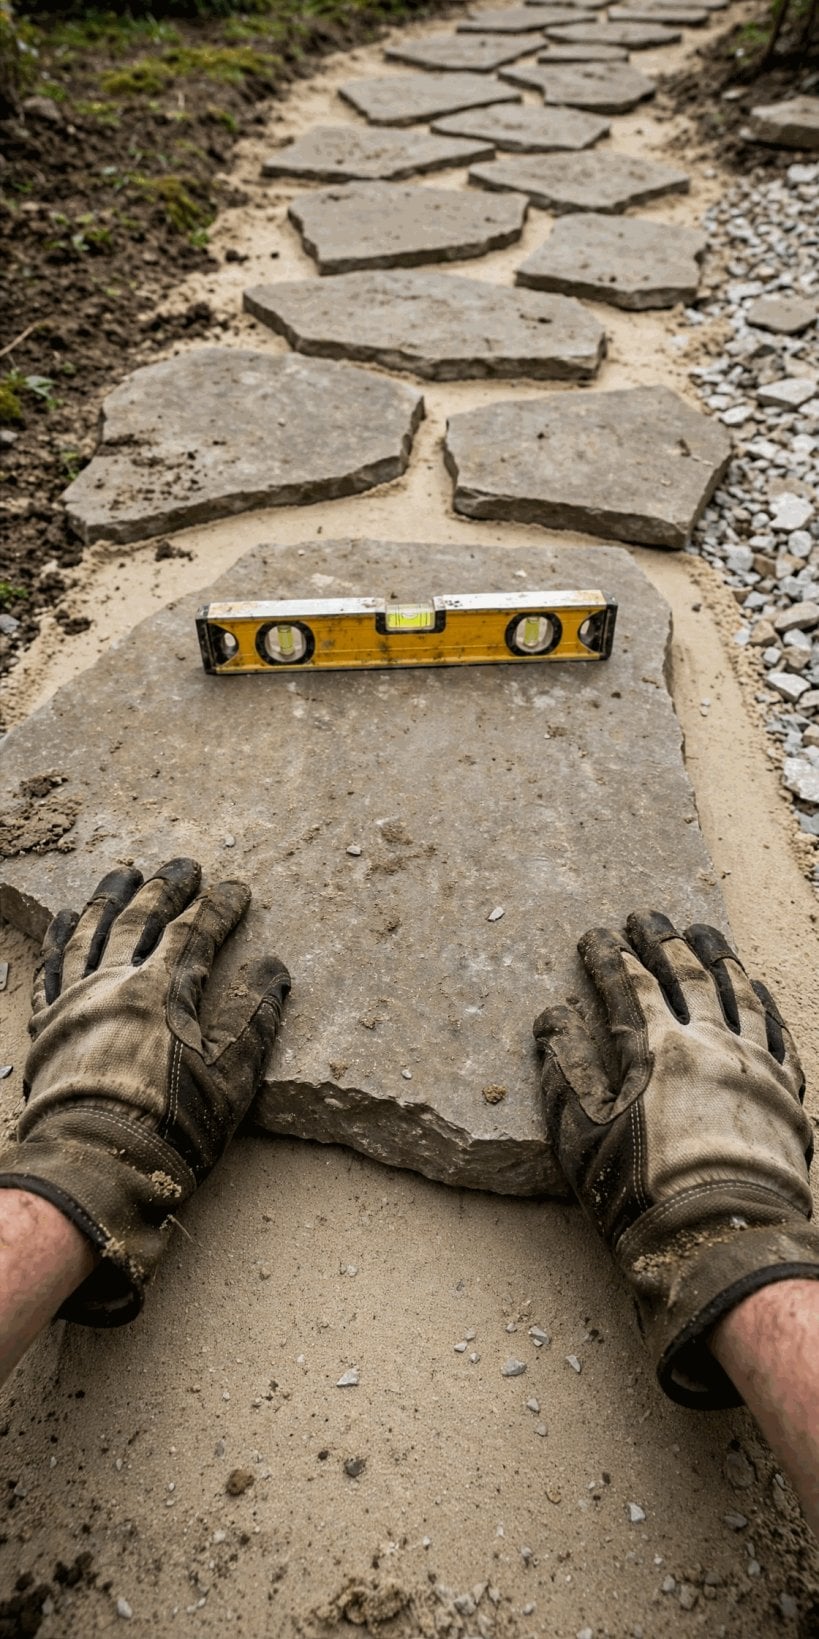
Hold the gaps at 1/2–1.5″: tight enough to walk across without catching a heel, wide enough to take the joint filler that locks the surface. Consistency matters more than the exact number — a path of even, hand-laid joints reads as crafted, while wandering gaps read as unfinished. Level is checked stone by stone with a 2-ft level, in both directions, with the lippage — the height difference between adjacent stones — kept under 1/4″. That quarter inch is the difference between a trip-free path and a toe-stubber. Each stone is seated by wiggling it into the bedding sand: lift, add or remove sand, reset, and check again until the stone does not rock. The wobble test is the quality control of the whole craft — a stone that rocks today pumps its bedding out tomorrow and sits loose within the year. Take the time at this stage; it is the stage the finished path is judged by, one footstep at a time.
4. Excavation, Geotextile and the Compacted Base
The base is the path’s structure, and it is built before a single flag is laid. Excavate 6–8″ along the whole route — that depth is the full profile: 4″ of compacted base, the stone’s own thickness, and 1″ of bedding. Line the excavation with woven geotextile before the stone goes in. The fabric is a separator, not a weed blanket in the plastic sense: it stops the soil pumping up into the base under traffic and wet weather, which is what turns a crisp crushed-stone layer into mud over the years. It must be woven geotextile, never plastic sheeting — drainage matters, and a plastic liner turns the excavation into a bathtub.
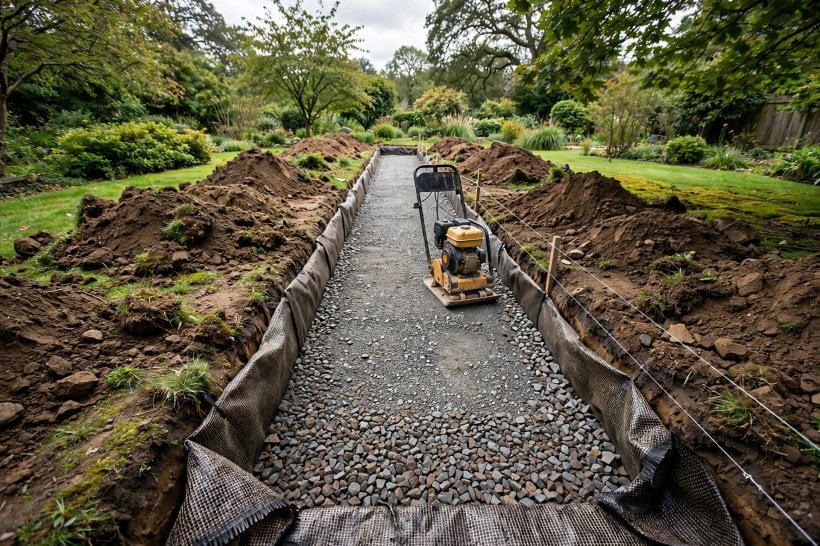
Fill with 4″ of 3/4″ minus crushed stone, compacted in 2″ lifts with a plate compactor. The “minus” matters: the fines in the mix are what let it lock into a single dense mass under the plate, course by course, instead of shifting like loose gravel. Two lifts, each compacted before the next goes on, give a base that behaves like a slab but drains like stone. Over it goes the bedding: 1″ of coarse sand or stone dust, screeded level — the layer each flag is wiggled into and levelled on. Grade the whole excavation at a 1–2% slope for drainage as you dig, so water sheet-flows off the finished path and never ponds on the stones. It is the same ground-first thinking that carries the gravel path with rock borders: the surface everyone admires is only ever as good as the profile nobody sees.
5. Joint Fillers: Stone Dust, Living Joints and Gravel
The joints are not decoration — filled, they are what locks a field of separate stones into one walking surface. Three fillers cover the range, and the rule is simple: the filler matches the path’s use. Stone dust is the classic. Swept in dry, watered and compacted, it settles hard between the flags and locks them against each other — the firm joint for a working path. It is not permanent: re-sweep yearly as it settles and washes, a short job covered in the maintenance section below.
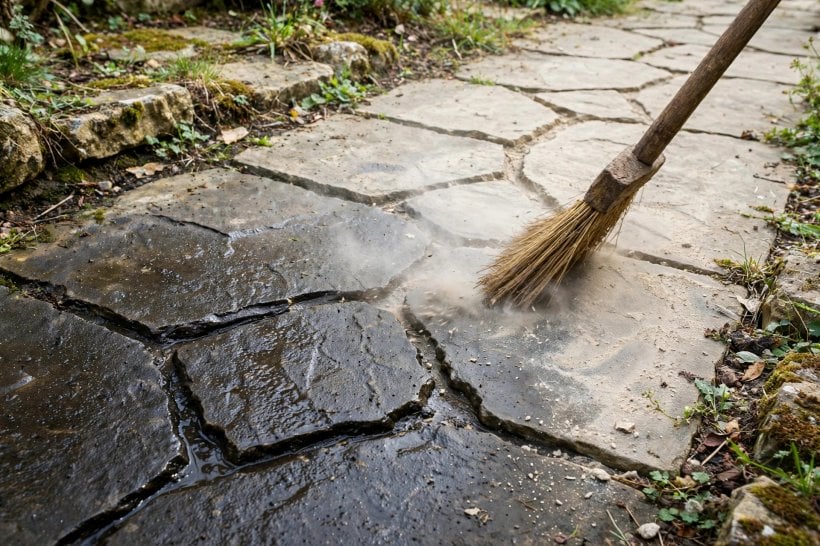
Creeping thyme or moss is the living joint — plants tucked into the gaps, fragrant underfoot, and happy with light traffic. It makes the garden path rather than the work path: beautiful, softer, and slower to cross with a wheelbarrow. Gravel — a 3/8″ chip — is the permeable option, the drainage joint for a casual path where water should pass straight through; the drainage-first logic it shares with permeable rock pavers is worth borrowing anywhere a path crosses ground that stays wet. One filler is expressly wrong here: never use polymeric sand on a dry-laid path over soil. Polymeric sets rigid, the stones beneath it keep moving, and the joint cracks — a rigid joint on a flexible path is the one combination the whole method exists to avoid. Save polymeric for concrete bases, where nothing moves at all. Where a path also has to carry water away from a slope or a roofline, pair it with a river rock dry creek bed running alongside — the path stays dry-shod while the creek does the drainage work.
6. Edging: The Containment That Holds the Line
Edging is structural, not decorative. Unedged flagstone migrates: under traffic the outer stones creep outward a fraction at a time, the joints open, and the spreading path slowly loses the tightness that makes it work. A firm edge is what the whole field of stones pushes against, and it is installed before the stone is laid — the edging defines the path’s lines, and the stones are laid to the edge, not the other way round.
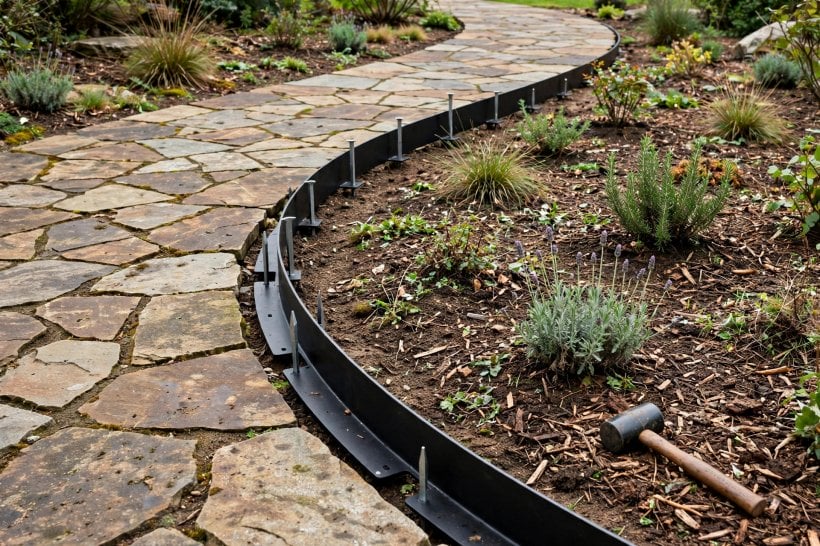
Three options cover the budgets. Steel edging is the invisible one — 4″ commercial grade, staked along the line; it is the pro choice because it disappears entirely while holding the hardest line. Stone edging is the visible one — upright fieldstone set along the border, the rustic answer, and the natural partner where the path runs past boulder work or a rock border. Buried pressure-treated lumber is the budget option — a 2×4 on edge — with the honest caveat that it is replaced in about 10 years. Whichever you choose, set its top flush with the stone or at most 1/2″ proud: flush is mower-friendly and trip-free, and anything higher becomes the thing feet and mower decks catch. On a front path, the edge is also the detail the whole approach is judged by — the crisp line that makes the entrance read as designed, the same effect chased in front yard rock landscaping.
7. Cutting and Fitting: The Flagstone Hammer and the Diamond Blade
Cut sparingly — the puzzle should mostly fit. That is the first rule of fitting, and it is why the dry run in §2 matters: stones chosen and arranged well need trimming at the edges of the route, not reshaping in the middle of it. Where a cut is needed, there are two honest methods. The traditional is the flagstone hammer: score the line, support the stone, and break it along the score — flagstone’s natural bedding planes do most of the work, and a scored break keeps the stone’s character. The modern is the diamond blade: an angle grinder scores and cuts curves the hammer cannot follow, for the tight fit against a step, a post or a curve in the edging.
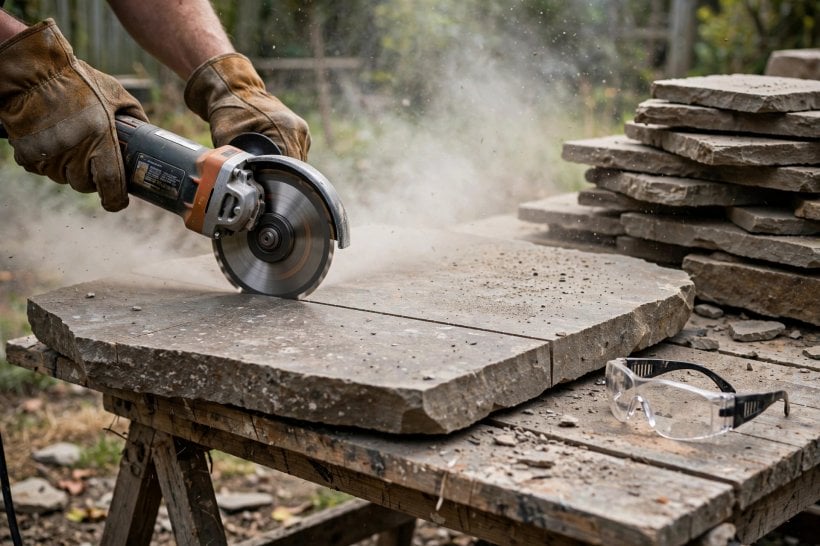
Fit each cut stone the way you fit every stone — bedded, levelled, wobble-tested — because a cut edge is no excuse for a loose one. Save the offcuts: small pieces are the fillers for the awkward gaps at path edges and the corners where two routes meet, and a handful of them is worth more in the laying stage than another full flag. The aim throughout is a surface that looks found rather than manufactured — irregular stones, even joints, and cuts you have to look for.
8. The Stepping-Stone Variant: The Casual Path
Not every route needs the full build. For secondary paths and garden wanders — the informal routes, never the main one — individual flags can be set straight into the lawn or a gravel bed with no continuous base at all. Each stone gets its own footing: a shallow excavation and 2″ of sand, the stone bedded and levelled on it, floating in the turf. It is an afternoon’s version of the craft, and for the right route it is the right amount of path.
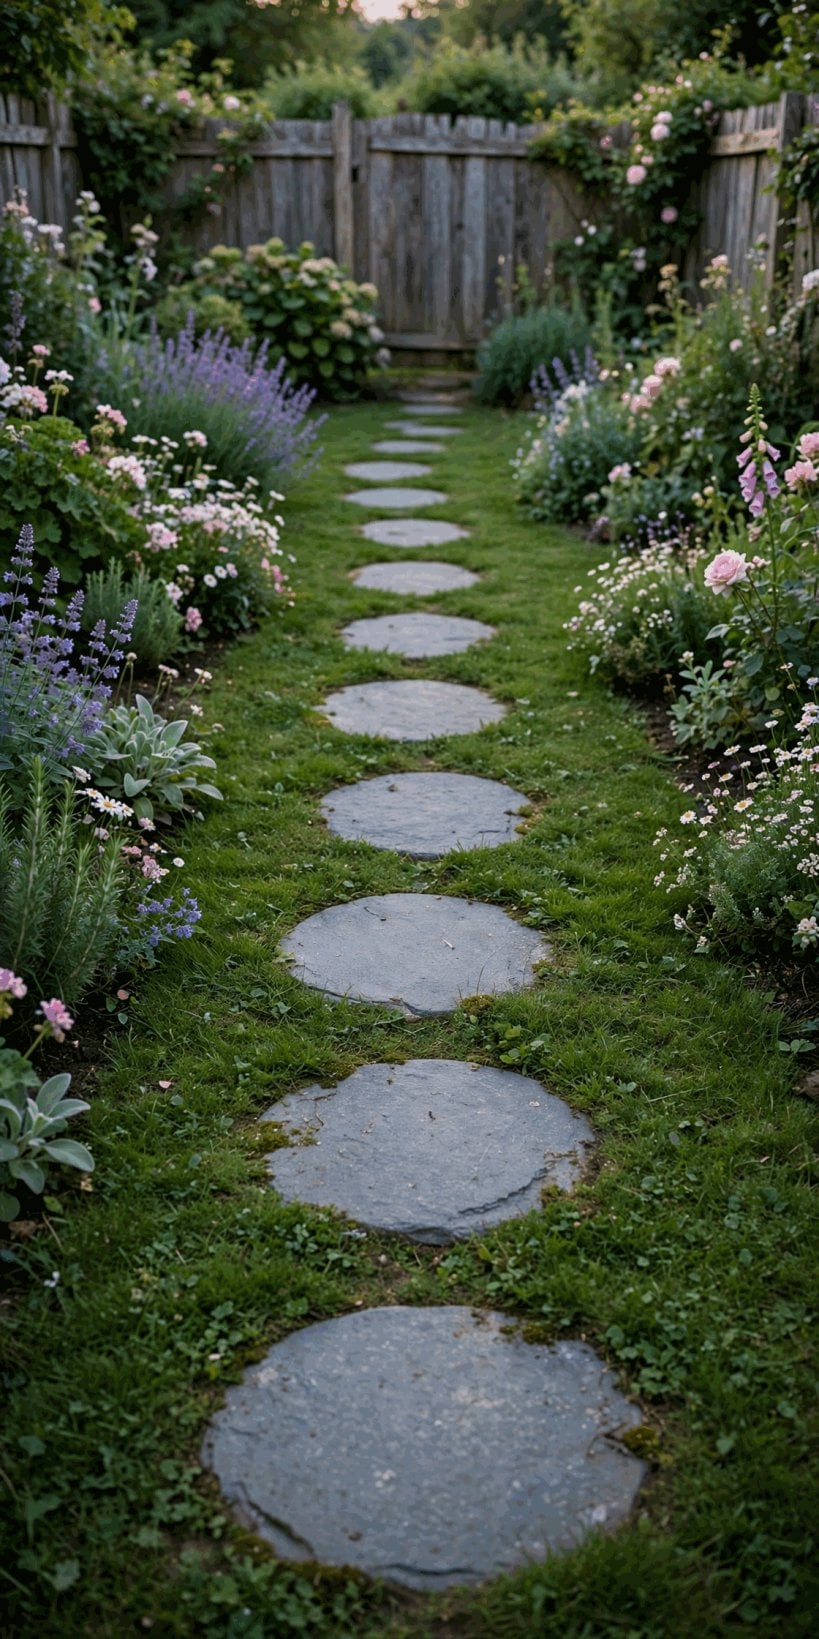
Spacing is set by your own body: 18–24″ centre to centre is the natural stride, and the only way to place it is to walk it — set the stones where your feet actually land, not where a tape measure says they should. Set each flag flush with the ground so the mower passes straight over: the lawn path that never needs trimming around. Set into gravel instead, the same stones become the garden path. The charm of the variant is its looseness — the hopscotch quality of a route that invites wandering rather than marching. On sloping ground, give the casual path the same respect as the full one: a stone that sits proud on a grade will work loose, and the terraced layouts in the guide to rock gardens on slopes show how stone and gradient are made to agree.
9. Maintenance: The Lift-and-Reset
Upkeep is where the mortarless method collects its reward. The annual job is re-sweeping the joints: stone dust settles and washes over a year, and topping it up takes about 20 minutes — the joints stay full, the stones stay locked. Weeds get a joint patrol, pulled or flamed on a monthly pass through the growing season, before roots get a purchase. Neither job needs a contractor, a product, or a free weekend.
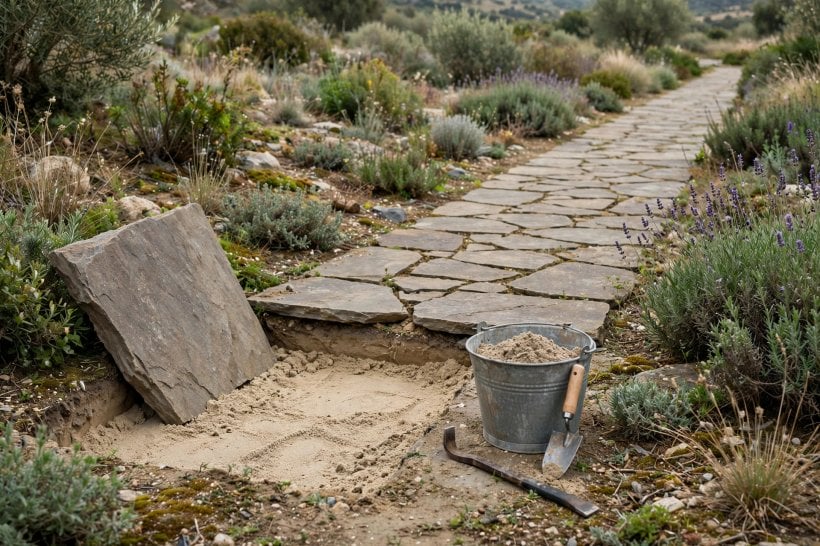
Settling — the failure that ends mortared paths — is a five-minute repair here. A settled stone lifts out, sand is added to its bed, and the stone is reset level: the lift-and-reset, the dry-laid superpower. Frost heave gets the same treatment on a spring check, heaved stones reset in minutes as the ground thaws. Compare the mortared alternative at every one of these moments: the cracked slab’s demolition, the patched joint that never matches. The lifespan of the dry-laid path is, in the original’s word, indefinite — the base is permanent, the stones are forever, and only the joint filler renews. A path built this way is never really finished and never really worn out; it is simply maintained, one lifted stone at a time.
10. Why Dry-Laid Outlasts Mortar: Flex, Frost and Roots
The whole method rests on one physical fact: the ground moves. Frost heaves it, roots push through it, and it settles unevenly under load and weather. A mortared path is a single rigid slab laid across that moving ground, and rigidity is precisely what moving ground destroys — the slab bridges a settled hollow until it cracks across it, traps water in the crack, and spalls a little more with every freeze. The repair is demolition, because the failed unit is the whole path.
The dry-laid path answers movement with movement. Each stone is an independent unit on a flexible bed: heave lifts one stone and it can be reset; a root thickens under one corner and that stone can be lifted, the bed adjusted, and the stone returned. Nothing accumulates, because nothing is connected rigidly enough to transmit the stress. That is also why the design travels so well across the rest of a stone-built garden — the same fitted, flexible stonework composes the patios and borders gathered in the rockscape ideas for small yards, where paths are the circulation between boulders, beds and river rock. Build the route dry-laid and it stops being a surface that ages and becomes a structure that is simply kept.
Final Considerations
Pick 2″ flagstone in stride-sized pieces, excavate 6–8″ with a compacted crushed-stone base over woven geotextile, bed each stone level in sand until it passes the wobble test, fill the joints to match the path’s use, and edge it structurally. Then maintain it the way it was built — by hand, one stone at a time. The dry-laid path is the honest path: no mortar hiding sins, just stone, sand and gravity, flexing through frost and root for generations.


0 Comments