

The loft is where you sleep, which makes it the worst possible place for a structural surprise. Two adults, a mattress and a season of stored boxes can put three thousand pounds on joists spanning eight feet. Size them by gut feeling and the floor will remind you every single night, in bounce. This guide walks the span tables step by step, so the only thing moving up there is you.
How to Frame a Tiny House Loft: At a Glance
Learning how to frame a tiny house loft starts from one uncomfortable fact: the sleeping loft is the most loaded floor in the whole house, and it hangs in the air on joists you sized. Two adults, a mattress and everything stored up there span the full width of the house, so the framing has to be right in three places at once — the joists themselves, the supports they land on, and the edge you could fall off in the dark. This guide works through the whole system in build order: the loads the loft must carry, the span tables that size the joists, bearing on ledgers and beams, rim joists, guardrails, the headroom trade every loft makes with the roof, the blocking that kills bounce, and the heavy-duty variant a storage loft demands. Size it right and the loft feels like a bedroom floor. Size it by feel and it feels like a trampoline with a mattress on it.
| Topic | What It Covers | Key Fact or Figure |
|---|---|---|
| 1. The Loft Carries People | Why the sleeping loft is the critical floor | Two sleepers, a mattress and stored boxes |
| 2. Loads | Dead, live and total design load | 40 psf total; 3,200 lbs on an 8×10 loft |
| 3. Joist Sizing | The span tables for SPF #2 at 16″ OC | 2×8 max span ~12’6″ |
| 4. Bearing | Ledgers, beams and hangers | 1.5″ minimum bearing on wood |
| 5. Rim Joists | Capping and tying the joist ends | Same depth as the joists |
| 6. Guardrails | The open edge and the ladder opening | 36″ high; resists 200 lbs lateral |
| 7. Headroom | Joist depth against sitting room | 3’6″–4’6″ typical under shed/gable roofs |
| 8. Buying Back Headroom | Dormers and raised rafter seats | Design the roof around the loft |
| 9. Vibration and Bounce | Blocking, glue and subfloor stiffness | 3/4″ T&G, glued and screwed |
| 10. Storage Lofts | The heavy-duty variant | 40+ psf; 2×10 joists at 12–16″ OC |
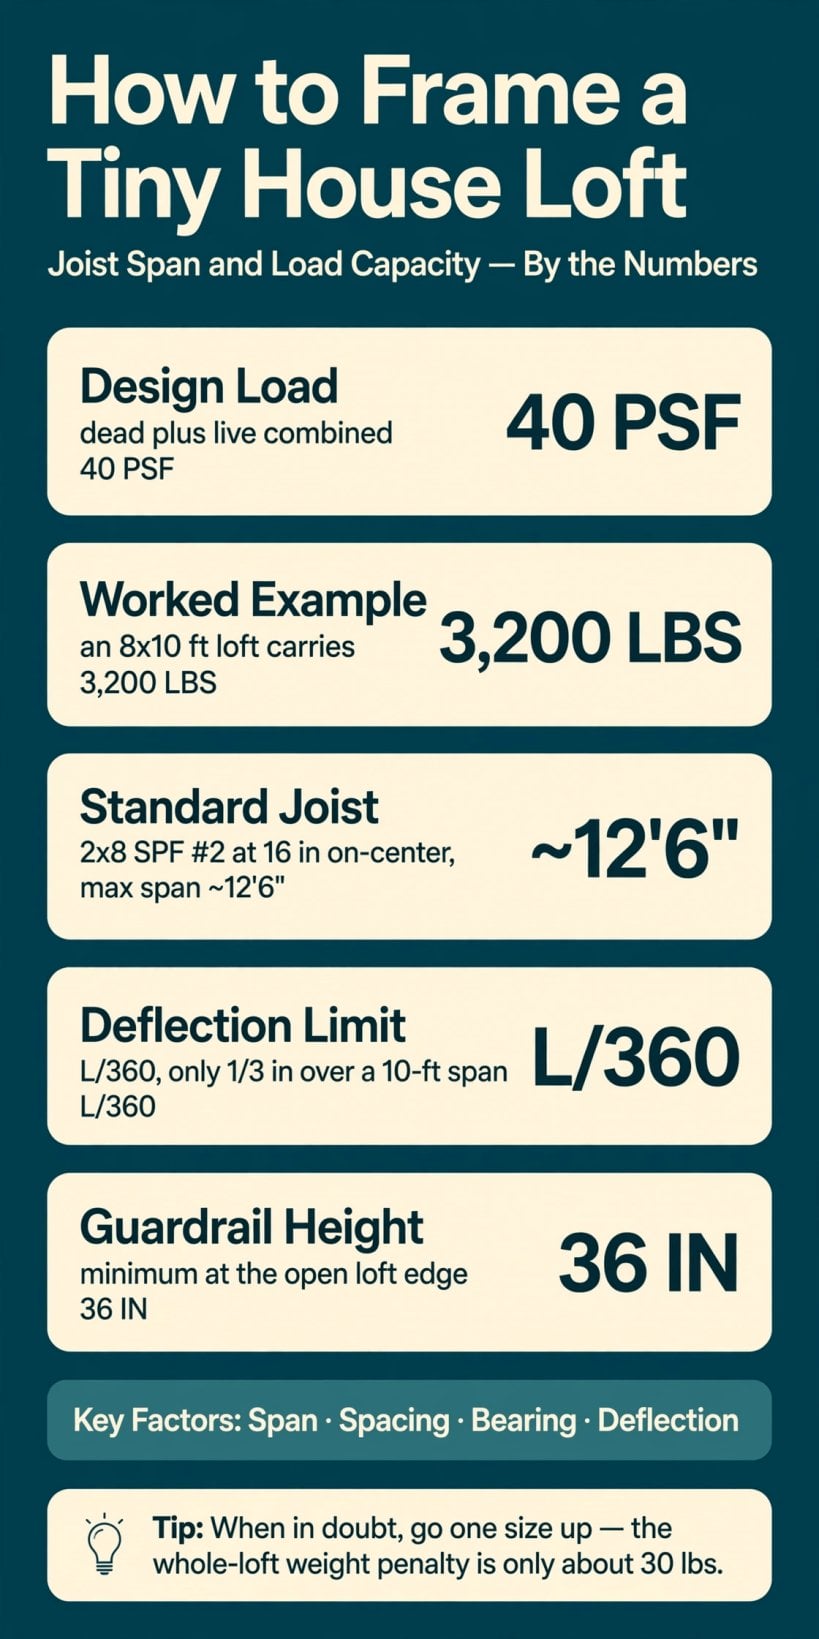
The loft by the numbers: a 40 psf design load, 3,200 lbs on a typical 8×10 loft, the 2×8 span that covers most tiny houses — and the 36-inch guardrail at the open edge.
1. The Loft Carries People While You Sleep
Every floor in a house carries load, but the sleeping loft carries it in the worst configuration: people, at their least alert, on a platform spanning the full width of the house with open air along one edge. Undersize the joists and the loft does not usually fail dramatically — it sags a little, bounces a lot, and reminds you of the decision every time you roll over. That is why the loft deserves the most careful framing arithmetic in the build, more than the floor it hangs above, which at least sits on a trailer.
The good news is that the arithmetic is not hard once someone walks you through it. The sections that follow take the system piece by piece — loads first, then sizing, then the supports and the edge — and the same build-it-properly discipline runs through the framing beneath the loft as well, in our guide to how to frame a tiny house on its trailer. A loft framed by the tables, borne on hangers and blocked against bounce is a bedroom floor that happens to be in the air, and it should be framed like one.
2. Loads: What the Loft Must Carry
Loads come in two kinds, and the loft has to carry both at once. The dead load is the structure itself — joists, subfloor and finishes — at roughly 10 psf. The live load is people and stuff: code requires 30 psf for sleeping areas, and some jurisdictions ask for 40 psf. Added together, the typical total design load is 40 psf. Run that against a real loft and the number stops being abstract: an 8×10 ft loft is 80 square feet, and 80 × 40 = 3,200 lbs the joists must carry — two sleepers, a mattress and the stored season, all at once, on the worst night.
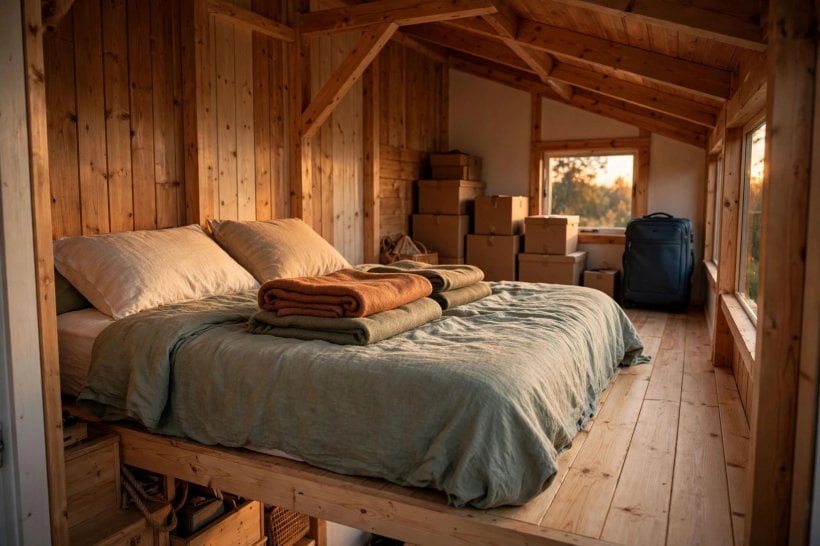
Carrying the weight is only half the test, though. The other half is deflection: the limit for living spaces is L/360, which means a 10-ft span may deflect only about 1/3″ under full load. A loft can be strong enough not to break and still deflect enough to feel like a waterbed — which is why the sizing in the next section is governed as much by stiffness as by strength. The loft must not just hold; it must feel solid. And because every pound up there is also a pound the whole house carries down the road, the loft’s load belongs in the whole-house arithmetic too — the method in our walkthrough of how to calculate the weight of a tiny house.
3. Joist Sizing: The Span Tables
Span tables look intimidating until you read them for what they are: for a given lumber species, grade, spacing and load, the longest span each joist size is allowed to run. For SPF #2 lumber at 16″ on-center under a 40 psf total load, the numbers a tiny house builder actually needs are short. A 2×6 spans a maximum of about 9’6″ — marginal for full-width lofts. A 2×8 spans about 12’6″, which makes it the standard tiny house loft joist: it crosses the typical 8’6″ house width with authority to spare. A 2×10 spans about 15′, the choice for wide lofts or heavy storage.
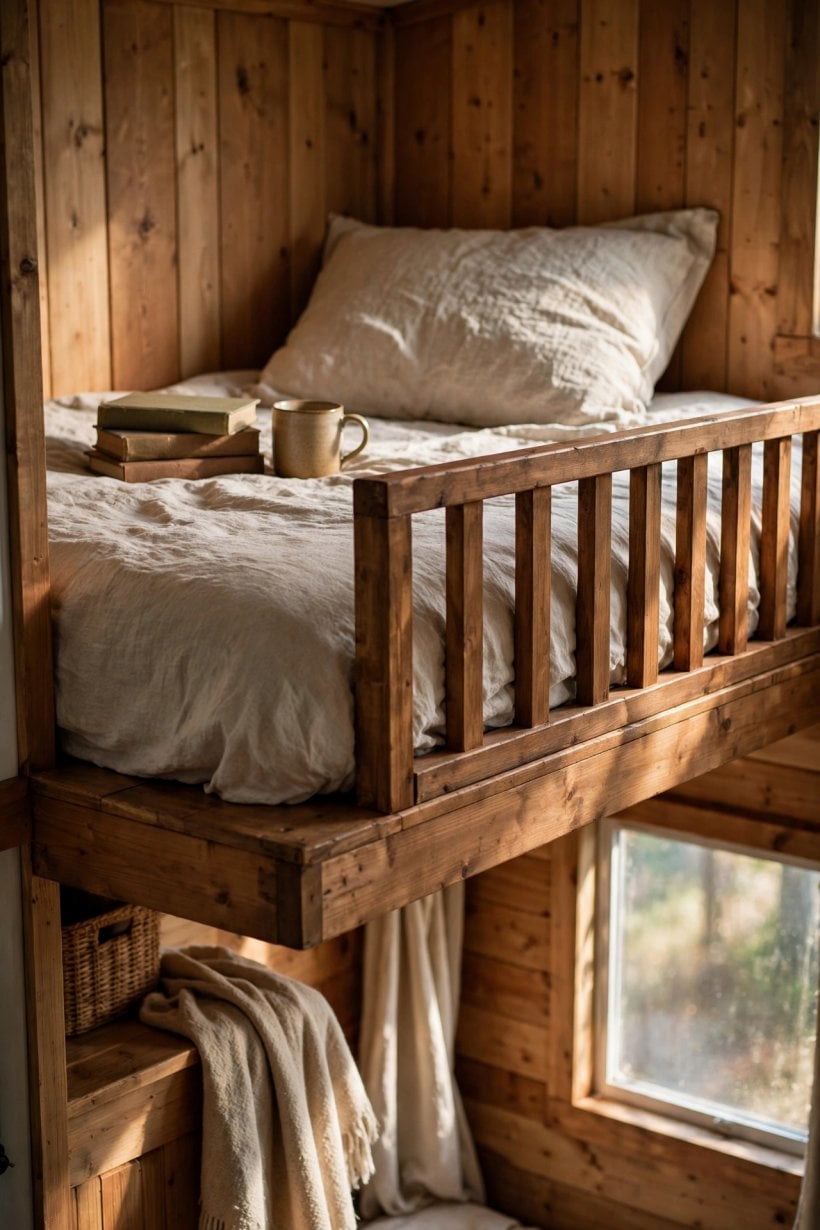
The working rule falls straight out of the table: 2×8 at 16″ OC handles virtually every tiny house loft, and 2×6 works for spans under 9 feet. Spacing is the other lever — 16″ OC is standard, 12″ OC is for heavy-duty floors or tile, and 24″ OC belongs only with engineered verification behind it. When the table leaves you between sizes, go one size up. The weight penalty of 2×8 over 2×6 is roughly 30 lbs for the whole loft; the stiffness gain is enormous. Nobody has ever lain awake regretting the stiffer loft — they lie awake in the bouncy one.
4. Bearing: Where the Joists Land
A joist is only as strong as its supports, and bearing is where loft framing quietly succeeds or fails. The minimum is 1.5″ of bearing on wood: the joist end must sit on at least an inch and a half of solid support, on a ledger or a beam — less than that and the connection, not the joist, becomes the weak point. In most tiny houses the support is a ledger: a 2×6 or 2×8 board bolted or lagged to the wall studs. Through-bolts are preferred; lags into studs are acceptable with proper sizing. The mechanical discipline behind that choice — graded bolts, real clamping, nothing left to friction — is the same one set out in our guide to how to secure a tiny house to a trailer frame.
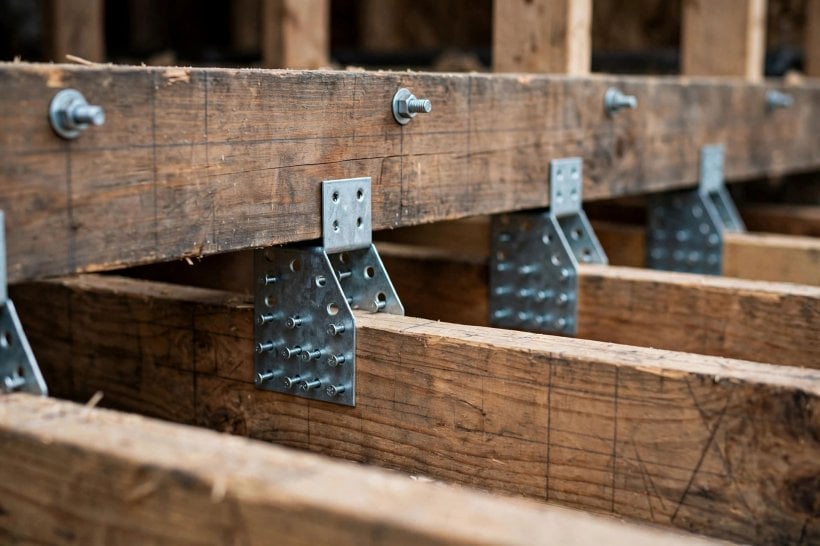
Where a loft spans without mid-support, the ledger gives way to a beam: a built-up beam — doubled 2×10 or LVL — carried on posts at the ends. And at every joist-to-ledger or joist-to-beam connection, the hardware is a joist hanger, Simpson LUS series or equivalent, nailed per the schedule with every hole filled: an empty hanger hole is a lost nail’s worth of capacity, at every joist, all the way across the loft. The rule that closes the section admits no exceptions: never toe-nail loft joists as the sole connection. Hangers or bearing, always.
5. The Loft Edge: Rim Joists
The rim joist is the board that caps the joist ends along the open edge of the loft, and it does three jobs at once. It ties the whole joist system together, so the ends move as one floor instead of as a row of independent boards. It closes the edge, giving the system a finished, rigid boundary. And it provides the nailing surface for everything that attaches at the edge — including, as the next section covers, the guardrail that stands on it. The specification is simple: the rim joist is the same depth as the joists it caps, so the edge of the floor is as stiff as the floor itself.
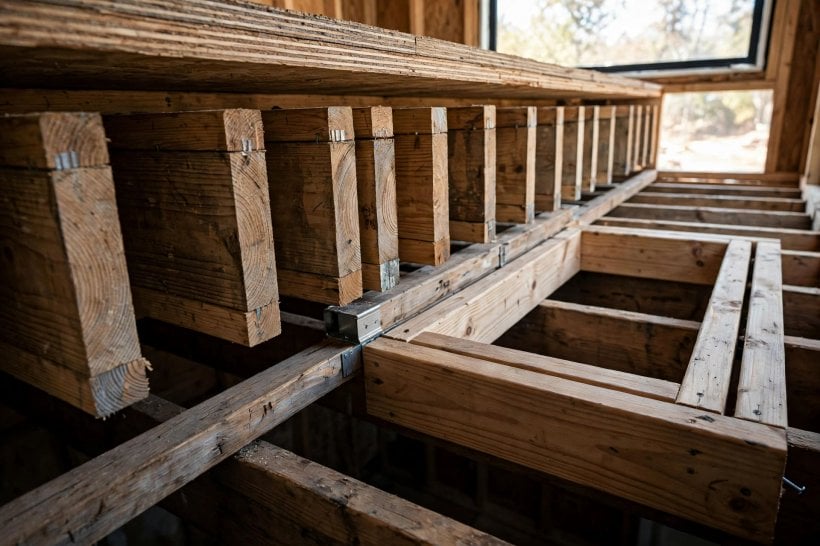
It is tempting to treat the rim as trim — the board you add once the real framing is done. Resist that. A loft edge without a proper rim is a row of joist ends free to twist and roll independently, and the bounce and creak that follow are built in permanently. The ladder or stair opening interrupts the edge, and it is framed like the stairwell it is: doubled joists around the opening, hung with hangers, because the opening weakens the floor and the headers around it are what restore the strength. Frame the edge as structure, and the edge behaves like structure.
6. Guardrails and the Ladder Opening
The guardrail at the open loft edge is life safety, not decoration — a loft fall is the most common tiny house injury, and it happens in the dark, half asleep, exactly when the sleeper is least able to catch themselves. The requirements are specific: 36″ minimum height, balusters spaced under 4″ — the 4″ sphere rule, because a child’s head must not pass — and the whole rail must resist 200 lbs of lateral force. That last number is the build instruction: a rail that has to shrug off 200 lbs sideways is built like a wall, lagged to the framing, not screwed to the finish floor like furniture.
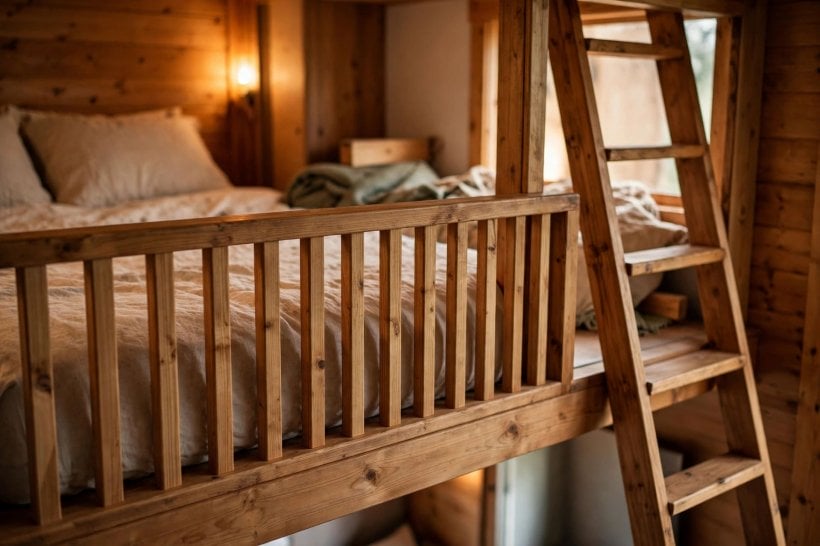
The rail and the opening have to be designed together, because the ladder or stair arrives through the same edge the rail protects. Header off the opening like a stairwell — doubled joists around it, hung with hangers — and run the rail to meet it, so there is no unguarded gap at the top of the ladder where a climber’s hand expects support. Every part of this section is cheap lumber and an hour of care. Every part of it is also the difference between a loft that is merely strong and a loft that is safe to sleep in, which are not the same thing.
7. Headroom: The Design Constraint
The loft lives under the roof, and the two negotiate over inches. Every inch of joist depth steals headroom: 2×8 joists are 7.25″ deep, and under a typical shed or gable roof they leave 3’6″ to 4’6″ of loft headroom — enough to sit up in bed, not to stand. That is the honest trade at the centre of loft design: the deeper joist that makes the floor feel solid is paid for in the space above it, and there is so little space to begin with that every layer counts, down to a shallow floor build-up of 3/4″ subfloor plus a thin finish.
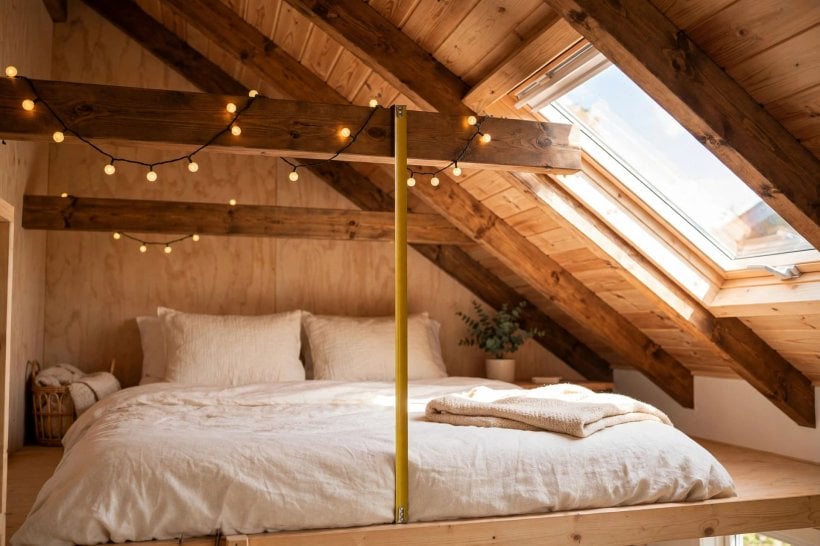
Code is not the binding constraint here. IRC Appendix Q allows reduced ceiling heights in lofts — 6’8″ is the general figure for living space, with loft exceptions — but comfort, not code, is what you will live with: the real questions are whether you can sit up without ducking, dress without contorting, and make the bed without a head strike. The roof over the loft is also doing structural work of its own while it shelters all this, and its loads are worked out in our guide to the tiny house snow load calculator. The principle that governs the whole negotiation is in the next section: design the roof around the loft, not the loft around the roof.
8. Buying Back Headroom: Dormers and Raised Heels
If the joist depth is spent and the headroom still is not there, the honest way to buy inches back is in the roof, not in thinner joists. Dormers are the classic loft expander: a small roof-within-the-roof that lifts a pocket of full headroom exactly where it counts — over the bed, where you sit up, dress and climb in. Raised-heel trusses and raised rafter seats take the other approach, lifting the whole roof plane so the gain is spread along the loft instead of concentrated in one pocket. Both strategies cost roof complexity; both pay it back every single night.

What does not work is stealing the inches back from the structure: dropping to a shallower joist to gain headroom trades the one thing the loft cannot spare — stiffness — for space, and section 3’s tables are the referee of that trade. The layouts that get this balance right, with dormers and loft-friendly rooflines drawn in from the start, are collected in our roundup of tiny house floor plans. Headroom is a design decision made on paper, at the roofline, before the first joist is cut. Made later, it is a compromise you sleep under.
9. Vibration and Bounce: The Feel Test
A loft can meet code and still feel bouncy, because code strength and lived stiffness are different measures. Three measures close the gap. First, bridging and blocking: solid blocking or cross-bridging at mid-span stiffens the joist system dramatically — it is the single best anti-bounce measure there is, because it makes the joists share load instead of deflecting one at a time under your foot. Second, glue the subfloor: construction adhesive plus screws turns the subfloor into a stressed skin, and the floor becomes a diaphragm rather than a stack of boards resting on beams. Third, use a thicker subfloor — 3/4″ tongue-and-groove, not 5/8″; the stiffness difference is palpable underfoot.
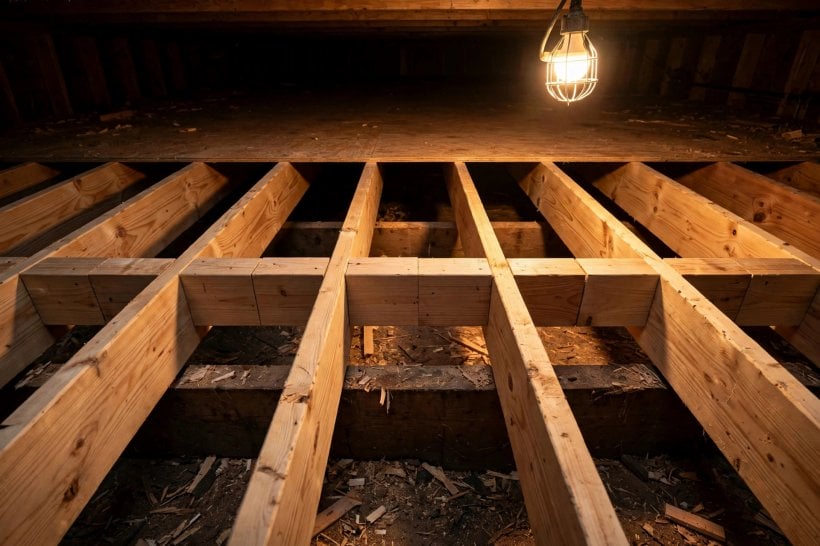
Underneath all three sits the honest-span rule from the tables: a 2×8 at 12 feet is at its limit, and no amount of blocking fully cures a joist working at the edge of its span — mid-span support or deeper joists kill the trampoline at the source. The practical test costs nothing: walk the loft before closing the ceiling below it. Bounce found now is an afternoon of blocking and glue. Bounce found after the ceiling is closed is permanent, and it will introduce itself every night for as long as you sleep up there.
10. Storage Lofts: The Heavy-Duty Variant
Everything above assumed a sleeping loft. A storage loft is a different animal: it carries more, because boxes, tools and seasonal gear are dense — and forgotten, which means the load only ever grows. Design for it honestly: 40+ psf as the starting point, and 50 psf for serious storage. The framing steps up to match — 2×10 joists at 12–16″ OC for storage spans — and the access has to be designed for the work: a real stair or a ship’s ladder, because you will carry heavy boxes up it, and a decorative ladder that cannot take a loaded climber is a storage loft you cannot safely use.
Two finishing disciplines complete the variant. Label the capacity: a small placard — “max 500 lbs” — prevents the well-meaning friend from storing the anvil collection over your kitchen. And put the storage loft where the framing is easy: over the bathroom or kitchen is the classic location, because the span is short and the structure below is already dense with walls. Note the weight consequence before you commit to filling one — a loaded storage loft is real weight on the trailer, and it belongs in the capacity check in our tiny house trailer buying guide before the boxes go up, not after.
Final Considerations
Knowing how to frame a tiny house loft reduces to a short specification: size the joists from the span tables — 2×8 at 16″ OC for most lofts — bear them properly on ledgers or beams with hangers at every connection, block mid-span against bounce, guard the open edge like lives depend on it (they do), and design the roof for the headroom you need rather than accepting whatever is left. It is the same build-it-once discipline that runs through the rest of how to build a tiny house, applied to the one floor you sleep on. The loft is a bedroom floor that happens to be in the air — frame it like one, and it will never remind you of itself at all.



0 Comments