

Framing is where a tiny house stops being a plan and becomes a structure — and on a trailer, the frame has to be three things at once: square, strong and light. This guide walks the whole frame in build order, from the trailer deck to the topping-out, with the weight discipline a house on wheels demands at every step.
How to Frame a Tiny House on a Trailer: At a Glance
Everything about how to frame a tiny house on a trailer follows from one fact: the trailer is the foundation, and it has a hard weight limit. The floor bolts to it, the walls rise square from the floor, the roof closes the box, and the sheathing locks it all against racking — while every board is counted against the GVWR. This guide follows the build in its real order: the trailer first, then floor, walls and roof, the advanced framing options that save lumber and weight, the framing math, the tools and sheathing, openings and the loft, and finally bracing, drying-in, inspection and the step-by-step sequence with its ten commandments.
| Topic | What It Covers | Key Fact or Figure |
|---|---|---|
| 1. The Trailer | The foundation: rated, flat, anchored | The GVWR is the limit — respect it |
| 2. The Floor Frame | Sill, joists, insulation and subfloor | 2×6 joists under a 3/4″ subfloor |
| 3. Wall Framing | Studs, headers, sheathing, square | 2×4 studs at 16″ on centre |
| 4. The Roof Frame | Rafters, ridge and collar ties | 2×6 or 2×8 rafters, by span |
| 5. Advanced Framing | 24″ spacing, steel and SIPs options | Saves 15–20% on lumber |
| 6. Weight Math | GVWR, balance and the weigh-in | Tongue weight: 10–15% of total |
| 7. Tools and Sheathing | The kit, OSB and housewrap | 7/16″ OSB locks the frame square |
| 8. Openings and Loft | Rough openings and the loft frame | Doubled headers carry the openings |
| 9. Bracing and Drying | Braces, covers and the inspection | Wet framing warps — keep it covered |
| 10. Steps and Rules | The sequence and the 10 commandments | DIY framing takes 1–3 weeks |
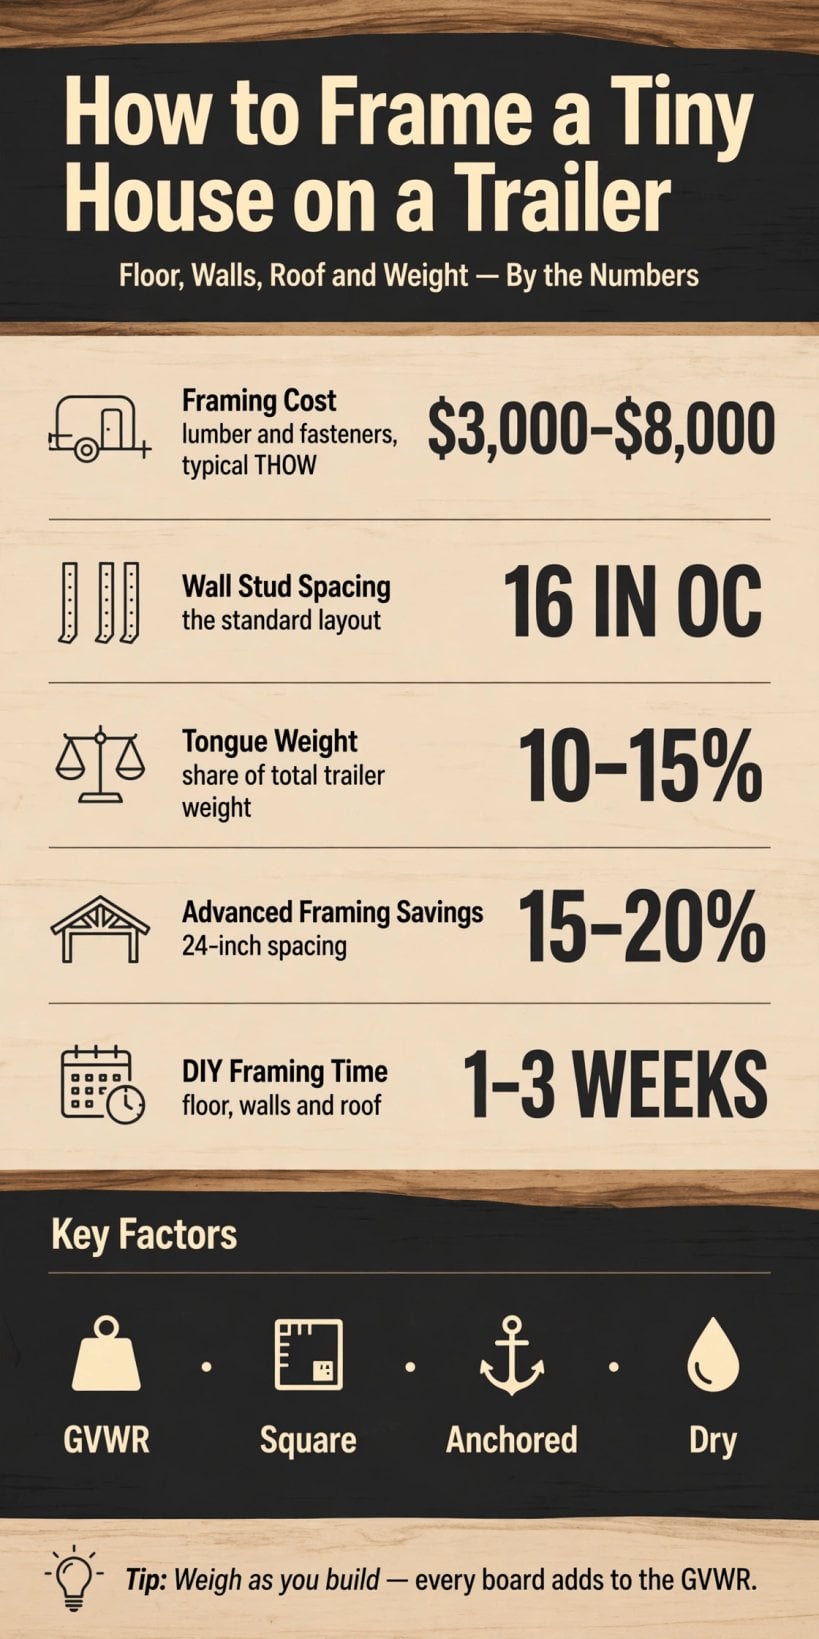
Framing by the numbers: $3,000–$8,000 in lumber and fasteners for the typical THOW, studs at 16 inches on centre, tongue weight at 10–15% of the total, advanced framing saving 15–20% — and a DIY frame raised in 1–3 weeks.
1. The Trailer: The Foundation You Build On
A tiny house has no concrete footing and no foundation wall — the trailer does that job, and the frame inherits whatever truth the trailer offers. Three checks come before the first board is cut. The trailer must be rated: its GVWR is the total weight the finished house may never exceed, and it is respected from the first sketch, not discovered at the end. It must be flat: the deck is the reference plane for the floor, the walls and the roof, so a deck that is out of true passes its error upward into every wall. And it must be anchored: the connection between house and trailer is structural, made before framing begins and relied on for the life of the build.
How the house attaches is the original guide’s most fundamental answer: through-bolt the pressure-treated sill plate to the trailer frame with galvanized bolts and hurricane ties. The connection must resist uplift, shear and road vibration — the house and trailer become one structure, and everything framed above depends on that union holding. Choosing the trailer itself is therefore the first framing decision; our guide to tiny house trailers for sale in Texas covers the buying end of that choice. The rule for the whole section is the guide’s own: the trailer is the foundation — the inspected.

2. The Floor Frame: Sill, Joists and Subfloor
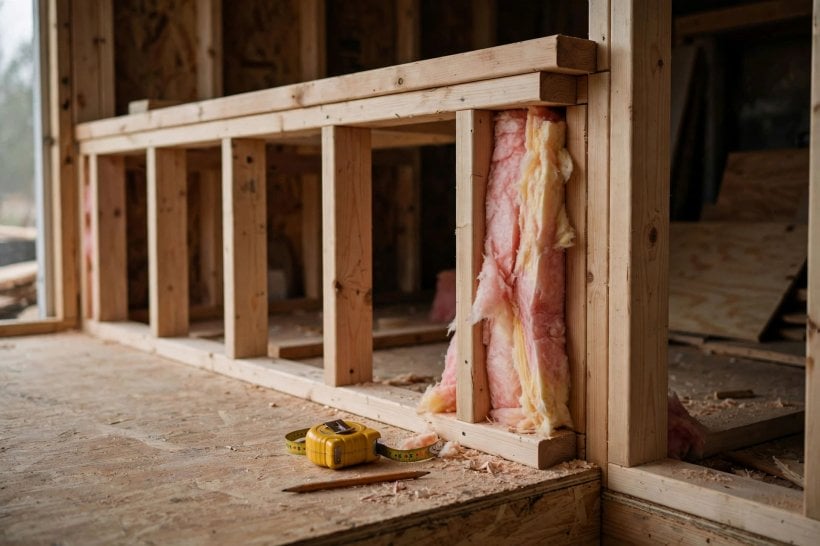
The floor frame is the first lumber on the trailer, and it is built in four layers. The sill is pressure-treated — the base that sits on the steel and resists the moisture the road throws up. The joists are 2×6, spanning the width of the trailer. The insulation goes between them, sealed, because the floor is insulated as it is built or it is barely insulated at all. And the subfloor is 3/4″ — the solid deck that the walls are built on and the whole house stands on. The rule is simple: the floor carries — the built.
The floor also hides the details nobody sees again once the subfloor lands, which is why the original gives it a second pass. Flashing protects the trailer interface. The rim is doubled — the edged perimeter that stiffens the platform. Blocking at midspan stiffens the joists between their supports. And a membrane underneath seals the assembly from below. The floor is, in the guide’s phrase, the unseen — the critical: treat the hidden layer with the same care as the visible frame, because there is no going back to fix it.
3. Wall Framing: Studs, Headers and the Square
The walls are framed the way small houses have always been framed, with a tiny-house emphasis on weight. The studs are 2×4 — the standard. The spacing is 16″ on centre — the structural layout that sheathing, insulation and finishes all expect. The headers carry the openings. And the sheathing — plywood in the original’s wall section — is what resists racking, turning four separate walls into one rigid box. The rule: the walls stand — the square.
In detail, the walls are built flat and raised true. The layout is snapped on the deck first — the planned lines every stud follows. The assembly happens flat, on the floor, where the work is fast and accurate. The raising takes a crew, with the wall braced the moment it stands. And the plumbing — the trade’s word for checking a wall is truly vertical — is checked and corrected before anything is locked. Squareness has its own method, from the original’s FAQ: equal diagonals mean square, the 3-4-5 triangle proves a corner, and the checking is constant, because the sheathing locks the square — get it right before the OSB goes on. It is the same discipline that keeps a finished frame true on the road, the subject of our guide to preventing tiny house framing from twisting on the highway. Should the walls be 2×3 instead, to save an inch and some weight? The original’s verdict is no: 2×4 is the proven tiny house wall, and the 2×3 complicates insulation, wiring and structural confidence out of proportion to what it saves. The walls define — the house.
4. The Roof Frame: Rafters, Ridge and Collar Ties
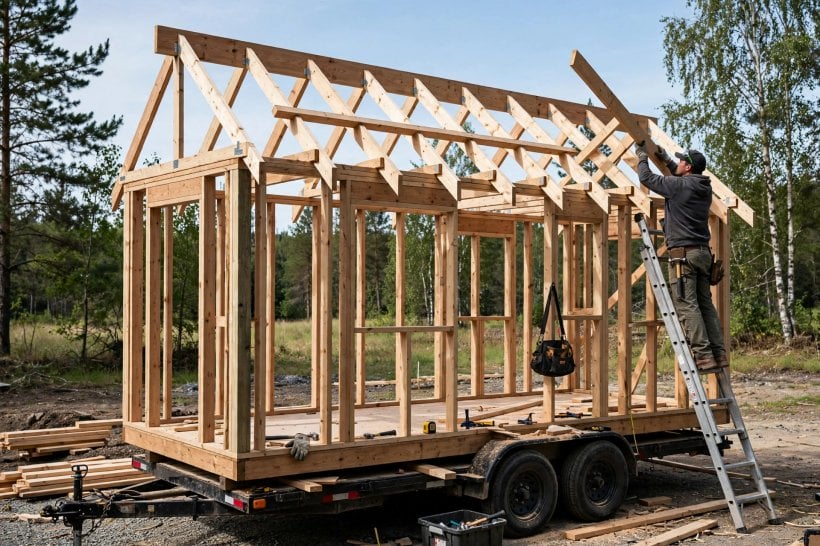
The roof frame closes the box. The rafters are cut to the pitch — each one a matched pair rising to the ridge. The ridge is the beam the rafters hang from, carried down through the walls to the floor and the trailer. And at loft height, collar ties span between the rafter pairs — the open detail that holds the roof’s spread while leaving the loft beneath it usable. The rule: the roof sheds — the designed. Lumber size follows span: the original’s FAQ sizes rafters at 2×6 or 2×8 depending on the span they must cross.
The roof’s detail pass is about balance and protection. The pitch is balanced against the loft — steep enough to shed weather and give the sleeper headroom, restrained enough to keep the house towable. The overhang protects the walls below and shades the windows. The venting runs at the ridge, so the roof breathes. Alternative roof forms follow the same framing logic: our guide to framing a shed roof tiny house works the single-slope version rafter by rafter. The truth of the section: the roof crowns — the frame.
5. Advanced Framing: Less Lumber, and the Alternatives
Standard framing is the proven default; advanced framing is the weight-watcher’s refinement, and on a trailer every saved board is saved capacity. The method changes three things. Studs move to 24″ on centre — less lumber, the efficient layout the roof and floor framing can be aligned to match. The top plate goes single — the saved board running the length of every wall. And the corners become 2-stud corners — insulated, because the third stud a conventional corner carries is replaced by room for insulation. The truth the original attaches: advanced framing saves — the weight. The saving is quantified in its cost answer: advanced framing at 24″ on centre saves 15–20% of the lumber bill.
Two alternatives stand beside wood framing entirely. Steel is the light and the precise — and on weight, steel wins, which on a trailer means it wins against the GVWR; but on skill, wood wins, the accessible material for the self-builder, and the original’s verdict is wood for the DIY — the proven. SIPs — structural insulated panels, the sandwich of sheathing and foam — are the assembled option: fast to raise, with the insulation built in at a high R-value, at a premium cost the guide calls worth it, traded against a less DIY build that is craned into place rather than nailed up board by board.
6. Weight: The Framing Math and the Money
No section of this guide matters more, because the trailer’s limit is the one number the finished house cannot argue with. The lumber is counted — the weighed: the framer keeps a running tally as boards go on, not a guess at the end. The GVWR is the limit — the respected. And the balance is the tongue: 10–15% of the total weight should ride on the hitch, which is why where heavy framing and finishes land along the trailer’s length matters as much as their weight. The rule orders the whole build: frame light — the trailer. Axle capacity is part of the same math, covered in our guide to choosing trailer axles for a tiny house.
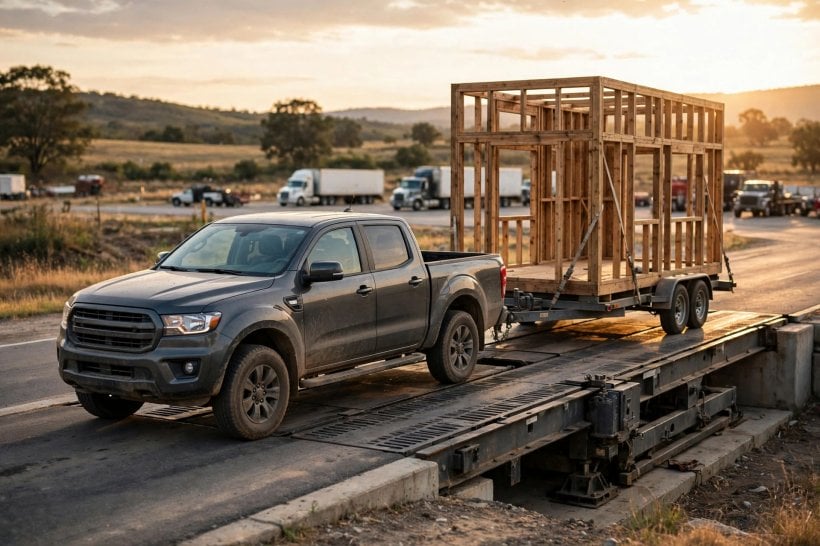
The proof is the weigh-in. The scale is the CAT scale — the honest number, taken at a truck stop with the build in progress or complete. The distribution is read across the axles and the tongue. And the margin — the remaining capacity — is what the finishes still have to fit inside. The scale tells — the truth. Asked for the biggest framing challenge on a trailer, the original names exactly this pairing: weight and squareness together — every board adds to the GVWR, and the trailer deck must be perfectly true or the errors compound upward; the discipline is to weigh as you go and measure everything twice. The money runs on the same ledger: framing costs $3,000–$8,000 in lumber and fasteners for the typical THOW, and the trailer itself is separate, at $5,000–$10,000.
7. Tools for Framing, Sheathing and Housewrap
The framing kit is short and specific. The saw is the circular saw — the essential cutter that sizes every board on the build. The nailer is the framing nailer — the fast fastener that makes raising walls a day’s work rather than a week’s. The square is the speed square — the true reference for rafter cuts and layout lines. The level is the 4′ level — the plumb check for walls and floors. The rule: the right tools — the framing; nothing on the list is exotic, and everything on it earns its place daily.
With the frame raised, sheathing turns it into a structure. The sheathing is 7/16″ OSB — the racking resistance that locks every wall square and gives the box its stiffness against road and wind loads. The wrap is housewrap — the drained layer that sheds the water that gets behind the siding. The tape seals the seams — the envelope is only as good as its joints. The rule marks the transition of the whole build: the envelope starts — the framing.
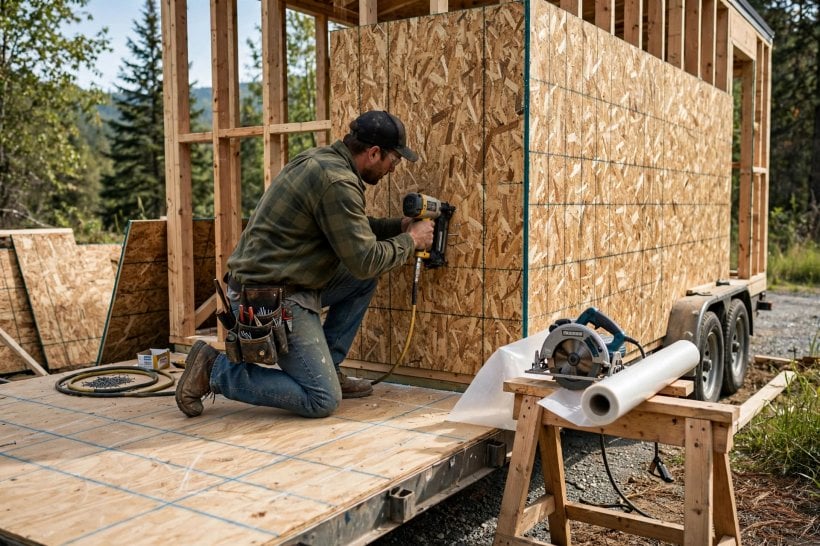
8. Window and Door Openings, and the Loft Frame
Openings are framed, not cut afterwards as an afterthought. The rough openings are sized — the planned gaps that windows and doors will fill, laid out on the deck with the wall layout. The headers above them are doubled — the carried load passing around the opening instead of through it. The sills are sloped — the drained detail that throws water out of the opening rather than into the wall. The rule: the openings frame — the planned, decided while the wall is still flat on the deck and changes cost nothing.
Above the main floor, the loft frames to the same discipline. The joists are 2×6 — the spanned platform the sleeper will lie on. The headroom is considered — the code-conscious clearance the loft’s pitch was balanced to give. And the access is planned — the stair or ladder placed in the layout, not squeezed in afterwards. Sizing loft joists is a span question with its own worked treatment in our guide to framing a tiny house loft: joist span and load. The rule: the loft frames — the usable.
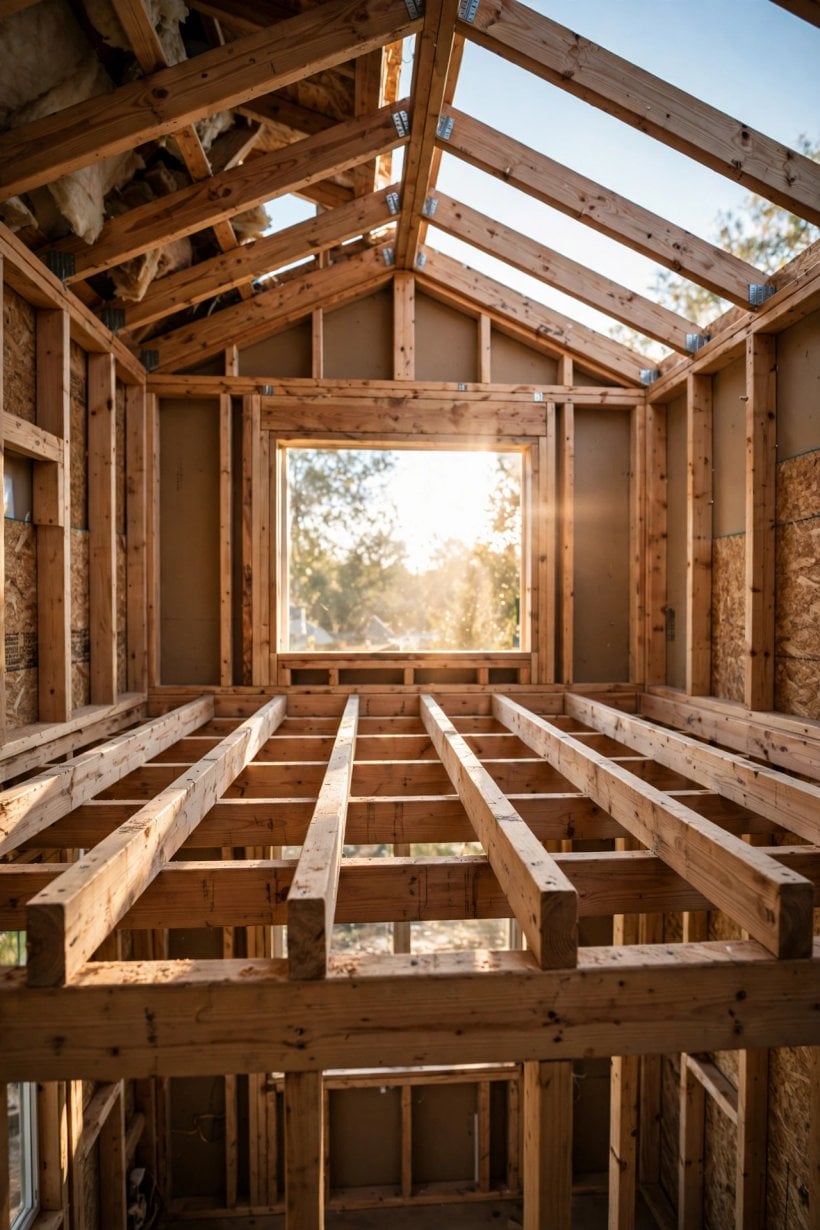
9. Bracing, Keeping It Dry, and the Framing Inspection
An unsheathed frame is a fragile thing, and it is braced until the sheathing locks it. The temporary bracing is diagonal — the boards that hold walls plumb and square against the wind while the box is open. The permanent bracing is the sheathing itself — the locked stiffness of section 7. And underneath, the trailer is stabilised — the jacked, level platform the frame was squared against. The rule: brace until — the sheathed.
Water is the frame’s other enemy during the build. The cover is the tarp — the nightly routine over the open frame. The schedule aims at the roofed — the fast push to dried-in. The lumber waiting its turn is stickered — the aired stack, spacers between the boards so the pile dries instead of warping. The rule repeats through the guide: wet framing warps — the covered. Before anything is covered up for good, the frame is inspected: the self-check with an honest checklist, the pro framer’s hired eye where experience wants a second opinion, and the local code where it applies — the original’s closing note is explicit that structural work must meet local codes and that load calculations are a professional’s job. The rule: inspect before — the cover.
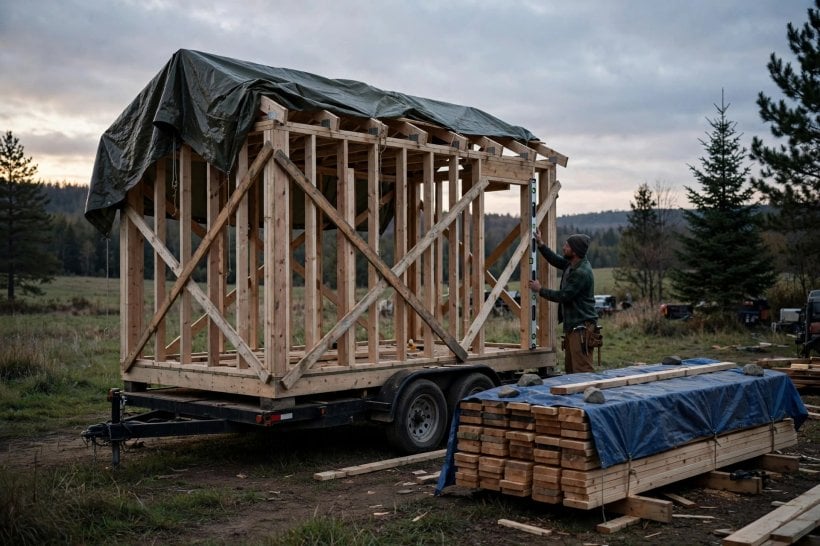
10. Framing Step-by-Step, the 10 Commandments and the Payoff
The whole build compresses into the original’s ten steps. Prep the trailer: level, true, anchored. Bolt the sill: pressure-treated, secured. Frame the floor: joists, insulation, subfloor. Build walls flat: studs, headers, openings. Raise the walls: plumb, braced, squared. Sheathe the walls: OSB, nailed, racked. Frame the roof: rafters, ridge, sheathed. Wrap the house: housewrap, taped, drained. Check everything: square, plumb, level. Weigh it: the GVWR — the respected. The common mistakes are the steps skipped: the out-of-square that compounds, the overweight that exceeds the GVWR, the unanchored that shifts, the wet lumber that warps — the mistakes compound, the careful.
The ten commandments hold the sequence together: respect the GVWR; anchor to the trailer; square everything; plumb the walls; level the floor; sheathe for racking; frame the openings; insulate as you go; keep it dry; weigh as you build. The calendar is forgiving: framing takes 1–3 weeks for the DIY builder and days for an experienced crew — the floor takes days, the walls a weekend, the roof the careful week. And yes, a first-timer can do it: framing is the most DIY-friendly phase of the build, asking for measuring, cutting, squaring and nailing, with the plans guiding and the trailer constraining. What follows the frame is the dried-in shell, then the rough-ins — electrical and plumbing — and the insulation sealed in: the frame is the beginning — the systems. The tradition at the top is the topping-out, a small tree on the highest beam and a fed, thanked crew; the mindset underneath it all is the framer’s — patience, pride in the true, and learning with each board. Builders planning the whole journey will find the frame in context in our DIY build guide to building your own tiny house and in our tiny house and small-space interior design hub. The payoff is the shape of a house standing where a trailer stood: framing is the milestone — the celebrated.
Final Considerations
Learning how to frame a tiny house on a trailer is learning to build with a foundation that moves and a limit that does not forgive: the trailer inspected and anchored, the floor bolted down in pressure-treated timber, walls raised square and sheathed against racking, the roof closed over the loft, and the whole frame weighed as it grows. Respect the GVWR, keep the diagonals equal, keep the lumber dry, and the skeleton will carry everything built on it. Measure twice, cut once — the frame awaits.


3 Comments