

One fabric wall between you and a minus-twenty night. No attic, no thermal mass, a roof that doubles as the ceiling — it sounds like a dare. Yet thousands of people winter in yurts, some above the Arctic Circle, and they are warm. The difference between miserable and cozy is never luck: it is insulation strategy, heating design, and moisture management, working as one system from the floor platform to the crown.
How to Live in a Yurt in Winter: At a Glance
A yurt in winter is a thermodynamics challenge with a known solution. The structure gives you almost nothing for free — a single fabric-and-insulation wall, no attic buffer, no masonry to store heat — so everything depends on how deliberately you build the winter system around it. Learning how to live in a yurt in winter means mastering three disciplines at once: an insulation package honest about its R-values, a heating design built around a central wood stove with a true backup, and ventilation that exports the gallons of moisture airtight winter living generates every day. The ten parts below follow the heat: how it is kept in by the walls and floor, how it is made by the stove, how it escapes through the dome, the door and the wind, and the daily routine that keeps the whole system honest. The envelope-first thinking will feel familiar if you have studied tiny house plans for cold climates — a yurt simply strips that discipline down to its essentials, with nowhere for a weak layer to hide.
| System | What It Does | Signature Number |
|---|---|---|
| 1. The Insulation Package | Radiant barrier, felt and cover layered to a real four-season wall | R-10 to R-20 total |
| 2. The Insulated Floor | Platform insulation and foam skirting stop the downward bleed | R-19 minimum, R-30 preferred |
| 3. The Wood Stove | Central heat under the toono, radiating evenly in every direction | 30,000–50,000 BTU |
| 4. The Backup Heater | Propane or diesel heat for absences, failures and shoulder days | Non-negotiable |
| 5. Moisture Control | Ventilation and vapor-open layers keep condensation off the fabric | 30–40% indoor RH |
| 6. The Dome Cover | An insulated cover tames the R-1 skylight on the coldest nights | $150–300, 5-minute swap |
| 7. Wind Defenses | Tensioned cables, a roof rope and windbreak siting | Cables checked monthly |
| 8. Freeze-Proof Water | Water inside the heated envelope, heat tape, or no plumbing at all | Zero frozen runs |
| 9. The Entry Airlock | A two-door vestibule that doubles as boot room and wood store | 70%+ less air loss |
| 10. The Winter Routine | A short daily practice that keeps every other system working | 20 minutes a day |
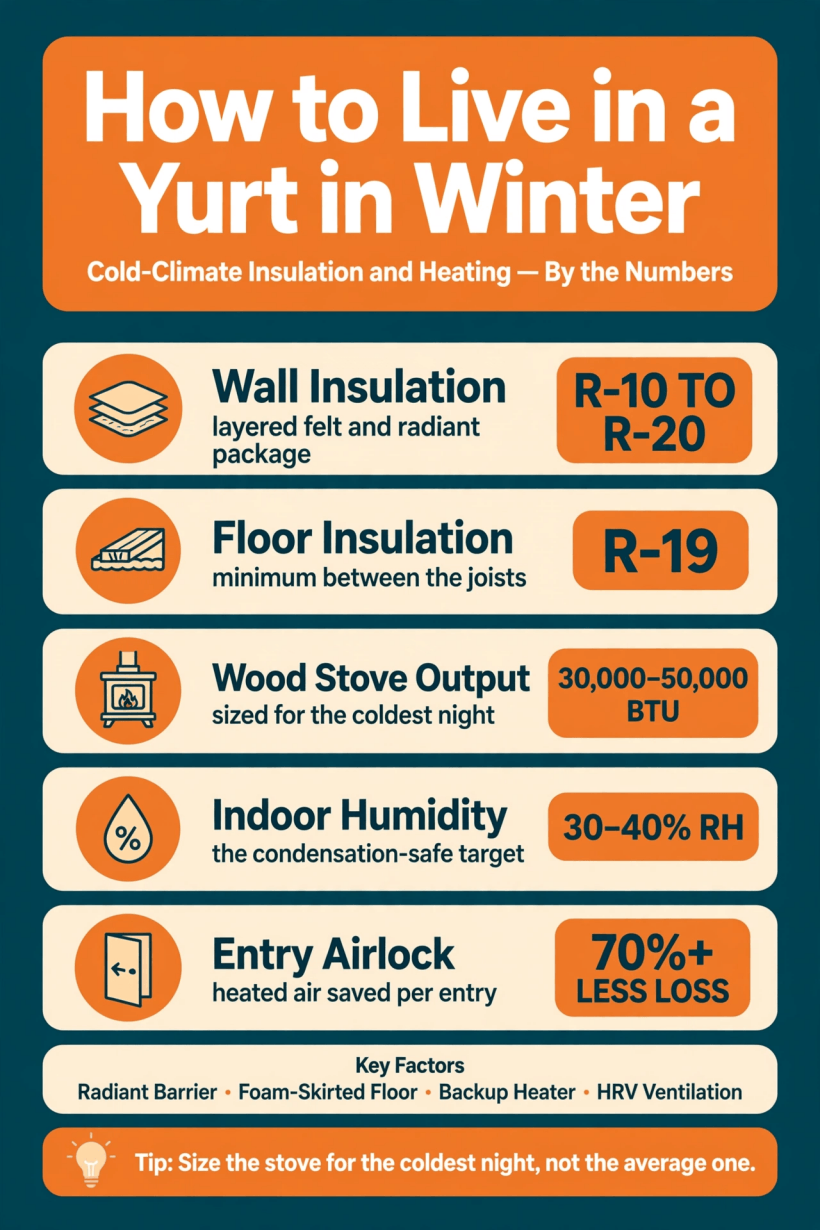
The winter yurt by the numbers: R-10 to R-20 walls, an R-19 floor, a 30,000–50,000 BTU stove, 30–40% indoor humidity, and an airlock that saves 70%+ of the heat each entry would otherwise spill.
1. The Insulation Package: Know Your R-Values
A four-season yurt needs a real insulation package, not the summer liner. The standard layers build from the inside out: a reflective radiant barrier as the innermost layer, facing the living space; 2–4 inches of felt, wool, or synthetic insulation worth R-7 to R-14 on its own; and the outer weatherproof cover over everything. Total wall performance lands at R-10 to R-20 — roughly half of a code-built house wall — and the honest response to that number is acceptance, not disappointment. The yurt will never be as efficient as a stick-built house, so the heating system must be sized for the actual load, not for wishful thinking.
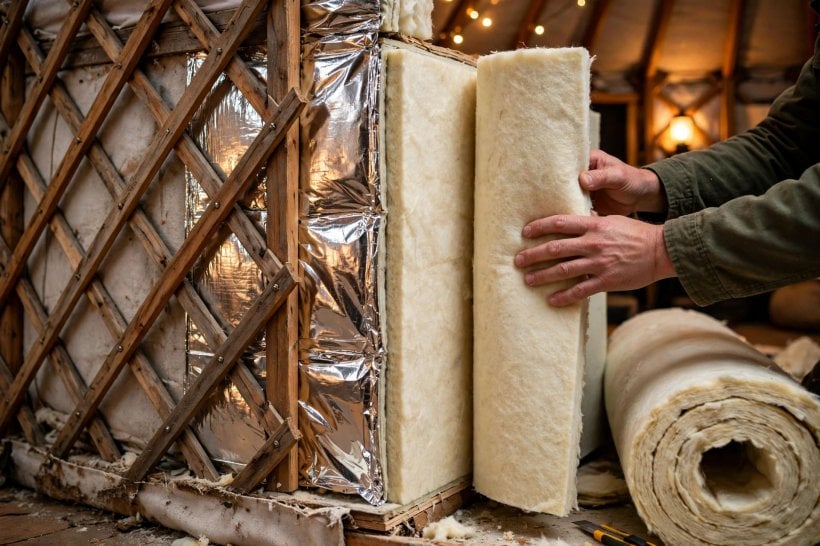
The upgrade path is equally clear. Aftermarket insulation liners — multi-layer reflective and felt systems — can push the walls toward R-20, and the $1,500–3,000 upgrade pays for itself in one hard winter of fuel savings. That payback logic is what makes the liner the first upgrade most winter dwellers buy: every point of R-value is a point the stove does not have to replace at 3 AM. Think of the package as a partnership — the insulation sets the size of the problem, and the stove is chosen to solve exactly that problem, no bigger and no smaller.
2. The Floor: Where Most Heat Escapes
Yurt floors are the weakest thermal link in the structure. A platform deck sitting on frozen ground bleeds heat downward all winter, silently and continuously, and no wall package can compensate for a floor that behaves like a radiator pointed at the earth. The fix works in three layers. Insulate the platform itself — R-19 minimum between the joists, R-30 preferred. Skirt the platform perimeter with rigid foam, 2-inch XPS, sealed at the seams, so wind cannot wash the underside. And consider a heated crawlspace: a small thermostatically controlled heater under the platform keeps pipes and tanks liquid through the coldest snaps.
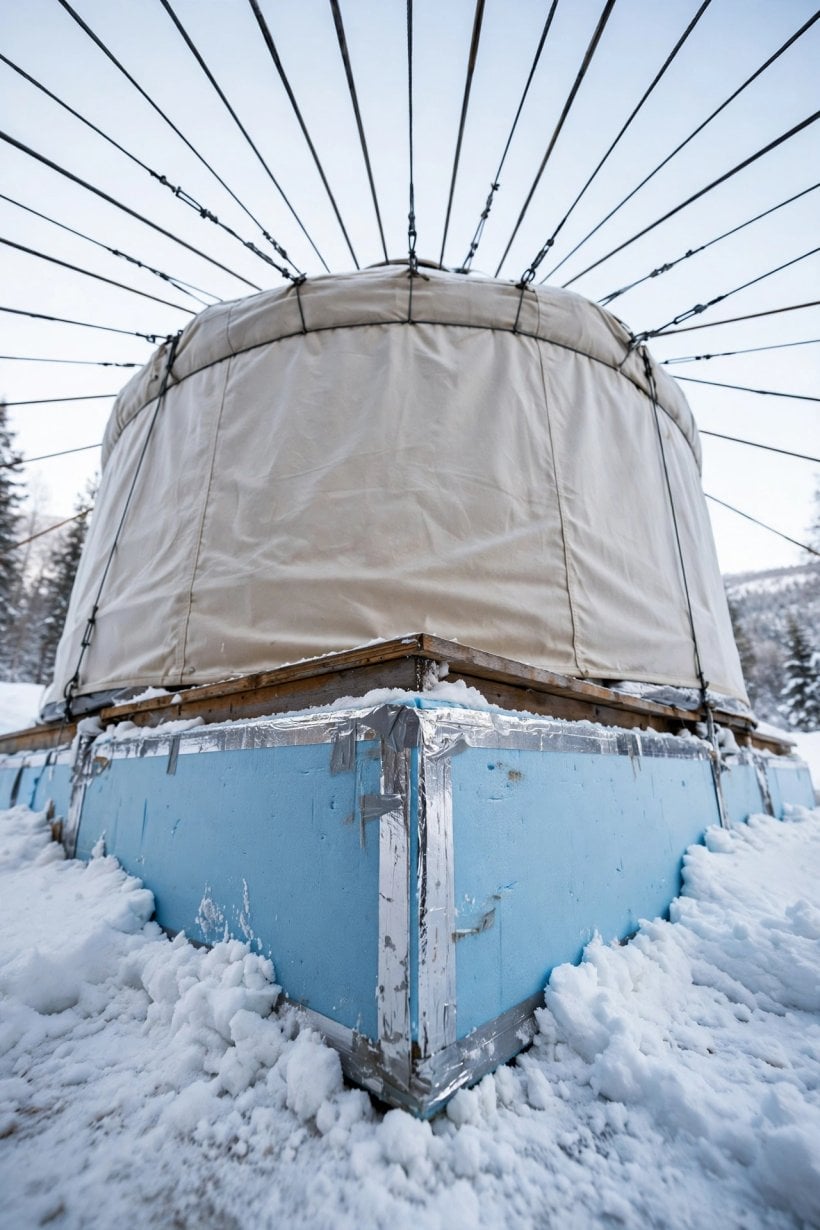
The difference is something you feel through your socks. An uninsulated yurt floor at -10°F feels like standing on ice; an insulated one feels like a normal house. That comfort is also structural planning, decided before the first night of frost: the platform is designed as part of the dwelling, not as a deck the yurt happens to sit on. The layouts in our yurt floor plans collection start from exactly this platform logic — get the base right, and every system above it starts the winter ahead.
3. Heating: The Wood Stove Is King
The standard winter yurt heater is a small wood stove of 30,000–50,000 BTU, centrally placed under the roof ring — the toono — where heat rises and distributes radially. This is the one place where the yurt’s geometry stops being a challenge and becomes a gift: a circle is the ideal shape for a central heat source, because every point of the wall sits roughly the same distance from the fire. Add a heat-powered stove fan, which needs no electricity, to push warm air outward, and a reversible ceiling fan at the toono running in winter mode to destratify — pressing the warm layer that pools at the crown back down to where people live.
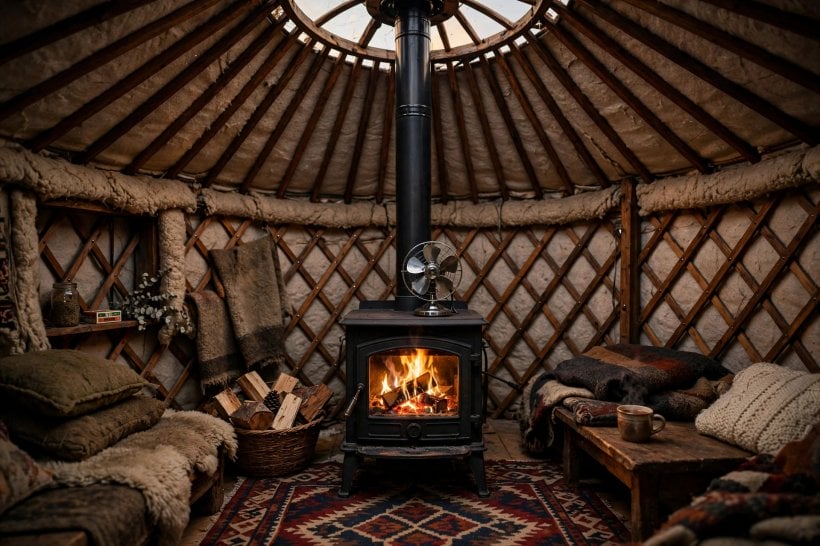
Sizing follows one rule: size the stove for the coldest night, not the average one, because an undersized stove means 3 AM refueling in the dark. Placement follows another: center the stove under the toono with proper clearances — 36 inches to combustibles, less with heat shields. The chimney exits through the toono or a wall thimble, and flashing it through fabric requires a proper silicone boot, not caulk. Get those three decisions right and the stove stops being an appliance and becomes the sun the whole circular house orbits.
4. The Second Heat Source (Non-Negotiable)
Every winter yurt needs a backup heater, and the original guidance is blunt about it: this is not optional equipment. The two proven forms are a direct-vent propane wall heater — thermostat-controlled, and with a millivolt system it works during power outages — or a diesel air heater, 12V, efficient, sipping fuel. Either one stands guard over the three situations the wood stove cannot cover: the hours you are away, when pipes cannot be allowed to freeze; a stove failure or fuel exhaustion in the middle of a cold snap; and shoulder-season days when firing the wood stove would roast the house to solve a mild chill.
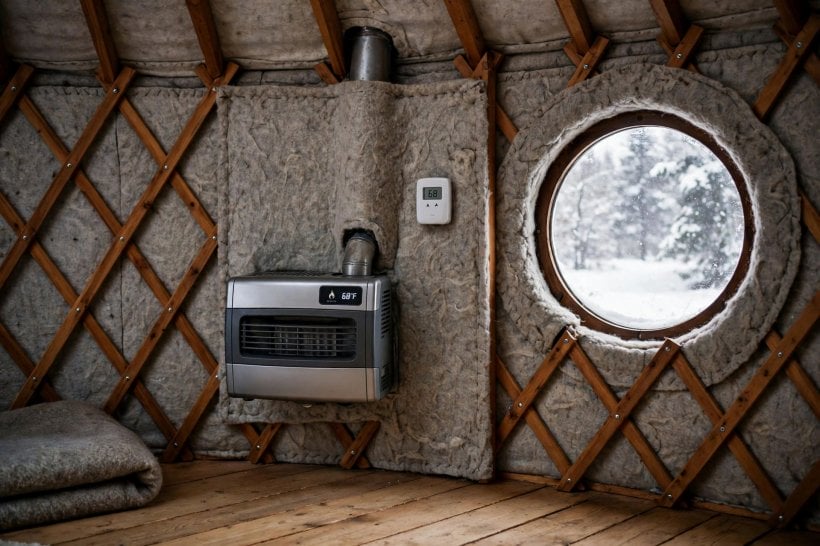
Frame it correctly and the purchase makes itself. Redundant heat is not paranoia; it is the difference between an inconvenience and a burst-pipe disaster — between coming home to a cool yurt and coming home to a flooded platform, split tanks and a ruined winter. The backup heater is the cheapest insurance in the entire build precisely because it only has to work on the worst day of the year, and on that day nothing else can do its job.
5. Moisture: The Silent Destroyer
Insulation keeps heat in; it also keeps moisture in, and airtight winter living generates gallons of it daily — breathing, cooking, showering — against fabric walls that condense it readily. The defense has three parts. First, mechanical ventilation: a small HRV, or at minimum a bath fan on a humidistat, exhausting to the exterior. Second, a vapor-open interior: never seal the inner liner with plastic, because moisture must be able to migrate outward through the layers instead of collecting inside them. Third, active dehumidification if needed, from a small desiccant dehumidifier of 300–500W.
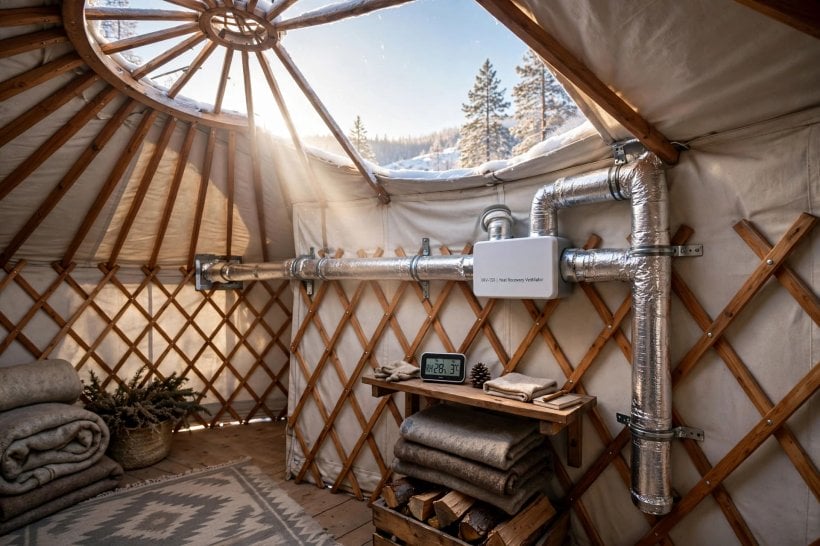
The target is 30–40% indoor relative humidity; above 50%, condensation forms on the coldest surfaces, and in a yurt the coldest surfaces are the walls you sleep against. The toono plays its part too — keep the roof ring’s vent cracked, even in deep cold, or install a dedicated vent cap, because warm moist air must have an exit path or it condenses on the coldest fabric and drips. This is the discipline that decides whether a yurt ages gracefully or quietly rots, and it deserves the same rigor as the full treatment in our guide to condensation control in yurts.
6. The Dome Skylight: Insulate It or Lose Through It
The clear dome over the toono is beautiful and thermally atrocious: R-1, a single skin of transparency at the very top of the house, exactly where the warmest air collects and presses to escape. In deep winter the answer is an insulated dome cover — reflective-lined, custom-made, $150–300 — fitted for the coldest months and removed on sunny days for solar gain and light. Some winter yurt dwellers run two domes: clear for the day, insulated for the night, trading a small ritual for heat saved every single night of the season.
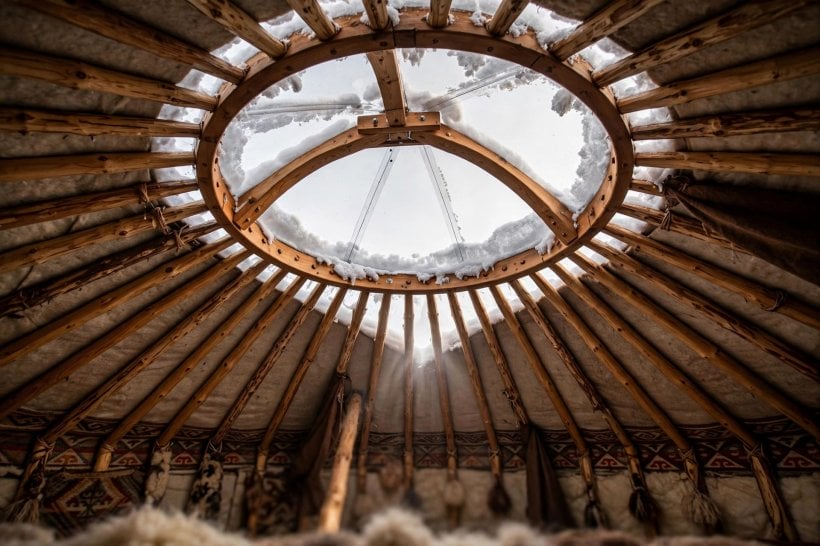
What makes the cover such satisfying engineering is the swap itself: five minutes, morning and evening, and the 5-minute swap saves measurable heat every night. It is the purest example of the yurt’s winter philosophy — no single layer is thick enough, so the dwelling is tuned by hand, seasonally and daily, the way a sailor tunes a boat. The dome gives you the stars and the daylight; the cover decides when the yurt can afford them.
7. Wind: The Yurt’s Structural Test
Winter wind loads on a yurt are serious. The fabric acts as a sail, and drifting snow adds tons of lateral load against the wall, so the same envelope that keeps heat in must also stand up to being pushed on for months. The defenses are habits as much as hardware. Tension the wall cables properly, and check them monthly, because cables stretch. Add a wind rope over the roof — a perimeter rope cinched over the cover, standard in Mongolian practice for good reason. Site the yurt in a windbreak — trees, a hill, a snow fence — and never on an exposed ridge where the wind arrives at full strength. And keep snow cleared from the roof edge with a roof rake with a fabric-safe head, a $40 tool that protects a cover worth far more.
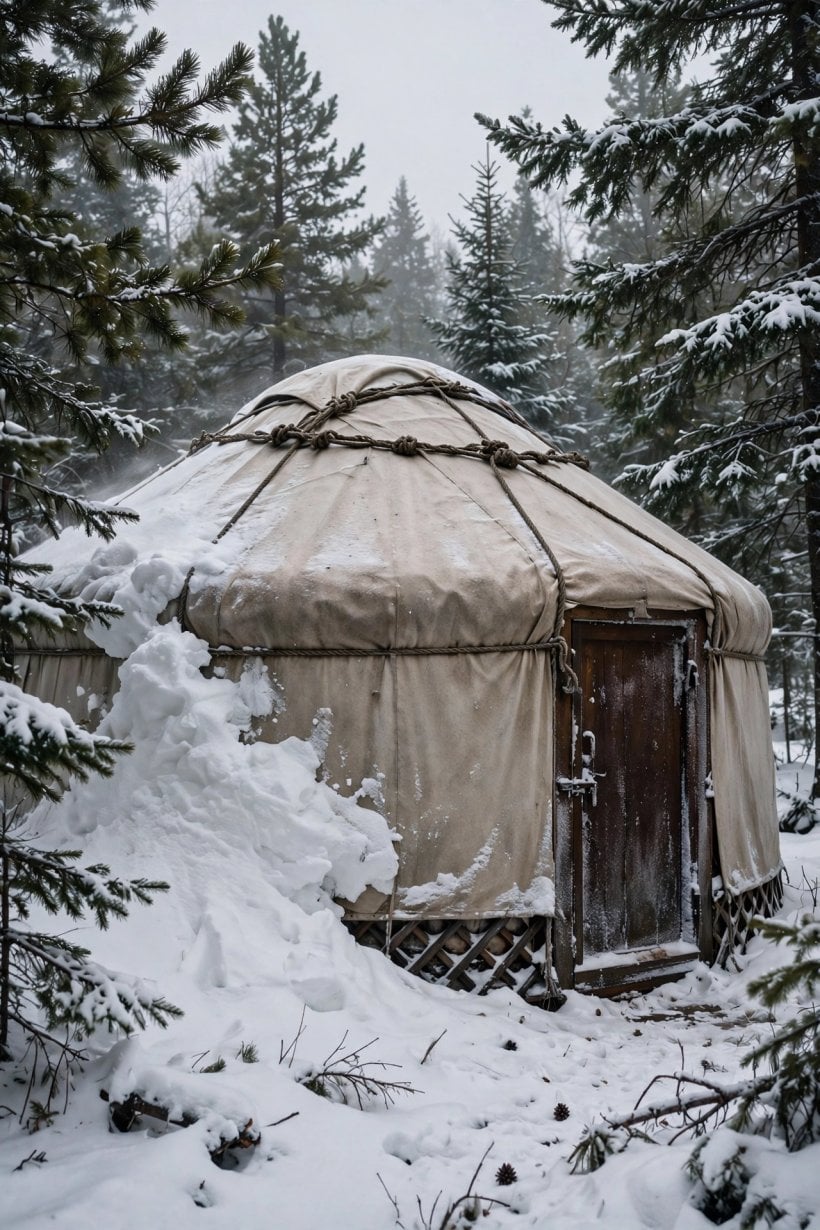
Notice how little of this is equipment and how much is siting and routine. The windbreak decision is made once, before the platform is built, and it pays out on every storm night for the life of the dwelling. The cable check takes minutes a month. A yurt that survives winter gracefully is rarely the strongest one on the market; it is the one standing in sheltered ground, properly tensioned, with its snow load managed before the drifts manage it.
8. Water Systems in a Yurt Winter
Plumbing in a winter yurt follows one rule: nothing freezes. The first option keeps all water inside the heated envelope — tanks under the platform in the heated crawlspace, pipes in interior chases — so the water never leaves the warmth the house already makes. The second adds heat tape on any exposed run, thermostatically controlled, on a circuit that survives power outages; the heat tape pipe freeze simulator shows what that protection actually draws. The third option is the boldest: go dry. Haul water in jugs, run no plumbing at all, and have nothing to freeze.
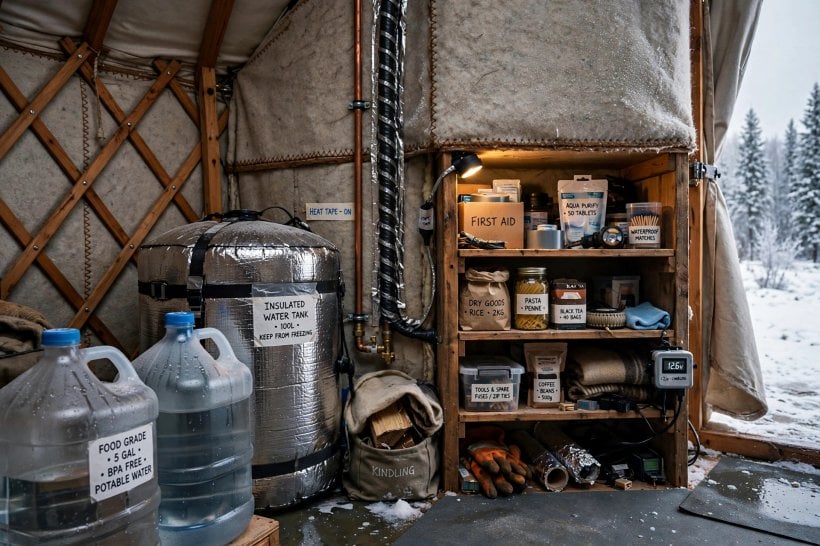
The dry option deserves respect rather than apology. It is not primitive; it is a legitimate engineering choice that eliminates the number-one winter failure mode entirely, at the cost of carrying water — a trade many full-time winter dwellers make deliberately. Households that do plumb their yurts will find the same inside-the-envelope logic scaled up in our roundup of off-grid tiny house water systems: storage where the structure and the warmth are, treatment where hands can reach it, and no pipe ever left alone in the cold.
9. The Entry Airlock
Every winter yurt needs an entry vestibule: a small insulated anteroom — even a 4×4 framed box with a second door — between the outdoors and the living space. The physics is unforgiving without one. A yurt’s single door is a big hole, and each entry cycle without an airlock exchanges a large volume of heated air with the night outside. The airlock cuts that loss by 70% or more, simply by ensuring that one of the two doors is always closed, so the warm room never opens directly to the cold.
The vestibule then earns its keep three more ways. It serves as the boot room, where snow is kicked off before it can become meltwater on the floor; as gear storage, keeping the living circle free of the winter’s clutter; and as firewood staging, so the night’s fuel dries a step from the stove instead of being carried in armful by armful through the cold. Sixteen square feet that work that hard — thermal buffer, mudroom, closet and woodbox in one small box — may be the hardest-working 16 square feet in the yurt, and the cheapest comfort upgrade after the dome cover.
10. The Winter Routine: Living the System
Winter yurt living is a practice, and the practice is short. Morning: the stove is reloaded, ash emptied every 2–3 days, and ventilation checked. Midday: solar gain is maximized — the dome cover opened, south reflectors if used. Evening: the stove is loaded for the night, the backup heater’s thermostat set, and the water systems checked. Weekly: cable tension, snow clearing, and a moisture check on the walls. The whole routine takes 20 minutes a day, and it is the connective tissue of everything above it — the insulation, the stove, the ventilation and the wind defenses only deliver their numbers in a house where someone walks the system daily.
Run the checklist once and the pattern is clear. Insulation: a four-season liner package, walls at R-10 or better, R-20 with upgrades. Floor: an R-19-plus insulated platform with a foam-skirted perimeter. Heat: a central wood stove plus a backup propane or diesel heater. Moisture: an HRV or humidistat fan, the toono vented, a 30–40% RH target. Dome: an insulated cover for cold nights. Wind: tensioned cables, a roof rope, windbreak siting, snow clearing. Water: freeze-proofed or dry, heat tape on backup circuits. Entry: an insulated airlock vestibule. The yurt rewards the routine with the coziest winter housing per dollar on earth.
Final Considerations
A winter yurt is not a compromise; it is a different engineering solution, and a well-executed one is warmer, cheaper, and more delightful than a poorly executed conventional house. Before building the system, settle the ground it stands on: whether a yurt counts as a legal dwelling where you live is its own question, covered in our guide to whether yurt living is legal, and households still choosing their structure should weigh the honest trade-offs in our yurt vs tiny house on wheels comparison. Then commit to the system whole: insulate seriously, heat redundantly, ventilate relentlessly, and respect the wind.
That, in the end, is how to live in a yurt in winter: not by overpowering the cold with fuel, but by layering modest defenses — felt and radiant barrier, foam and skirt, stove and backup, vent and airlock — until a fabric circle on a platform shrugs off a minus-twenty night. The yurt has sheltered humans through steppe winters for a thousand years; with modern insulation and stoves, it will shelter you too.



2 Comments