

You wake to the smell of damp wool and a dark bloom spreading across the felt above your bed. In a yurt there is no wall cavity to hide the damage and no second room to escape it: every breath and every pot of soup loads one fabric envelope with moisture, and the cold outer canvas condenses it. Left alone, the mold eats the insulation from the inside out.
Condensation Control in Yurts: At a Glance
Condensation control in yurts is a system, not a product. A round home concentrates all of daily life — sleeping, cooking, washing, breathing — inside a single skin of canvas and felt, so moisture management has to be designed into the ventilation, the wall assembly, the heating and the daily routine all at once. The good news is that the physics is simple and the defense is well understood: move moist air out faster than it accumulates, keep the felt warm enough that vapor never finds a cold surface inside it, choose heat that dries instead of heat that wets, and build habits that stop moisture at the source. The ten sections below run the complete playbook in the order the original guide sets it out — why the round house sweats, the physics underneath, and then each layer of the defense, ending with what to do when mold appears anyway and the products that keep it from coming back.
| Topic | What It Covers | Key Fact or Figure |
|---|---|---|
| 1. The Round House Sweats | Why one fabric envelope concentrates every moisture problem | Condensation is the #1 destroyer of yurt covers |
| 2. The Physics | Dew point, vapor load and why winter bites hardest | A family generates 2–3 gallons of vapor daily |
| 3. Ventilation | The crown, cross-flow and the humidistat fan | 50 CFM fan on a humidistat, $100–150 |
| 4. The Vapor Barrier Question | Three assemblies: barrier, breathable, reflective layer | 6-mil poly, or felt + reflective + ventilation |
| 5. Insulation | Keeping felt above the dew point | Double the roof insulation before the walls |
| 6. Heating | Dry heat vs wet heat, and the vented-only rule | 1 gallon of propane burned ≈ 1 gallon of water vapor |
| 7. Daily Habits | Lids, outdoor drying and the hygrometer habit | Keep indoor RH under 60%; act above 70% |
| 8. Remediation | Vinegar, sunlight and the full dry-out | Never bleach on felt — it damages the fibers |
| 9. Prevention Products | Borax-treated felt and canvas treatments | Specify borax treatment when buying felt |
| 10. The Dry-Yurt System | How the layers work as one system | No single measure suffices — together they do |
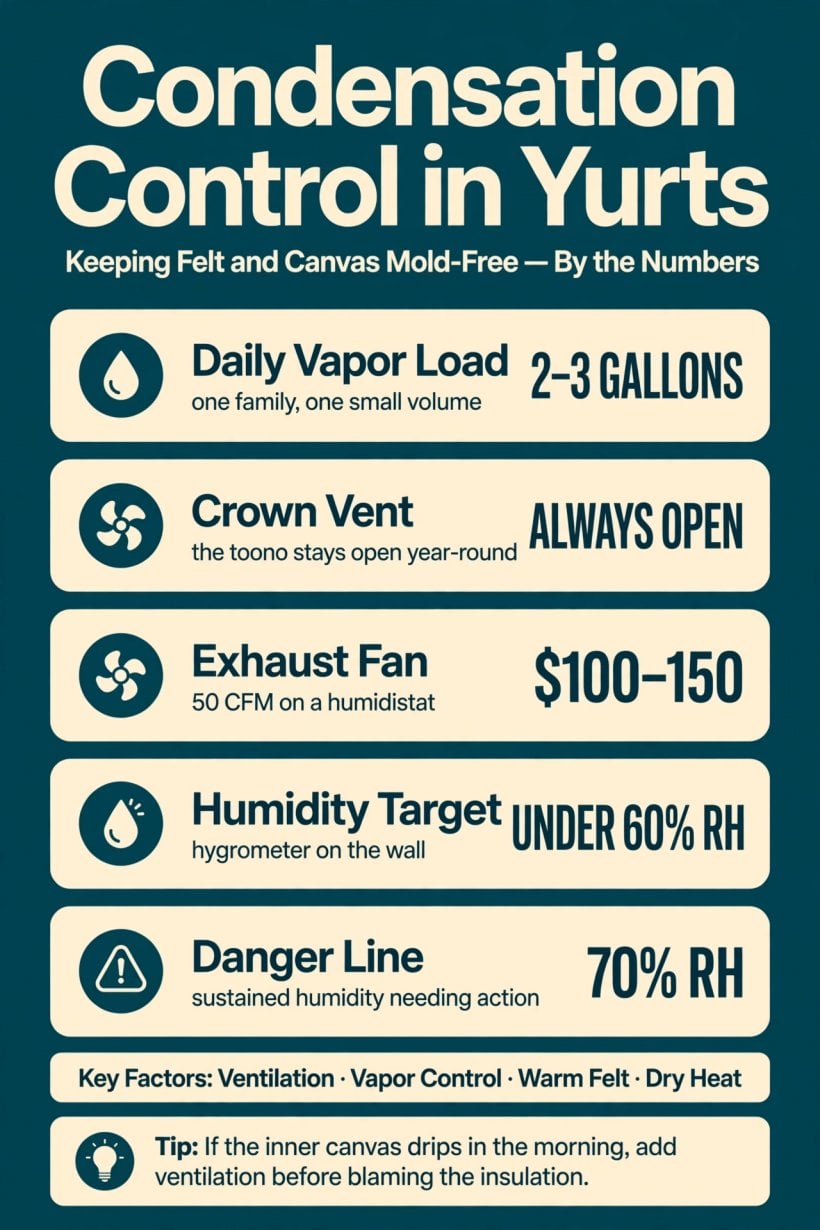
The dry-yurt defense by the numbers: 2–3 gallons of vapor a day to move, a crown vent that never closes, a $100–150 humidistat fan — and a 60% humidity ceiling over it all.
1. The Round House Sweats
Start with the shape of the problem. A yurt is a single fabric-and-felt envelope wrapped around your entire life — there is no attic to buffer the moisture, no wall cavity to absorb a mistake, and no spare room where damp can sit unnoticed. Every breath, every pot of soup and every shower loads that one envelope with water vapor, and the envelope’s outer skin is canvas exposed directly to the night air. Warm humid air inside, cold canvas outside, felt in between: the round house is, by construction, a condensing surface wrapped around a moisture source.
That is why the original guide calls yurt condensation the number one destroyer of yurt covers and the number one health complaint of yurt dwellers. It is not a cosmetic issue and it is not a sign of a badly built yurt — it is the default outcome of the physics, and every yurt that stays dry does so because someone is actively managing it. The full defense has three legs — ventilation, vapor control and heating strategy — plus the daily habits that support all three, and the same moisture battle runs through the whole cold season in our guide to how to live in a yurt in winter. A dry yurt is a healthy yurt, and dryness is a practice, not a purchase.
2. The Physics: Why Yurts Condense
Condensation forms when humid air contacts a surface colder than the dew point — the temperature at which the vapor in the air turns back into liquid water. In a yurt the geometry guarantees that meeting. The outer canvas is cold because it faces the outside air directly. The inner air is warm and humid because people, cooking and heating keep it that way. And the felt insulation sits exactly between the two, which makes the felt layer itself the perfect condensation zone: vapor drifting outward through the felt reaches a cold enough point somewhere inside it, and that is where the water appears.
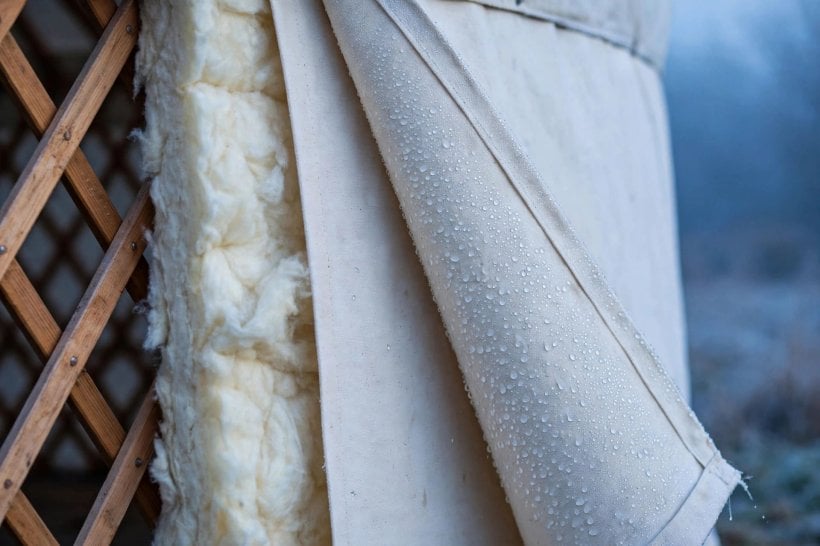
The load is bigger than most new dwellers expect: a family generates 2–3 gallons of vapor daily, and a yurt’s small volume concentrates it fast. Winter is the worst season because the temperature difference across the envelope is biggest, but the shoulder seasons surprise people — cold nights and warm days set up a daily condensation cycle that wets the felt a little at a time. The felt does act as a buffer at first, absorbing some moisture the way it has in traditional round homes for centuries — until it saturates. Saturated felt drips, smells, and molds, and from that point the problem compounds: wet felt insulates worse, which makes the inner surfaces colder, which condenses more vapor. Every fix in the sections that follow is aimed at breaking that loop somewhere — at the vapor, at the temperature, or at the air exchange.
3. Ventilation: The Primary Weapon
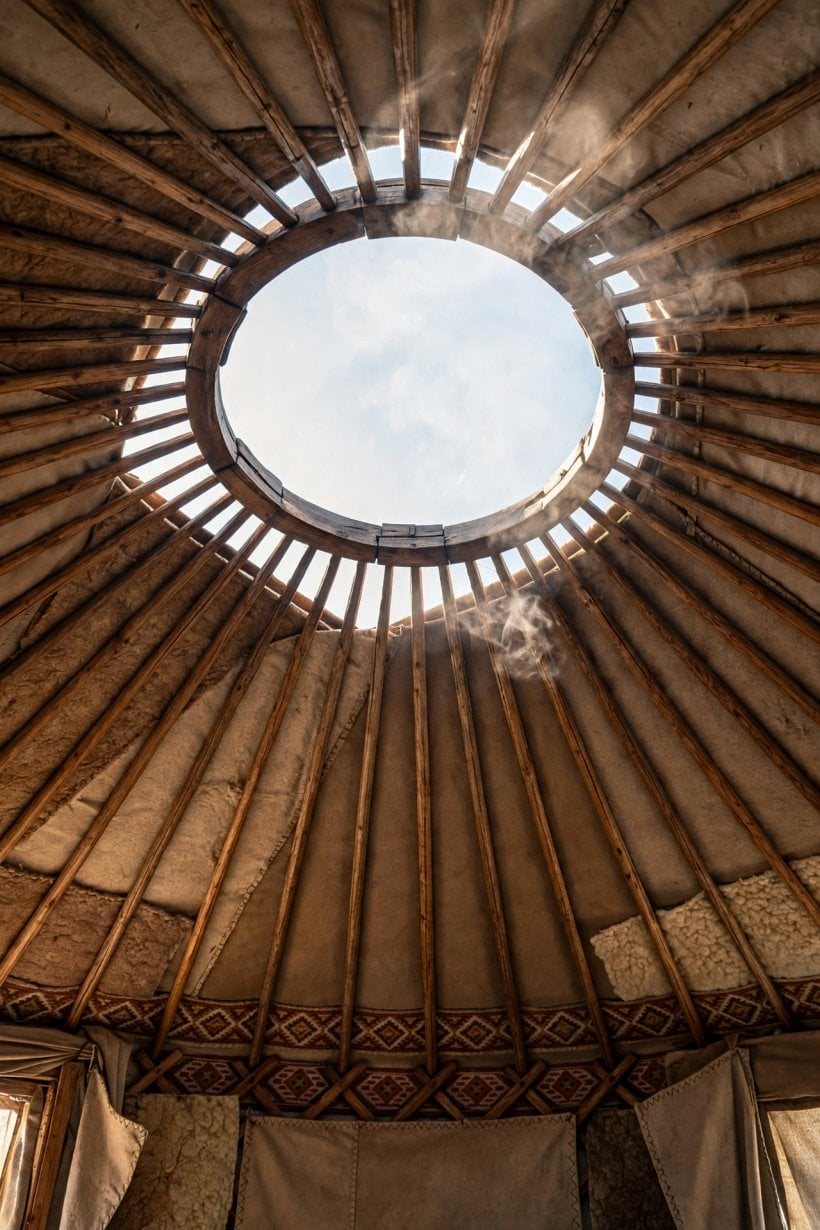
If only one section of this guide survives, it should be this one: moisture must leave the yurt faster than it accumulates, and ventilation is how it leaves. The first and most important feature is already built into the design — the crown, the toono at the roof’s peak. The traditional smoke hole is also the moisture chimney, because warm moist air rises and the crown is where it wants to exit. Keep it open or vented year-round; it is the single most important ventilation feature a yurt has. A closable crown cover earns its place for storms, but the default position is open, not shut.
Behind the crown, cross-ventilation does the daily work: door plus an opposite window cracked open. Even a one-inch crack in winter moves a remarkable amount of moisture, and the heat loss it costs is simply the price of dry felt — pay it willingly, because the alternative is paying for new covers. Where deep winter keeps windows shut, the modern answer is mechanical: a small exhaust fan — a 50 CFM bathroom fan on a humidistat, roughly $100–150 — that runs when the air needs it rather than when someone remembers. The diagnostic rule ties it together: if the inner canvas drips in the morning, ventilation is inadequate — increase it before blaming the insulation. The same sizing and placement logic for mechanical air exchange is worked through in our guide to tiny house ventilation with HRV and ERV systems, and the principle carries straight over: exchange the air, keep the heat.
4. The Vapor Barrier Question
Where does vapor control belong in a felt wall? The original guide lays out three honest options, and the right answer depends on how the yurt is used and heated. Option A is an interior vapor barrier — 6-mil poly or reflective bubble insulation fitted inside the felt. It stops vapor reaching the cold canvas, and it is effective, but it traps moisture against interior finishes if it is detailed poorly, and traditionalists object to sealing a breathable structure. Option B is the breathable assembly: no barrier at all, the felt buffers moisture as it always has, and ventilation removes it. That is the traditional approach, and it works — with diligent ventilation. Without that diligence, it fails.
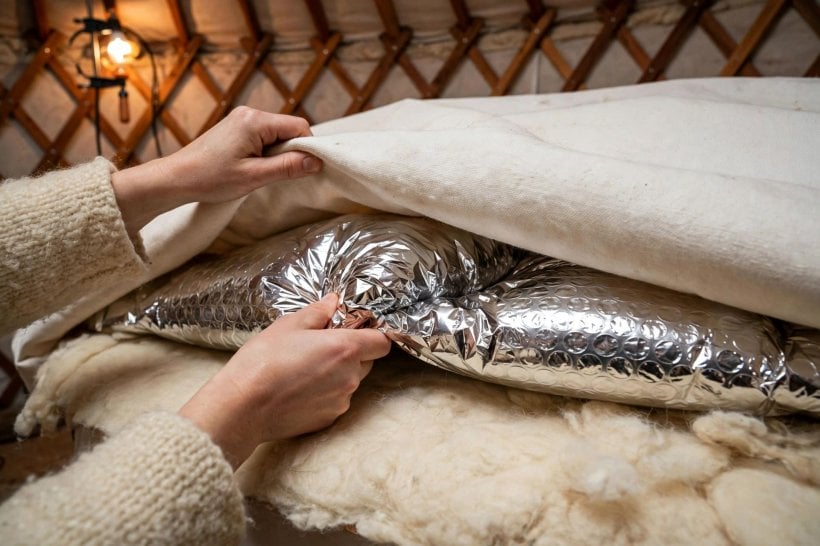
Option C is the reflective insulation layer: a Reflectix-type bubble foil set between the felt and the canvas. It adds R-value, acts as a vapor retarder, and — critically — keeps the felt warmer, and warm felt doesn’t condense. The modern consensus the guide lands on combines the strengths: felt plus a reflective layer plus aggressive ventilation — Option C with Option B’s discipline — the belt-and-suspenders arrangement that keeps felt dry in real winters rather than in ideal ones. The lesson is that vapor control is not a layer you buy; it is a position you choose in a system, and the choice has to match the ventilation you will actually maintain.
5. Insulation: Warm Felt Doesn’t Drip
Condensation is a temperature problem as much as a moisture problem. If the inner felt surface stays above the dew point, vapor has no cold surface to condense on inside the wall — which makes insulation a moisture defense in its own right. The traditional answer is thicker felt: double felt layers, the Mongolian winter setup, keep the inner felt surface above the dew point for longer into the night. A reflective outer wrap helps from the other side, cutting radiant heat loss so the felt stays warmer through the coldest hours.
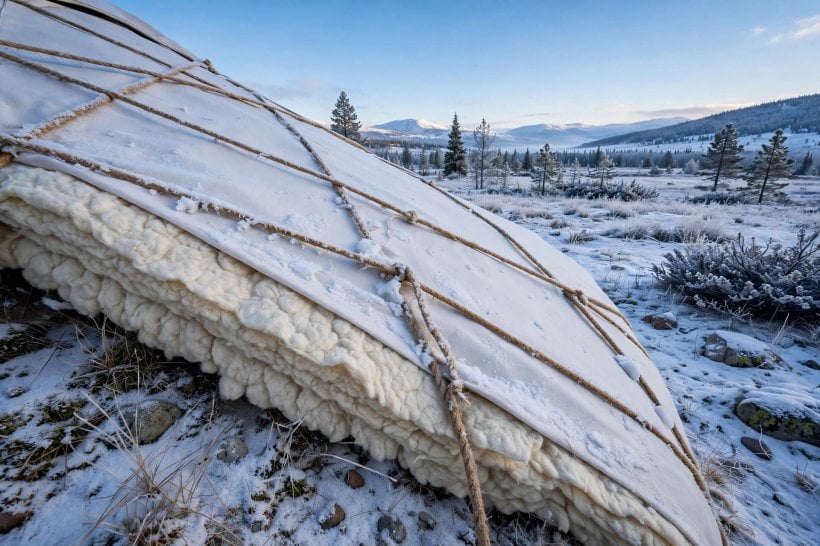
Priorities matter: roof insulation matters most, because warm air rises — the roof felt sees the most moisture and presents the coldest surface — so double the roof insulation before the walls. And handle the felt gently: no compressed felt. Compression kills R-value, so hang felt loosely rather than crushing it under tight ropes; a compressed band in the felt is a cold stripe in the wall, and cold stripes are where condensation starts. The field test is beautifully simple: touch the inner felt on a cold morning. If it is cold and damp, add insulation or ventilation; if it is room-temperature and dry, the assembly works. How felt and wool assemblies behave inside a heated envelope more broadly is compared in our guide to how to insulate a tiny house, where wool’s moisture buffering gets its full hearing.
6. Heating: Dry Heat vs Wet Heat
The heat source shapes the moisture load as surely as the cooking does. The wood stove is the traditional yurt heater and, not coincidentally, the best dehumidifier in this guide: it produces dry heat, its combustion consumes oxygen, and its draft pulls moist air up the chimney and out of the house with every burn. Keep a kettle on it for humidity balance if the air gets too dry — balance, not excess. At the other extreme sit unvented propane heaters, the moisture factories: burning one gallon of propane produces roughly one gallon of water vapor, delivered straight into the room. The rule is absolute — never use unvented combustion in a yurt; it is the fastest route to soaked felt there is.
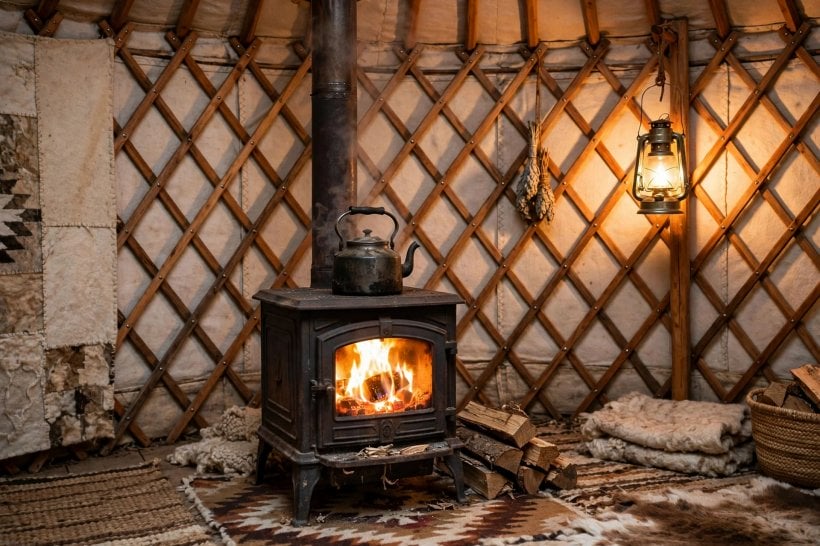
Vented propane and diesel heaters are fine — their combustion moisture goes up the flue where it belongs. Electric heat adds no moisture at all, though off-grid electric heat is impractical for most setups, as the energy math in our guide to how to live off grid in a tiny house makes plain. Two rules close the section. Vented heat only, always. And size the stove to the yurt: an oversized stove idles and smolders — inefficient and smoky — while a right-sized stove burns hot and clean, which is also what keeps its draft pulling moisture out. The wider heating comparison behind these choices is laid out in our guide to how to heat a tiny house.
7. Daily Habits: The Human Factor
The assembly handles the physics; habits handle the rest. Cook with lids on and the vent fan running — a boiling pot is a humidifier, so lid it and vent it, and the steam leaves by the crown instead of soaking into the felt. Dry clothes outside, without exception: indoor drying dumps gallons of water into the air and is the single worst habit a yurt dweller can keep. Wipe the crown area in the morning, where condensation gathers at the ring — a quick wipe prevents the drips that would otherwise spot the bedding below.

Air the bedding daily: mattresses and bedding absorb moisture all night, every night, and airing them — on a breathable mattress base rather than a solid platform — lets that load leave instead of accumulating into the musty smell that announces a damp home. And monitor, don’t guess: a hygrometer costs about $15 and turns moisture management from folklore into numbers. Keep indoor relative humidity under 60%; above 70% sustained, action is needed now, not at the weekend. The same monitor-and-respond discipline is what carries a small home through the damp months in our guide to tiny house living in cold climates — humidity managed daily is humidity that never becomes mold.
8. When Mold Appears: Remediation
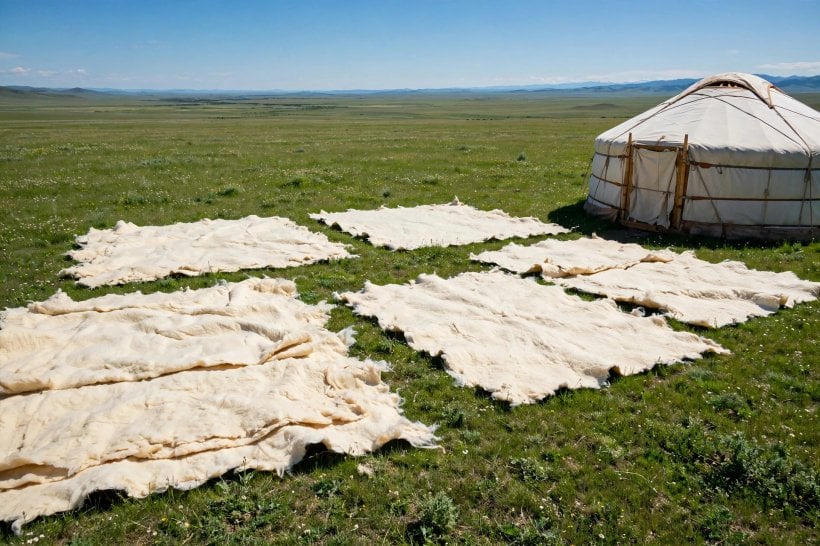
Despite best efforts, spots happen — and the response is methodical. Small spots on canvas yield to white vinegar or hydrogen peroxide: spray, scrub, dry thoroughly — and then fix the cause, because a cleaned spot over an unchanged routine is just a spot scheduled to return. Mold in the felt itself has an older cure: sunlight. Take the felt out on a dry sunny day and let UV do the killing, then brush off the dead growth before the felt goes back. It is the traditional remediation because it works on the whole layer at once, not just the visible bloom.
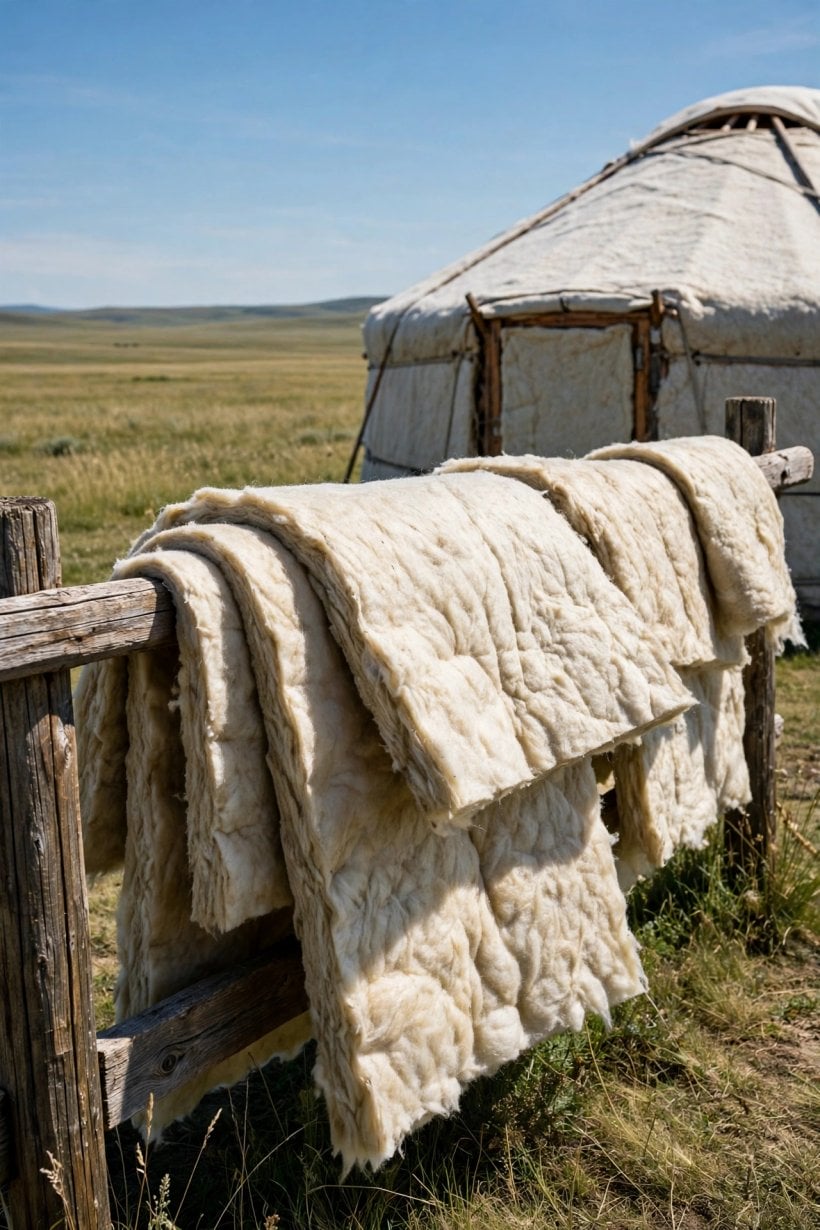
Severe saturation escalates the job: the felt must come out and dry fully — a weekend project, and more importantly a signal. Felt that saturated is telling you the ventilation or the insulation needs upgrading, and putting it back into the same assembly just restarts the clock. Read remediation as diagnosis: the location of the mold maps the cold spot or the dead-air corner that caused it, and the fix belongs there, in the system, not only on the surface.
9. Prevention Products: Stopping the Return
Two product choices make the next mold outbreak less likely before it starts. The first is in the felt itself: borax-treated felt is mold-resistant, so specify the treatment when buying — it is far easier to purchase resistance than to retrofit it. The second is on the outside skin: canvas waterproofing treatments keep the outer canvas shedding water, and that matters thermally as much as it matters for leaks, because wet canvas is cold canvas, and cold canvas is the condensing surface this whole guide is fighting.
Against those two do’s stand two absolute nevers. Never bleach on felt — it damages the fibers, weakening the very insulation the house depends on. And never paint over mold: painting seals it in to grow, hidden, behind a clean-looking surface. Prevention products work when they support the system — drier felt, warmer canvas — and fail when they are asked to substitute for it. Choose them at purchase time and maintenance time, and they quietly lower the odds every single day.
10. The Dry-Yurt System: How the Pieces Fit
Assemble the whole defense and it reads as one sentence: open crown plus cross-ventilation — or a humidistat fan where winter demands it — a reflective layer over good felt, vented heat only, lidded pots, outdoor clothes drying, and a hygrometer on the wall. No single measure suffices. Ventilation without warm felt still condenses on the coldest nights; insulation without air exchange still saturates from the inside; dry heat cannot rescue a house whose clothes dry on a line over the stove. Together, the measures cover each other’s weaknesses, and that coverage — not any one product — is what keeps a round home dry through the wettest winter.
That systems view is also the honest answer to why condensation control in yurts rewards attention more than spending. The expensive failures — rotted covers, replaced felt — almost never trace back to a missing gadget; they trace back to one leg of the system quietly dropped: the crown cover left shut, the fan never fitted, the laundry moved indoors for a week that became a season. Keep all the legs standing and the physics stays on your side.
Final Considerations
The yurt survived millennia on the steppe because its dwellers managed moisture — the physics hasn’t changed, only the tools have improved. The crown vent, the felt and the stove are the same instruments they always were; what the modern dweller adds is a humidistat, a hygrometer and a reflective layer, and the same discipline. Buyers still choosing their structure will find the layouts these defenses protect in our roundup of yurt floor plans, and anyone weighing the round life against a wheeled one can compare the moisture stakes directly in our yurt vs tiny house on wheels comparison. Manage the water, and the round house rewards you the way it has rewarded its dwellers for a thousand years: dry felt, clean air, and a home that smells of woodsmoke instead of damp wool.




2 Comments