
1. The Question Behind the Sheets
Under a luxury vinyl plank floor sits a question most buyers meet late: what should lie between the planks and the subfloor beneath them. Two sheet materials come up again and again in that conversation, a thin lauan-type plywood and a quarter-inch plywood sheet. Both are real options in the trade, both have their place, and neither is right for every floor. This guide walks through the checks that separate a sound choice from a guess, in general terms, so you can ask the right questions before anything is fixed down.

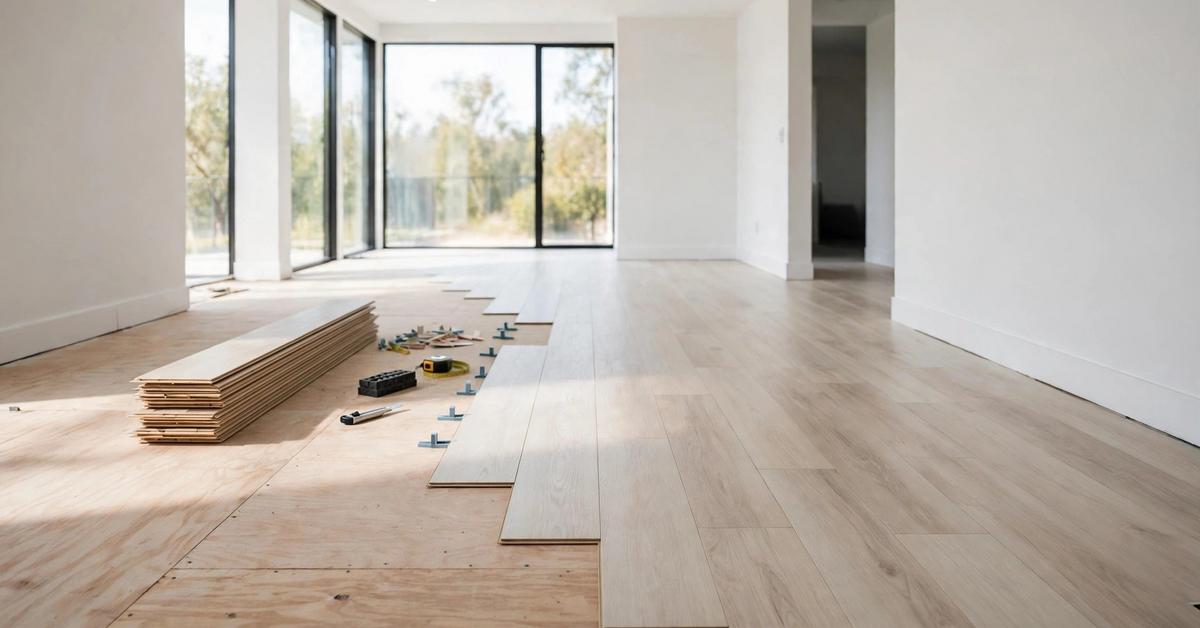
The first thing to understand is what underlayment actually does. It is not the floor itself. It is the layer that gives the planks a flat, clean, stable surface to sit on. Vinyl planks are flexible by nature, so they show up whatever lies beneath them: a dip becomes a soft spot, a ridge becomes a visible line, a rough patch wears through the plank above it over time. A good underlayment job is invisible. The luxury vinyl plank problems checks cover the same ground from the buying side. A poor one announces itself within months.
2. Flatness Comes First
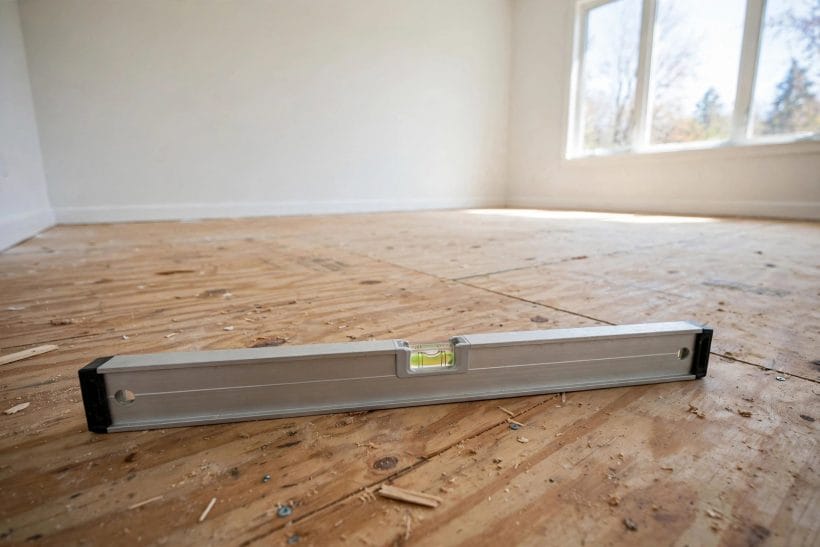
Every vinyl plank maker sets out flatness requirements for the surface their product sits on, and those requirements are the first thing to check. A floor that looks flat to the eye can still carry gentle waves that matter to a click-lock plank. Walk the room slowly, look across the surface in raking light, and run a long straight edge over it in several directions. Where the straight edge rocks or gaps appear, the base needs attention before any plank goes down.
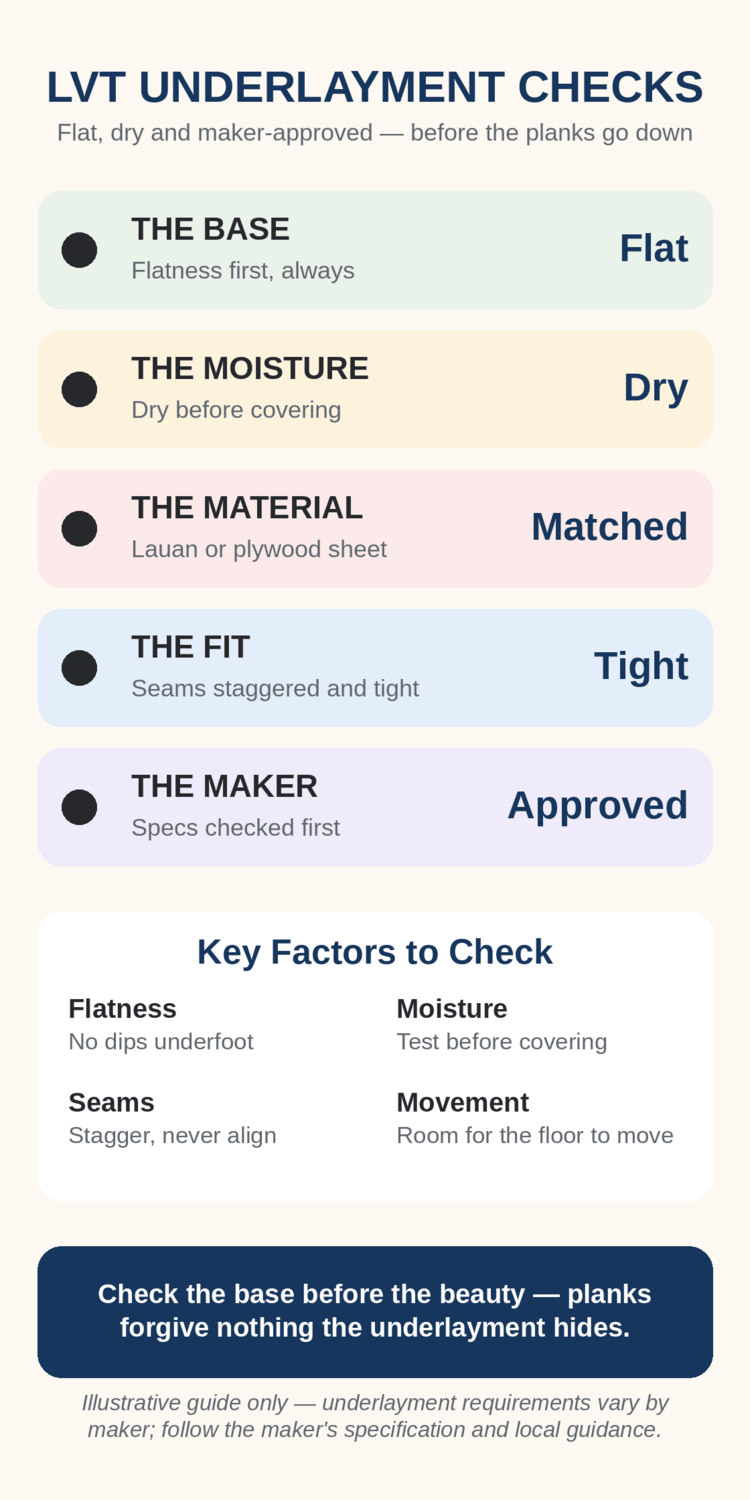
Flatness is not the same as level. A floor can slope gently across a room and still be perfectly flat, and planks do not mind a gentle slope. What they mind is change: humps, dips and steps between boards. If the subfloor itself is uneven, a thin sheet laid over it will follow the unevenness rather than correct it. Levelling belongs to the subfloor layer, not to the underlayment sheet.
Flatness problems often hide in the middle of a room, where foot traffic is heaviest and the eye rarely looks closely. A long level or a straight length of timber, laid across the floor in several directions and viewed against the light, shows gaps that a quick glance misses. Mark any hollow or ridge with a pencil as you find it, so the pattern of the problem is visible before you decide how to fix it. Small, isolated dips can sometimes be filled, while a floor that waves across its whole area usually needs the subfloor itself levelled rather than covered.
3. Lauan-Type Sheets: What They Are
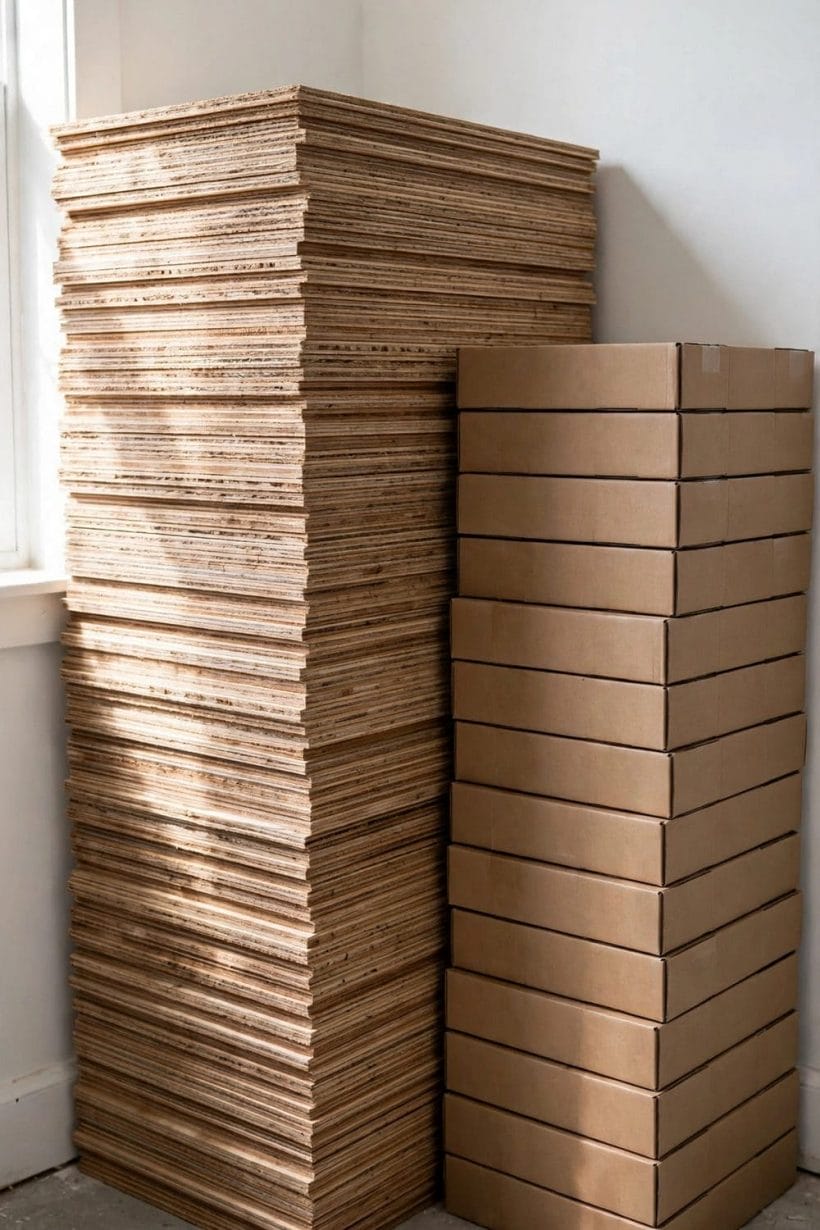
Lauan-type plywood is a thin hardwood plywood, usually sold in sheets that are easy to cut and handle. Its appeal is practical: it is light, it bends slightly to follow a surface, and it gives a smooth face for planks to sit on. In rooms where the subfloor is already flat and sound, it is a common choice for smoothing over minor surface roughness and old adhesive residue.
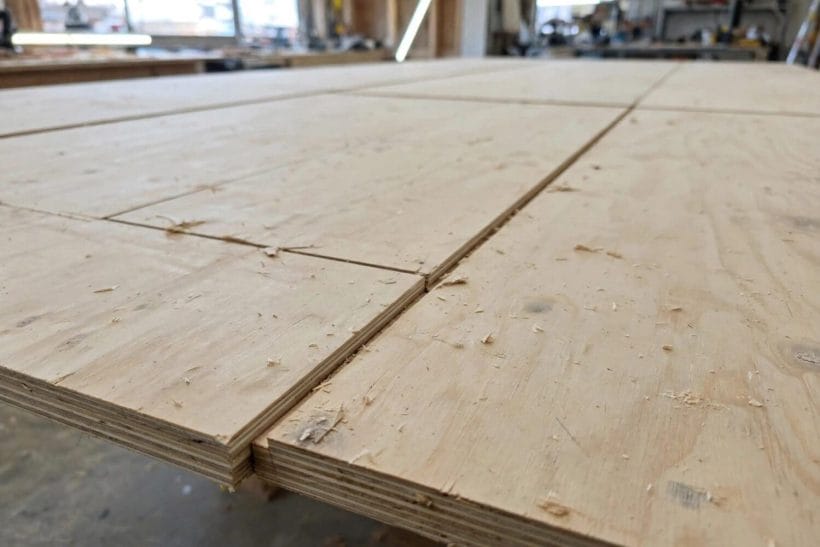
The cautions around lauan-type sheets are about stability and moisture. Thin sheets move more with humidity changes than thicker ones, and some varieties are more sensitive to damp than others. That is why the maker’s specification matters so much here: the plank maker, and often the sheet supplier too, will state which underlayment materials their product is approved over. A sheet that is fine under one plank system may not be approved under another, and approval is what protects a warranty.
When you handle a lauan-type sheet, look at its edges as well as its face. A sheet whose plies separate at the edge, or whose face is rough and patched, will not give the smooth base a vinyl plank needs, however carefully it is laid. Ask the supplier what the sheet is graded for, and check that the grade matches the job: a sheet made for general panelling is not automatically suitable as a flooring underlayment, even if it looks identical to one that is.
4. Quarter-Inch Plywood: What It Brings
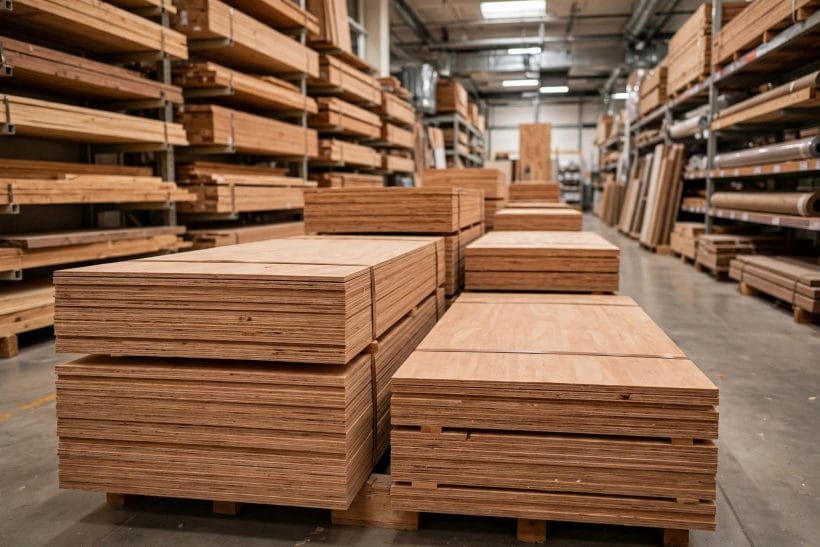
A quarter-inch plywood sheet is thicker and stiffer than a lauan-type sheet, and that stiffness is its main advantage. It bridges small imperfections better, it is less likely to telegraph a joint or a fastener head through the plank above, and it gives a firmer feel underfoot. For the same reason it is heavier to handle and harder to cut, and it raises the finished floor height a little more — something to check against door clearances and transitions into neighbouring rooms.

Thickness alone does not make a sheet suitable. The grade and face quality matter just as much: a rough or patched face can still show through a flexible plank, and voids inside a cheap sheet can collapse under a point load. Ask what grade the sheet is, look at its face, and check that it is rated for use as an underlayment rather than as general sheathing.
The extra height of a thicker sheet is easy to overlook until the first door sticks. Measure the total build-up at every doorway, transition and appliance space before you buy, and remember that the plank itself adds height too. A few millimetres can be the difference between a door that swings freely and one that scrapes, and trimming a door after the floor is laid is a job nobody enjoys.
5. Moisture: The Check Nobody Should Skip
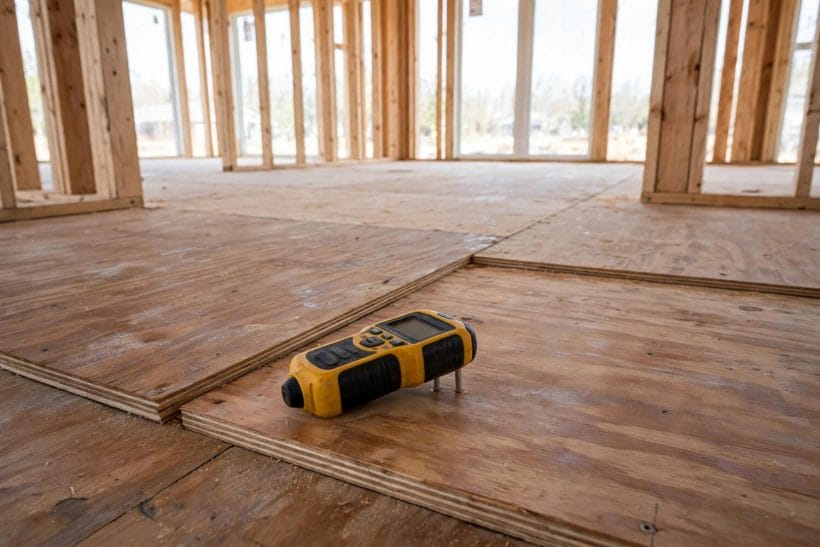
Moisture is the quiet cause of most underlayment failures. A subfloor that feels dry can still carry enough damp to swell a sheet, loosen adhesive or feed mould growth beneath a new floor. Concrete slabs, ground floors and rooms over damp spaces deserve a moisture check before any sheet goes down, using whatever test method the plank maker specifies.
If moisture readings come back high, the answer is not a different sheet. It is finding and dealing with the moisture source first, and choosing a system the maker approves for that situation. Some plank systems are approved over damp slabs with the right barrier; others are not. The compact microwave checks show the same specification-first approach in another product. This is a decision to make with the maker’s guidance in hand, not on the day of installation.
6. Seams, Fasteners and Edges
How sheets are laid matters as much as which sheets are chosen. Seams should be staggered so they do not line up with each other or with the plank joints above, and sheets should be fastened on a pattern that holds them flat without dimpling the surface. A fastener driven too deep leaves a dent that can show through; the semi-custom cabinet checks follow the same fixings-first pattern. one left proud leaves a bump that will.
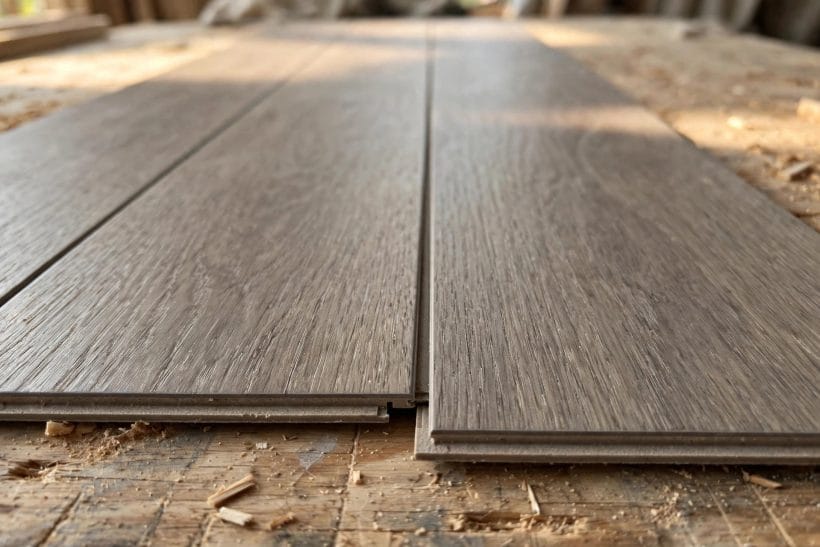
Edges deserve the same attention. Sheets should meet tightly without overlapping, and gaps around the room edge should be left as the maker directs, so the floor can move with seasonal change. Vinyl plank floors are floating systems in most cases, and anything that pins them — a sheet edge driven hard against a wall, a transition strip fixed through the planks — can cause buckling later.
Fastener choice matters as much as fastener pattern. Nails, screws and staples all have their place, but each must sit flush with the sheet surface — neither proud, which leaves a bump, nor sunk deep, which leaves a dent. Work across the sheet in a regular pattern rather than fixing one edge fully before the other, so the sheet lies flat instead of bowing between fixings.
7. The Maker’s Specification Rules
If this guide has one rule, it is this: the plank maker’s underlayment specification outranks every general opinion, including this guide. Makers test their products over specific underlayment materials and thicknesses, and they write those approvals into their installation instructions and warranty terms. Before buying a single sheet, read the instructions for the exact plank you plan to lay, and check that your chosen underlayment is named as approved.
Where the instructions are silent or unclear, ask the supplier in writing. A verbal assurance is worth little if a warranty claim ever arises. Keep the written answer with your purchase records, along with the product names and batch details of both the planks and the sheets. The engineered-tile versus ceramic comparison covers the alternative material choice.
8. Transitions, Doors and Height
Adding any underlayment raises the finished floor, and that rise has consequences at every edge of the room. Doors may need trimming, transitions into hallways and kitchens need new profiles, and appliances that slide under counters may no longer fit. Measure the total build-up — sheet plus plank plus any attached underlayment on the plank itself — before committing to a thickness.

Transitions between rooms deserve a plan of their own. A neat metal or wood profile hides the edge and protects it from foot traffic, while an abrupt step invites trips and damage. Where the new floor meets an existing floor of a different height, a ramped profile is kinder to feet and to furniture wheels than a square edge.
Transitions deserve a dry run before anything is fixed. Lay a short length of the chosen profile across the join and walk over it, checking that it sits flat, does not rock, and does not catch shoes or wheels. A transition that looks neat but rocks underfoot will work loose, while one that sits slightly proud can be eased with a little adjustment before it is fixed for good.
9. Who Should Do the Work
Laying underlayment sheets is within reach of a careful DIYer in a straightforward room, but several situations call for a professional. Subfloors that are significantly uneven, damp, or damaged need assessment before any sheet goes down. Structural questions — a bouncy floor, a cracked slab, a joist problem — belong to a qualified professional, not to an underlayment decision.
Even in a simple room, a professional installer brings two things that are hard to buy. Outdoor timber work, like deck building costs, follows the same measure-twice principle. experience in reading a subfloor, and a warranty on the work itself. If the plank maker’s warranty requires professional installation, that requirement is part of the product’s cost, not an optional extra.
10. The Decision, Step by Step
Start with the plank maker’s specification and work outward from there. Check the subfloor for flatness and moisture. Choose a sheet the maker approves, in a thickness that suits the room’s flatness and height constraints. Lay it with staggered seams and a careful fastener pattern. Then lay the planks exactly as the maker directs. Each step is simple on its own; together they are what make a vinyl plank floor feel solid for years. The patio furniture checks apply the same checks-before-buying method outdoors.
Neither lauan-type sheets nor quarter-inch plywood win this comparison outright, because the right answer depends on the room, the subfloor and the plank. What wins is the process: a flat, dry base, an approved sheet, and an installation that follows the maker’s instructions. Get those three right and the floor beneath the floor will do its quiet job for a long time.
Keep a record of the whole job: the plank product and batch, the sheet product and grade, the moisture readings if any were taken, and any written answers from suppliers. If a problem appears later, that record turns a difficult conversation into a straightforward one, because everyone can see what was specified, what was supplied and what was done. Good paperwork is the cheapest insurance a floor can have.
Final Considerations
Underlayment is the least visible part of a vinyl plank floor and one of the most consequential. Spend the time on flatness and moisture checks, read the maker’s specification before buying, and treat the sheet layer as part of the flooring system rather than as an afterthought. The planks you see every day will only ever be as good as the surface they sit on.




0 Comments