

Every inch of rain on a thousand square feet of roof is more than six hundred gallons of water — and most of it currently runs off into the ditch, wasted. This guide does the catchment math, sizes the tank against your driest stretch, and lays out the diverters and filters that turn a roof into a well.
1. Rainwater Harvesting Systems at a Glance
Rainwater harvesting systems are, at their core, an arithmetic problem with plumbing attached: a known roof, a known rainfall, and a constant — 0.623 gallons per square foot per inch — that converts weather into a water budget. Get the arithmetic right and everything downstream follows: the tank size, the filtration train, the budget, even whether the system can carry a household through its dry season. Get it wrong and the failure shows up months later, as an empty tank in the driest week of the year. This section gathers the whole calculation in one place; the sections after it take each variable apart in turn.
| Attribute | Detail |
|---|---|
| The Constant | 0.623 — the gallons caught per square foot of roof per inch of rain |
| The Yield Formula | Roof sq ft × annual rainfall in inches × 0.623 = gallons per year |
| The Worked Example | 1,000 sq ft × 30″ × 0.623 = 18,690 gallons a year, before losses |
| The Efficiency Factor | × 0.85 — first-flush diversion, evaporation and splash cost a real 15% |
| The Monthly Figure | About 1,300 gallons a month on the worked example — a planning average, not a promise |
| Indoor Demand | 30–50 gal/person/day at the conservative, low-flow end; 60–80 for the typical American average |
| Garden Demand | 600 gal/week in summer for a 1,000 sq ft garden — the seasonal load |
| The Sizing Rule | Longest dry stretch × daily use: 90 days × 50 gal = a 4,500-gallon tank |
| Starter Storage | 1,000–2,500 gallons — a 2–3 week buffer |
| Homestead Storage | 5,000–10,000 gallons — storage for the season, not the week |
| The Budget | $1,000–2,500 DIY basic; $3,000–8,000 potable — against $10,000–20,000 for a drilled well |
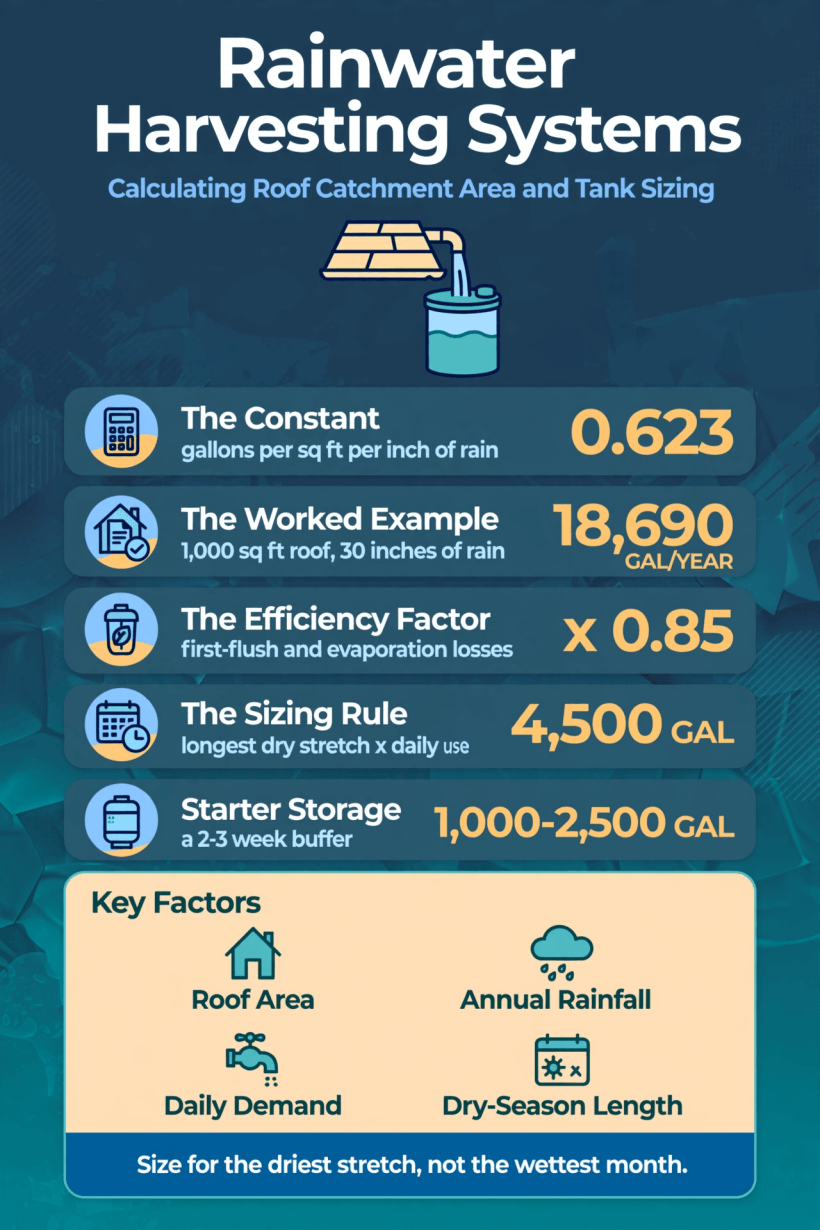
One constant, one formula, one dry-season rule — the whole sizing method on a single card.
Read the table as a chain of dependencies. The yield formula sets the ceiling: no tank, filter or pump can deliver water the roof never caught. The efficiency factor then discounts that ceiling to what actually reaches storage. Demand — honest, metered demand — decides how fast the stored water drains, and the dry-season gap converts demand into a tank size. Only after those four numbers exist do components and costs mean anything, which is why this guide calculates first and shops last. Every figure in the chain comes from the worked arithmetic of the original sizing method, and each section below stress-tests one link of it.
2. The Catchment Equation: Roof Area × Rainfall × 0.623
Every sizing decision starts with the yield formula: roof square feet multiplied by annual rainfall in inches, multiplied by 0.623. That last number is the constant of the whole method — the gallons of water that one inch of rain delivers onto one square foot of roof. It never changes with climate, roof material or tank size, which is what makes the formula portable: swap in your own roof area and your own rainfall, and the product is your gross annual yield.
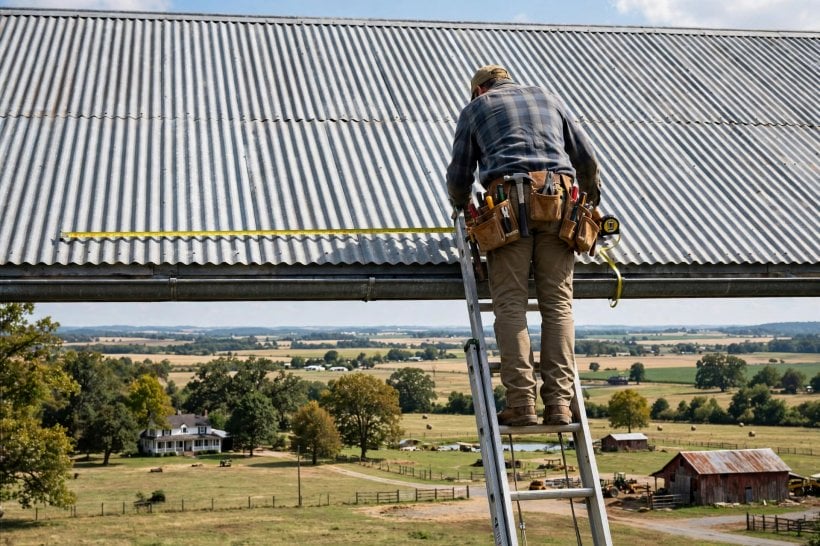
The worked example shows the scale of what a roof quietly offers. A 1,000 sq ft roof in a 30-inch rainfall zone produces 1,000 × 30 × 0.623 = 18,690 gallons a year — a figure the original rounds to some 18,000 gallons of annual catch, and identifies as roughly the average person’s indoor use. Read that equivalence carefully: it does not say the roof replaces a water supply by itself, because yield arrives on the rain’s schedule, not the household’s. It says the raw material is abundant — the harvest problem is one of timing and storage, not scarcity. How the roof’s own geometry shapes the water’s arrival at the gutter is its own question, worked through in the guide to roof pitch for water collection; the catchment area in the formula is the roof’s footprint — the horizontal area the rain actually falls on — whatever the slope above it.
3. The Efficiency Factor: Why the Yield Gets Multiplied by 0.85
The formula’s product is the theoretical yield, and no real roof delivers all of it. The method therefore applies an efficiency factor of × 0.85 — a standing 15% loss — before any planning number is trusted. The losses are named, not mysterious: the first-flush diverter deliberately throws away the dirtiest opening minutes of every storm, evaporation takes its share from wet surfaces, and splash and gutter inefficiency skim the rest. Planning on the gross figure builds a system that underperforms its own spreadsheet by exactly that 15%, every year, forever.
The monthly figure shows why the discount matters in practice. Divide the worked example’s yield by twelve and the planning number lands at about 1,300 gallons a month — a useful average for comparing yield against demand, and a dangerous one if read as a monthly guarantee. Rain does not arrive in twelve equal instalments; it arrives in wet months and dry stretches. The original names this the dry-month reality: the average is the planning tool, the dry stretch is the design condition. A system sized on averages alone is a system designed to run dry on schedule, which is why the storage equation in section 5 is built from the gap, not the mean.
4. The Demand Audit: Indoor Use, Garden Use and the Month of Metering
Yield is only half the ledger. The demand side begins indoors, where the method brackets use into two honest bands: 30–50 gallons per person per day for the conservative household — efficient fixtures, low-flow fittings, mindful habits — and 60–80 gallons per person per day for the typical American average. The gap between those bands is a factor of two, which means a sizing done on the wrong band is wrong by the size of a whole tank. There is no virtue in assuming the flattering number; the audit exists to find the real one.
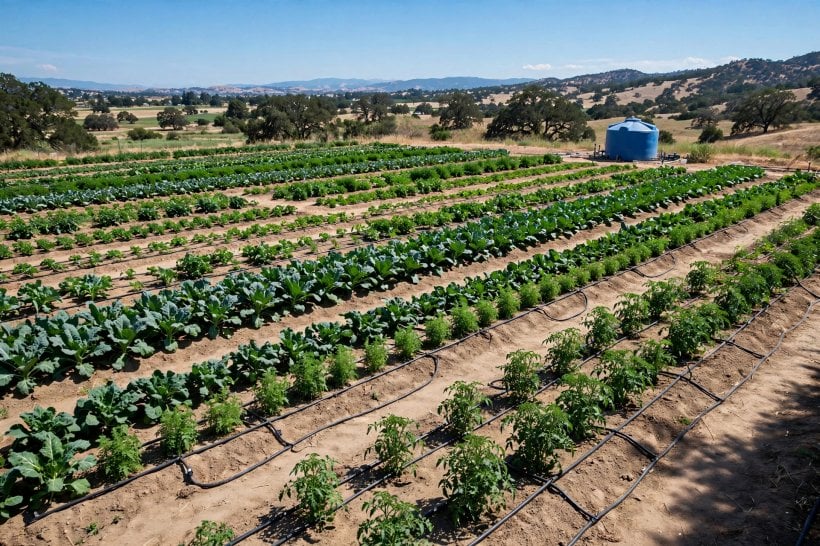
The garden is the second demand, and it is seasonal in a way indoor use is not: a 1,000 sq ft garden in summer draws about 600 gallons a week, arriving precisely when rainfall is least reliable. That collision — peak demand against the dry stretch — is the central tension the tank has to absorb, and it is why planting choices matter to the water budget: the water-wise planting approach in the guide to xeriscaping with rocks and native plants is, in effect, demand-side engineering for the same ledger. The audit itself is deliberately unglamorous: one month of metering, the measured household, the honest number. A month of real readings beats any estimate, because every downstream figure — daily use, dry-gap storage, tank size — inherits its accuracy.
5. The Storage Equation: Sizing the Tank to the Dry-Season Gap
Tank sizing has one rule, and it is not “as big as the budget allows.” The rule is: store the dry-season gap. Multiply the longest dry stretch by daily use and the product is the storage the household actually needs — the method’s own worked example runs 90 days × 50 gallons = 4,500 gallons. The logic is inescapable once stated: a tank’s job is to carry water across the interval when the roof delivers nothing, so the interval’s length and the household’s daily draw are the only two numbers that can size it.
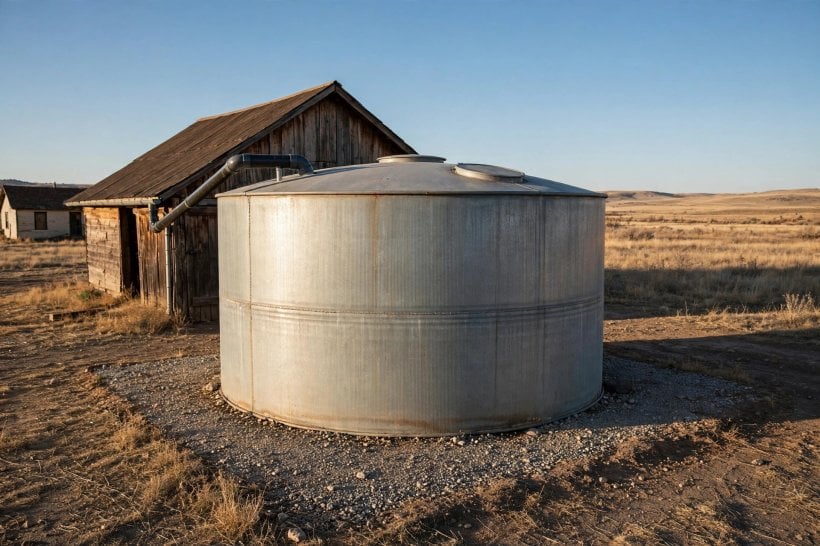
Against that rule, the standard sizes sort themselves. The minimum band, 1,000–2,500 gallons, is the starter storage — a 2–3 week buffer that smooths short dry spells and suits a part-time or supplementary supply. The homestead band, 5,000–10,000 gallons, is the serious storage: enough to span a season, sized for a household whose roof is its well. Choosing between them is not a matter of ambition but of arithmetic — the audited daily use and the local dry stretch produce the number, and the layouts in the guide to off-grid tiny house water systems show how storage of this scale is plumbed into a working catchment layout. Oversizing wastes money; undersizing wastes the entire system in the one month it was built for.
6. Tank Types: Poly, Ferrocement and Steel
Three materials carry almost every installation, and each prices a different virtue. Poly tanks are the cheap entry: at about $0.50 per gallon of capacity, UV-stable plastic is the fastest route from formula to stored water, and the default choice for the starter band. Ferrocement is the permanent answer — the DIY-built option, the material of the 10,000-gallon-and-up cistern, where the owner’s labour replaces the manufacturer’s price and the structure is built to outlast the roof above it. Steel is the fire-proof option, named for wildfire country, where the tank’s survival in a fire is part of the property’s defence.
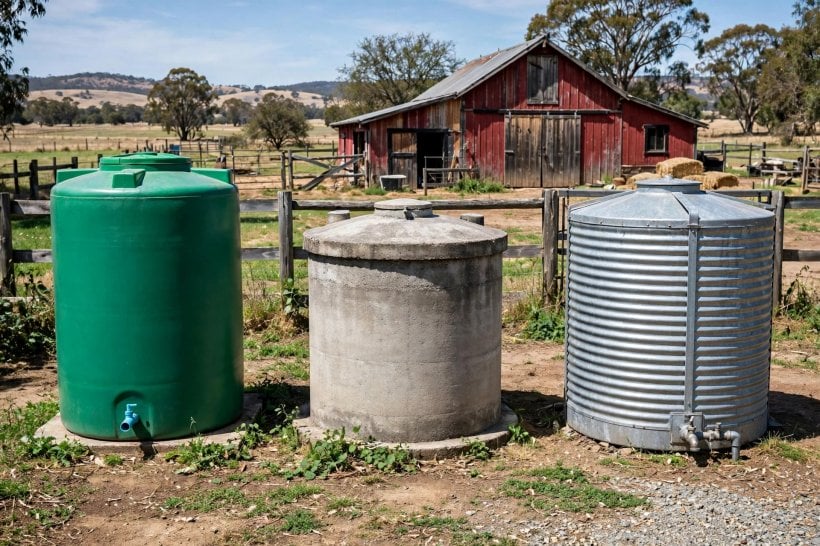
The choice is a sizing decision as much as a materials one. The cost-per-gallon arithmetic favours poly at small volumes and ferrocement at the largest, where forming one big cistern on site beats shipping one; steel earns its premium where the fire map, not the budget, makes the call. What none of the three changes is the number from section 5: the dry-season gap fixes the gallons, and the material only decides what those gallons cost and how long the vessel holding them will last.
7. From Gutter to Tank: 6-Inch Gutters, the 10-Gallon First Flush and Planned Overflow
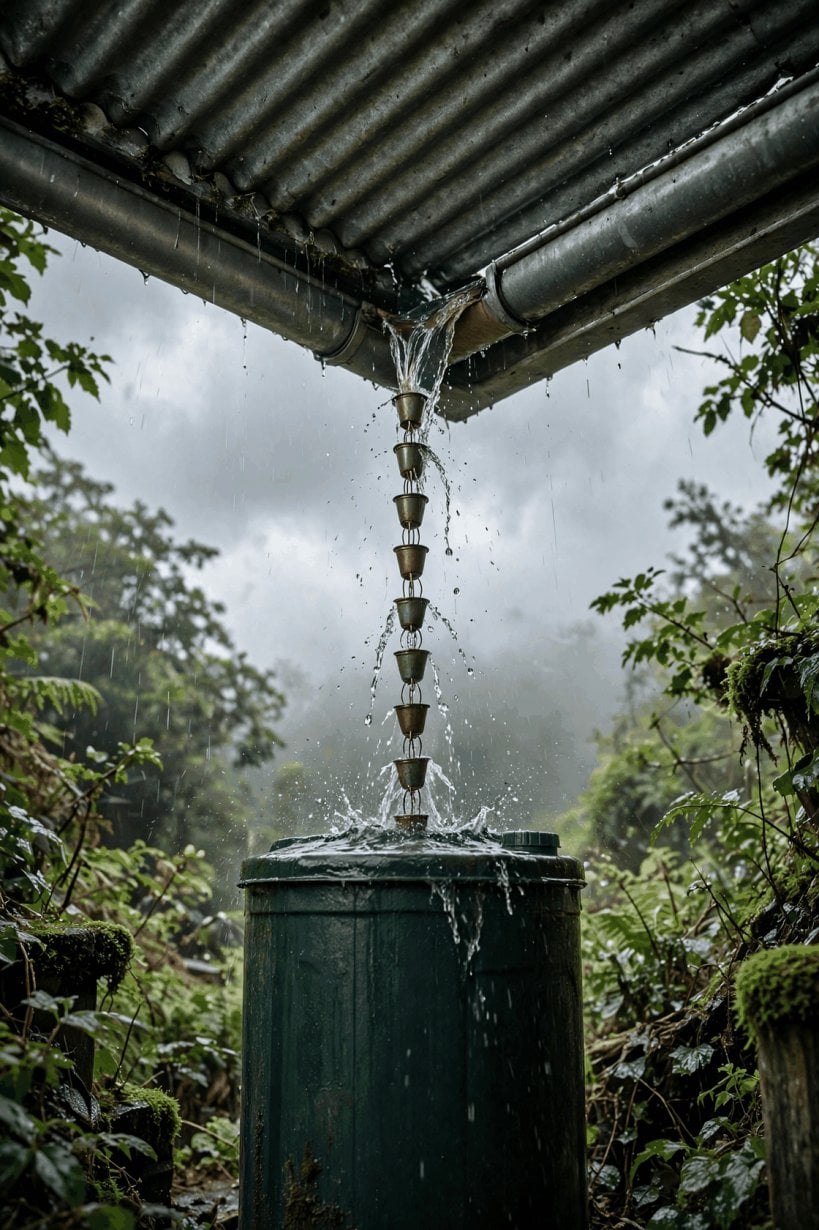
Between the roof’s edge and the tank’s inlet sits the collection train, and each component answers a named failure. Gutters come first: the 6-inch size, specified for capacity — the storm that delivers a month of planning average in an afternoon must not overtop the channel — fitted with leaf guards and laid to a slope so water moves to the downpipe instead of ponding. The first-flush diverter follows: a 10-gallon chamber that captures the roof’s first dirt — the dust, droppings and debris washed off in the opening minutes — and diverts it away automatically before clean water is allowed through to storage.
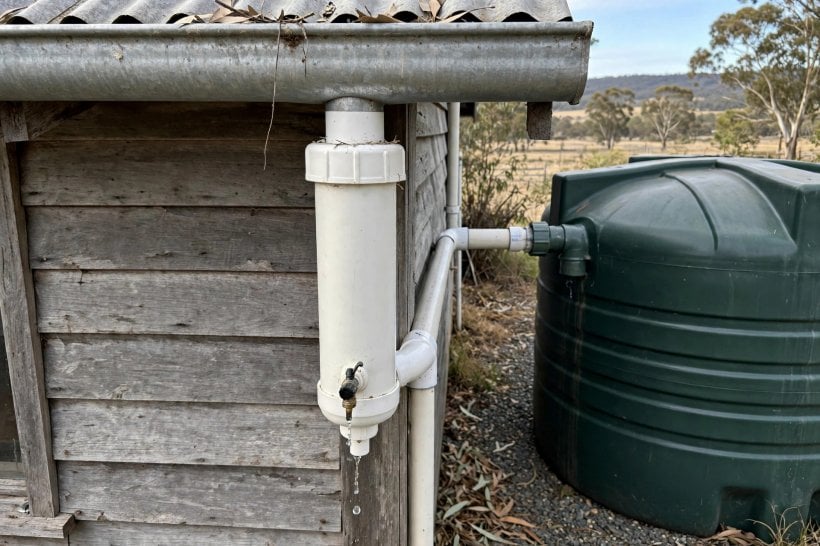
The last component is the one beginners forget: overflow. A full tank in a continuing storm has to send water somewhere, and the method treats overflow as planned, not accidental — directed, with the garden as its bonus destination. Overflow is also where the harvest meets the household’s other water loop: the used water leaving the house is a separate stream with its own rules, handled in the guide to simple greywater systems for a tiny home. Design the overflow path with the same care as the inlet, because the storm that fills the tank is the storm that tests where the excess goes.
8. Making It Potable: Staged Filtration, the 40 PSI Pump and the $50 Lab Test
Harvested rain is not drinking water until the treatment train makes it so, and the train starts at the roof itself: a metal roof is the best catchment surface — the clean one — while asphalt carries a caveat the original states plainly, a surface to treat with more caution and more filtration. From there the defence is layered. First-flush diversion is the essential first stage, removing the bird droppings and dust load before storage. Filtration then runs in stages — the method specifies the sequence 50-micron down to 5-micron, then UV or carbon — each stage finer than the last, together producing the potable standard.
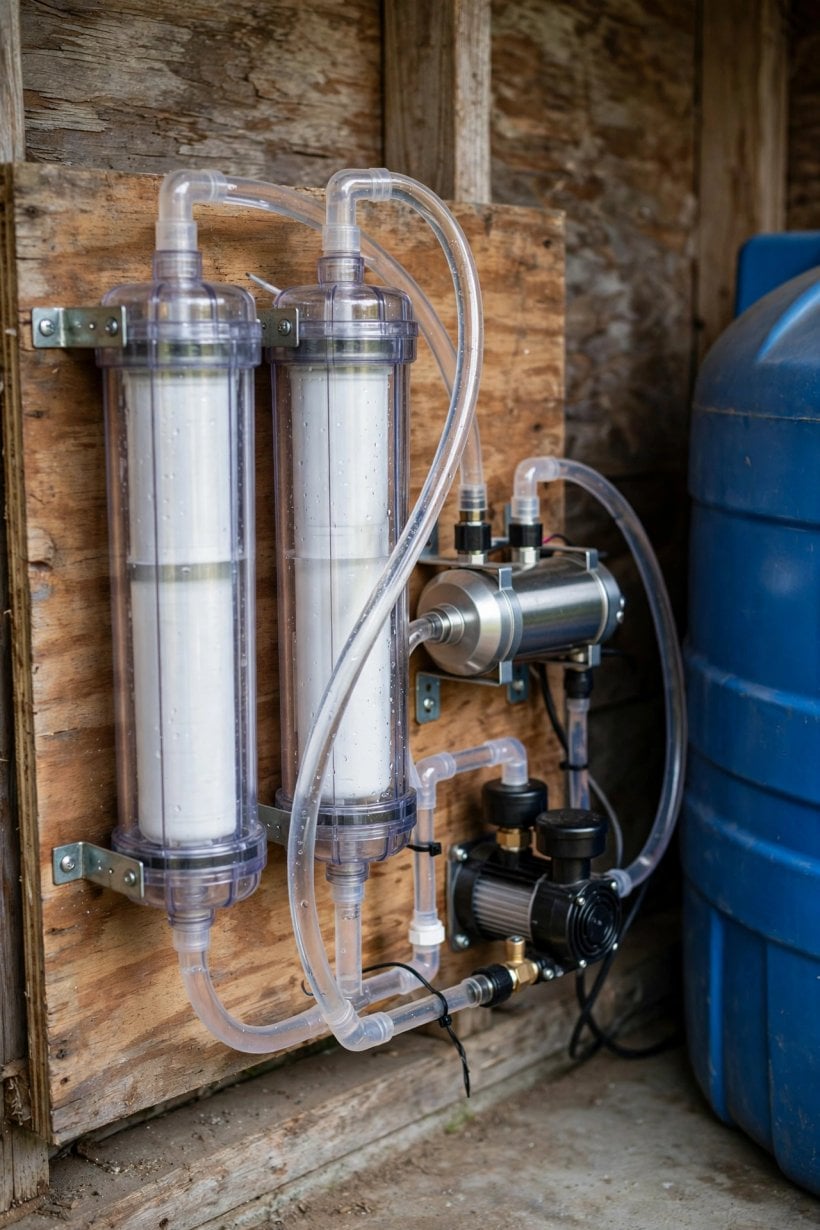
Delivery is the pump’s job: an on-demand pump holding 40 PSI, house pressure, so taps and fixtures behave as they would on any supply. The wider plumbing picture — how a small home’s water is distributed once the tank delivers it — is set out in the guide to how tiny houses get water. And the system’s claim to potability is verified, not assumed: the annual lab test, at about $50, is the standing proof — the verified number that closes the loop between the filtration the owner installed and the water the household actually drinks. Skip the test and the whole train is a belief; run it yearly and it is a water supply.
9. The Legal Check: From Texas Exemptions to Colorado’s Prior Appropriation
Before the first gutter is hung, the method insists on one non-physical check: the state’s law. The spectrum runs from the encouraged to the restricted. At one end stands Texas — exemptions and incentives, a state that actively rewards harvesting. At the other stands Colorado’s history: a prior-appropriation doctrine under which rain was treated as spoken for downstream, and collection was restricted — a position since softened to limited-allowed, but the standing warning that the law of water is local, historical and not always intuitive. Between those poles sits every other state’s own answer.
The check itself is cheap relative to the build: the state-by-state position is laid out in the companion guide to the legality of collecting rainwater, which the original names as the reference for exactly this step. The trend across the spectrum is liberalizing — the direction of travel is toward permission — but a trend is not a permit, and the household that checks first builds once. Legality also interacts with the land decision itself: where water rights and harvesting rules are part of what a parcel offers, they belong in the purchase arithmetic too, which is why the scoring method in where to buy land for eco-living weighs water first among its categories.
10. The Harvest Budget: $1,000 DIY to $8,000 Potable, Priced Against the Well
The costs resolve into two builds. The DIY basic system — gutters, first-flush diverter and a 1,000-gallon tank — runs $1,000–2,500: the starter harvest, non-potable or lightly treated, the cheapest stored water a homestead can buy. The complete potable system — filtration train, pump and a 5,000-gallon tank — runs $3,000–8,000: the full build, drinking-water standard, dry-season storage. The two figures map exactly onto the sizing bands of section 5, which is the point: the budget is the arithmetic, priced.
The comparison that justifies either figure is the alternative. A drilled well runs $10,000–20,000 — the rainwater system’s complete potable build costs a fraction of the well it replaces, and the DIY build costs a fraction of that fraction. Within the whole off-grid picture, harvesting is one utility among several — power, water and sewage planned together in the guide to tiny house utilities — but it is usually the one with the shortest payback, because the catchment surface, the roof, is already built and already paid for. The formulas decide the gallons; the budget merely follows them home.
Final Considerations
Multiply roof by rain by 0.623 — the yield. Audit the demand honestly — the budget. Size for the dry stretch, not the wet month — the storage. Divert the first flush and filter in stages — the potable. Check the state’s law — the legal. And price the whole build against the well you did not drill. The roof is already catching the rain; the system just keeps it.




2 Comments