

Removable gutter systems solve the one problem a fixed gutter never can: a tiny house has to live in two worlds. Parked, it needs full rain protection — dry siding, a dry foundation, water under control. Moving, it faces 60 MPH wind that turns a standard gutter into a sail. This guide designs a system that works hard parked and comes off in seconds for the highway.
1. Removable Gutters at a Glance
A removable gutter system splits one job between two halves. The permanent half — heavy-duty hooks or cradle brackets fixed to the fascia — never travels anywhere and does all the precise work: it sets the slope, carries the load and defines where the water goes. The travelling half — the gutter trough itself — simply rests inside those cradles, held by gravity and a pin, and lifts out by hand when the house moves. Everything else in this guide is a consequence of that split: because the trough is never screwed down, it is pitched closer, locked against storms, drained through connectors that unhook, and built in lengths one or two people can carry. The table below is the whole design on one screen; the sections after it take each row in turn.
| Attribute | Detail |
|---|---|
| The Core Problem | Rain splashing mud onto siding and pooling around the trailer foundation |
| The Highway Limit | Standard gutters act as wind sails at 60 MPH |
| The Legal Width | Houses are often built to the 8’6″ maximum legal road width |
| The Design | A drop-in trough resting in permanent J-hooks or cradle brackets |
| The Lock | A stainless steel or cotter pin through the bracket and the gutter lip |
| The Pitch | 1/4 inch of slope for every 10 feet of gutter, toward the downspout |
| The Bracket Spacing | Every 18–24 inches — closer than standard, because the trough is unscrewed |
| The Drainage | A drop outlet with a flexible connector, or a rain chain |
| The Long-House Fix | Runs over 20 feet split into two 12-foot sections |
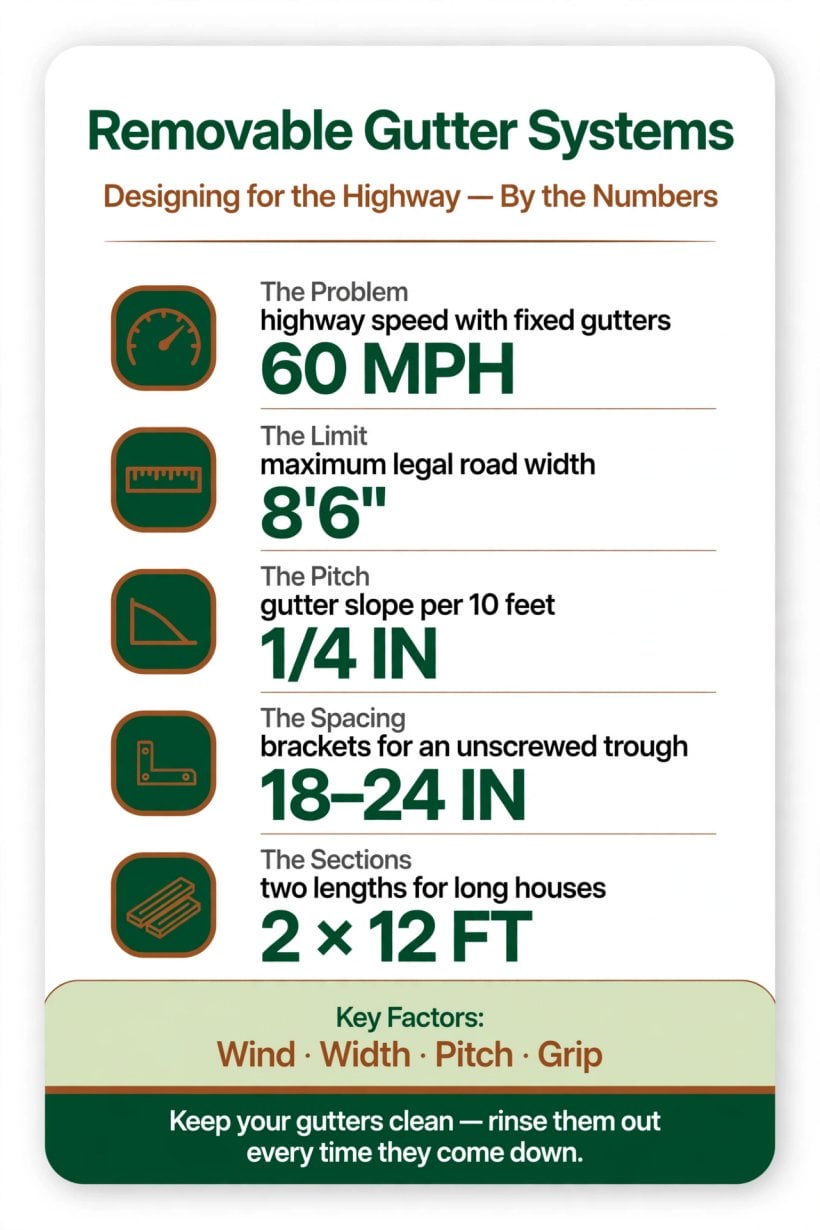
60 MPH of wind, an 8’6″ legal width and a 1/4-inch pitch — the numbers that shape every removable gutter design.
2. Why a Tiny House on Wheels Cannot Keep Fixed Gutters
On a stationary house, a gutter is a permanent fixture and nobody asks it to be anything else. On a Tiny House on Wheels, permanence is exactly the problem, and it fails in three distinct ways. The first is wind load. At highway speed, a fixed gutter catches the air like a sail, and the resistance builds massive torque on its brackets. The likely outcomes are all bad: the gutter rips off the fascia, the roof edge is damaged on the way out, and a length of metal becomes a dangerous projectile on the road behind you. A fitting designed to shed rain was never designed to survive being dragged through the air at 60 MPH.
The second failure is legal. Tiny houses are often built right up to the maximum legal road width of 8’6″, with nothing to spare. A permanently attached gutter sticks out past that line, and a house that was legal on paper can tip over the limit in fact — into the territory of special wide-load permits that a routine move was never supposed to need. The third failure is clearance: the low-hanging branches at campgrounds and RV parks can crush a fixed aluminum gutter without trying. And all of this risk is carried to protect against a problem that is itself real — without gutters, rain splashes mud onto the cedar siding and pools around the trailer foundation. The eaves and overhangs shape how much water reaches the wall in the first place, and a rain screen installation is the siding’s second line of defence — but on a house that moves, the first line has to be a gutter that can leave.
3. The Drop-In Hook System: Cradles, Not Screws
The most reliable DIY design answers all three failures with one move: it stops screwing the gutter to the house. Instead of fastening the trough directly to the fascia board, you install J-hooks or cradle brackets permanently on the house, and the trough simply rests inside them. Gravity does most of the holding; a simple pin or clip, covered in step 4 below, does the rest. The only screws in the entire system are the ones holding the brackets — and the brackets are small, flat against the fascia, and no threat to width limits, wind load or tree branches when the trough is off.
This is why the drop-in is the pattern every removable system worth copying is built on. Permanence and removability stop fighting each other, because each half of the system does only the job it is good at. The brackets, being permanent, can be positioned with care — their spacing and their slope are set once, precisely, at the workbench pace. The trough, being removable, can be a plain, light, unmodified channel of metal that drops in and lifts out with no tools and no fasteners to lose. When the house is parked, the two halves behave exactly like a conventional gutter. When it moves, the half that would catch the wind is already off the house and stowed, and the half that stays behind is too small to matter.
4. Materials: Trough, Brackets and Flexible Drainage
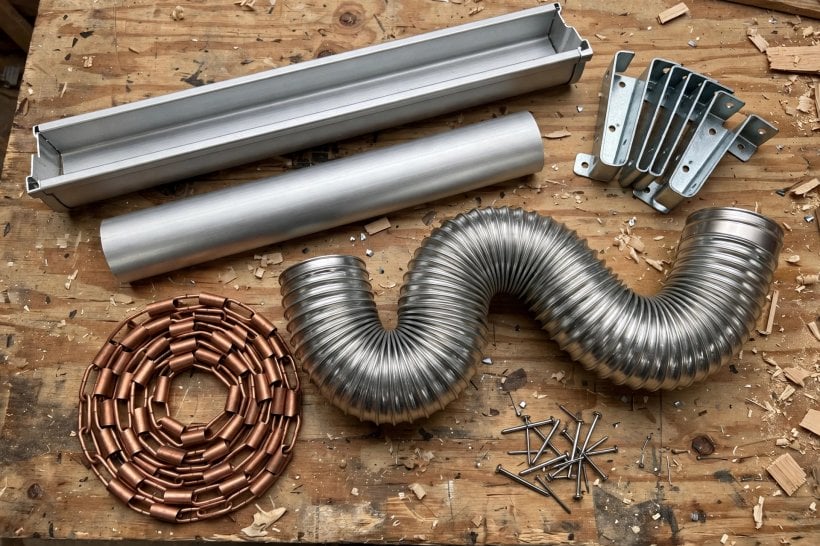
The trough is the part you will handle most, and the material choice follows from that. Aluminum K-style or half-round gutters are the standard pick: aluminum is preferred over PVC because it is lighter and less likely to crack during repeated handling. The original’s verdict on vinyl is blunt — it is flexible, but it becomes brittle in UV light and cold temperatures, and a component you install and remove over and over needs to survive physical wear and tear, not just weather. Every lift, carry and stow is a small impact test, and aluminum passes it for years.
The supporting cast matters as much. The brackets should be heavy-duty fascia brackets in a wrap-around or cradle style that support the gutter from underneath — a cradle carries the trough’s weight along its length instead of hanging it from a lip, which is what an unscrewed system needs. Drainage has to be flexible too: standard rigid aluminum downspouts are hard to store, so the design swaps them for accordion-style flexible downspouts or rain chains, both far easier to manage and to pack. It is the same protective logic as the siding the gutter defends — the cladding compared in the Hardie vs. LP SmartSide siding showdown lasts longest when roof water is carried away from the wall instead of being allowed to splash back onto it.
5. Step 1: Install the Permanent Brackets
The installation starts with the only permanent work in the whole system: attaching the brackets to the fascia board of the tiny house. Because these brackets are fixed, this is where all the precision lives. Pitch is key — maintain a slope of 1/4 inch for every 10 feet of gutter length, falling toward your downspout location, so water runs to the outlet instead of standing in the trough. Get the slope into the bracket line now, while you can measure and adjust, and the trough will inherit the correct pitch every time it drops in, with nothing to set or check on each install.
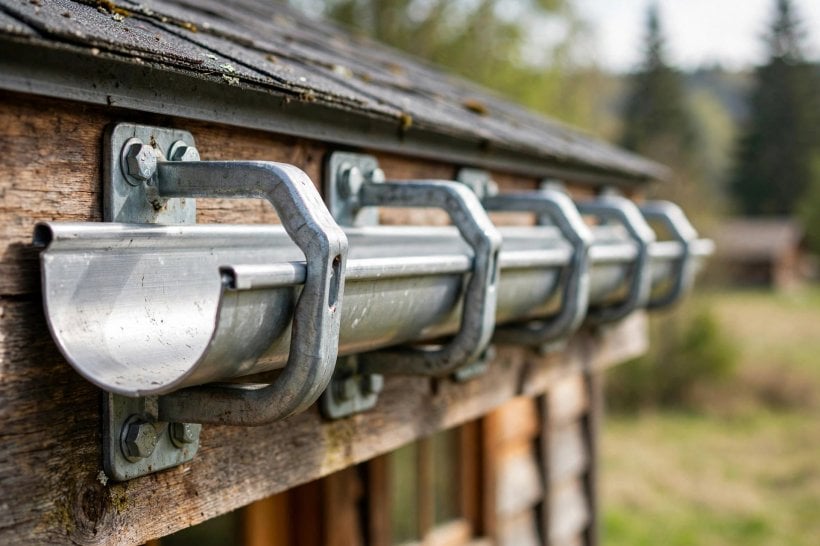
Spacing is the second decision, and removable systems break the standard rule on purpose. Since the gutter won’t be screwed in, install the brackets closer together than standard — every 18–24 inches — to prevent sagging when the trough is full of water. A screwed gutter borrows stiffness from its fasteners; a drop-in trough has only its cradles, and a long unsupported span of water-filled aluminum will bow between them. The tighter spacing is cheap insurance paid in a few extra brackets, and it is the reason the system can carry a full load of storm water while resting on nothing but hooks.
6. Step 2: Modify the Trough for Lifting
With the brackets up, the trough itself needs very little work — which is precisely the point of the design. Cut your gutter to the exact length of your roofline, and cap the ends securely. No screw holes, no sealant joints to the house, no permanent connections of any kind: the trough stays a clean, simple channel that can be lifted, carried, rinsed and stored as a single piece. Anything you add to it should make handling easier, never fastening stronger.
The one modification worth making is the handle trick. Consider attaching small, discreet handles to the trough, or using the internal brackets as grip points. You will be lifting this long piece of metal up and down frequently — every arrival, every departure, every rinse — and a gutter that is awkward to grab is a gutter that gets dropped, bent or grabbed by its sharp edge. Grip points you can find by feel, spaced for two hands, turn a clumsy length of aluminum into something one person can control on a ladder — and they cost almost nothing to add while the trough is still on the workbench.
7. Step 3: The Downspout Connection
The downspout is the trickiest part of the design to make removable. You cannot permanently rivet the downspout to the gutter outlet, because a fixed pipe makes storage impossible — the whole point is that every part of the system comes away. The connection therefore has to be a slip fit: something that seals well enough parked, and separates in seconds when the house moves, without tools and without anything being unscrewed from anything else.
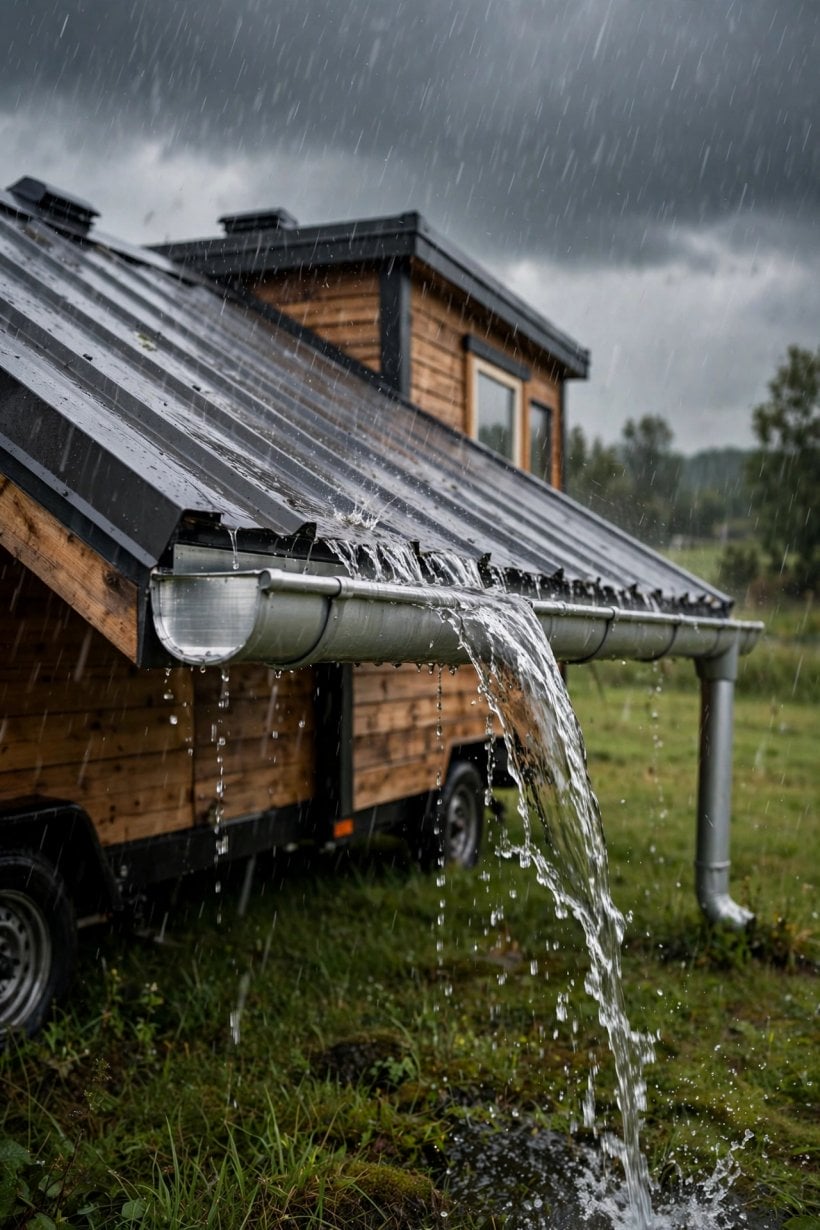
The standard solution has two halves. On the gutter, fit a drop outlet at the low end of the run. Over that outlet, slide a flexible connector — a dryer vent hose or a specific gutter flex-pipe — that connects down to your drainage. Parked, it behaves like any downspout. Moving, it slides off and coils away. Many tiny house owners skip the pipe entirely and hook a rain chain to the outlet instead: the chain guides the water down decoratively, and when it is time to move, you unhook it, coil it up in a bucket, and you are done. Between the flex-pipe and the chain, the outlet is the only fixed point — everything below it is chosen for how it packs.
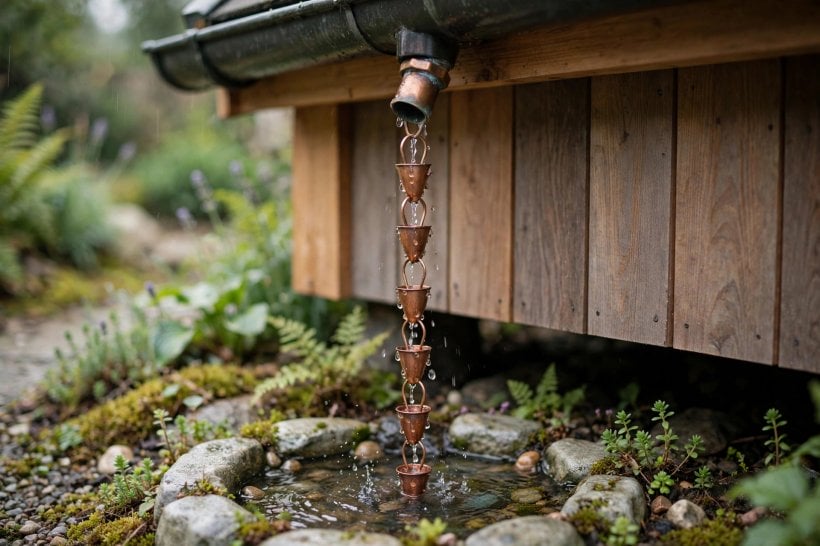
8. Step 4: Pin It Down for Stationary Living
A drop-in trough has one weakness, and it shows up exactly when the gutter is working hardest: parked in a storm. Even when the house is stationary, a strong wind can get under a lightweight aluminum gutter and lift it out of its hooks — the same wind-sail physics that makes fixed gutters dangerous on the road, working at smaller scale in the campsite. Gravity alone is not enough security for a component whose whole job is to sit exposed at the roof edge in bad weather.
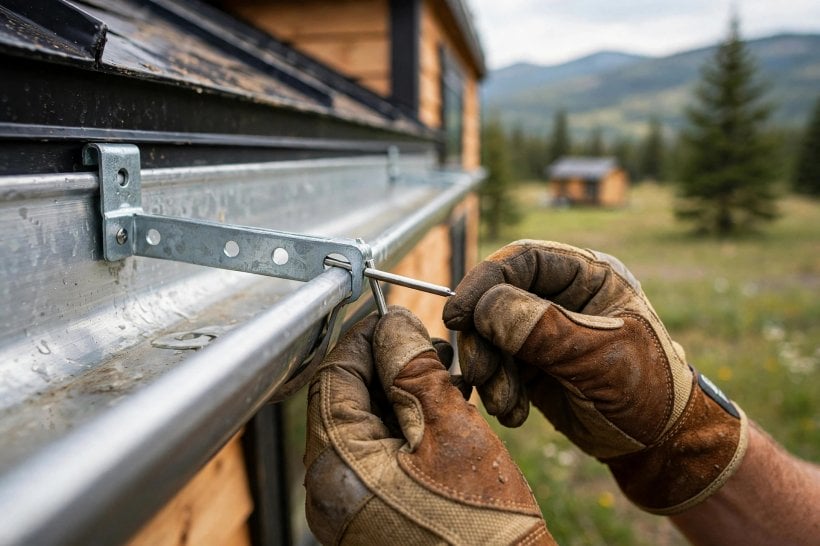
The fix is the safety clip, and it is the smallest part in the system. Drill a small hole through the bracket and the lip of the gutter, and insert a stainless steel pin or a simple cotter pin. That one pin changes the trough’s status completely: it is now mechanically locked down during storms, unable to lift, rattle or walk out of its cradles — yet the lock is tool-free, because pulling a pin is all that removal ever requires. This is the compromise the whole design turns on, stated in a single component: fixed enough for the worst weather the house will sit through, removable enough for the fastest departure the house will ever make.
9. Travel Protocol: Stowing the System
When you are ready to hit the road, the breakdown runs in a fixed order, and the order matters. Disconnect the downspouts first — remove the rain chains or flexible pipes while the trough is still locked and stable, so nothing swings or spills. Pull the pins second: the safety cotter pins come out of the brackets, and only then is the trough free. Lift and lower last — ideally with a helper, lift the gutter trough out of its cradles and lower it to the ground under control. Disconnect, unlock, lift: three steps, no tools, and nothing is ever unsupported while it is still connected to something else.
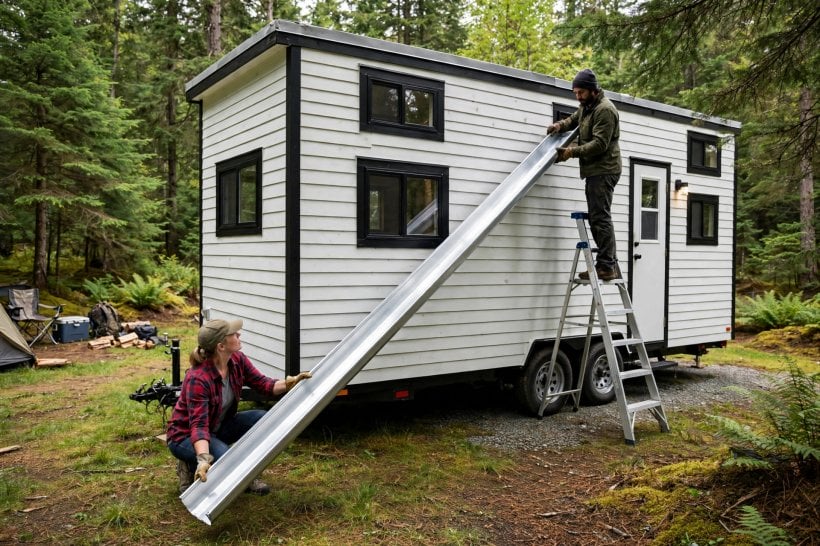
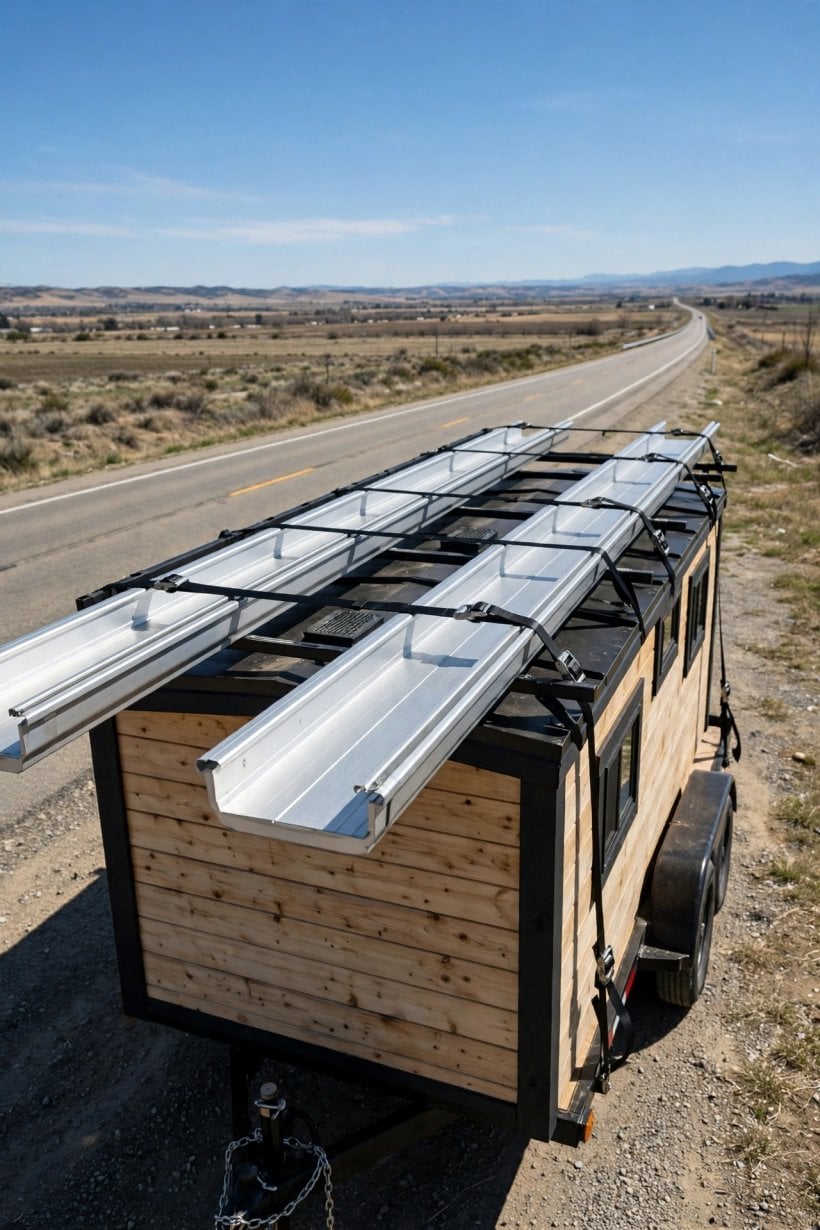
Stowing is a choice between three homes for the troughs, and the right one depends on the house. A roof rack suits houses with a roof deck: strap the sections flat against the deck surface, where they ride low and add nothing to the width. The interior aisle is the simplest option — lay the troughs down the centre aisle of the tiny house on a blanket to prevent scratching your floor. An under-trailer box is the neatest of all: if you have a basement storage box built into your trailer tongue, it is the perfect spot, keeping the metal out of the living space entirely. Whichever you choose, the payoff is the same — the house travels road-legal and aerodynamic, with its rain protection riding as cargo instead of fighting the wind. It is one line on the wider road-readiness checklist, alongside the weight checks in the tiny house tongue weight calculator.
10. Rainwater Harvesting and the Questions Owners Ask
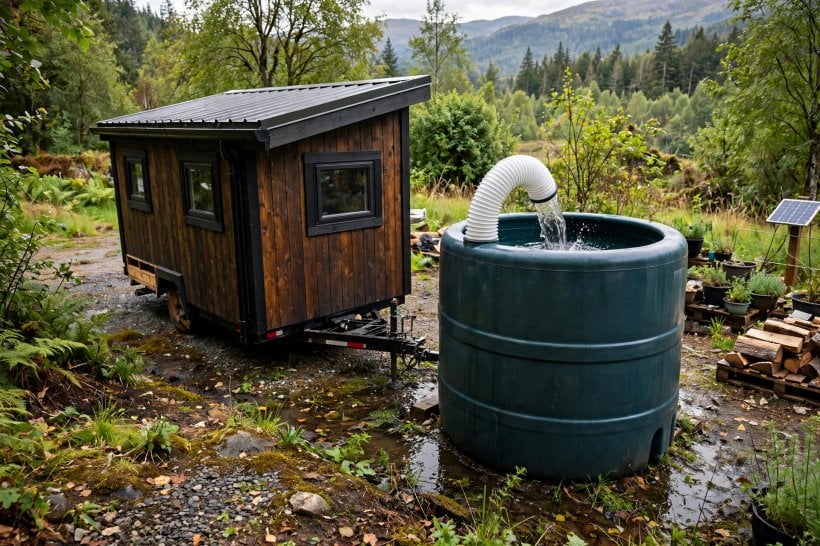
A removable gutter is also the first step toward off-grid water independence, because a system designed to come apart is a system whose flow you can direct anywhere. Many tiny house dwellers route their flexible downspouts directly into a gravity-fed tank or a filtration system — the slip-fit connector that makes the gutter removable is the same connector that makes the harvest plumbing easy to rearrange. The one discipline the original insists on: keep your gutters clean. Since you take them down often, use that opportunity to rinse them out, so debris doesn’t clog your filtration system. The wider water picture — tanks, pumps and sewage — is covered in the guide to tiny house utilities: power, water and off-grid sewage, and the lifestyle it feeds is the one described in building a tiny off-grid haven.
Q: Can I use velcro or magnets instead of brackets? A: No. High winds and heavy rain and snow loads are too much for adhesives or magnets. A mechanical bracket system is required for safety.
Q: Are vinyl (PVC) gutters better for this? A: Vinyl is flexible, but it becomes brittle in UV light and cold temperatures. Because you will be handling them often — installing and removing — aluminum holds up better to the physical wear and tear.
Q: How do I handle a gutter longer than 20 feet? A: If your tiny house is 24′ or 30′ long, do not try to manage one massive gutter. Split it into two sections that meet in the middle or slope away from each other. Two 12-foot sections are much easier to store than one 24-foot section.
Final Considerations
Removable gutters are a small detail that solves a massive problem. Get the design right and the house keeps every benefit of a conventional gutter while it is parked — siding protected from backsplash, the foundation kept dry, roof water carried where you want it, ready to harvest — and gives up nothing when it moves, because the part the highway would destroy is already off the house and stowed. The cradle-and-pin system is what makes both halves true at once: residential protection with nomadic flexibility, from hardware no more complicated than hooks, a trough and a pin. Design the permanent half once, carefully, and every departure after that is measured in seconds.


3 Comments