

Bad framing sags and bad plumbing leaks, but bad wiring burns — and a tiny house on wheels carries its wiring down the highway at 65 mph. One decision shapes everything downstream: thirty amps or fifty. Panel, wire gauge, breakers and every load you can run at once all hang on that single choice, made before the first wire is pulled.
Tiny House Electrical Wiring: At a Glance
Getting tiny house electrical wiring right starts with a single fork in the road: 30-amp service at 3,600 watts, or 50-amp service at 12,000 watts — not a small step up, but 3.3 times the power. Everything in this guide flows from that choice: the inlet on the wall, the panel inside it, the gauge of every feeder and branch circuit, the way neutral and ground are kept apart in a mobile home, and the inverter setup that takes over when the shore cord comes out. The ten sections below follow the build in working order — the safety case first, then the numbers, the load calculation that picks your service, and each component in the sequence an installer actually meets it. One rule stands over all of it, stated now and repeated at the end: this guide is educational, electrical work must meet the NEC and local codes, and panel work should be done or verified by a licensed electrician.
| Topic | What It Covers | Key Fact or Figure |
|---|---|---|
| 1. The System You Cannot Get Wrong | Why electrical outranks every other trade in a THOW | A house wired wrong is a fire risk at 65 mph |
| 2. 30-Amp vs 50-Amp: The Numbers | What each service level actually delivers | 3,600W vs 12,000W — 3.3× the power |
| 3. Which Service You Need | The load calculation that makes the call | Under 3,000W concurrent points to 30-amp |
| 4. The Inlet | Where shore power enters the house | Surge protector $100–200 at the panel |
| 5. The Panel | The load center at the heart of the system | 4–8 spaces (30A) vs 12–20 spaces (50A) |
| 6. Wire Sizing | The gauge chart for feeders and branch circuits | 14 AWG / 15A · 12 AWG / 20A · 6 AWG feeder |
| 7. Circuit Layout | Planning circuits before pulling wire | A dedicated circuit for every major appliance |
| 8. Grounding and Bonding | The mobile difference from house wiring | Neutral and ground bond only at the source |
| 9. The Transfer Switch | Switching between shore power and inverter | Not optional — a life-safety device |
| 10. Inverter Integration | Hybrid power and separated loads | 2,000–3,000W covers most tiny houses |
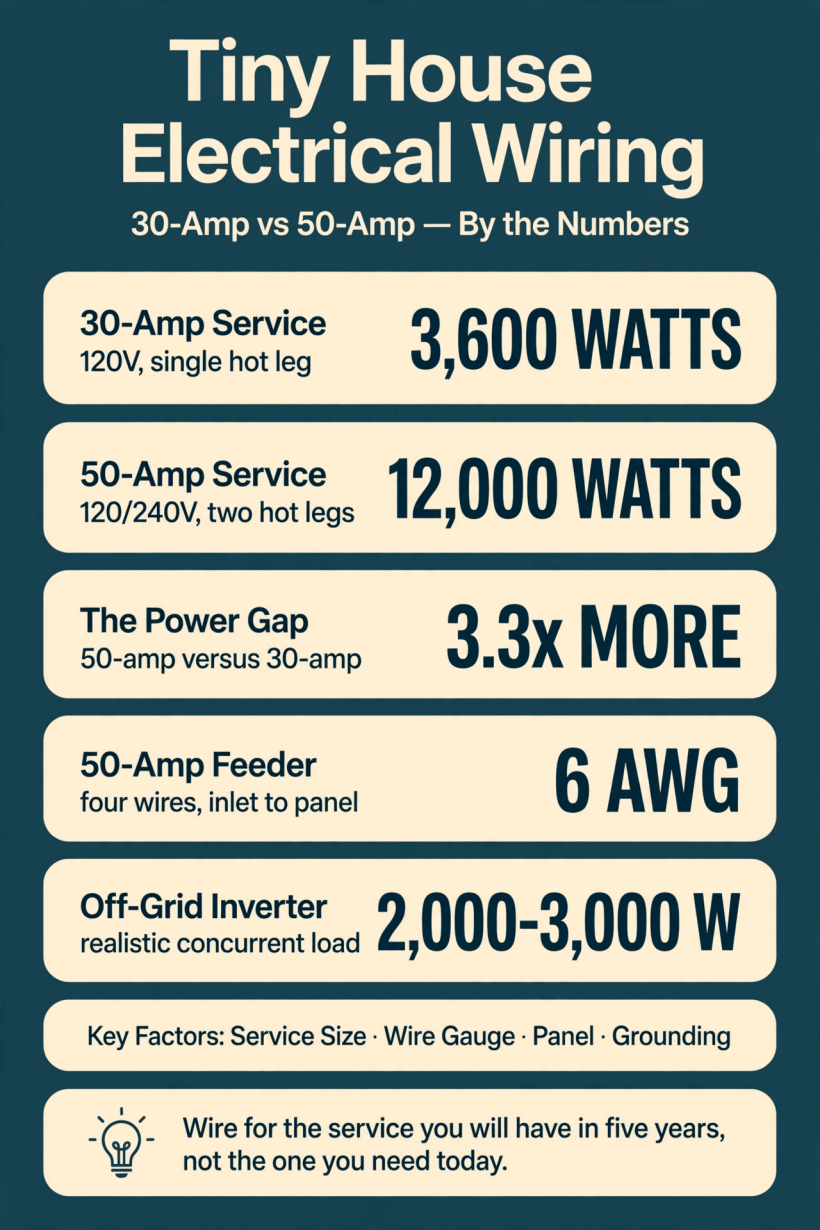
The service decision by the numbers: 3,600 watts on 30-amp against 12,000 watts on 50-amp, the 6 AWG feeder the bigger service demands — and the inverter range that carries a tiny house off-grid.
1. The One System You Cannot Get Wrong
Every trade in a tiny house build has a failure mode, and they are not equal. Bad framing sags. Bad plumbing leaks. Bad electrical burns the house down — which is why wiring is the one system where confidence is a liability and respect is the working material. The original warning behind this guide came from a charred breaker box that started life as a confident Saturday of video tutorials and undersized wire: nothing about the failure was mysterious, and every part of it was preventable.
So the safety frame goes first, before any numbers. This guide is educational: it explains how the system is sized, laid out and checked, so you can plan the build, talk to an electrician in their own language, and spot the mistakes that matter. The work itself must meet the NEC and local codes, and high-voltage panel work should be done or verified by a licensed electrician. That is not boilerplate. In a house you tow down the highway, vibration, road shock and weather work on every connection for years — the standard the wiring has to meet is a mobile one, and it starts with taking the system seriously.
2. 30-Amp vs 50-Amp: What the Numbers Mean
The two services sound like neighbours and are not. Thirty-amp service is 120V on a single hot leg: 30 amps times 120 volts gives 3,600 watts maximum. That budget runs one big load at a time — one air conditioner OR one electric water heater OR one space heater — plus lights and small loads. It is the standard for smaller RVs and modest tiny houses, and it works precisely as long as the big loads agree to take turns.
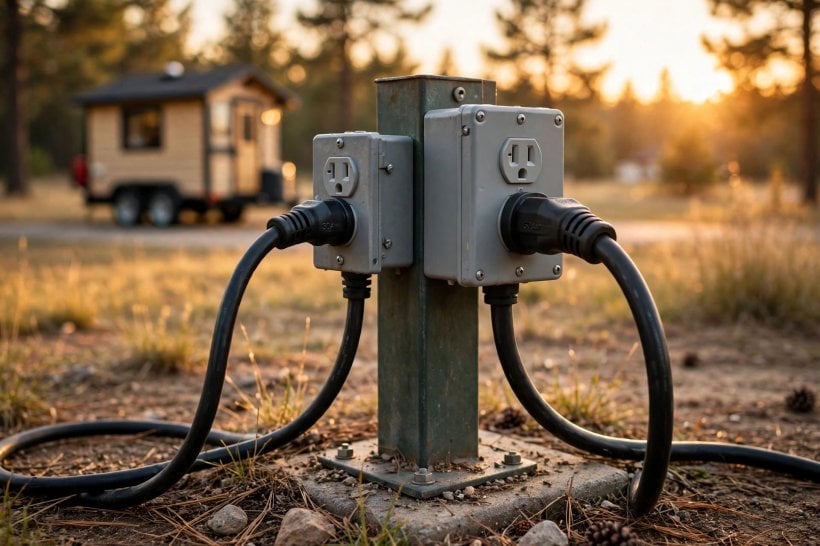
Fifty-amp service is 120/240V on two hot legs: 50 amps times 240 volts gives 12,000 watts maximum. That budget runs the mini-split, the water heater, the cooktop and the dryer simultaneously, which is why it is the standard for larger tiny houses and full-size RVs. Hold the ratio in mind, because it governs every later section: the real difference is 3.3 times the power. Fifty-amp is not “a bit more” — it is a different electrical universe, with a different inlet, a different feeder, a different panel and a different daily experience of what can run at once. The heating loads inside that budget — mini-split against space heater — are compared in our guide to how to heat a tiny house.
3. Which Service Does Your House Need?
Do not guess; calculate. The load calculation is a list: every electrical device in the house with its wattage, a note of which ones run simultaneously, and a sum of the realistic concurrent load. The same arithmetic, in worked interactive form, lives in our tiny house electrical load planner and wire guide. The list is the decision — everything else in this section is just reading it honestly. Lights and small loads barely register; the answer is decided by the big resistive and motor loads and whether they overlap.
Choose 30-amp if propane heats the water and does the cooking, the mini-split is the only big electric load, and the total concurrent load stays under 3,000W — leaving roughly 20% headroom under the 3,600W ceiling rather than running at the breaker’s edge. Choose 50-amp if there is an electric water heater, an electric cooktop or range, an electric dryer, or several big loads that run together — or simply if you want future flexibility. And apply the rule that outranks the arithmetic: wire for the service you will have in five years, not the one you need today. Upgrading from 30-amp to 50-amp later means replacing the inlet, the feeder, the panel and much of the wiring. Build it once.
4. The Inlet: Where Shore Power Enters
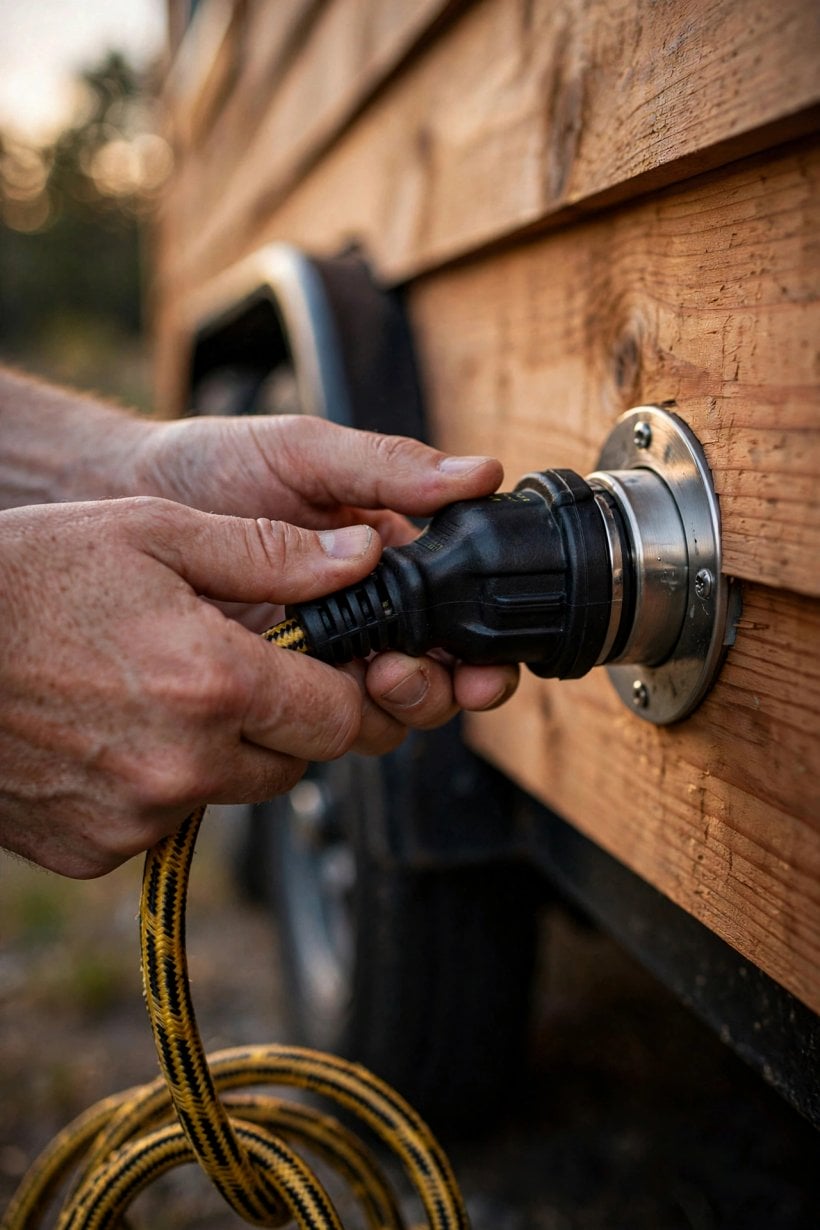
Shore power enters through a Marinco-style twist-lock inlet mounted on the exterior wall, and the inlet is service-specific. For 30-amp: a NEMA L5-30 or TT-30 inlet with 3 wires — hot, neutral, ground — and a 10 AWG feeder running to the panel. For 50-amp: a NEMA 14-50 or CS6364 inlet with 4 wires — two hots, neutral, ground — and a 6 AWG feeder. The inlet is not a detail to improvise; it is the connector the whole house plugs into the world with, and it has to match the service on both sides of the wall.
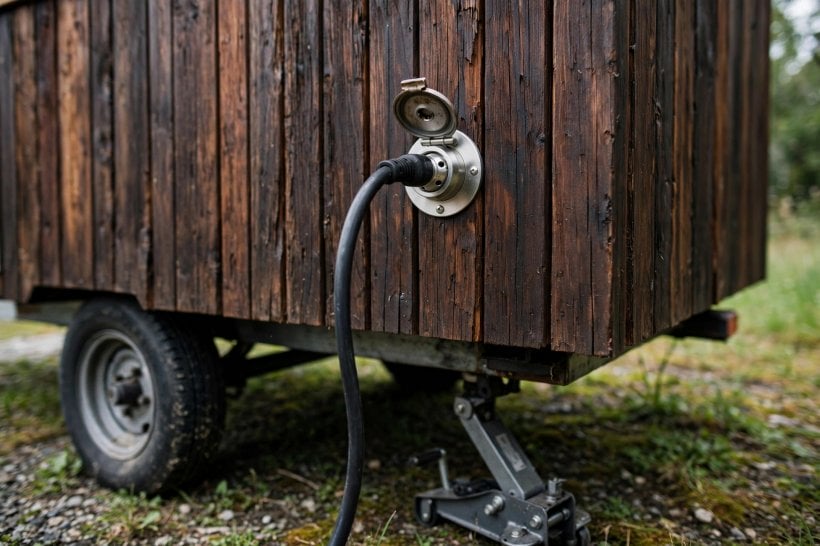
Placement is the craft. Mount the inlet where the cord reaches the pedestal without crossing walkways, protect it with a weatherproof cover, and label it clearly. Then treat the inlet as what it also is: the first surge point. Pedestal power is campground power — shared, weather-exposed and occasionally spiky — and a whole-house surge protector ($100–200) installed at the panel is cheap insurance against the spikes that arrive through that inlet. The inlet, the feeder behind it and the surge device at the end of it form the house’s front door for electricity; the rest of the electrical plan, alongside water and sewage, is mapped in our guide to tiny house utilities for power, water and off-grid sewage.
5. The Panel: Heart of the System
The panel is where the service becomes circuits, and it too is sized by the 30/50 decision. A 30-amp build uses a small 120V load center of 4–8 spaces — a Square D QO or equivalent — with single-pole breakers only. A 50-amp build uses a 120/240V load center of 12–20 spaces, carrying both single-pole 120V breakers and double-pole 240V breakers for the loads that need both hot legs. Match the panel to the service, not to the number of circuits you can count today.
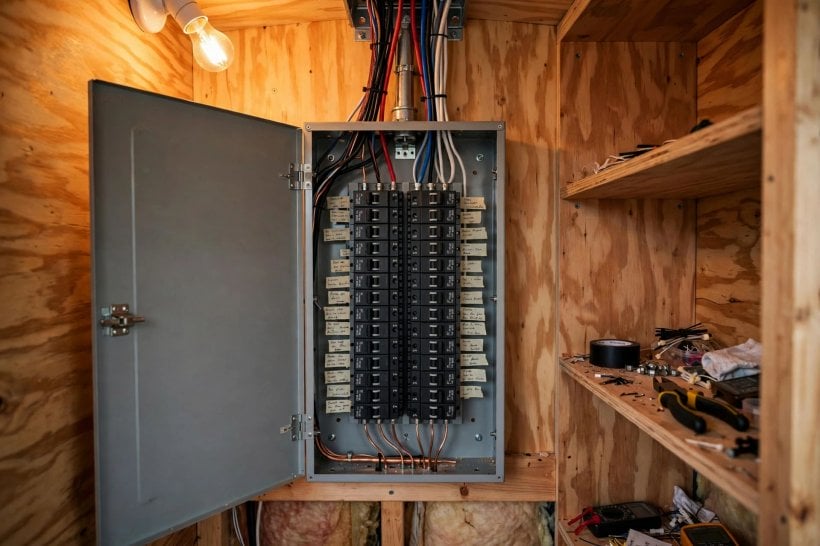
Four panel rules carry most of the safety in the whole system. Size the panel 25–50% larger than today’s breaker count — empty spaces are future-proofing, and a full panel is a dead end. Use AFCI breakers for bedroom and living circuits and GFCI protection for kitchen, bath and exterior circuits: code requires it, and it saves lives. Label every breaker, because the next owner — or the 2 AM troubleshooter standing in front of it with a torch — will thank you. And mount the panel where it is accessible but protected: not in the bathroom, and not behind the fridge.
6. Wire Sizing: The Gauge Chart
Wire is sized to the breaker that protects it, in copper — THHN in conduit, or NM-B (Romex) where allowed, with the caveat that some jurisdictions restrict NM-B in mobile structures, so check local code. The chart is short enough to memorize. Fifteen-amp circuits take 14 AWG: lights and general outlets. Twenty-amp circuits take 12 AWG: kitchen outlets, bathroom. The feeders scale with the service: a 30-amp feeder is 10 AWG, and a 50-amp feeder is 6 AWG.
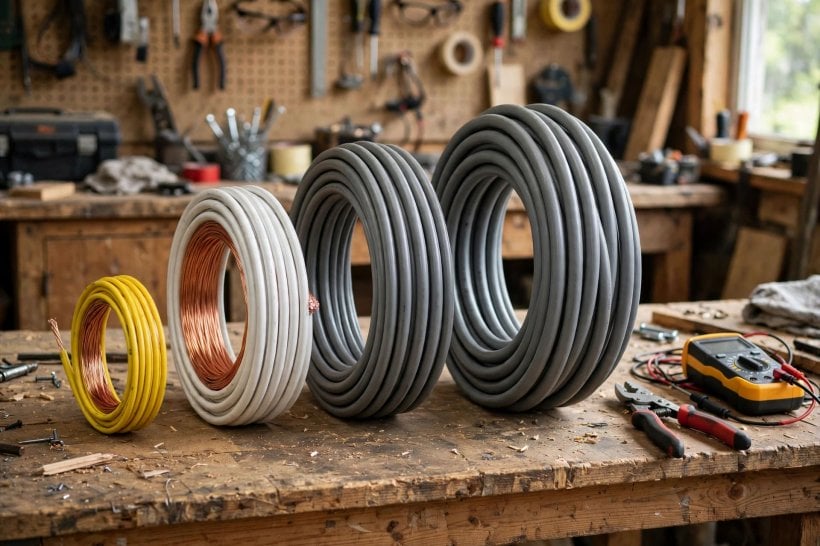
Two refinements complete the section. Voltage drop: in a tiny house the runs are short, but the feeder from inlet to panel still matters — keep it under 25 feet, or upsize one gauge. And the iron rule, which admits no exceptions: the breaker protects the wire. Never put a 20-amp breaker on 14 AWG wire — the wire becomes the fuse, inside a wall. When in doubt, upsize the wire; heavier copper is a one-time cost, and undersized copper is the failure this entire guide exists to prevent.
7. Circuit Layout: Planning the Circuits
A circuit layout is drawn before a single wire is pulled, and a typical tiny house map looks like this. Lighting: one 15A circuit — the whole house’s lights draw almost nothing with LEDs. General outlets: one or two 15A or 20A circuits. Kitchen outlets: one or two 20A GFCI circuits, because the small-appliance loads live here. Bathroom: one 20A GFCI circuit. Then the dedicated runs: the mini-split on its own 15–20A circuit per the unit’s spec, the water heater on a dedicated 20–30A circuit if electric, and the washer/dryer on a dedicated 20–30A circuit if electric.
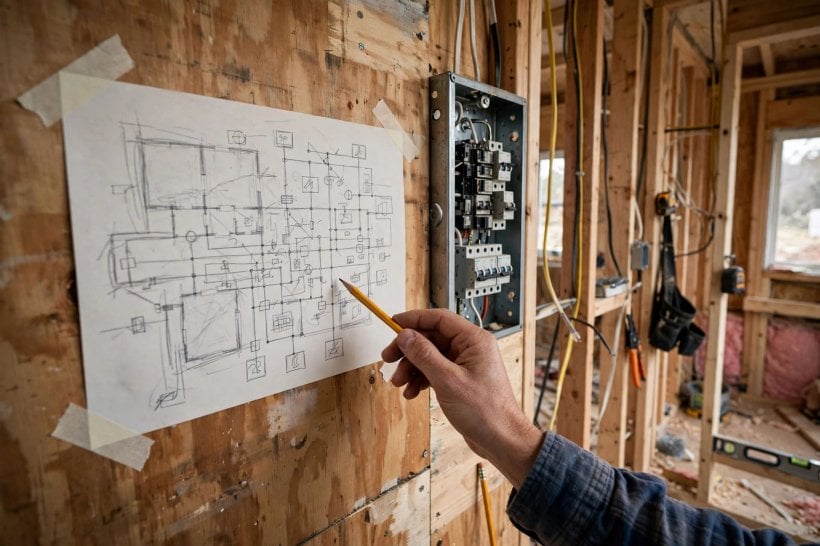
The principle underneath the map is separation: dedicated circuits for every major appliance. Sharing a water heater with the kitchen outlets is how breakers trip at dinner time — two heavy loads that were never meant to meet, discovering each other through a shared breaker at the worst moment. The bathroom’s GFCI circuit earns its keep twice over, since the same wet room depends on extraction to stay dry — the systems compared in our guide to tiny house ventilation with HRV and ERV systems. Lay the circuits out against the load calculation from section 3 and the two documents agree, because they are the same arithmetic viewed from opposite ends: what runs, and what feeds it.
8. Grounding and Bonding: The Mobile Difference
Grounding is where a tiny house on wheels genuinely differs from a house on a foundation. When the house is plugged into shore power, the pedestal provides the ground — and the rule follows from that: bond neutral to ground ONLY at the source, the pedestal or main, and never in the tiny house panel. The tiny house panel is a sub-panel: neutral and ground stay separated inside it, bonded only at the main. This is the single most-missed rule in mobile wiring, and the most important one in this section.
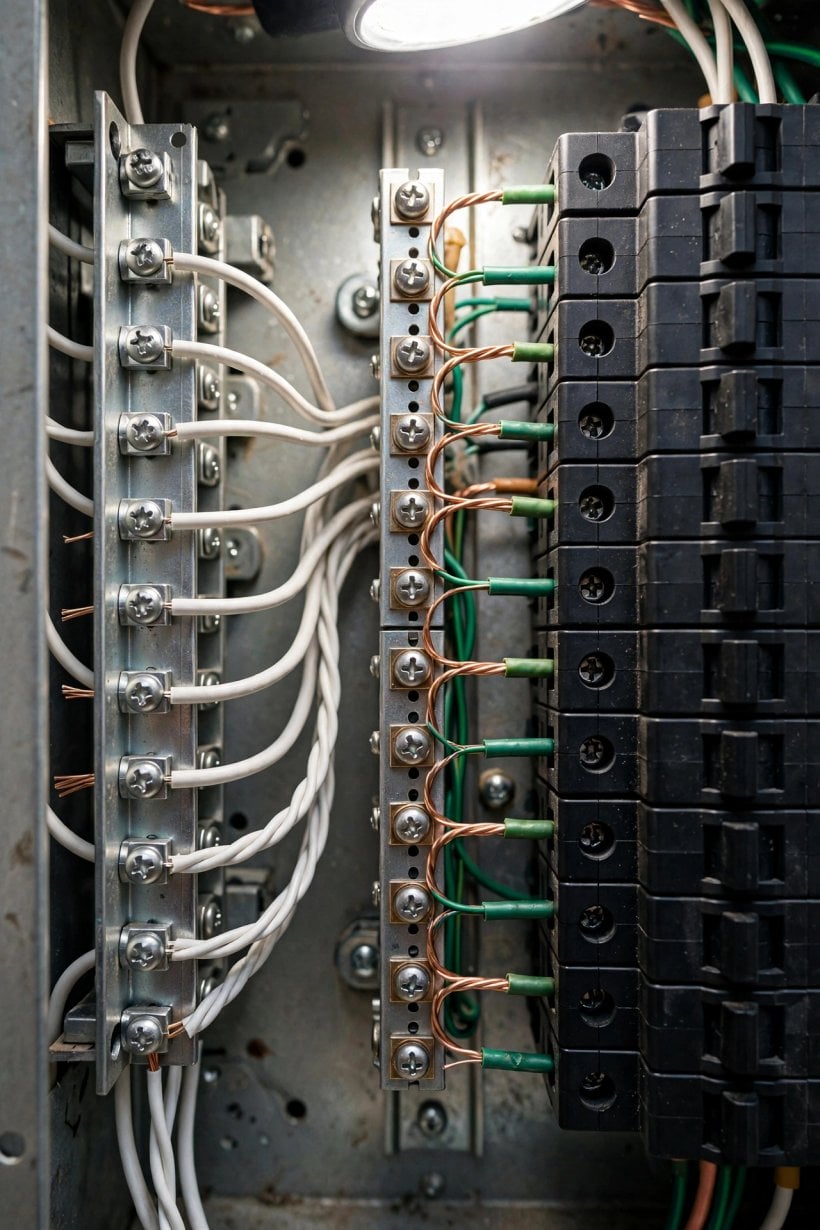
When the house runs on an inverter or generator instead, the source moves: the inverter or generator becomes the source, and its own bonding instructions govern. Get the bonding wrong in either mode and you create shock hazards and nuisance tripping — the two failure signatures of a neutral-ground bond in the wrong place. So this section carries the guide’s clearest hiring trigger: if the words “neutral-ground bond” are unfamiliar, this is the moment to hire the electrician. There is no partial credit on grounding.
9. The Transfer Switch: The Non-Negotiable
Many tiny houses run hybrid — shore power when it is available, inverter and battery when it is not — and the component that makes the hybrid safe is the transfer switch, manual or automatic. Its job is absolute: it prevents backfeeding the pedestal. A house that pushes inverter power back up its own shore cord energizes the campground pedestal and the lines beyond it, and backfeeding can kill lineworkers who reasonably believe a circuit is dead. The transfer switch is not optional equipment on a hybrid build; it is a life-safety device.
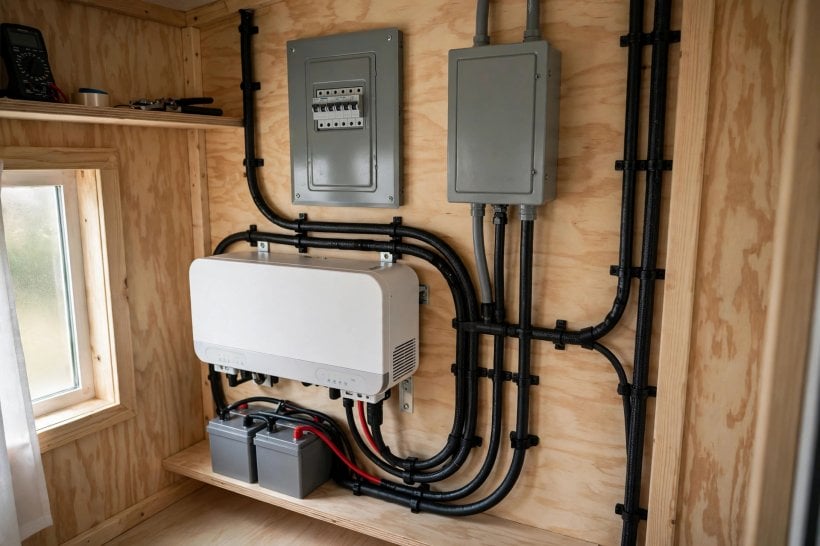
Wire the switch so the house draws from exactly one source at a time — shore or inverter, never both, never neither-by-accident — and the changeover becomes a non-event you stop thinking about. It is the hinge the whole hybrid system swings on, and it is deliberately paired with the appliance it protects in the next section: the inverter/charger, which is shore power’s mirror image, taking the pedestal in when it is there and replacing it when it is not. That rhythm — plugged in, unplugged, indifferent — is the daily pattern of the lifestyle laid out in our guide to how to live off grid in a tiny house.
10. Inverter Integration and Separated Loads
The inverter/charger does two jobs in one box: it charges the batteries from shore power when the house is plugged in, and it inverts battery power to AC when the house is off-grid. The Victron MultiPlus is the tiny house standard for the role. Around it, the loads separate into two families: critical loads live on the inverter sub-panel and stay live in both modes, while heavy loads are shore-only — the big resistive appliances that would flatten a battery bank are simply not invited onto the inverter’s side of the system.
Size the inverter to the realistic off-grid concurrent load, not to the shore-power total: 2,000–3,000W covers most tiny houses, because off-grid life already staggers its big loads the way 30-amp life does. The battery bank behind that inverter is sized alongside the array that refills it in our guide to solar panel kits for tiny homes and how to size the battery bank, and the array itself is worked out from the roof down in our guide to how much solar power a tiny house needs. The hybrid done right feels like one system: the cord goes in, the cord comes out, and the lights never comment on the difference.
Final Considerations
The whole discipline of tiny house electrical wiring compresses into five sentences. Wire for 50-amp if there is any doubt, because upgrading later means replacing the inlet, feeder, panel and much of the wiring. Protect every wire with the right breaker — the breaker protects the wire, never the other way round. Separate neutral and ground in the sub-panel, and bond them only at the source. Install the transfer switch on any hybrid build. And have a licensed electrician review the panel before energizing it. It is the same build-it-once discipline that governs the rest of how to build a tiny house, applied to the one system that forgives nothing.
Electricity rewards respect and punishes confidence. Every figure in this guide — the 3,600 and 12,000 watts, the gauges, the spaces, the headroom — exists to replace confidence with arithmetic before the work starts. In a house you tow down the highway, there is no room for “probably fine.” There is room for a load calculation, a labelled panel, and a system you can explain — which is what safe feels like.




1 Comment