

One footprint, two ways to wash: a well-planned tub shower combo is the hardest-working corner of a small bathroom. Get the waterproofing, valve and layout right and it serves quick showers, long soaks and everything between.
These 75 ideas are grouped into ten sections, from layouts and tubs to tiles, fixtures, vanities, glass and the space-saving tricks that make a combined bath and shower feel generous.
1. Tub Shower Combo at a Glance
A bath with an over-bath shower is an entity defined by a short list of attributes that must agree: the layout and footprint, the tub itself, the shower system above it, the waterproofing behind the tiles, the tiles or panels on the walls, the valve and taps, the screen or curtain that contains the spray, and the storage within arm’s reach. Most failures are waterproofing failures or layout failures, not style failures, so the order of work matters: structure and tanking first, fixtures second, finishes last. The discipline is the same one behind our notes on tiny house interior design ideas that make small rooms feel planned — measure honestly, then design.
| Layout | Alcove three-wall suits most standard bathrooms; corner two-wall saves space |
|---|---|
| Tub | Sized to the room and to the tallest bather who will soak in it |
| Shower | Fixed head, handheld handset, or both together on a diverter |
| Waterproofing | Tanking membrane behind tiles is not optional in the wet zone |
| Valve | Thermostatic control for a stable, family-safe temperature |
| Screen | Fixed glass panel, hinged screen, folding screen or a curtain |
| Storage | A recessed niche in the wall beats bottles balanced on the rim |
| Budget order | Waterproofing, tub, valve, tiles, then glass and trim |
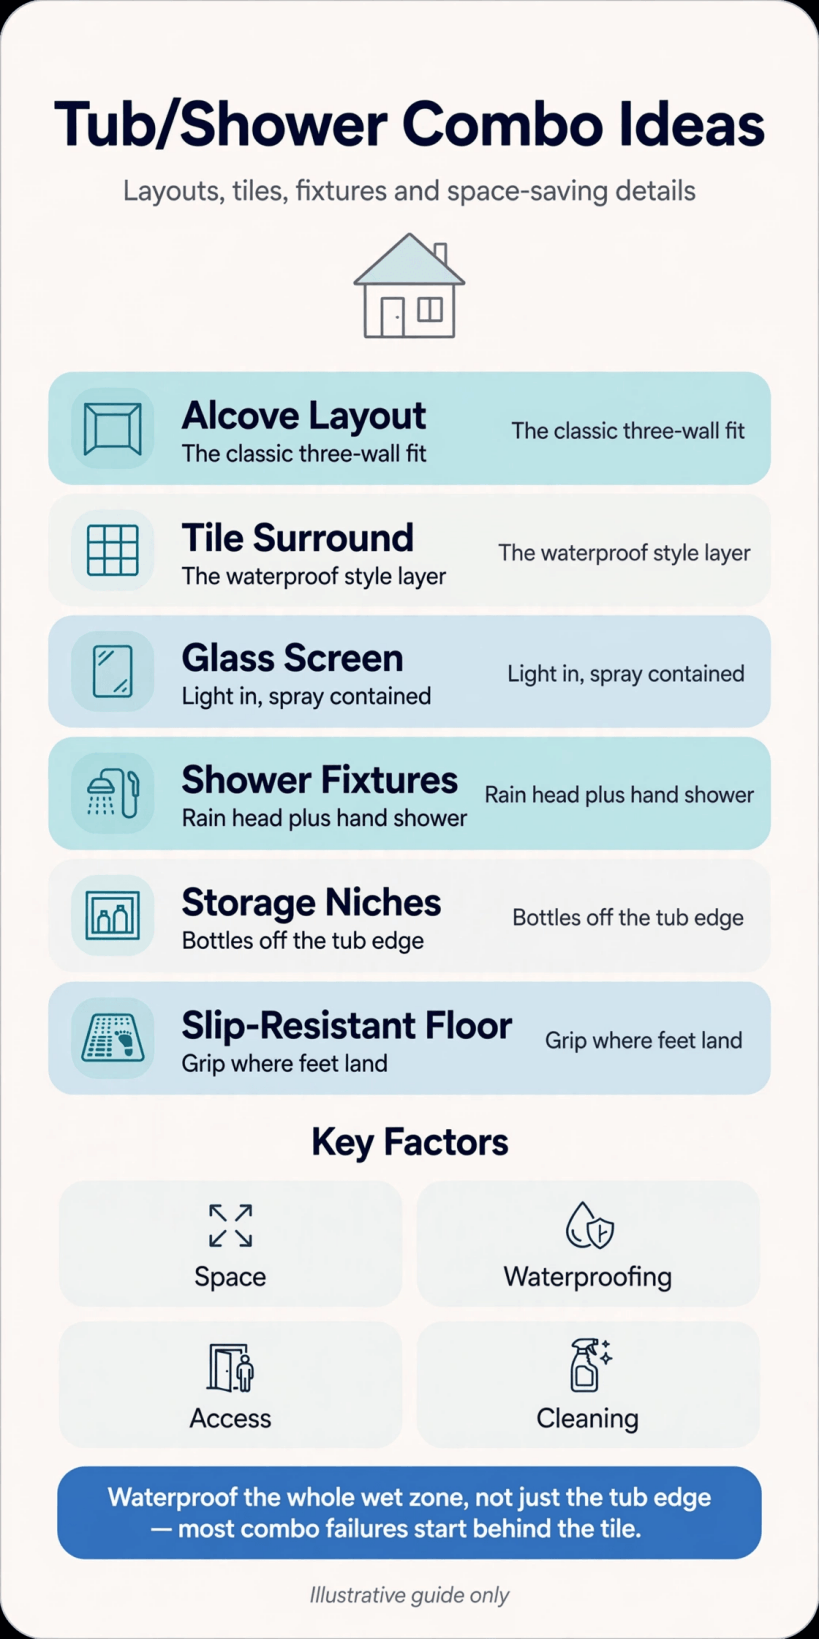
The whole combination on one page: layout, tub, shower, waterproofing, valve, screen, storage and budget order.
Eight planning moves to make before anything is ordered:
- 1. Measure the footprint first. Length, width and ceiling height of the space decide which tub sizes and screen styles are even possible, so measure before falling for a photograph.
- 2. Check the structure. A filled bath is heavy; confirm the floor can carry it, and find the studs and joists that fixings, screens and grab points will rely on.
- 3. Test the water pressure. Shower performance is set by the home’s pressure and flow; a quick check now decides whether a large rainfall head will delight or dribble.
- 4. Follow the drain. The existing waste position strongly shapes the layout, and moving soil pipes is the budget line everyone underestimates.
- 5. Plan waterproofing before tiles. Tanking boards or membrane in the wet zone protect the wall behind the finish; tiles and grout alone are a surface, not a seal.
- 6. Choose the shower style early. Fixed head, handheld or both changes the valve, the pipe runs and the tiling penetrations, so decide before the walls are closed.
- 7. Design storage into the studs. A recessed niche costs little at build stage and is nearly impossible to add neatly once the walls are tiled.
- 8. Spend in the right order. Waterproofing, tub, valve, tiles, glass: money spent in that sequence protects everything bought afterwards.
2. Layouts and Footprints
The standard alcove, wrapped by three walls, exists because it works: plumbing on one short wall, spray contained by the room itself, and a screen or curtain across the open side. Corner and two-wall layouts trade a little enclosure for flexibility in odd-shaped rooms, while a half-wall or open end borrows the wet-room idea for a lighter feel. Whichever you choose, keep the shower controls reachable without standing under the first cold blast, and leave a dry landing zone for a towel and a bath mat, a detail our guide to tiny house building design ideas for planning services early also stresses for compact homes.
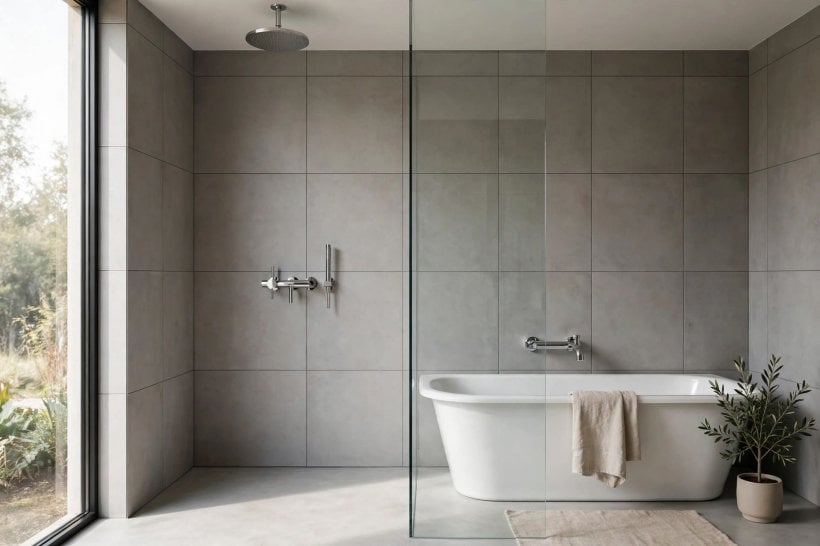
- 9. Classic three-wall alcove. The tub sits between three walls with taps and shower at one end; simple to waterproof, easy to screen, and the layout most plumbers would choose for you.
- 10. Two-wall corner layout. Where only a corner is available, the bath runs along one wall with a screen on the open side and a short return panel to catch the spray.
- 11. Long-wall placement in a narrow room. In a slim bathroom, run the tub along the long wall and keep the opposite wall free for the vanity, so the room reads as two calm zones.
- 12. Half-wall division. A tiled half wall at the shower end contains spray, carries a shelf for bottles, and keeps more light moving than full-height glass.
- 13. Open wet-room end. Leave the far end unscreened with a gentle floor fall back to the bath waste for an airy, accessible feel, accepting a little more splash management.
- 14. Back-to-wall in an en suite. A back-to-wall tub against the bedroom-side wall keeps the en suite compact and lets the shower valve sit on the same wall as the basin plumbing.
- 15. Under the window. A low tub fits under a bathroom window where a shower cubicle never could; choose frosted glass and a screen angle that keeps spray off the sill.
- 16. Shared plumbing wall. Back two bathrooms against one wall and both combinations share hot, cold and waste runs, cutting cost and simplifying every future repair.
3. Choosing the Tub
The tub is the one element you will physically sink into for a decade, so choose it by soaking, not by photograph. Length is measured inside, not by the rim: a tall bather needs a long base and a reclined backrest more than extra width. Materials trade weight, heat retention and price against each other, and clean-lined shapes suit most schemes — the same restraint visible in these modern tiny house interior ideas for calm, uncluttered rooms.
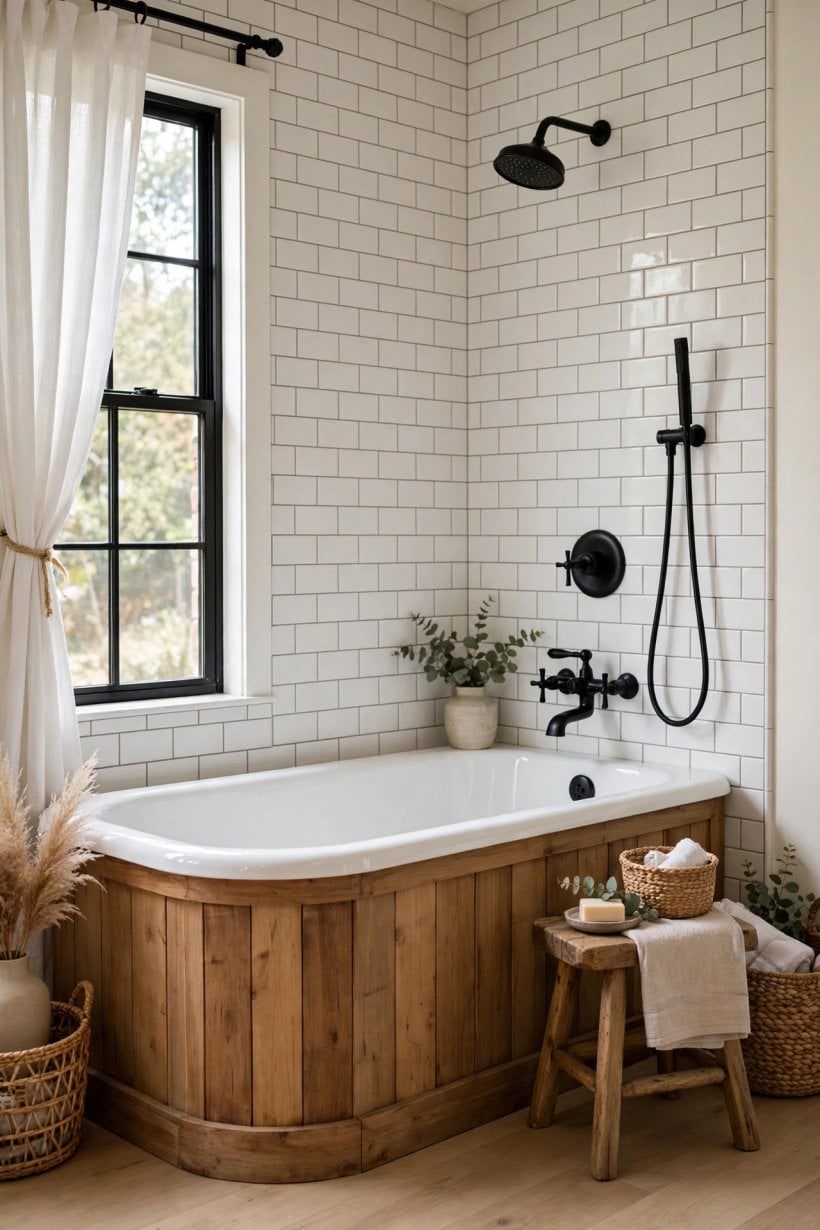
- 17. Standard apron-front alcove tub. The workhorse: a straight bath with a finished front panel, designed to drop into a three-wall alcove and tile in neatly at the rim.
- 18. Deep soaking profile. A deeper, shorter bath lets shoulders go under the water in a small footprint, provided the household accepts a higher step-over.
- 19. Low-sided easy-entry shape. A lower rim height helps children, older relatives and anyone with stiff knees climb in for a shower without a struggle.
- 20. Reclined backrest at the dry end. Keep the shower at one end and a sloped, supportive backrest at the other, so bathing and showering each get the shape they need.
- 21. Acrylic for lightness. Acrylic tubs are light, warm to the touch and kind to older floors, and decent thicknesses feel solid rather than drum-like.
- 22. Steel enamel for toughness. Pressed steel with enamel shrugs off knocks and keeps a crisp edge, at the cost of weight and a colder first touch.
- 23. Cast iron for heat. The traditional heavyweight holds bath water hot the longest and feels utterly rigid, but check the floor structure before dreaming.
- 24. Textured shower base zone. A subtly textured or flat, wide area at the shower end gives feet grip where they actually stand, without roughening the whole bath floor.
4. Shower Heads and Spray Systems
The shower half of the pairing lives or dies on two things: pressure and position. A modest handset on good pressure beats a huge rainfall head starved of flow, and every spray fitting should be reachable, cleanable and angled at the bather, not the screen. Build in a handheld from the start: it rinses the tub, washes children and dogs, and reaches the corners a fixed head never will.
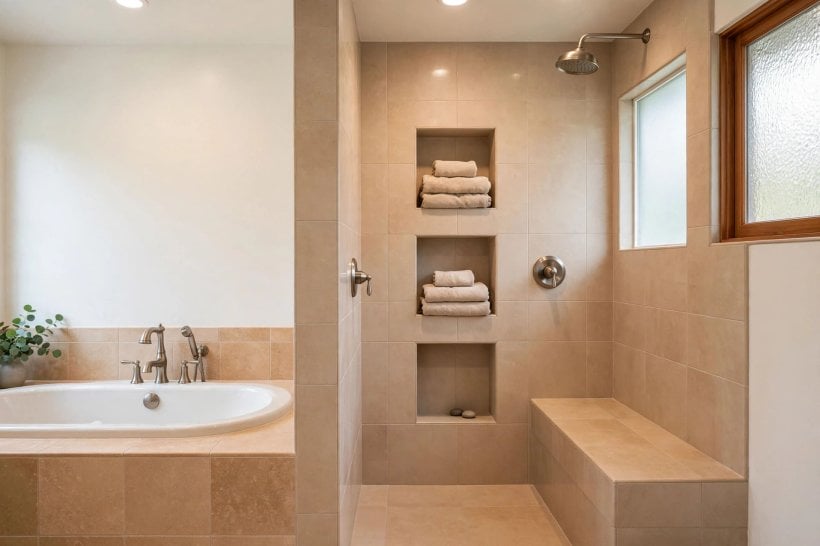
- 25. Fixed rainfall head. A wide overhead head gives the hotel-shower feeling; size it to the water supply and mount it high enough for the tallest user.
- 26. Handset on a slide bar. A height-adjustable handset serves tall adults, seated bathers and children from one fitting, and parks neatly at any height.
- 27. Both heads on a diverter. A simple diverter swaps between overhead and handheld, or runs both where pressure allows, and is the most flexible everyday arrangement.
- 28. Thermostatic shower control. A thermostatic valve holds the set temperature steady when someone flushes or runs a tap elsewhere — essential in family homes.
- 29. Water-saving aerated head. Aerating and flow-regulating heads keep the sensation of a strong shower while using less water, kind to bills and boilers alike.
- 30. A handset long enough to clean with. Choose a generous hose length so the handset doubles as the cleaning tool for the bath, tiles and screen after every few showers.
- 31. Head height planned for real people. Set the fixed head a clear margin above the tallest bather’s head, and angle a wall arm so the spray lands mid-tub, not on the screen.
- 32. Simple single-mode spray. One well-shaped spray pattern used daily beats five novelty modes; multi-mode heads earn their place only where different users truly switch them.
5. Tiles and Surround Materials
Walls around a combined bath and shower take daily water, steam and cleaning, so the surround is a working surface before it is a decoration. Tile the whole wet zone to a sensible height — full height at the shower end at minimum — and remember that grout lines are maintenance lines: fewer, straighter and better sealed beats dense and fiddly. Behind everything, waterproof board or membrane does the real protecting.
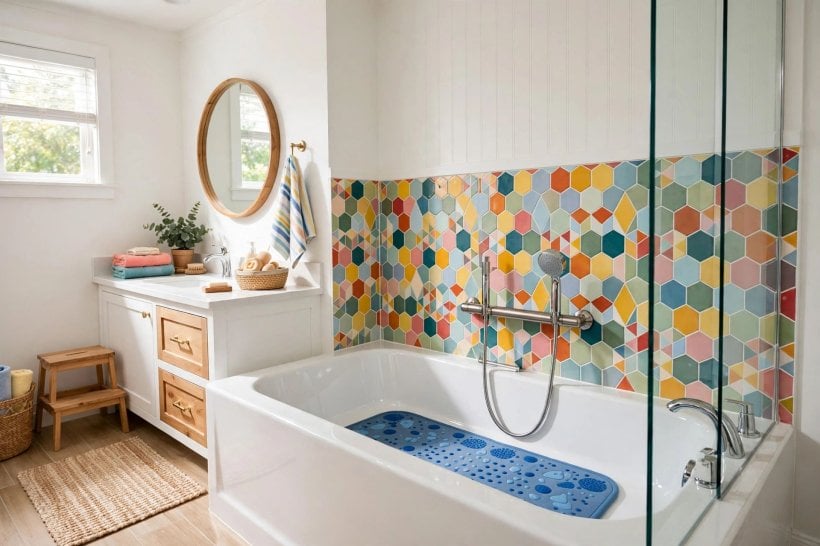
- 33. Large-format tiles. Big tiles mean fewer grout joints to scrub, a calmer visual field in a small room, and faster coverage of the shower end wall.
- 34. Classic subway layout. Brick-bond metro tiles suit period and modern rooms alike; run them full height in the wet zone and half height elsewhere to save cost.
- 35. Full-height wet-zone tiling. Tile to the ceiling where the shower sprays, because steam and splash reach higher than optimism suggests and paint peels where water lands daily.
- 36. Tile shower end, panel the rest. Tile the hard-working end and use waterproof wall panels along the bath’s length for a warm, joint-free run that is quicker to fit.
- 37. One-piece acrylic surround. Moulded acrylic wall sets with built-in shelves are the budget-friendly, leak-resistant route, ideal for rentals and fast refurbishments.
- 38. Stone-look porcelain. Porcelain printed with marble or stone veining gives the luxury read without natural stone’s sealing routine or weight worries.
- 39. Deliberate grout contrast. Dark grout with pale tiles (or the reverse) frames the grid and hides the inevitable tonal change of hard-working joints.
- 40. Waterproof board behind it all. Whatever the finish, specify tile backer board or a tanking system in the wet zone so the wall behind stays dry for decades.
6. Valves, Taps and Fixtures
Fixtures are the parts hands touch daily, and their placement matters as much as their finish. Put the shower control where it can be reached from outside the spray, the bath filler where it does not bruise backs, and every handle operable with soapy hands. Choose one finish family and carry it through valves, wastes, screen hardware and accessories so the room reads as a set.
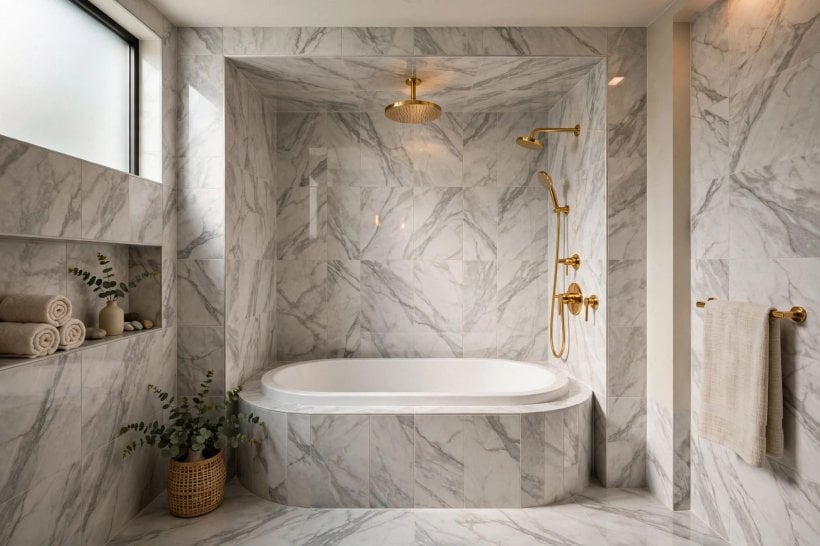
- 41. Single-handle mixer valve. One lever for flow and temperature is the easiest control to use mid-shower and the simplest to keep clean.
- 42. Exposed thermostatic bar valve. A surface-mounted bar valve is quick to fit, easy to service, and its cool-touch body is a family-friendly bonus.
- 43. Concealed valve, tidy wall. Hiding the valve body in the wall leaves just a slim control plate — prettier, provided an access route is planned for servicing.
- 44. Fill the bath through the overflow. An overflow filler removes deck taps from the rim entirely, freeing the edge for sitting, children and cleaning.
- 45. Wall-mounted filler spout. A short wall spout over the bath keeps the rim clear and suits modern schemes; position it so filling does not splash the floor.
- 46. Lever handles for every hand. Levers beat round knobs for wet hands, small hands and arthritic hands, and they look right in almost any scheme.
- 47. Matching wastes and hardware. Pop-up wastes, overflow covers, screen hinges and towel hooks in one finish — chrome, brushed brass or matt black — pull the room together.
7. Vanities, Basins and Storage
The combination may own one wall, but the vanity decides whether the room feels calm at 7 a.m. Wall-hung units keep the floor visible and cleanable, mirrored cabinets hide the small clutter that otherwise colonises the bath rim, and in-shower storage keeps bottles off every edge. Palette ideas for these pieces sit well alongside our guide to tiny house interior paint colors for small, light-hungry rooms, and the storage logic echoes our notes on tiny house closet design ideas for compact, fitted storage.
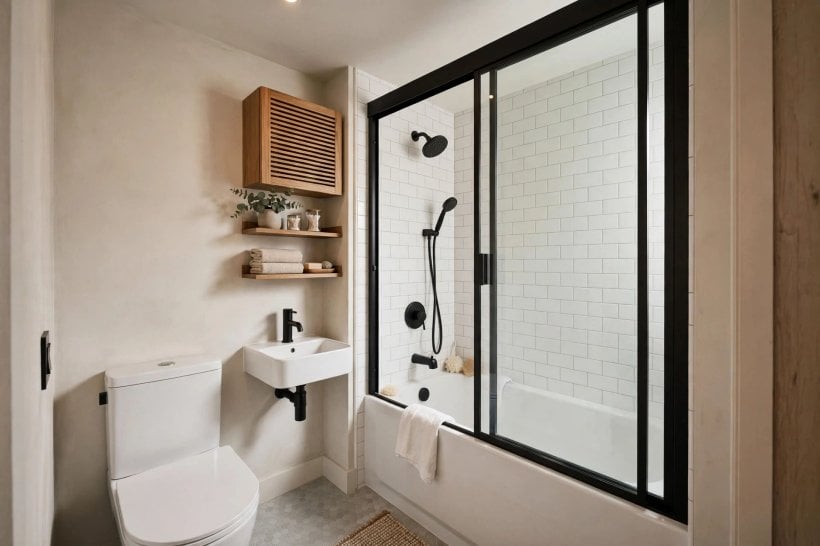
- 48. Wall-hung vanity. Floating the basin unit frees the floor beneath for feet, scales and the mop, and makes a small bathroom read larger instantly.
- 49. Mirrored medicine cabinet. A shallow mirrored cabinet over the basin stores daily potions at eye level and returns the mirror the room needs anyway.
- 50. Recessed shower niche. One or two tiled niches in the shower-end wall hold shampoo off the rim for good; slope the shelf a whisper so it drains.
- 51. Over-toilet cabinet. The wall above the cistern is free storage in most bathrooms: a slim cabinet there swallows towels, spares and cleaning bottles.
- 52. Heated towel rail at the dry end. Place the rail where a bather steps out, not behind the door, and towels stay warm, dry and off the floor.
- 53. Baskets under the vanity. Open baskets beneath a wall-hung unit corral hair tools and guest towels while keeping the floating look intact.
- 54. Slim tallboy in the dead corner. A narrow full-height cabinet in the unused corner beside the bath stores the household’s worth of bottles upright and hidden.
8. Glass, Curtains and Enclosures
Something must keep shower water in the bath, and the choice runs from a single fixed glass panel to a cheerful curtain. Glass reads smarter and lasts longer; curtains are cheaper, softer for children to brush past, and replaceable in an afternoon. Judge by household: toddlers and curtain-climbers argue for glass, tight budgets and rental rules argue for fabric, and many homes land happily on a hinged screen between the two.
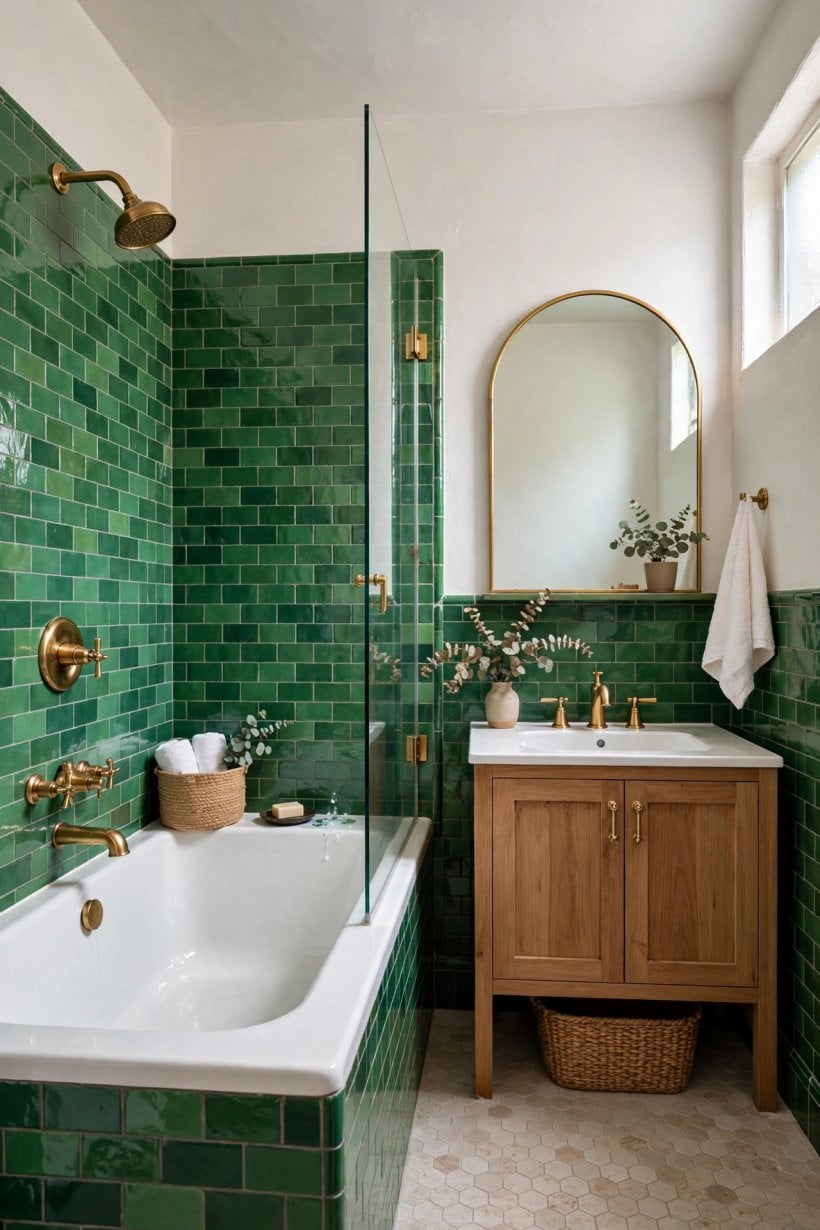
- 55. Fixed glass splash panel. A single frameless panel over the shower end is the cleanest look and the easiest to squeegee; size it generously to earn its keep.
- 56. Hinged bath screen. A swinging screen seals better than a fixed panel and folds back for bath access, bathing children and proper cleaning.
- 57. Folding concertina screen. Multi-panel folding screens stack flat against the wall for full bath days, then unfold to full shower defence in seconds.
- 58. Curved curtain rail. A rail bowed outward buys elbow room inside the shower while the curtain still lands inside the bath’s rim.
- 59. Fabric curtain with a liner. A washable fabric outer with a waterproof liner inside gives colour and pattern freedom at the lowest cost in the whole room.
- 60. Clear panel, frosted band. A frosted stripe at torso height on clear glass adds privacy in shared bathrooms without losing the light, open feel.
- 61. Half-height tiled guard wall. In rustic or traditional rooms, a tiled stub wall at the shower end contains most spray and doubles as a shelf and a grab point.
9. Small Bathrooms and Space-Saving Moves
In a small bathroom the combination is not a compromise; it is the device that makes the room possible at all. The tricks are honest ones: shorter tubs, wall-mounted everything, doors that do not swing through the room, and storage stolen from wall cavities rather than floor area. Keep the palette light, the tiles large and the floor as visible as possible, and even a tiny room reads as deliberate.
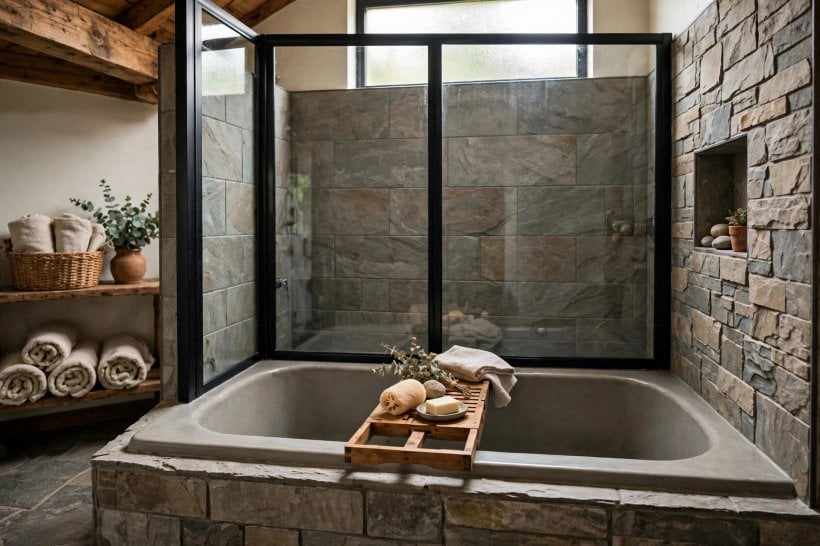
- 62. The 1500 mm short bath. A shorter tub loses little soaking comfort for most adults and returns precious centimetres to the vanity or the doorway.
- 63. Corner-proportioned tub. Tubs shaped wider at the shower end and narrower at the foot fit awkward corners while keeping a generous standing and soaking zone.
- 64. Pocket or sliding door. Replacing a swinging door with a pocket or surface slider removes the swing arc that steals a small bathroom’s usable floor.
- 65. Wall-mounted taps throughout. Moving bath and basin taps onto the wall frees rims and shelves, shortens the visual clutter list and speeds up cleaning.
- 66. Storage ledge along the back wall. A slim tiled ledge running the bath’s length holds bottles, a book and a candle, replacing rim clutter with one calm line.
- 67. Light palette, large tiles. Pale colours and big tiles with minimal grout lines stretch a small room visually more than any single fixture swap.
- 68. One wet zone, one drain run. Clustering bath, shower valve and basin on a single plumbing wall shortens runs, cuts cost and simplifies the whole small-room build.
10. Lighting, Ventilation and Finishing Touches
Steam is the quiet enemy: without extraction, mirrors fog, grout mildews and paint gives up. Pair a decent fan with lighting that is safe near water and kind to faces, then finish with the small kindnesses — a hook where the towel is needed, a mat that dries, a plant that likes the humidity. Connected timers and sensors from our round-up of smart tiny house design ideas for connected living fit naturally here: a fan that runs itself is a fan that actually runs.
- 69. Extractor fan with run-on timer. A fan that keeps running after the light goes off clears the steam a shower leaves behind and protects grout, paint and mirrors.
- 70. Sealed ceiling downlights. Use fittings rated for bathroom zones above the bath and shower, aimed to light the room rather than dazzle the bather.
- 71. Mirror light and demister. A lit, heated mirror pad ends the wiped-mirror ritual and puts flattering, shadow-free light where faces actually are.
- 72. Seal the grout, then note the date. Sealing grout in the wet zone and re-checking silicone annually is the cheapest insurance a tiled bathroom can buy.
- 73. A squeegee that lives in the room. Hang a small squeegee by the shower; ten seconds after each use keeps glass clear and limescale from ever getting started.
- 74. An access panel, planned not hacked. A neat removable panel over the bath waste and valve connections turns future repairs from demolition into a ten-minute job.
- 75. The finishing layer. A quick-dry bath mat, hooks at stepping-out distance, a humidity-loving plant and one good candle: small things that make the room feel finished.
Final Considerations
Plan the combination in the order this guide follows: layout and structure first, waterproofing always, then tub, shower system, surfaces, fixtures and the screen, with vanity storage and ventilation woven through. The installations that age well are rarely the most elaborate; they are the ones where the valve can be serviced, the niche drains, the fan runs on, and nobody has to stand in cold water to turn the shower on. Choose boring reliability behind the tiles and save the self-expression for colours, curtains and towels, which are cheap to change when tastes move on.


0 Comments