
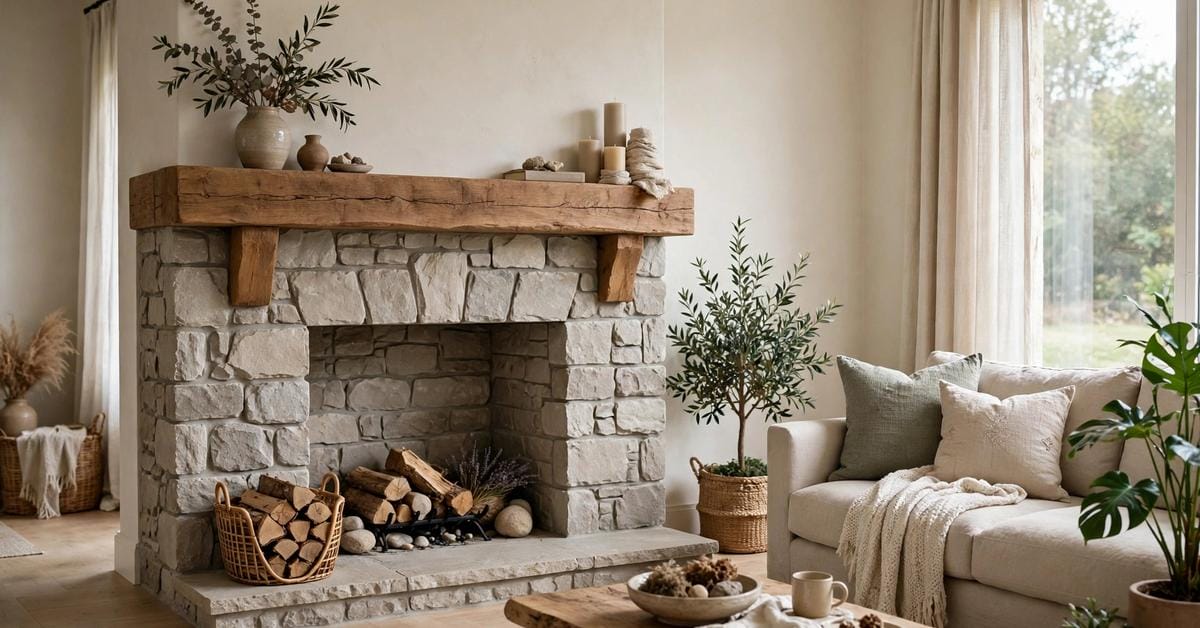
Every tired fireplace is two photographs waiting to happen: the one the room is living with now, and the one it could be living with by winter. Between them sits a makeover — and the six in this article are the ones that change rooms most reliably, told as makeovers are honestly told: in general terms, without invented addresses, owners or price tags.
Each makeover is given its before and its after, what the work involves at the level a homeowner should understand it, and the lesson it teaches. Anything touching the flue, the firebox or the structure belongs to qualified professionals; what belongs to you is the choice of which before you are starting from.
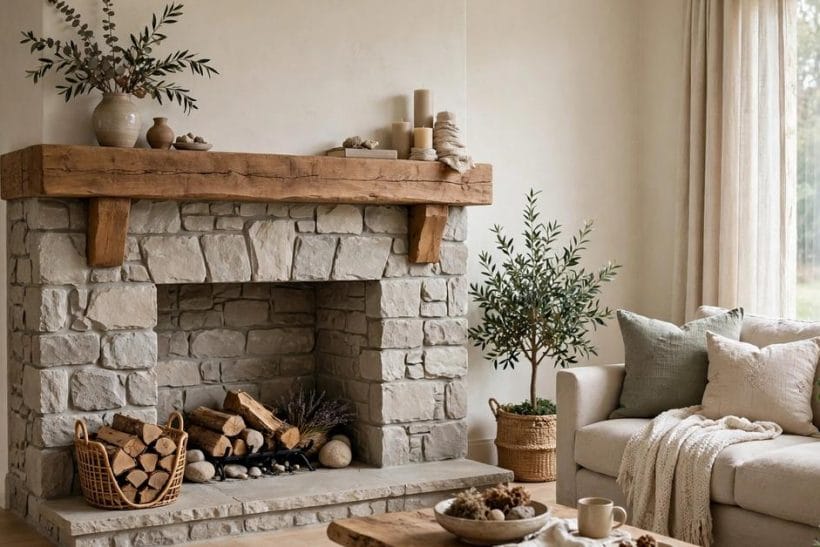
1. Six Fireplace Makeovers at a Glance
The fireplace living room pillar is the cluster’s anchor, and its makeovers divide into the six below. They run from a weekend’s paint to a mason’s full reface, and they share one trait: each treats the fireplace as the room’s composition, not its appliance.
| Makeover | Character | What it means |
|---|---|---|
| The Painted Brick Refresh | Dated brick, painted or limewashed | Brightened |
| The Stone Reface | A new stone face over the old | Grounded |
| The Mantel and Surround Swap | New surround, new proportions | Reframed |
| The Tile Overhaul | Tile as the new face | Patterned |
| The Built-In Embrace | Shelves and cupboards join the breast | Furnished |
| The Plaster Minimal | Rendered smooth, ornament removed | Calm |
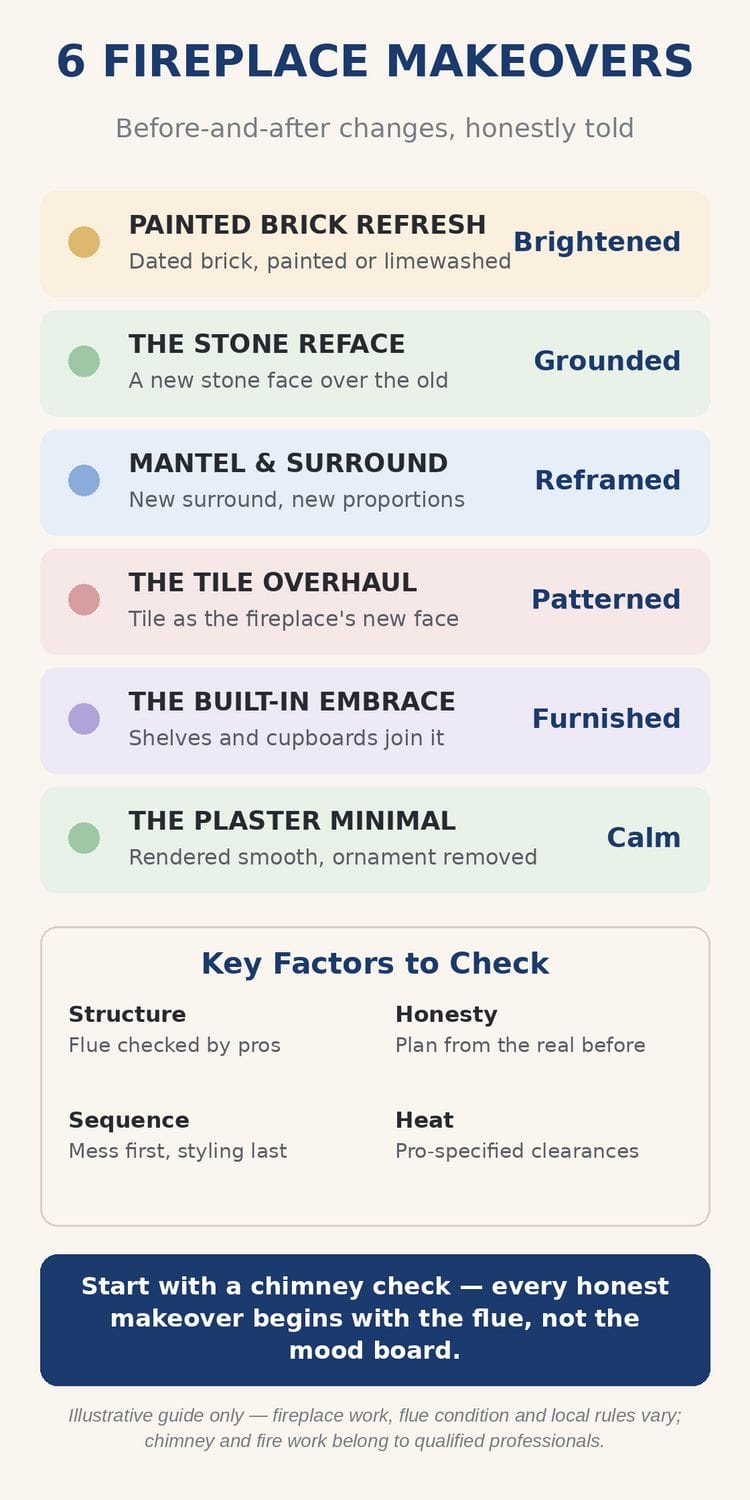
Four factors recur through all six: structure, because a chimney breast is a working flue before it is a wall; honesty, because a makeover planned on the real before turns out better than one planned on a fantasy; sequence, because the messy trades come first and the styling last; and heat, because materials and clearances around a working fire are specified by professionals, not by taste.
2. The Honest Frame: What ‘Before and After’ Means Here
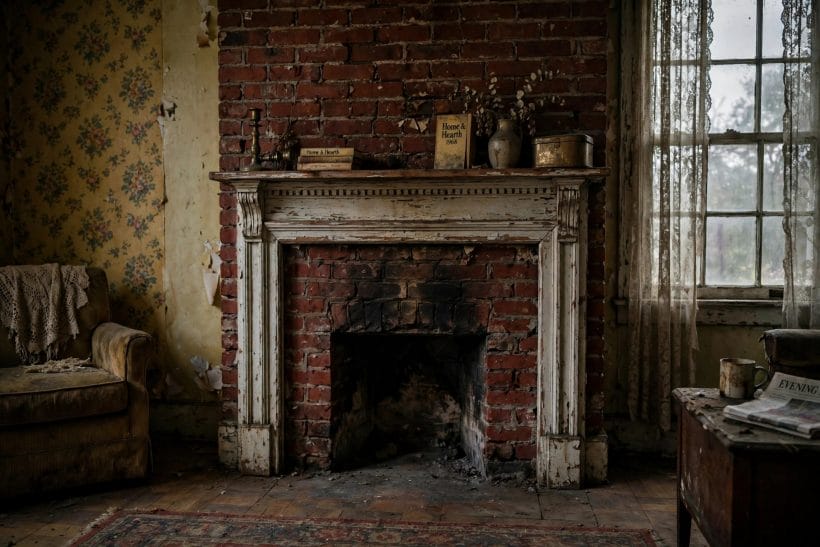
Archetypes, Not Addresses
The six befores in this article are the six every renovator recognises — the orange brick, the overwhelming stone, the mantel that shrinks the room. They are described as types because they are types: your fireplace is probably one of them, and the after that follows is the one your type usually takes.
Why No Costs Are Quoted
Makeover costs swing with region, structure and the flue’s condition more than with taste, so figures here would be fiction wearing a number’s clothes. What can be said honestly is where money concentrates — masonry and professional flue work over surface and styling — and section 10 says it.
Reading the Room Around the Fire
A fireplace makeover is never only about the fireplace. The breast’s width against the room’s, the ceiling’s height, where the furniture must face — these decide which of the six makeovers the room can carry. A reface that would ground a large room can oppress a small one; a minimal plaster opening that calms a compact room can look like an omission in a grand one. Measure the wall, sit where the sofa sits, and let the room vote before the catalogue does.
The Fireplace Is a Machine First
A working fireplace draws, burns and vents, and its makeover is cosmetic only at the surface. The neighbouring living room with a wood stove ideas make the same point for stoves: styling is the owner’s art, while the fire’s workings — flue, hearth, clearances — are a professional’s responsibility, checked before any beauty is applied.
3. Makeover One: The Painted Brick Refresh
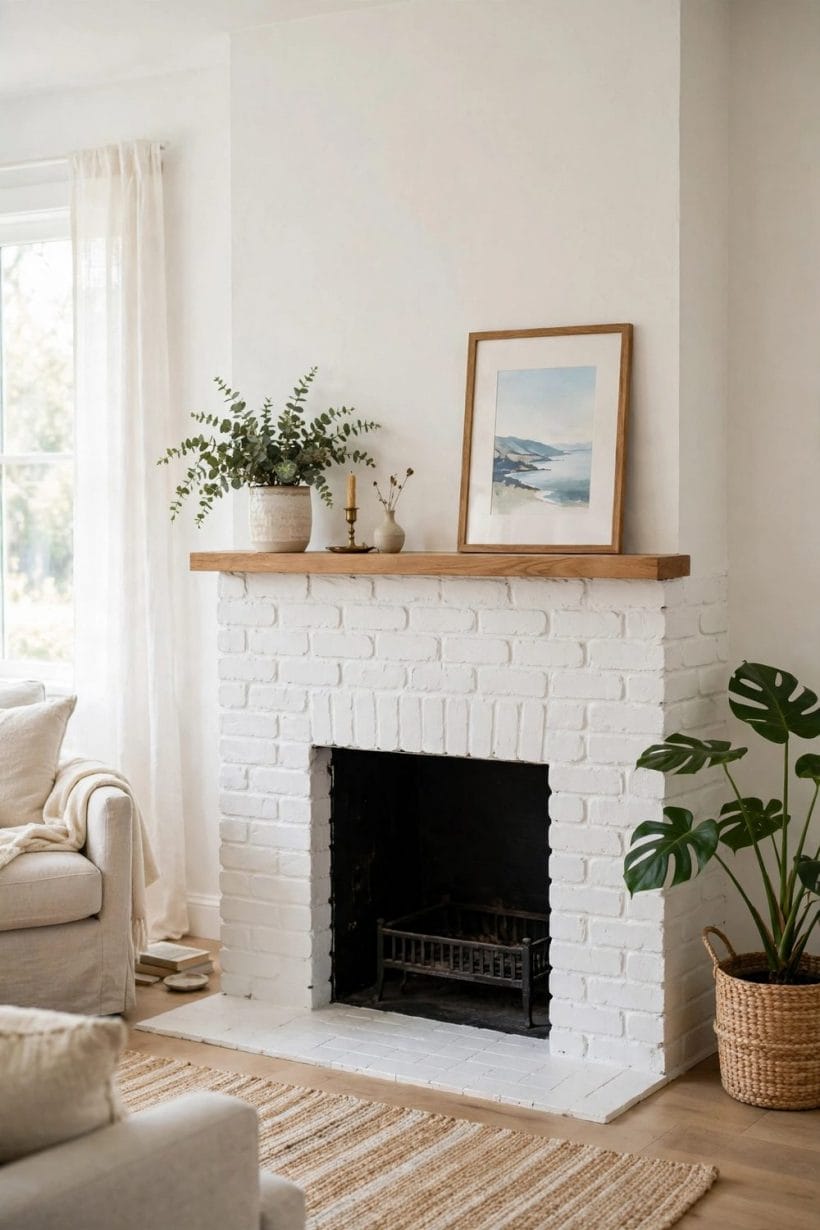
The Before
Dark or orange-red brick, a sootshadowed lintel, and a room that feels smaller every time the eye lands on the chimney breast. The brick itself is sound; it is the colour and the decades that are the problem.
The After
Painted or limewashed, the same brick becomes texture instead of noise — the wall’s pattern kept, its shouting stopped. White is the classic, but the refresh works in any pale, calm colour, and the room gains the light the dark brick was drinking. Preparation and the right masonry coatings are the whole secret, and they are unglamorous, dusty work.
Limewash and paint are cousins, not twins. Limewash soaks into the brick and lets its texture breathe through a soft, cloudy colour — the gentler refresh, and the one that suits an owner who wants the brick quieter rather than gone. Solid paint is the fuller conversion: an even, architectural colour that turns the breast into a plaster-like plane with a brick accent under raking light. Both demand proper preparation and masonry-appropriate products, and both should be tested on the breast’s least-seen corner through a full day of light before the decision is announced to the whole wall.
The Lesson
Paint is the highest ratio of change to intervention in this article — provided the owner accepts it is a one-way door. The brick fireplace living room ideas nearby explore living with the brick itself, painted and unpainted, for those still deciding.
4. Makeover Two: The Stone Reface
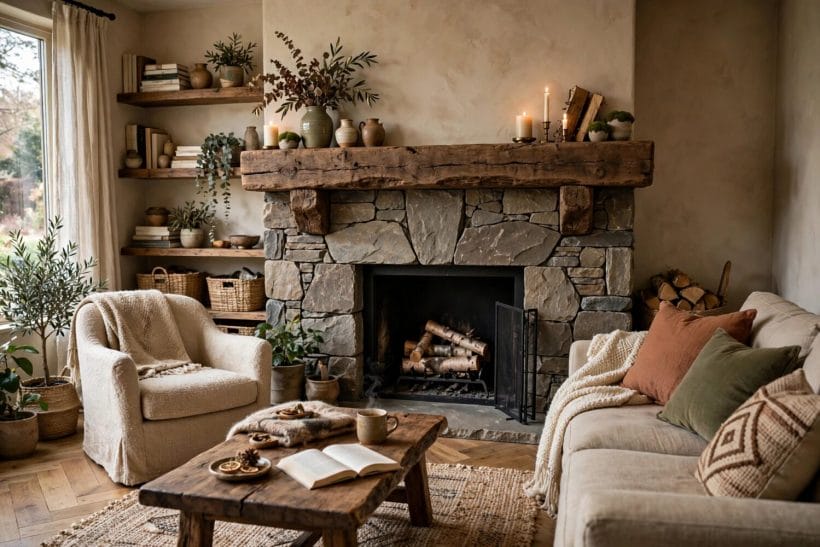
The Before
A dated face — thin brick, tired tiles, or a surround from another era’s catalogue — on a breast whose proportions are actually good. The bones deserve better clothes.
The After
A new stone face, laid by a mason over or in place of the old, gives the fireplace geology: weight, texture and permanence. It is the most transformative makeover here and the most professional — stone is heavy, its support and its relationship to the flue are structural questions, and the hearth’s build is part of the same commission.
The Lesson
Stone is the makeover of commitment: it adds real weight to the wall — in every sense — and it outlasts fashions in both directions. Choose it for the house’s bones rather than the season’s mood, and take the mason’s advice on stone size as seriously as on stone type; the same rock reads rustic in large pieces and tailored in small ones, and the room will live with the decision at eye level for decades.
5. Makeover Three: The Mantel and Surround Swap
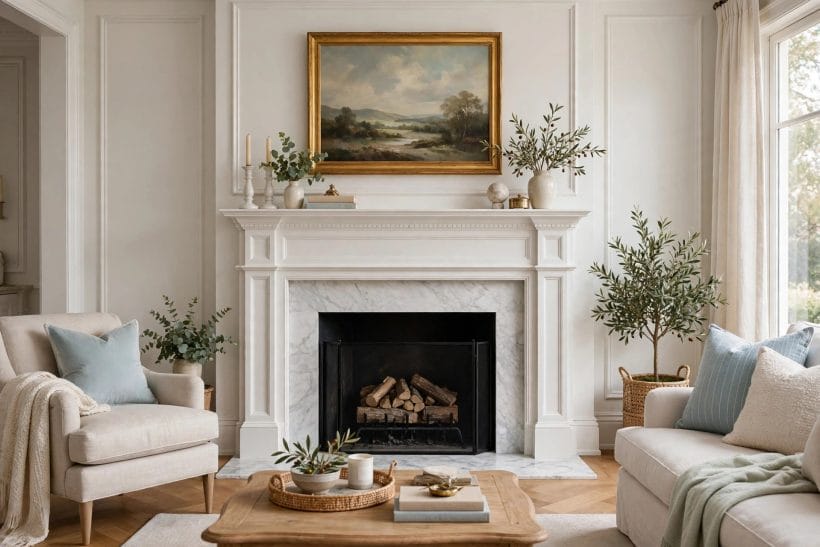
The Before
A surround that fights the room: too small for the breast, too ornate for the furniture, or a mantel shelf at a height that makes every picture above it look lost.
The After
A new surround sized to the breast re-proportions the whole wall. The swap is joinery and fitting rather than masonry, but the firebox’s frame and the hearth are part of the composition, and anything meeting the flue or the fire’s heat is specified by the professionals who fit it.
Proportion Is the Transformation
Of all six makeovers, this one teaches the clearest lesson: most ‘dated fireplace’ problems are proportion problems. The single-surround route is explored on its own in fireplace remodel ideas, the neighbouring post in this cluster.
The mantel shelf deserves its own sentence in this makeover, because it is the room’s display line. A shelf deep enough for a leaning picture and a plant, at a height the room’s seating can appreciate, turns the surround swap into a gallery. What stands on it should be edited like the shelf was designed — because in this makeover, it was.
6. Makeover Four: The Tile Overhaul
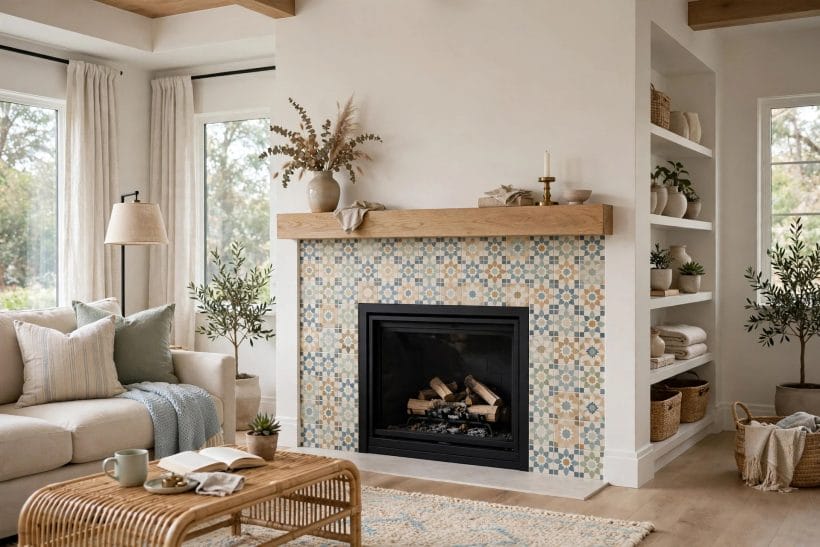
The Before
A brick or stone face that is sound but wrong for the room’s direction — too rustic for a sharpening interior, too heavy for a lightening one.
The After
Tile over the face, or as the new face, gives the fireplace pattern, colour and a wipeable skin. Heat-suitable materials and their fixing near a working fire are a specification to take from qualified installers — the tile catalogue’s beauty shots are not a fire rating. Chosen properly, tile is the makeover that lets a fireplace wear the room’s whole palette in one panel.
The Lesson
Tile is the makeover of range: no other face offers as many colours, patterns and prices in one material family. Its discipline is restraint in combination — one pattern, one field colour, one metal — because the fireplace is a single panel in the room’s composition, and a panel that shouts in four voices at once is the before photograph of the next makeover.
7. Makeover Five: The Built-In Embrace
The Before
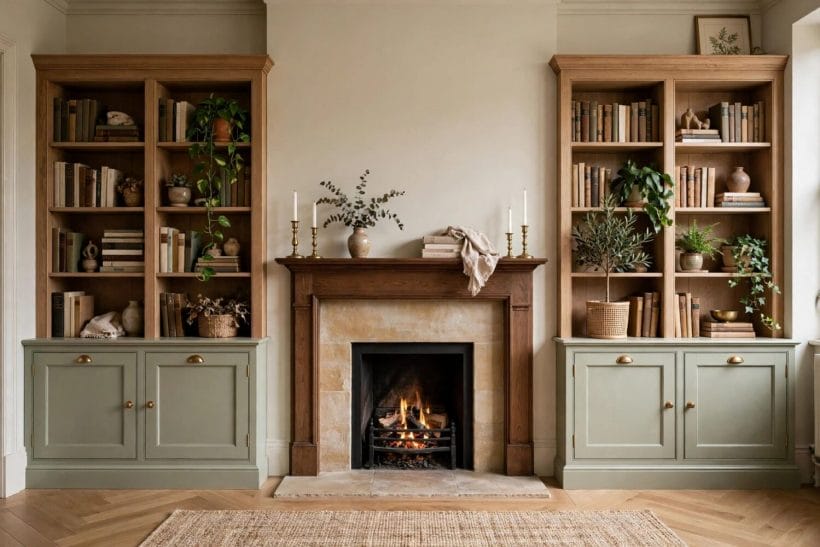
A chimney breast standing alone in the room like a monument, with two awkward alcoves beside it collecting chairs, boxes and good intentions.
The After
Built-in shelves and cupboards in the alcoves turn the breast into a wall of furniture, and the fireplace becomes the centre of a composition instead of an interruption. It is the makeover that adds the most storage per photograph, and it suits the deep-alcoved rooms of older houses best.
Styling the Embrace
The shelves want editing, not filling: books lying and standing, one plant, the fire tools given a designed place. A cabin interior would call the result the room’s warm wall — the embrace makes a fireplace into the reason the furniture faces the way it does.
Light finishes the embrace. A small lamp or a picture light’s worth of glow on one shelf gives the wall an evening register the fire does not have to provide alone, and it makes the alcoves useful after dark instead of merely decorative. Like all fixed wiring, any new lighting circuit is an electrician’s work — but choosing where the glow should land is the owner’s, and the embrace is where it lands best.
8. Makeover Six: The Plaster Minimal
The Before
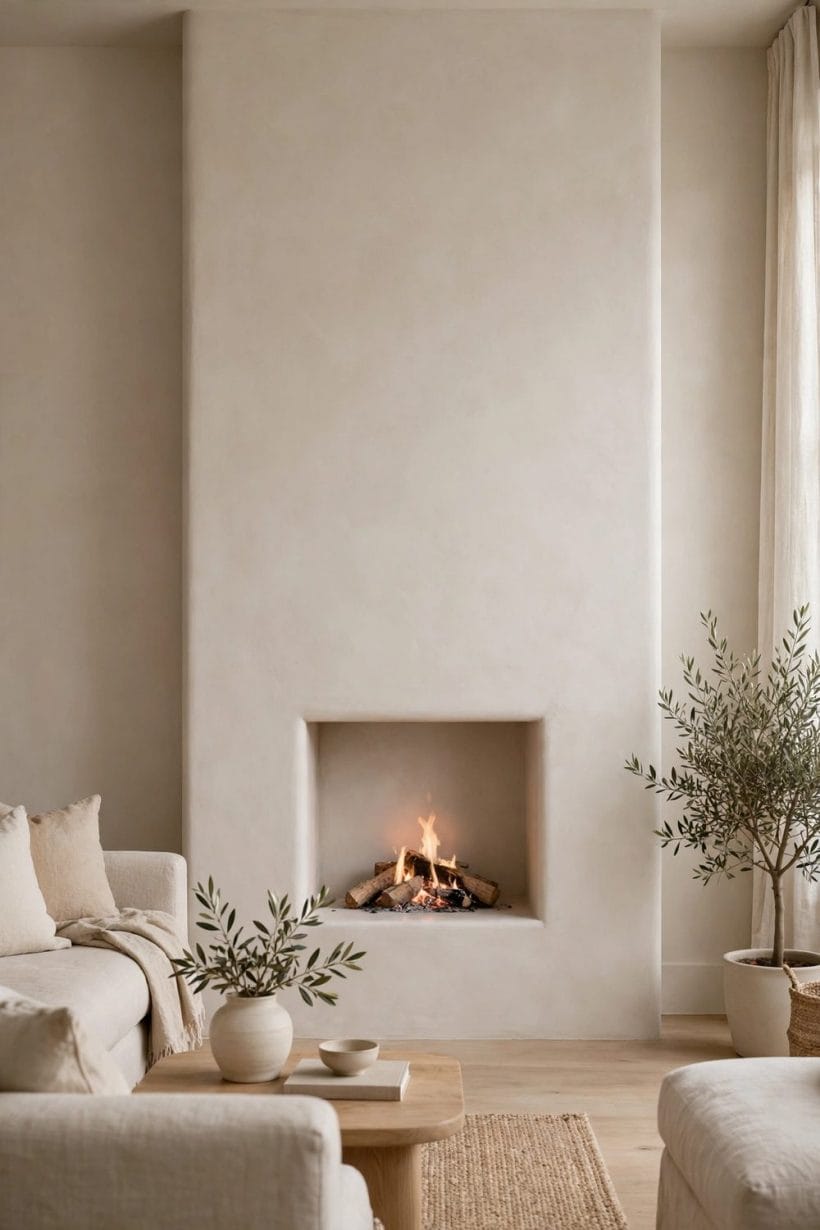
Too much of everything: a busy surround, a fussy mantel, a hearth that spreads, in a household whose taste has quietly moved to calm.
The After
Rendered smooth and stripped of ornament, the fireplace becomes a sculptural opening in a quiet wall — the fire itself the only decoration. The minimal route is not the cheap route it photographs as: removing, making good and rendering a breast to this standard is skilled work, and a working flue’s lining and condition are checked by professionals before the calm is applied.
The Lesson
Minimalism is an editorial act: it succeeds by what it removes and punishes anything left undecided. A household choosing the plaster route should count its objects honestly — the calm wall asks the mantel to hold one beautiful thing, and it will display a household’s clutter with museum clarity if given the chance.
9. What Every Makeover Shares
The Chimney Is Checked First
Every honest makeover begins with the flue: its condition, its lining, whether it draws. A chimney professional’s report precedes the mood board, because discovering flue trouble after the stone is on is the most expensive sentence in renovation.
Heat and Clearances Are Specified, Not Styled
How close combustibles may sit to a working fire, what the hearth must be and do, and which materials may face the firebox are matters of local rules and manufacturers’ specifications. The makeover chooses how things look; professionals confirm they may look that way there.
Sequence: Dust Before Décor
Masonry, rendering and flue work first; floors protected; paint after; styling last of all. Every makeover that disappoints has usually inverted this — the mantel styled beautifully, then dusted by the mason the following week.
The Unused Fireplace Is Different
If the fireplace no longer works — flue sealed by professionals, fire long retired — its makeover is purely decorative and freer, though never a licence to block ventilation a building still needs. The old interior design fireplace post treats those styling questions in tiny houses, where the fireplace is often exactly that.
10. Planning Your Own Before and After
Photograph the Before Honestly
Take the before photographs in flat daylight, wide and close. They are the planning document — showing the breast’s proportions, the alcoves, the hearth’s spread — and, later, the only proof of how far the room came.
Keep the notes with the photographs: what the chimney professional found, which materials were specified, when the work was done. A fireplace outlives its makeover’s memory, and the next owner — or the next makeover — will thank the household that wrote things down.
Choose the Makeover Your Before Is Asking For
Sound brick in a dark room asks for paint; good proportions in bad clothes ask for a reface or a surround; lonely breasts ask for built-ins. The makeover that answers the actual before is the one that looks inevitable in the after photograph.
Budget in Layers, Not Figures
Lay the budget in the order the money is actually spent: professional checks and flue work, then structure and masonry, then surfaces, then styling. Each layer is real before the next is estimated, which is as close to a cost method as honesty allows here.
Who Does What: The Team
Expect three kinds of expertise. A chimney professional certifies the flue and the fire’s workings. A mason or a fireplace installer owns the face, the hearth and everything the heat touches. A decorator — or the owner’s own disciplined eye — owns proportion, colour and styling. Confusing these roles is how makeovers go wrong: the prettiest surround is worth nothing over an unhappy flue, and the soundest flue deserves better than an unconsidered face.
Live with the Decision a Season
Fireplaces are permanent in a way paint colours are not. Where the choice is irreversible — painting brick, removing a surround — live with the plan through a few fires and a few weeks. The makeover that still excites you in month two is the right one.
Final Considerations
Six makeovers, one principle: the fireplace you have is the starting material, not the obstacle. Check the flue, respect the heat, choose the transformation your before is asking for, and the after photograph takes itself. The fireplace living room pillar gathers the cluster’s wider reading for the room around the fire.



0 Comments