

Every other bath hides inside the room’s joinery; a freestanding tub stands in the open like furniture, and that difference changes how a bathroom is planned, plumbed and lived in. It is the bath as sculpture — and like sculpture, it rewards those who think before falling for a photograph.
These ideas stay strictly on the tub itself: shapes, materials, placement, filling, the floor beneath and the small comforts around it. The wider bathroom lives in the bathroom ideas pillar; this page is the tub’s own story, told in full.
1. Freestanding Bathtubs at a Glance
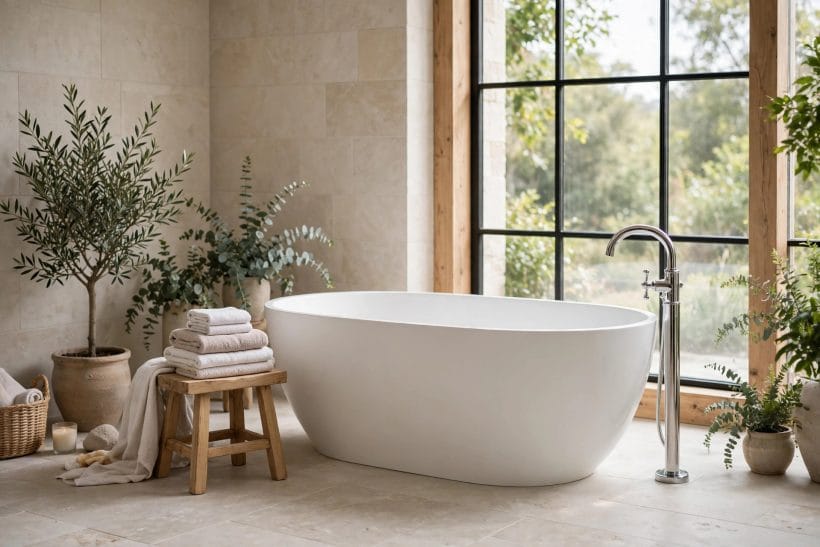
A freestanding bathtub is a self-supporting bath with finished sides all round, standing clear of walls or close against them, filled by floor-standing, wall-mounted or rim-mounted taps and drained through a floor waste. Its working parts are the shape (oval, slipper, rectangular, round), the material (acrylic, cast iron, stone resin, copper), the placement, the filler and the floor that carries the filled weight. It is the centrepiece of the wider bathroom ideas cluster, and pairs with the tiled shower ideas and walk-in shower ideas where bathing and showering are kept separate.
| Question | Short answer |
|---|---|
| Is a freestanding tub practical in a small bathroom? | Yes, in the flat-backed wall-hugging designs, which keep the sculptural look with near-inset practicality — especially in the compact schemes among the small bathroom ideas. |
| Which material keeps water hottest? | Cast iron first, stone resin close behind; acrylic is warm to the touch and perfectly adequate for ordinary-length soaks. |
| Can a freestanding tub have a shower over it? | It can, with a ceiling or wall rail and a full curtain, but most owners separate the two — the shower belongs to the walk-in, the tub to the soak. |
| Does the floor need strengthening? | Often, on upper timber floors with the heavier materials. Have it assessed before ordering, not after delivery. |
2. Shapes First: Oval, Slipper, Rectangular and Round
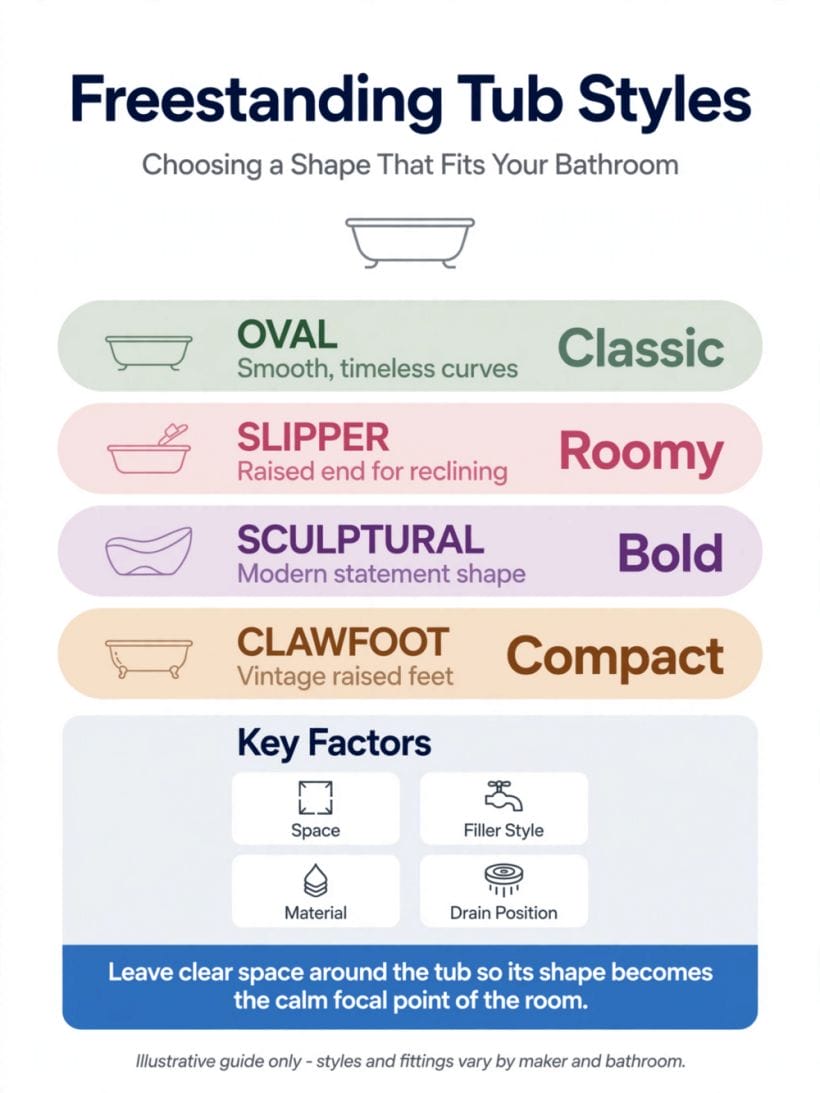
A freestanding tub is bought almost entirely by silhouette, so the shape deserves the first look. Each outline behaves differently in the room and in the water: some cradle, some stretch, some sit like furniture. Choose the shape before the material — the material can only follow the line you fall for.
1. Let the oval soften a hard-edged room
The classic oval is the gentlest outline in the bathroom, all curves and no corners, forgiving tile grids and straight walls their severity. In a room of hard surfaces, one soft ellipse changes everything.
2. Choose a slipper for the reader’s soak
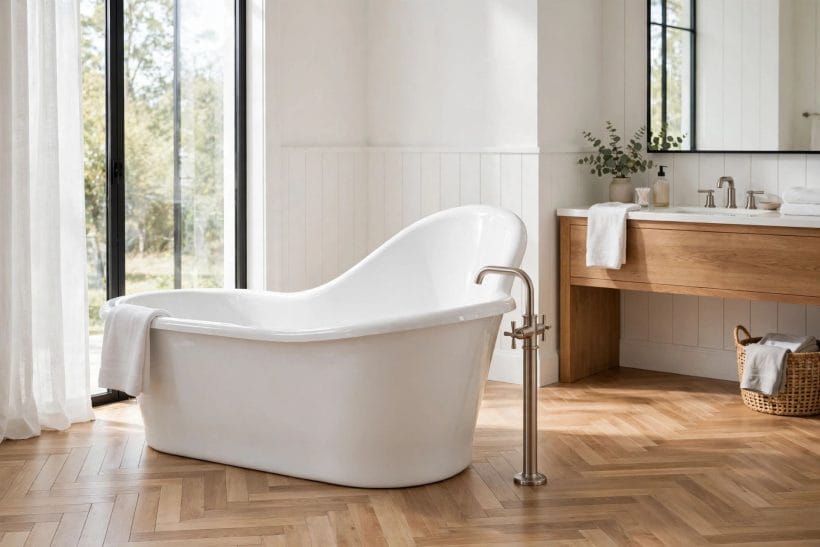
A slipper tub lifts one end — or both, in the double-ended version — into a raised backrest supporting the shoulders out of the water.
3. Use a rectangular tub to answer modern lines
Squared freestanding tubs echo the geometry of contemporary taps, screens and cabinetry, sitting comfortably in minimalist schemes where an oval would look lost. Their straighter sides give a slightly more upright, formal bathing posture.
4. Try a round tub where the room can spare the circle
A circular tub is sculpture that happens to hold water, demanding floor on every side to read properly. In a generous bathroom it becomes the unquestioned centre; squeezed into a corner it wastes its best asset.
5. Match double-ended shapes to shared baths
A tub with two sloped ends and a central waste lets two bathers recline without one negotiating with the taps. If the bath is genuinely shared, this is the outline that keeps the peace.
6. Let a single-ended tub face the view
With one raised end and one low end, a single-ended tub has a front and a back — point the low end at the window, garden or fireplace and the view is designed, not accidental.
7. Check the rim line against the window line
Tubs read best when their rim sits below the sill, so the bather’s eye travels over it to the view rather than into the window frame. Sight the lines in the empty room before ordering.
8. Scale the shape to the bather, not the brochure
A long tub that leaves a tall bather’s knees bent and a short bather sliding is wrong both ways. The right length lets the main user stretch out, feet touching the far end.
9. Prefer softer shapes in family bathrooms
Rounded outlines are kinder to hips, elbows and small children climbing in and out, and they show fewer knocks over the years. Save the sharp architectural shapes for the ensuite nobody else uses.
10. Let a sculptural shape carry a plain room
Where tiles are simple and money has gone elsewhere, one dramatic silhouette — a high-backed slipper, a deep egg — gives the whole bathroom its character for the price of a single piece.
11. Sit in it dry before you commit
Showrooms expect it: shoes off, climb in, lean back. Back angle, rim width and the ease of climbing out cannot be judged from a photograph — they decide whether the tub is loved or merely admired.
3. Materials: Acrylic, Cast Iron, Stone Resin and Copper
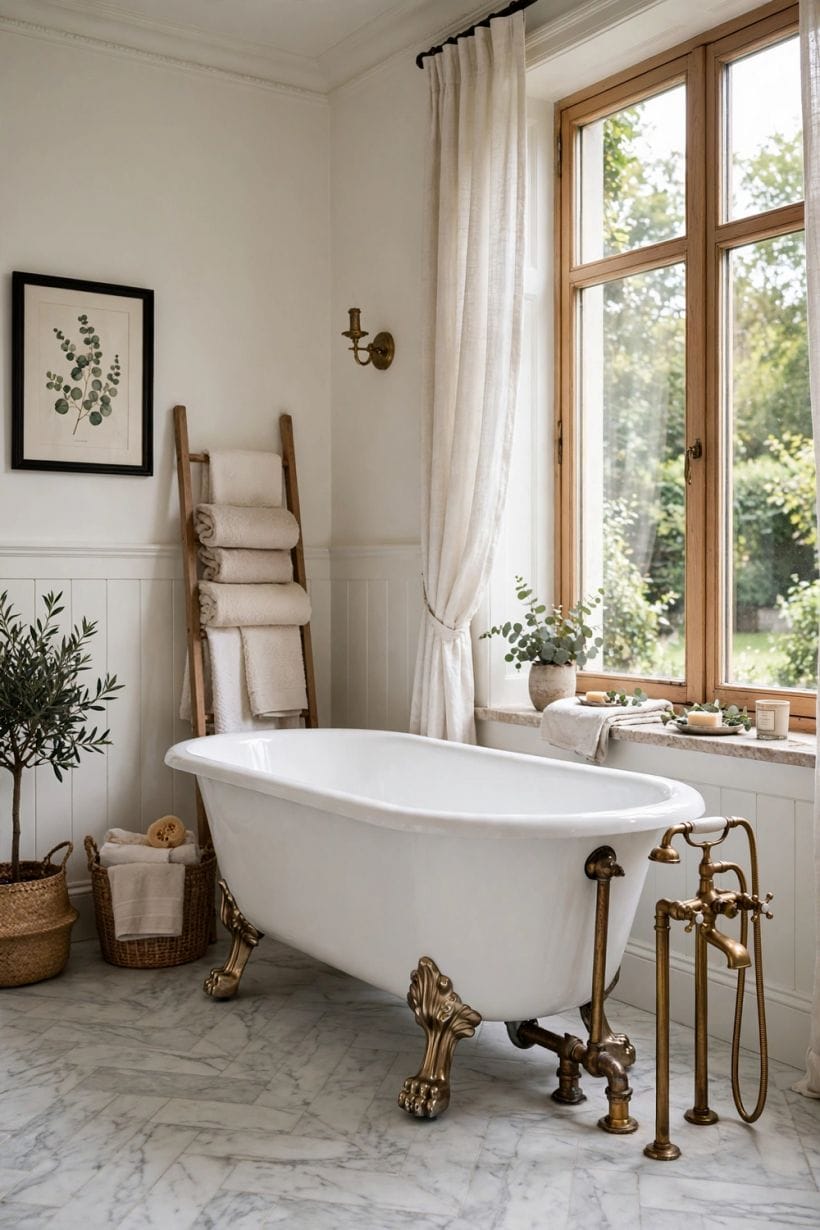
Shape chosen, the material decides the tub’s weight, warmth and temperament — how long the water stays hot, how the surface ages, how much the floor must carry. No classic material is best at everything; each is best at something, and the honest match is with your habits.
12. Start with acrylic for lightness and warmth
Modern acrylic tubs are warm to the touch, light enough for most floors, kind to budgets and repairable if scratched. For upper floors and first purchases, acrylic is the sensible default.
13. Choose cast iron for heat that lingers
Enamelled cast iron holds bathwater hot longer than any rival and feels immovably solid underfoot, but it is seriously heavy. The romance is real; so is the need to check the floor structure first.
14. Look at stone resin for a matte, sculptural finish
Stone resin — crushed stone bound in resin — gives a cool, chalky, contemporary surface with good heat retention and crisp moulded shapes. It weighs more than acrylic, less than iron, and suits design-led bathrooms beautifully.
15. Consider copper for character that changes
A copper tub is a living finish: it deepens, mottles and polishes where hands touch it, and no two age alike.
16. Weigh the filled weight, not the empty one
Every brochure weight is dry. The figure the floor carries is tub plus water plus bather, and in heavier materials that total climbs fast — the floor check in a later section is not optional homework.
17. Ask how the surface repairs
Acrylic and stone resin can usually be polished or filled invisibly; chipped enamel on cast iron is a specialist job; copper simply folds damage into its patina. Buy the surface whose accidents you can live with.
18. Feel the rim before you judge the finish
Run a hand along the rim and inside curve: moulded materials should be seamless, enamel smooth without orange-peel, copper free of sharp seams. The parts you touch daily deserve the closest inspection.
19. Match the material to your cleaning temperament
Gloss acrylic shows water marks but wipes clean in seconds; matte stone resin hides marks and asks for gentler products; copper wants rinsing and drying to control its colour. Honest habits beat ideal ones.
20. Let period houses argue for period materials
Cast iron and copper sit naturally in Victorian and Edwardian bathrooms, where their weight of history matches the architecture. In a brand-new extension, acrylic and stone resin usually look more at home.
21. Check the underside and the feet
On clawfoot and skirted designs, the frame, feet and levelling system do the quiet structural work. Sturdy, adjustable feet matter more than decorative ones when the floor is old and less than perfectly level.
22. Buy the overflow and waste as part of the design
In exposed-material tubs the waste, overflow and trap are visible furniture, not hidden plumbing. Choose their finish — chrome, brushed brass, matte black — with the same care as the taps; everyone will see them.
4. Placement: Centre Stage, Against the Wall and Round the Corner
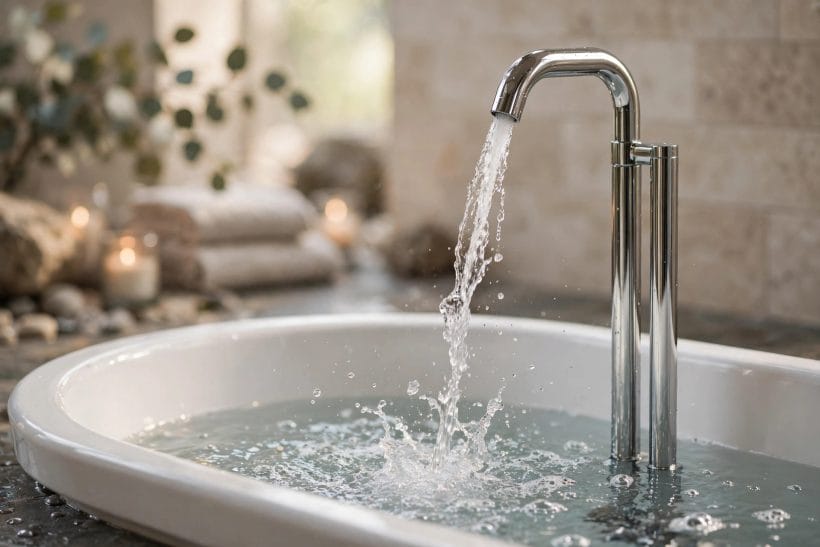
Where the tub stands decides whether the bathroom feels like a spa or a storage accident. A freestanding tub needs air around it, visually as much as physically, and placement must be settled before plumbing — the waste and supplies have to travel to meet it.
23. Give the centre-stage tub a room that earns it
Dead-centre placement is the magazine shot, and it works when the room is wide enough to walk around the tub without turning sideways. If passing means shuffling, the drama curdles fast.
24. Set the tub on the room’s axis
Align the tub with the door, a window or a fireplace so the eye reads intention the moment the door opens. Symmetrical placement is the cheapest form of luxury a bathroom can buy.
25. Use the wall-hugging compromise without shame
Many modern freestanding tubs are flat-backed to sit close against a wall, gaining most of the sculptural look with far less floor and simpler plumbing. In ordinary-sized bathrooms this is often the smartest placement.
26. Angle the tub in a corner for softness
A diagonal tub in a corner breaks the room’s grid in a good way, creating two triangular pockets for a stool, a plant or a stack of towels. It suits oval and slipper shapes particularly well.
27. Place the tub under the window when the view allows
Bathing facing daylight and a garden is the tub’s oldest pleasure. Check privacy, check the rim sits below the sill, and check the taps will not block the light.
28. Keep a hand’s width of cleaning room
However the tub is placed, leave enough gap behind and beside it for a mop, a cloth and occasionally a whole arm. The unreachable crescent behind a fixed tub collects the bathroom’s least charming debris.
29. Let the tub face the fireplace in country rooms
Where a bedroom-bathroom or a cottage ensuite has a working fireplace, orienting the tub toward it is an old arrangement that still feels like pure indulgence — and it costs nothing but thought.
30. Protect the splash zone in the plan
Freestanding tubs splash more than inset ones, especially with children and hand showers. Place them away from timber floors, papered walls and anything that minds water — or detail nearby surfaces to shrug it off.
31. Walk the route from door to tub
The path in, carrying towels and occasionally a cup of tea, should be clear of the tub’s silhouette and the tap column. A placement that fights the daily route loses, however beautiful the photograph.
32. Leave the far wall quiet
A centre-room tub asks the walls around it to calm down — one strong picture, a simple mirror, restful tile. When everything shouts, the sculpture cannot be heard.
33. Confirm the delivery route before placement dreams
Cast iron and stone tubs must travel from street to spot, through doors and possibly up stairs. Measure the tightest turn; a tub that cannot arrive cannot be placed.
5. Taps and Filling: Floor-Standing, Wall-Mounted and Deck-Fitted
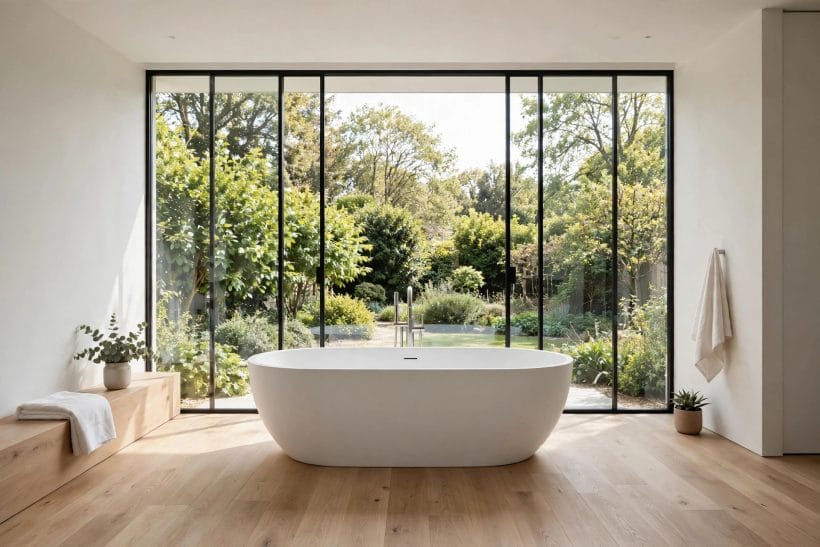
The filler is the freestanding tub’s jewellery and its most-used mechanism, and the choice locks in early: each type needs different plumbing in different places. Decide how the water arrives before the floor goes down, and the rest of the design can relax.
34. Choose floor-standing taps for the full sculpture
A floor-standing filler column rising beside the tub is the classic partner: dramatic, flexible in position and independent of walls. It needs supplies roughed in through the floor at exactly the tub’s spot.
35. Use wall-mounted taps when the tub hugs the wall
With a flat-backed tub against the wall, a wall-mounted spout keeps the silhouette clean and the plumbing simple. Its reach must clear the rim and land the water inside the tub, not on its edge.
36. Consider rim-mounted taps on wide-rimmed tubs
Some tubs are moulded with a deck wide enough to carry taps directly, keeping everything in one piece and shortening the plumbing run. Check the rim is genuinely designed for it, not drilled as an afterthought.
37. Add a hand shower however you fill
A small hand shower on its own hose — or integrated into the filler — rinses hair, bathes children and, above all, cleans the tub itself. A freestanding tub without one is a beautiful inconvenience.
38. Think about who turns the taps, and from where
Controls should be reachable from outside the tub for filling and from inside for adjusting, without a stretch across scalding water. Stand where you will stand, mime the reach, and place them there.
39. Match the filler finish to the waste finish
Taps, waste, overflow and exposed trap read as one suite of metal. Mixed finishes work when deliberate — one metal family, repeated — and look like a mistake when merely unmatched.
40. Let a waterfall spout suit calm, modern schemes
Open waterfall fillers pour a broad, quiet sheet of water that matches stone resin and minimalist tubs. They splash more than a narrow spout, so pair them with deeper tubs and tolerant floors.
41. Respect the traditional crosshead in period rooms
Exposed pipework, porcelain indices and crosshead handles belong with slipper and cast-iron tubs the way brass belongs with copper. Period bathrooms charm because their plumbing is allowed to be seen.
42. Plan the thermostatic safety where children bathe
A thermostatic filler that limits the hot water temperature is quiet, invisible insurance in a family bathroom, and it is far cheaper to fit at installation than after the first too-hot bath.
43. Check the fill time against your patience
Deep tubs hold a great deal of water, and a modest supply takes a long while to fill one.
44. Keep the controls off the splash line where you can
Fillers placed where bathwater constantly splashes them age faster and grow limescale beards. A small shift in position — a hand’s breadth — often moves them out of the weather entirely.
6. The Floor Beneath: Weight, Waste and Water Supply
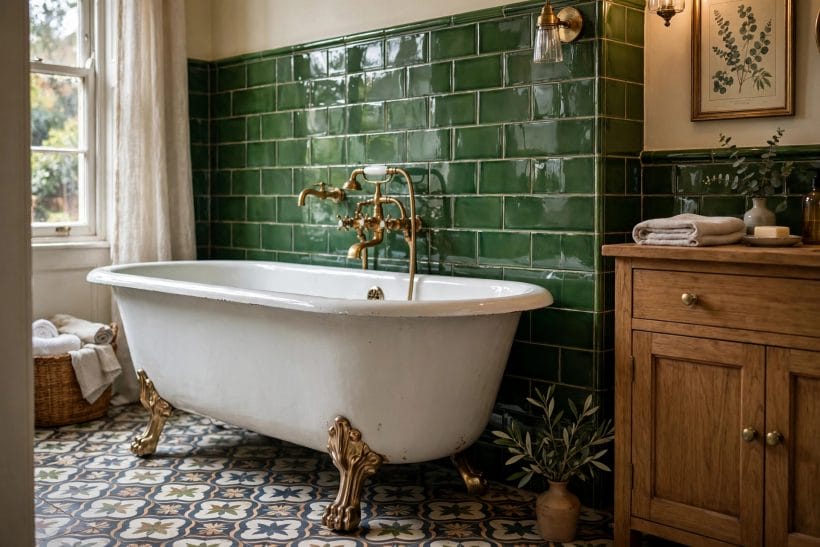
Everything glamorous about a freestanding tub rests on unglamorous questions: can the floor carry it, where does the water come from, and where does it go? Read this section with a pencil, ideally alongside whoever will install the tub.
45. Have the floor assessed before the tub is ordered
A filled cast-iron or stone tub with a bather aboard is one of the heaviest single loads in a house.
46. Spread the load where the design allows
Skirted tubs and plinth bases spread weight across their footprint, while clawfeet concentrate it at four points. On borderline floors the spreading designs are the safer romance; on concrete, feet can be purely decorative.
47. Plan the waste route with the fewest bends
Water leaves through a floor waste that must fall gently and continuously to the soil stack. Every bend is a future blockage and a slower drain, so tub position and stack position negotiate early.
48. Decide on an island drain or a discreet linear route
Purpose-made island drain kits let the waste connect flexibly beneath a centre-room tub, hiding the joint under the tub itself. They exist precisely for centre-stage placement and are worth their modest premium.
49. Bring the supplies up where they will not be seen
Hot and cold feeds for a floor-standing filler rise through the floor within the column’s footprint — invisible when right, very visible when even slightly off.
50. Choose flooring that forgives water
Around any freestanding tub, water will escape: stone, porcelain and properly sealed surfaces shrug it off, while engineered timber needs diligence and carpet is simply a postponement. Pick the floor your habits can keep.
51. Tank and seal the wet zone properly
Beneath tiles or stone, a waterproofing membrane is the difference between a splash and a ceiling stain downstairs. It is invisible, unglamorous and absolutely not the place to economise.
52. Leave access you hope never to use
Traps block and connections weep, usually years later. A placement and floor build-up that let a plumber reach the tub’s connections without demolition will be thanked exactly once, enormously.
53. Think about underfloor heating conflicts early
Heating loops cannot run beneath a heavy tub’s footprint or its pipework, and the tub insulates the floor it stands on. Lay the heating plan and the tub plan on the same drawing.
54. Ventilate for the steam a long soak makes
Deep, hot, unhurried baths produce serious steam, and freestanding tubs often sit in larger, cooler rooms where condensation gathers. Extraction sized for the room keeps paint, grout and mirrors out of trouble.
55. Test-fill before the finishing touches
Fill the installed tub to the overflow and leave it, checking every joint and the ceiling below before final sealing. Water finds the flaws that eyes miss, given an hour and a full tub.
7. Comfort in the Detail: Backs, Rims and Depth
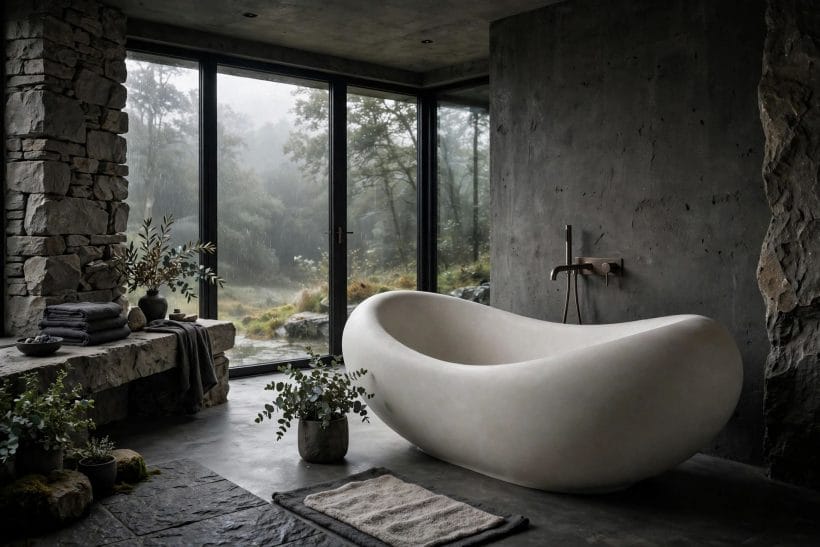
A freestanding tub is a chair you lie in, filled with water, and its comfort is designed in angles and curves rather than in size. These details separate the tub used nightly from the one that photographs well and gathers dust.
56. Read the back angle like a chair back
Too upright and the bather perches; too reclined and they slide, bracing feet against the far end.
57. Choose depth by the soak you actually take
Deep soaking tubs that cover the shoulders suit the committed evening bather; shallower tubs fill faster, use less water and are kinder to anyone who climbs in with difficulty. Honesty about habit wins.
58. Check the rim against your neck and arms
A wide, gently rolled rim rests forearms and a book comfortably; a knife-edge rim looks sharp because it is. Where the head tips back, the rim’s curve decides whether a cushion is needed.
59. Value a moulded lumbar curve
Many modern tubs shape a subtle support into the back’s lower third — the difference between lying in the tub and lying against it. It cannot be seen in photographs; it can only be sat against.
60. Keep the internal length honest
Brochure length is measured outside. The bather lives inside, where sloped ends and thick walls shorten the stretch considerably — compare internal dimensions when two tubs claim the same footprint.
61. Plan a bath pillow or headrest that suits the material
Suction and weighted headrests work on smooth acrylic and stone resin; enamel and copper take them equally well. If the perfect tub needs a pillow to be perfect, that is a small, acceptable treaty.
62. Place a stool within arm’s reach
Tea, book, spectacles and telephone all need a dry island beside the tub, at rim height, reachable without a sit-up. A simple stool or side table is the hardest-working accessory in the freestanding bathroom.
63. Think about getting out, not just in
The climb out of a deep, wet, curved tub ages with the bather. A nearby grab point, a rim wide enough to sit on and swivel, and a non-slip floor outside are kindnesses designed ahead.
64. Let taller bathers choose the raised-end shapes
Slipper and high-back designs let a long spine recline with support instead of folding. If the main bather is tall, their comfort outranks every other voice in the shape debate.
65. Try the empty-tub echo
Thin materials drum and flex underfoot and under the filler stream; thick ones feel and sound like furniture. Rap the side, step in, and let your ears vote — the bathroom will hear this tub for years.
8. Styling Around the Tub: Stools, Towels, Plants and Light
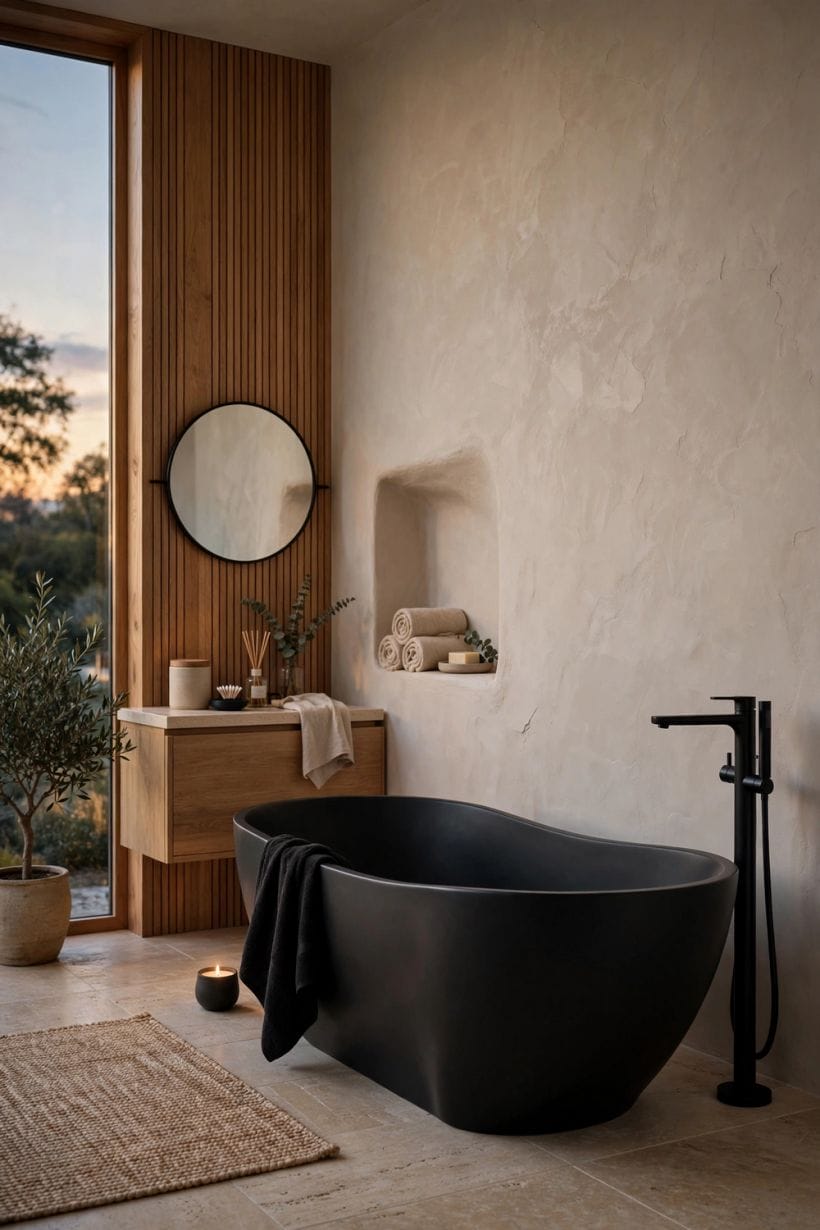
The tub is the sculpture; everything around it is the gallery. Styling one is mostly restraint — a few warm, useful, beautiful things where the bather’s hand and eye will find them, and nothing that must be moved before the water runs.
66. Anchor the tub with a bath mat that earns its place
A mat in natural fibre or flat-weave cotton, sized to the tub’s long side, catches the step-out drip and warms the floor visually.
67. Hang towels where a wet hand can reach them
A rail, hook or ladder within arm’s reach of the rim ends the cold, dripping expedition across the room. Heated rails earn their keep doubly in bathrooms built around long soaks.
68. Use a wooden bath caddy with restraint
The bridge across the rim holding book and cup is a fine servant and a poor master — as permanent storage it clutters the line. Let it appear for the bath, and live elsewhere between times.
69. Bring one plant that likes the steam
Ferns, orchids and trailing pothos thrive in bath steam and soften the tub’s geometry with exactly the wildness it lacks. One generous plant reads as calm; a jungle reads as a greenhouse.
70. Light the bather kindly, not the ceiling
A low pendant beside the tub, a wall light at face height, or candles on the stool flatter both skin and stone. The bright overhead grid can stay off during the soak.
71. Keep a small stool or side table as the tub’s companion
Teak, stone or painted timber — the stool beside a freestanding tub is its oldest partnership, carrying towels, books and the occasional glass. Choose a material that ignores splashes entirely.
72. Let art hang where the bather can see it
The audience for bathroom art is one person, lying still, looking at one wall for twenty minutes. Place the picture on that wall, at that eye line, in a frame that tolerates steam.
73. Store bath things beautifully or not at all
Oils, salts and brushes that live out should live in vessels worth looking at — glass, ceramic, a simple tray that corrals them. The tub’s clean silhouette suffers among a crowd of plastic labels.
74. Add a robe hook at the tub’s end
The last luxury is logistical: robe and towel waiting at the end of the bath where the bather actually stands up. A single well-placed hook outperforms a distant heated rail on a cold night.
75. Leave the composition one element short
Freestanding tubs style best with visible restraint — floor, tub, stool, plant, picture, done. When a scheme feels almost finished, it usually is; the water, the steam and the bather complete it nightly.
9. Checks and Mistakes: Before the First Purchase or the First Stone
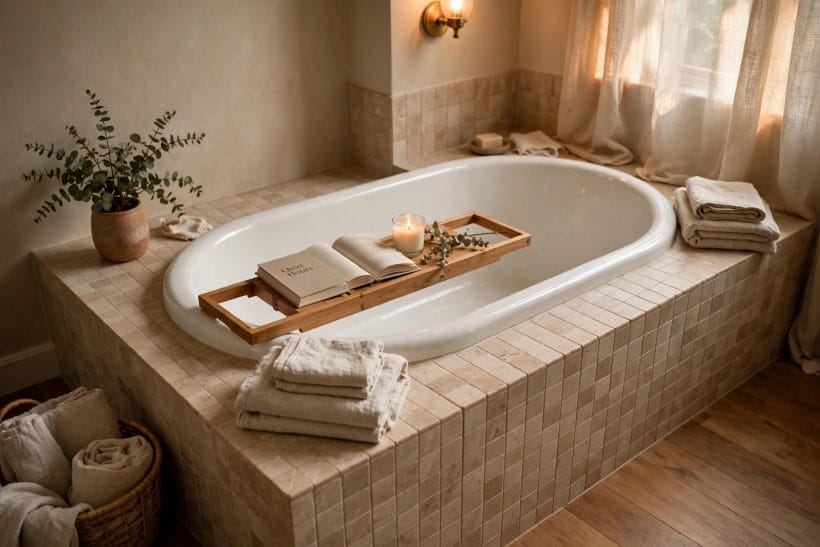
The expensive mistakes are nearly all made before the tub arrives. The floor is never assessed, so the filled weight surprises; the waste route is assumed, so the tub migrates to wherever the pipe can reach; the bather never sits in the showroom model, so the beautiful back angle turns out to be a slide. Each is free to check and costly to discover late.
Work in this order: floor first, plumbing route second, placement third, shape and material fourth, taps last — each decision licenses the next. And live a day with the tub’s footprint taped on the floor before committing; the body understands scale in a way the eye on a plan does not.
10. Costs and Pulling It Together
Costs gather in predictable places: the tub itself spans the widest range of any bathroom purchase, from modest acrylic to heirloom cast iron and copper; then the floor-standing filler if you choose one, the floor’s preparation and possible strengthening, and plumbing rerouted to a tub that no longer touches a wall. The tub’s price is rarely the whole story — the honest budget counts the installation around it, the thinking the master bathroom ideas apply to whole suites, applied here to one piece.
Pulling it together: choose the shape by the soak, the material by your habits and your floor, the placement by the room’s honest dimensions, the filler by plumbing you can actually run. Do that, and the tub stops being a photograph and becomes the room’s daily pleasure — the standard the modern bathroom ideas here are quietly aiming at.
Final Considerations
A freestanding tub asks more of a bathroom than an inset bath ever does — more floor, more planning, more honesty about weight and water — and repays it every evening. It is the rare purchase that is both the room’s tool and its ornament.
For the rooms around it, the bathroom ideas pillar carries the whole-room schemes, and the wider home design ideas hub ties this part of the house together.




0 Comments