

A small bathroom gives a remodel nowhere to hide: every fixture is within touching distance of every other, every shortcut shows, and every centimetre is either working or wasted.
These 75 small bathroom ideas are written as a remodel, not a makeover — a small bathroom remodel succeeds by planning the strip-out, the plumbing and the waterproofing before a single tile is chosen, and this guide keeps that order.
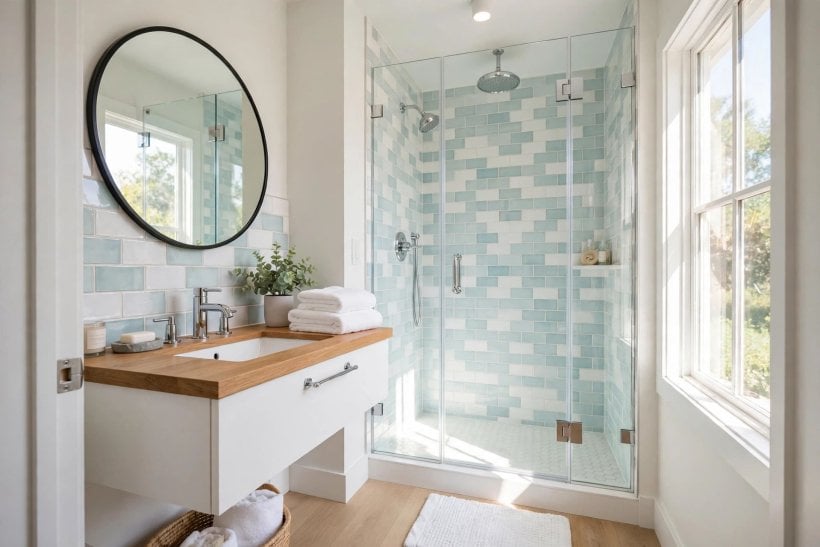
1. Small Bathroom Ideas at a Glance
The central entity is the small bathroom under remodel: a compact wet room taken back to a sound shell and rebuilt in the only safe order — structure and services first, waterproofing second, surfaces third, fixtures and finishing last. Its attributes are assessment, layout, plumbing, fixtures, waterproofing, storage, light and ventilation, and in a small room each attribute is amplified: a fixture ten centimetres too large is not a compromise, it is the room failing daily.
| Where does a small bathroom remodel start? | With assessment, not shopping: the state of the plumbing, the floor, the ventilation and the walls decides what the remodel must do before taste gets a vote. |
| What should I avoid moving? | The soil pipe and the main drains. Fixtures can shuffle along the plumbing wall cheaply; crossing the room with waste runs is where small budgets go to die. |
| Which fixtures save the most space? | Wall-hung pans and basins, short-projection suites, and a shower over a bath or a compact walk-in shower where a bath cannot honestly fit. |
| How do I stop damp and mould? | Proper tanking in the wet zones, a real extractor vented outside, and grout and sealant treated as maintenance, not decoration. |
| What order do the trades run in? | Strip-out, first-fix plumbing and electrics, repairs and levelling, waterproofing, tiling, second-fix fixtures, then finishing — in a small room the sequence is the schedule. |
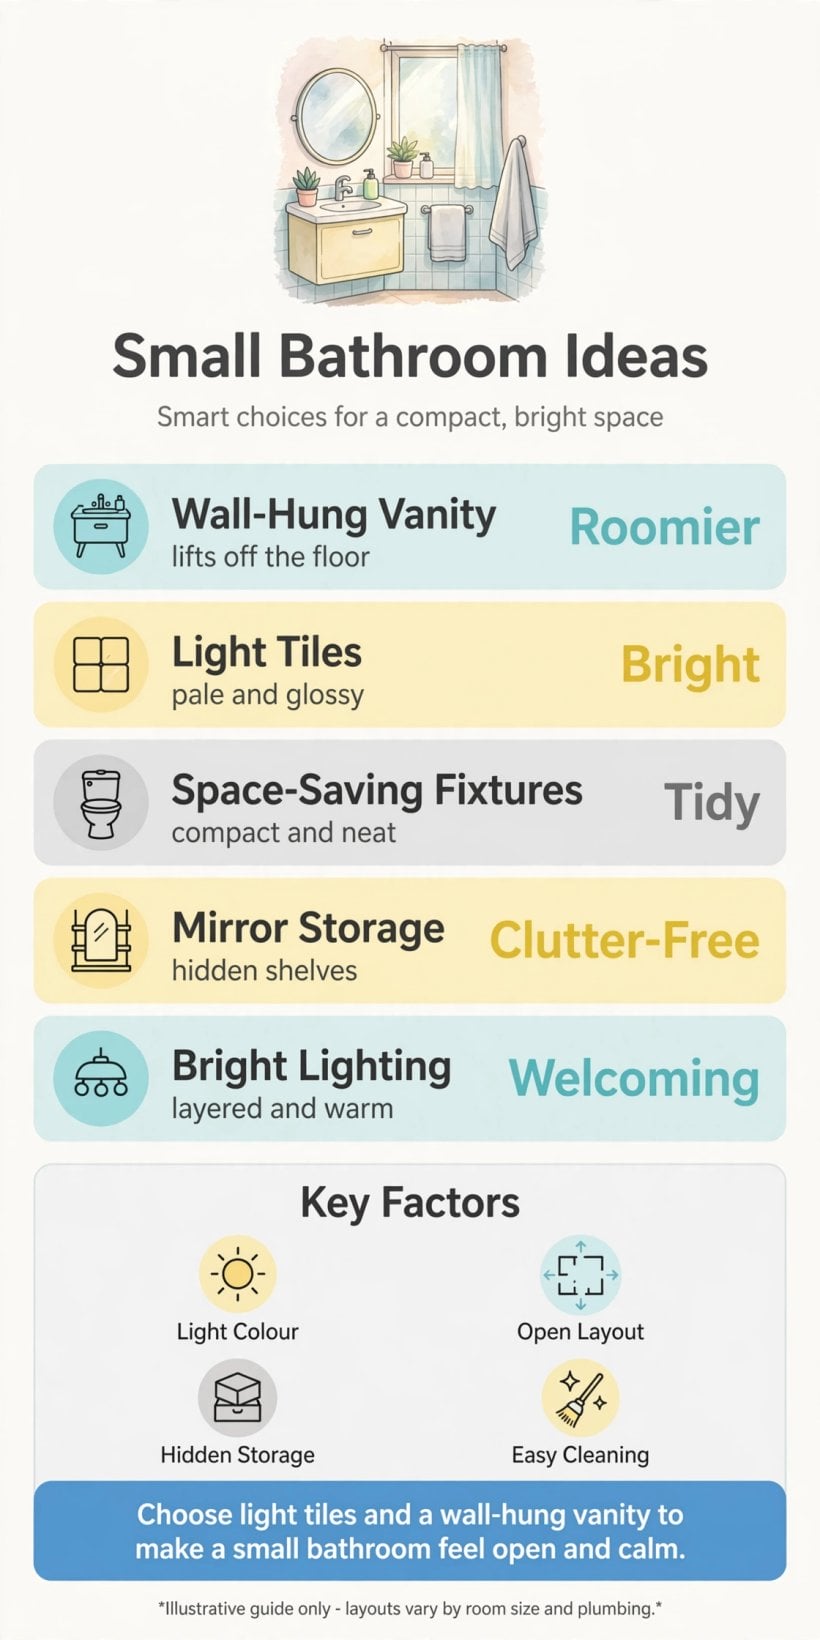
At a glance: assess before shopping, keep the plumbing where it lives, waterproof like you mean it, choose compact fixtures, and build storage into the walls.
2. Assessing and Planning the Remodel
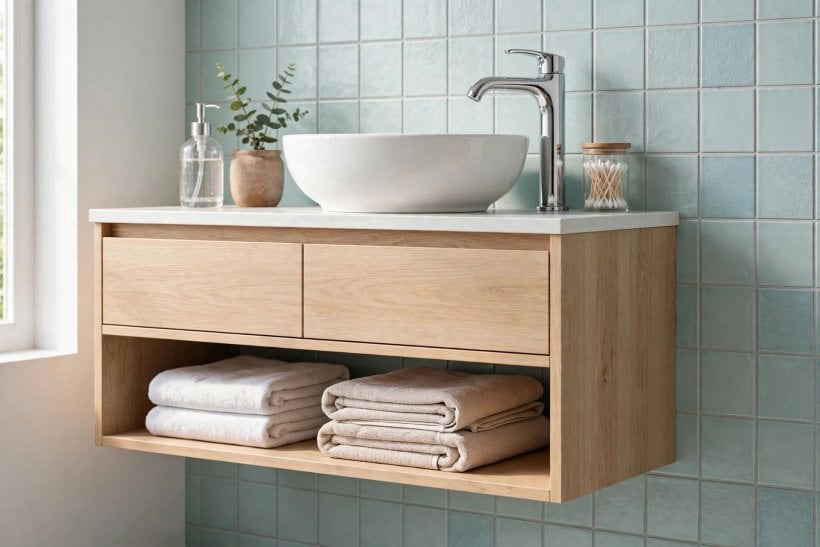
Every successful remodel starts as detective work. This post is the remodel companion to the bathroom ideas pillar — the pillar surveys the room in full; here everything is filtered through one question: what does this small room need, in what order? The planning mindset matches how these tiny house floor plans treat the bathroom: the smallest room gets the earliest thinking, not the last of the budget.
1. Strip Back and Assess Before Designing Anything
Remove the old suite, boxing and coverings and look at what is actually there: pipe runs, floor condition, wall soundness, hidden leaks. Remodels designed over unknown shells are gambles, not plans.
2. Test the Water Pressure and the Drainage
Run every outlet and time the drainage before choosing fixtures. A rainfall shower head on weak pressure, or a new bath emptying through a tired drain, disappoints daily for a decade.
3. Check the Floor for Rot and Movement
Small bathrooms leak quietly for years. Probe the floor around the bath and pan; a spongy board means repair before tiling, because tile over movement cracks its grout within the year.
4. Find the Ventilation Route Early
Decide where the extractor’s duct honestly runs to outside air. A fan venting into a ceiling void just moves the moisture problem somewhere invisible and more expensive.
5. Measure the Room Three Ways
Wall to wall at floor, waist and head height — small rooms are rarely square, and the difference decides whether the chosen suite fits or merely almost fits.
6. Photograph Every Pipe and Wire Before Closing Up
First-fix photography is the remodel’s memory: where the pipes run, where the cables sit. Every future drill hole in this room will thank the album.
7. Decide the Bath-versus-Shower Question Honestly
Count the household’s real baths per month. A bath kept for resale mythology while everyone showers is a large, cold fixture the room pays for daily.
8. Set the Budget by Trade, Not by Object
In a small remodel the money hides in plumbing, waterproofing and tiling labour, not in the suite itself. Budget the invisible work first and let the visible choices fit what remains.
9. Plan the Room’s Out-of-Service Days
A small bathroom is usually the only bathroom. Sequence the work so the pan is usable most nights, and agree the plan with the trades before the strip-out begins.
10. Choose Everything Before the First Tile
Suite, tiles, screen, taps, cabinet — all decided and on site before tiling starts. A small room has no storage for half-arrived plans, and trades waiting on deliveries charge for the wait.
11. Keep a Contingency for What the Walls Hide
Every remodel of an old small bathroom finds one surprise: a rotten joist, a mystery pipe, a wall out of true. A budget with no contingency is a plan to stop halfway.
3. Layout: Working With the Plumbing You Have

Layout in a small remodel is mostly negotiation with the existing services. The arrangements worked through in these tiny house bathroom layouts obey the same law as any flat’s: the soil pipe is the room’s anchor, and the closer fixtures stay to the wet wall, the more of the budget survives for quality. What the pipes can and cannot do is covered in depth in this guide to tiny house utilities: power, water and sewage.
12. Keep the Pan Close to the Soil Pipe
Waste runs need their fall, and distance eats it. A pan moved across the room demands raised floors or boxed runs that steal the very space the move was meant to win.
13. Line Fixtures Along One Wet Wall
Pan, basin and bath or shower along the plumbed wall keeps runs short, access simple and the opposite wall free for storage, the door and breathing room.
14. Put the Basin Where the Mirror Gets Light
The basin is the room’s workstation: face-washing, shaving, teeth. Give it the best light position and the extractor’s quiet side, not the leftover corner by default.
15. Give the Shower the Far End
A shower at the room’s end, behind a single glass screen, reads as a wet zone rather than a cubicle — and the screen’s one panel is all the enclosure a small room needs.
16. Check the Door’s Swing Against Everything
Open the planned door against the basin, the pan and the radiator on paper. A door that clips a fixture will be resented ten thousand times; a pocket or outward-opening door solves it permanently.
17. Keep a Dry Route from Door to Basin
The midnight route should cross dry floor. Lay the shower’s splash zone away from the door path, and the room stays kind at 3am.
18. Use the Space Above the Pan and Door
The cistern wall, the high shelf over the door, the cabinet over the pan — small rooms store upward. These are the remodel’s free shelves, claimed during planning or lost.
19. Steal the Alcoves, Return the Boxes
Old chimney breasts and pipe boxes break a small room into fragments. Absorb them into a full-height storage wall and the room becomes one calm rectangle again.
20. Keep Radiator or Towel Rail Off the Fixture Walls
Heat belongs on the free wall, where towels dry in the room’s air rather than behind the bath. A towel rail fighting a basin for wall is a layout that skipped its paper stage.
21. Leave Access to Every Valve
Isolation valves and the cistern must stay reachable without demolition. Panel, flap or removable section, planned now — the first leak will otherwise redecorate the room itself.
22. Tape the Layout on the Floor Before Ordering
Masking tape at full scale, walked around for a day with the household. Knees, elbows and door swings do not lie, and the tape stage is where small rooms confess their true size.
4. Fixtures Sized for Small Rooms
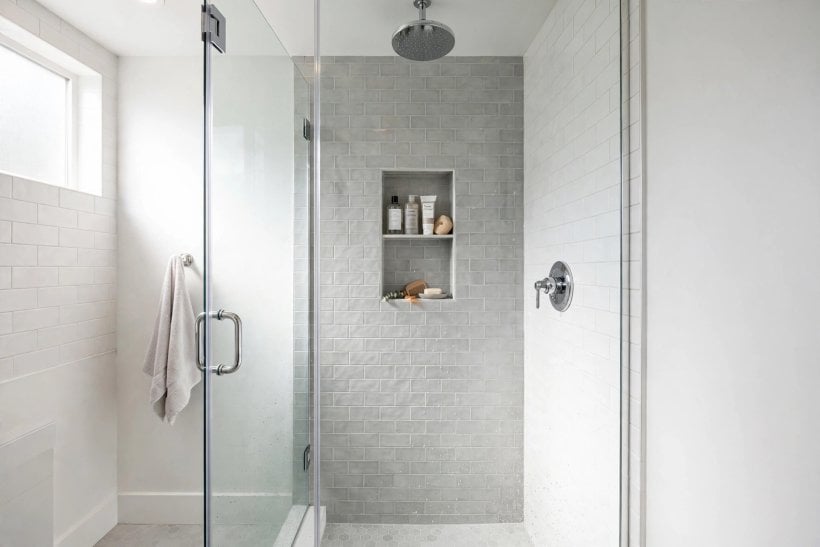
Standard suites are designed for standard rooms; a small remodel needs the compact ranges, chosen by projection and clearance rather than by photograph. The small-suite logic in these tiny house bathroom designs applies unchanged in a city flat: the fixture that fits the room beats the fixture that fills it.
23. Choose a Wall-Hung Pan
Off the floor, with the cistern concealed in a framed wall: the room gains visible floor, the cleaning gains a mop’s free run, and the seat height can be set to the household.
24. Or a Short-Projection Back-to-Wall Pan
Where wall-hung framing is impossible, a short-projection pan against a slim boxed cistern saves the same centimetres with simpler plumbing.
25. Pick a Basin by Projection, Not Width
It is the basin’s reach into the room that collides with knees and doors. Narrow-projection basins and cloakroom designs keep the wash quick and the passage clear.
26. Use a Vanity Unit as Basin and Storage in One
A drawer vanity swallows the bottles that otherwise colonise the basin’s edge, and keeps the room’s only horizontal surface clear enough to look calm.
27. Fit a Short or Shaped Bath if a Bath Stays
Shorter baths with a wider showering end, or a compact deep tub for small rooms, keep the soak honest without surrendering the whole floor plan to it.
28. Or Take the Bath Out for a Real Shower
A walk-in shower with a single screen turns the old bath’s footprint into the room’s luxury: space to move, no climbing, nothing to curtain.
29. Keep the Shower Screen Single and Fixed
One fixed glass panel, no doors, no tracks, no seals to perish. In small showers, hinged doors swing into the bather and folding screens age in public.
30. Choose Taps That Suit the Room’s Scale
Short-reach basin taps stop the splash-over of deep bowls; a simple single-lever shower control beats a beautiful bar mixer that elbows the bather at every turn.
31. Set the Shower Head for the Tallest User
Nothing announces a careless remodel like a shower head at chin height. The rail or fixed head belongs above the tallest head in the household, decided at first fix.
32. Prefer One Finish Across Every Fitting
Chrome everywhere, or black everywhere — a small room cannot carry a mixture. One finish family makes compact fixtures read as a designed suite rather than a clearance haul.
33. Sit on It, Stand in It, Before It Is Plumbed
At the showroom and again at dry-fit: sit on the pan, stand in the shower tray, lean at the basin. Fixtures are ergonomics wearing porcelain, and the body is the only honest tape measure.
5. Waterproofing, Tile and Surfaces
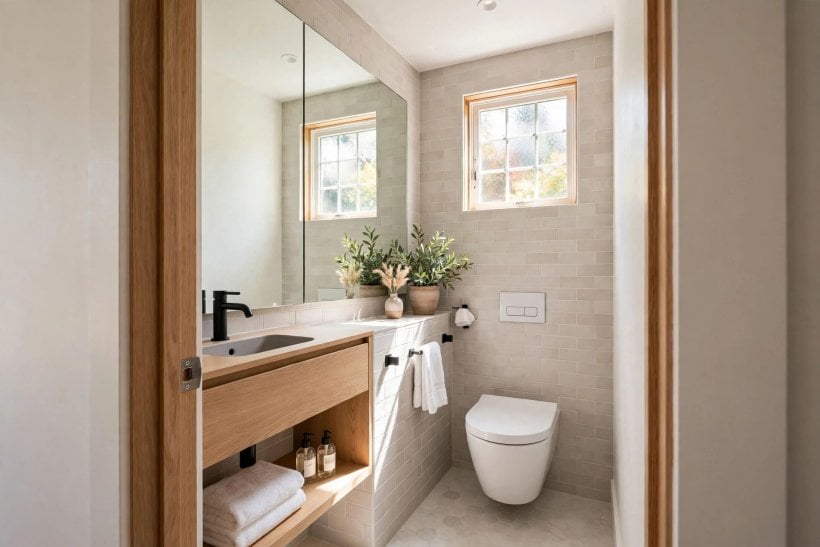
In a small bathroom every surface is a wet surface waiting its turn, so the remodel’s invisible layer matters most. The tanking discipline follows the same principles as a full wet room — this guide to a waterproof tiny house bathroom wet bath shows the layers working at the smallest scale of all.
34. Tank the Whole Wet Zone, Not Just the Shower Base
Waterproof membrane on the floor and up the walls of the shower and bath area, sealed at every corner and penetration. Partial tanking in a small room is decoration, not protection.
35. Seal Corners and Junctions as a System
Leaks live at junctions: wall to floor, bath to wall, screen to tray. Use the membrane’s own tapes and collars rather than hoping silicone alone will hold back a decade of showers.
36. Choose Large-Format Tile to Calm the Room
Fewer grout lines, larger visual fields: big tiles make small rooms read larger and give mould fewer homes. Keep cuts planned so the layout looks deliberate, not survived.
37. Or Use Small Tile Where the Floor Needs Grip
Small formats follow falls to a drain and grip wet feet better. The honest split is large on walls, small on a wet floor — function choosing format in both cases.
38. Run Wall Tile Full Height in the Wet Zone
Half-tiled shower walls collect a tide line of splash and steam damage at exactly the border. Full height in the wet zone ends the border war permanently.
39. Pick Grout for the Room’s Real Life
Mid-tone grout hides a decade gracefully; brilliant white shows every month of it. In the wet zone, a quality grout properly sealed is a maintenance decision, not a colour one.
40. Use Sheet Vinyl or LVT Where Tile Is Too Much
A single sheet floor has no grout lines to fail and a softness underfoot that tile cannot offer. In small rental or budget remodels it is the pragmatic professional choice.
41. Keep One Material per Plane
One floor finish, one wall tile, one paint colour above. Small rooms fragment under variety; a calm three-material palette is the remodel’s visual space-maker.
42. Build a Niche Into the Shower Wall
The tiled recess holds bottles at hand height and ends the era of the wire rack and the bath-edge bottle farm. It must be framed and tanked at first fix — it cannot be an afterthought.
43. Slope Every Horizontal Surface Slightly
Window sills, niche shelves, bath edges: a whisper of fall keeps water moving to where it belongs instead of pooling against the sealant.
44. Treat Sealant as a Renewable, and Say So
Quality silicone, neatly tooled, renewed when it tires — a few years in most rooms. A remodel that pretends sealant is permanent sets its owners up to blame the tiles.
6. Storage Built Into the Remodel
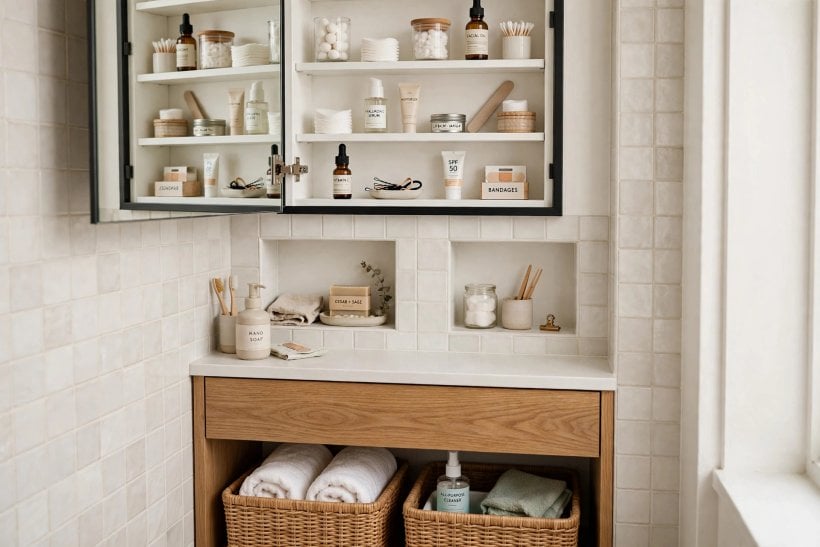
A remodel is the one chance to give a small bathroom storage that does not eat the room: recessed, mirrored, drawer-based and planned at first fix, while the walls are open and anything is still possible.
45. Recess a Mirrored Cabinet Into the Wall
Between the studs or in a framed recess, the cabinet holds the daily bottles behind the mirror and returns the basin’s edge to emptiness. It is the highest-value hole in the remodel.
46. Choose a Drawer Vanity Over a Cupboard
Drawers bring the back of the storage to the user; cupboards hide it behind other bottles. A U-shaped drawer around the trap keeps even the plumbing’s space working.
47. Build Shelves Into the Bath or Shower End Wall
The dead triangle at the bath’s end becomes two tiled shelves for the household’s bottles — storage that costs no floor and no visual space.
48. Add a Tall, Slim Unit Only If the Wall Is Truly Free
A narrow tower for towels and spares earns its place in larger small rooms. In the tightest rooms it becomes one more thing to edge past — judge by the taped layout, not hope.
49. Keep Cleaning Supplies in the Room, Hidden
The bleach and the brush need a home inside the bathroom or they will live in its corners. A section of the vanity or the cistern boxing, ventilated and lidded, is enough.
50. Give Towels a Rail Each, Not a Hook Shared
Towels dry on rails; on hooks they stay damp and sour the room. Plan heated rail space per person as a fixture decision, not a hope.
51. Store the Spares High
Loo rolls, spare bottles and the guest towels go to the cabinet top shelf and the over-door shelf — the remodel’s vertical dividend, used for what is light and rarely touched.
52. Keep One Clear Surface as a Rule
The basin surround stays empty but for soap. Everything else lives behind a door or a mirror; the rule is the remodel’s gift to every future morning.
53. Add a Laundry Solution That Is Not the Floor
A slim lidded bin, a bag inside the vanity, a hamper that fits the one free corner. In small bathrooms laundry defaults to the floor unless the design gives it somewhere better.
54. Put a Shelf Inside the Shower’s Dry Reach
One shelf reachable without stepping under the water, for the razor and the second bottle. Small kindnesses like this are what separate a designed room from a fitted one.
55. Leave One Drawer or Shelf Deliberately Empty
For the guest, the new baby, the ill week. A bathroom at one hundred percent capacity has no way to absorb life, and life always arrives.
7. Lighting, Ventilation and Finishing
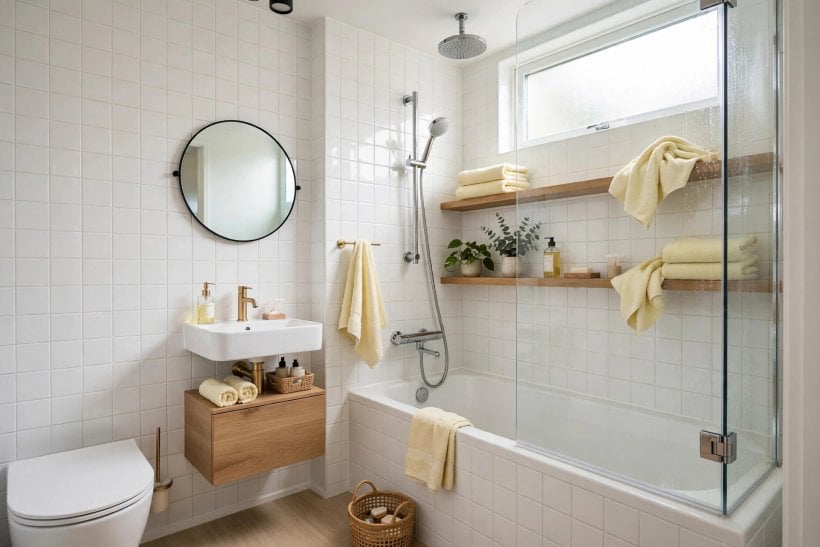
The finishing layer decides whether the remodel feels clinical or calm. The interior principles behind these modern tiny house interior design ideas — clean lines, integrated light, nothing applied — translate directly: light the face, quiet the air, and let the surfaces stay plain.
56. Light the Face from Both Sides of the Mirror
Two vertical lights or a lit mirror at face height ends the overhead-shadow horror of the single ceiling light. Shaving and makeup are precision work; light them like it.
57. Add a Soft Second Light for Baths and Nights
A low, warm fitting or a dimmable mirror light turns the evening soak and the midnight visit into calm events rather than interrogations.
58. Choose a Quiet Extractor and Vent It Outside
A quiet fan on a timer overrun, ducted to outside air, is the remodel’s mould insurance. Noise is why fans get switched off; silence is a specification, not a luxury.
59. Trigger the Fan with the Light or Humidity
A humidistat or light-linked timer removes the human from the system. Ventilation that depends on memory fails in every household eventually.
60. Keep Ceiling Fittings Sealed and Rated for the Zone
Bathroom electrics obey their zones; fittings near the shower and bath need their proper ratings. This is the one place the remodel takes its instructions from the regulations without argument.
61. Heat the Room at the Towel Rail
A heated towel rail dries the towels and takes the chill off the room in one fitting. In a remodel it replaces the radiator and frees its wall for storage.
62. Use a Demisting Mirror Where the Room Steams Fast
Small rooms fog mirrors in one shower. A heated demister pad behind the mirror keeps the morning moving — a small cost at remodel stage, a daily pleasure after.
63. Finish Walls Above Tile in a Washable Paint
Bathroom paint that tolerates steam and wiping, in the tile’s tone family. The painted band above the tiling is where a small room’s colour can live cheaply.
64. Keep Accessories Few, Fixed and Matching
One finish, wall-fixed: soap dish, glass holder, hook rail. Freestanding accessories wander, topple and clutter the room the remodel just rescued.
65. Seal the Room’s Perimeter Last and Neatly
Floor-to-wall and fixture junctions sealed in one careful pass at the very end, when nothing else will disturb them. Neat sealant is the remodel’s signature at knee height.
8. Small Bathrooms in Tiny Houses and Tight Flats
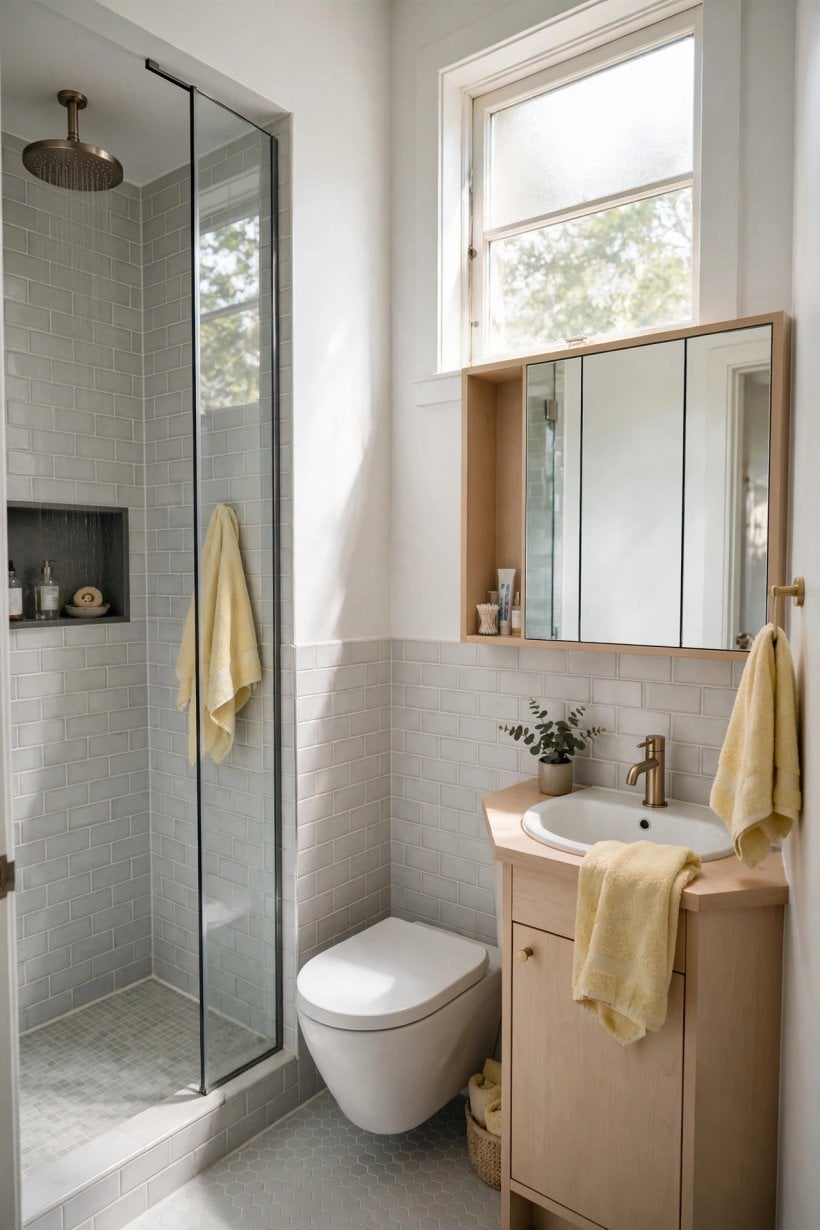
The smallest bathrooms of all obey the remodel rules most strictly, because their margins are zero. Whether the room sits in a tiny house or a studio flat, the sequence — services, waterproofing, compact fixtures, recessed storage — is identical, and the tolerance for wasted centimetres is nil.
66. Consider the Full Wet-Room Format
At the very smallest sizes, one waterproofed room with a screened shower corner beats a cubicle warren. Every partition in a tiny bathroom is floor space spent twice.
67. Combine Fixtures Where the Household Allows
A shower over a proper soaking tub, a basin integrated into the cistern unit in micro rooms — combined fixtures serve small households better than miniature versions of everything.
68. Choose a Corner Basin Only as a Last Resort
Corner basins wash hands and little else. A narrow rectangular basin on the longest wall usually works better in the same footprint and looks like a choice, not a surrender.
69. Keep the Door Outward, Sliding or Pocket
An inward door in a micro bathroom can trap a fallen person and always eats a fixture’s space. The door’s solution is part of the remodel, not an afterthought.
70. Use Every Wall Void
Between studs: the cabinet, the niche, the shelved recess for towels. In the tightest rooms the walls themselves are the storage furniture.
71. Vent Through the Shortest Honest Route
Tiny bathrooms steam fastest of all. A short, straight duct to outside, or a through-wall fan, keeps the small volume dry where a long duct run would give up.
72. Keep Materials to Two, Total
One tile, one paint — or one waterproof panel system throughout. Visual quiet is the only spaciousness a micro bathroom can afford.
73. Fit the Largest Mirror the Wall Takes
Mirror is the small room’s borrowed window: light doubled, depth doubled, no space spent. In a windowless micro bathroom it does the window’s whole job.
74. Store Nothing on the Floor
Wall-hung everything, including the bin. A clear floor is what makes the smallest bathroom feel designed rather than endured.
75. Keep One Generous Thing
A proper rainfall of water from a good shower head, a deep little tub, a beautiful tile on one wall — one generosity stops the small room feeling like an apology.
9. Checks and Mistakes: Before the Tiles Go On
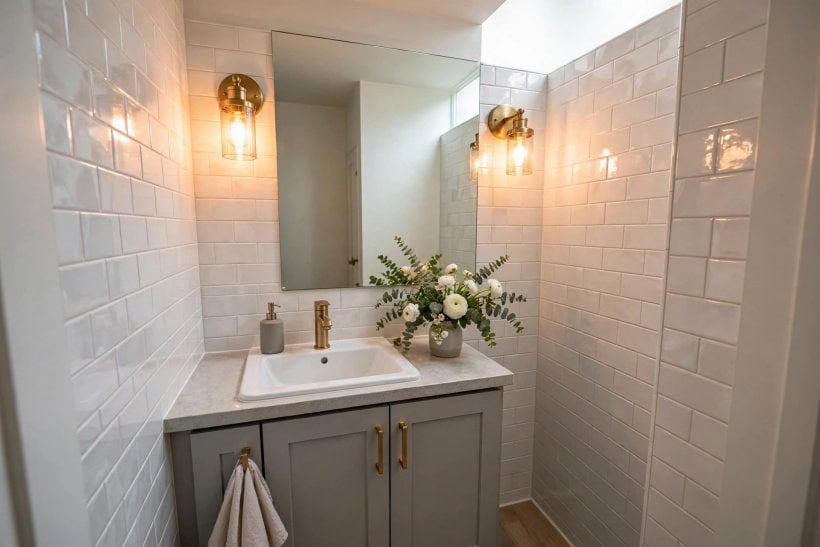
The classic small-remodel disasters all happen before the tiles: the suite ordered by photograph that does not fit the taped floor plan; the shower tray set before the walls were checked for square; the waterproofing skipped because the room “isn’t a wet room” — until it is, behind the new tiles. Every one is cheaper to catch at the photograph-and-tape stage than at the grout stage.
Run the checks in order: services tested and photographed; floor and walls repaired and level; layout taped and walked by the whole household; tanking complete with its corners sealed before any tile is opened; and every fixture on site, dry-fitted in the mind against the real measurements. A small bathroom remodel is a chain of one-way doors — the checks are how you walk through them in the right order.
10. Costs and Pulling It Together
Small bathroom money divides into three bands. The invisible band — plumbing, waterproofing, ventilation and the tiling labour — takes the largest share of any honest remodel and repays it by never being thought of again. The fixture band — the compact suite, screen and taps — is mid-priced and felt daily, worth buying once and well. The finishing band — paint, accessories, the mirror — is where a small budget breathes, because every item is cheap, changeable and purely visual.
Pull the remodel together in the order this guide opened: assess, plan, plumb, waterproof, surface, fit, finish. Resist the urge to upgrade the visible while starving the invisible; nobody has ever admired a membrane, but everybody lives with its absence. Do the sequence honestly and the smallest room in the house becomes the one that feels most deliberately made.
Final Considerations
A small bathroom remodel is a promise kept in centimetres: everything fits, everything works, and nothing about the room apologises for its size. The promise is kept by order — services before surfaces, waterproofing before tile, planning before shopping.
Measure honestly, keep the plumbing where it lives, and build the storage into the walls while they are open. Do that, and these ideas stop being a list and become the little room that starts every day of the house’s life without a single daily irritation.



0 Comments