
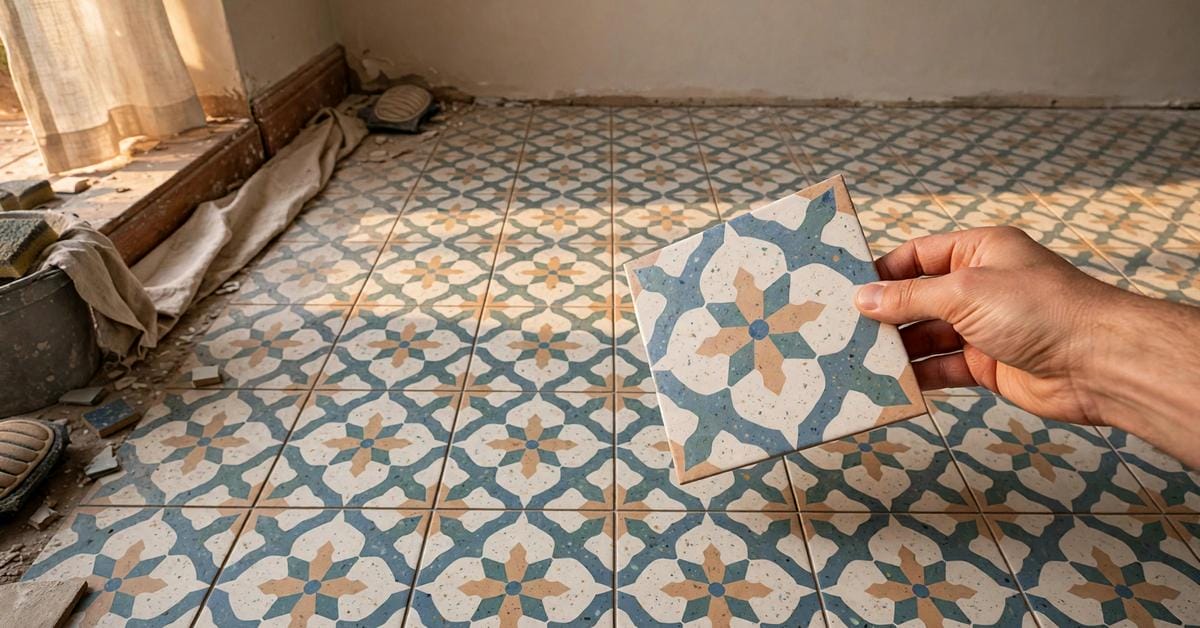
One cracked tile in an otherwise perfect floor is all it takes. You search the name you half-remember, and the answer comes back the same way it comes back for thousands of households every year: the range was discontinued, the shelf is empty, and the repair still has to happen.
No honest guide can promise that your tile is sitting in a warehouse somewhere waiting for you — anyone who does promise that is guessing with your money. What a guide can do is make the hunt systematic: identify exactly what you have, search in the right order, judge candidates without wishful thinking, and finish with a repair you never notice. That is the whole of this post.
1. The Matching Problem at a Glance
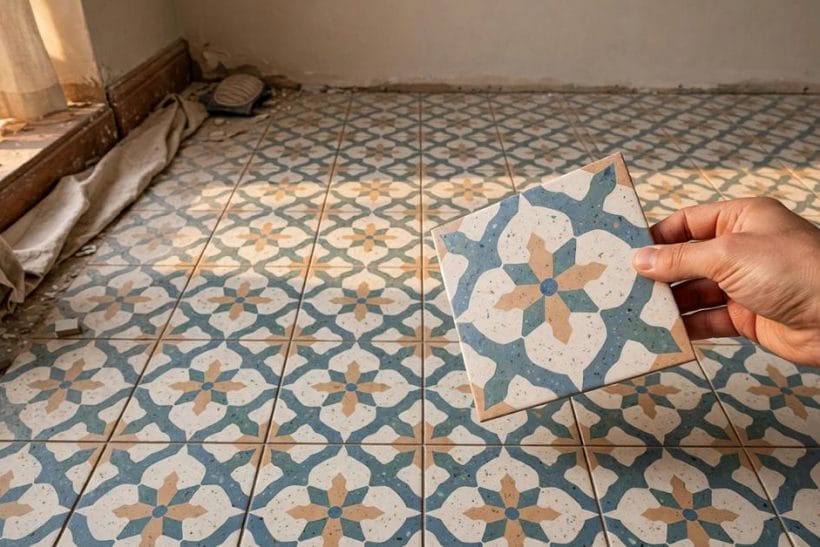
The floor in the photograph above is the classic case: a patterned tile, laid years ago, one or two pieces damaged, the rest perfect. Most hunts begin in bathrooms and kitchens, where water finds the one weak tile — the white tile bathroom ideas collection shows how much of a room a single tile family carries. Work through the five moves in this table, in order, before spending anything.
| Move | What it involves | Priority |
|---|---|---|
| Start With Spares | Check garage and loft storage | Check first |
| Photograph It | Colour, pattern and grout lines | Essential |
| Compare Samples | Check shade and finish in daylight | High |
| Search Reclamation | Salvage yards and surplus stock | Worth trying |
| Plan a Backup | Border or feature insert if no match | Smart option |
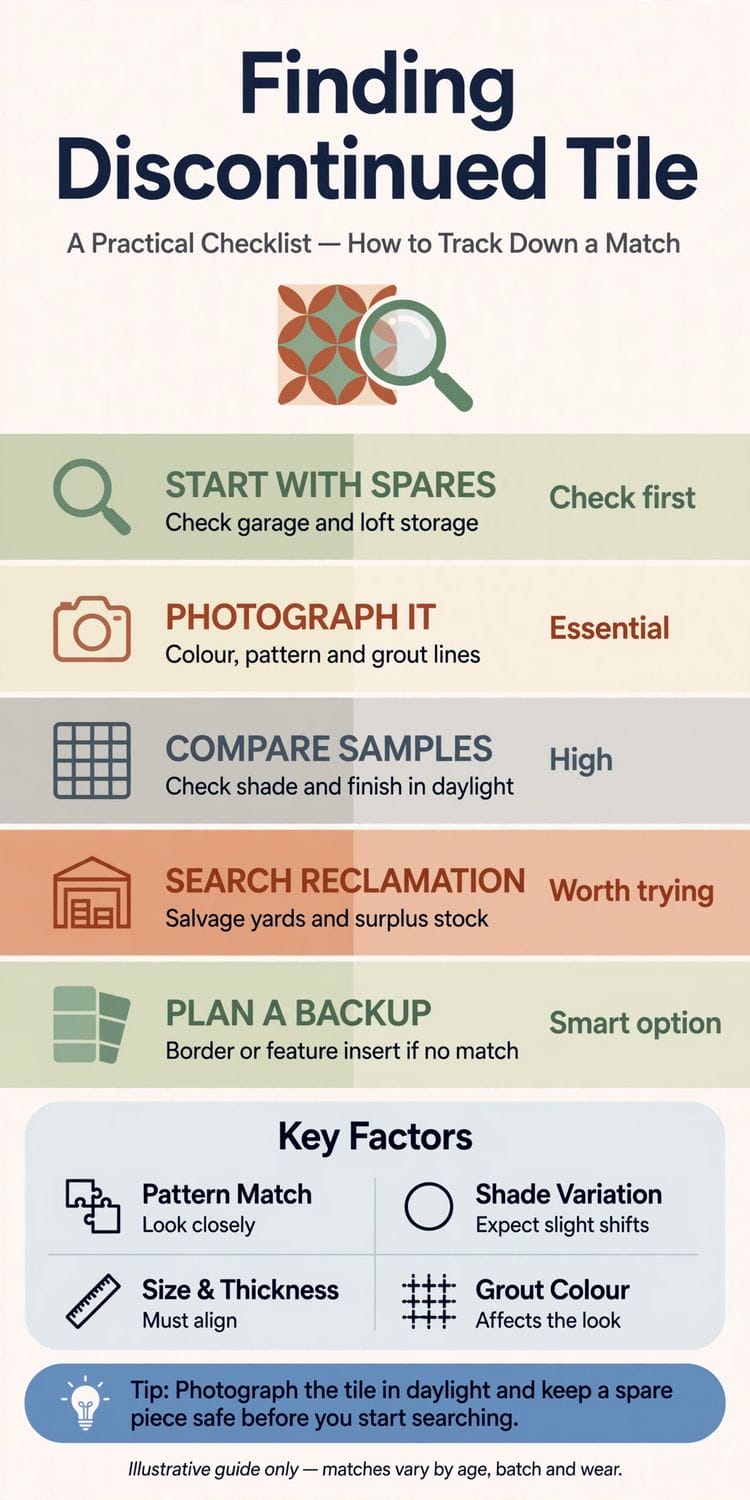
Four factors decide every candidate you will ever be offered. Pattern match — look closely, because near-patterns are the commonest disappointment. Shade variation — expect slight shifts even between boxes of the same tile when it was new. Size and thickness — these must align exactly, or the repair telegraphs itself at every grout line. And grout colour — it affects the look more than most hunters expect, which is why it becomes a tool later in this guide.
2. Identify What You Actually Have
Before any searching, become able to describe your tile the way a warehouse would need it described. Measure the face of a whole tile in place, then measure a loose or damaged piece if one comes free: the stated size of a tile and its actual size routinely differ by a small margin, and that margin is exactly what a replacement has to share. Note the thickness, the colour of the body where a broken edge shows it, and whether the face is glossy, matte or textured.
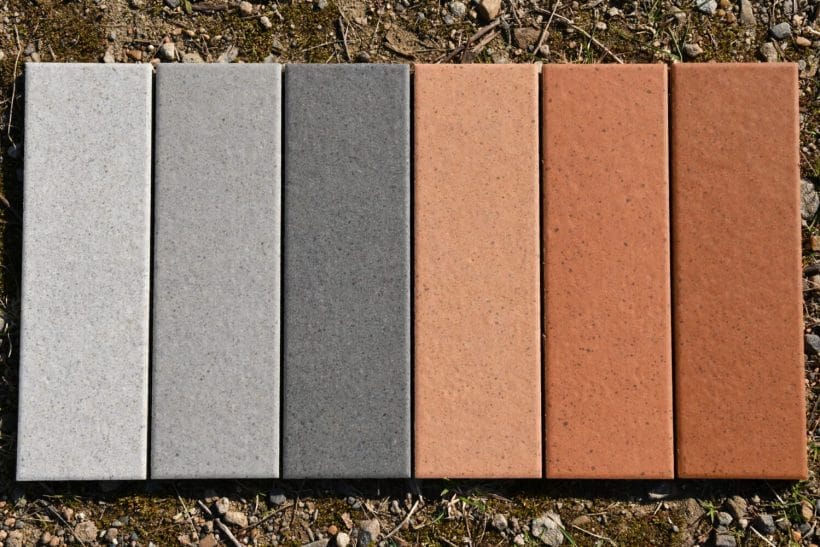
Look at the edge profile too: some tiles are cut square and precise, others have a softened, cushioned edge, and the two never sit convincingly together. Lay your sample in a row with any candidates, as in the photograph above, and differences announce themselves. Around tubs and showers the identification matters most, because a repair there also has to live with constant water — the bathtub tile ideas collection shows the surrounds where these repairs usually happen. Write everything down; section 10 explains where the note ends up living.
One more identification repays the effort on patterned tiles: the repeat. Measure how many tiles the pattern takes to come round again, and photograph a run of at least that many. Two ranges can share a motif and differ completely in repeat, and a candidate that matches tile-for-tile but not repeat-for-repeat will betray itself the moment it joins the field — the scale problem the next sections return to.
3. Start at Home: The Spares You Already Own
The most successful hunts end within metres of the damage. Builders and previous owners leave tiles behind with a consistency that surprises people: the part-box in the garage, the flat stack in the loft, the few pieces under the stairs or behind a boiler cupboard door. Search the house’s storage the way you would search for a document — completely, once — before searching the internet at all.
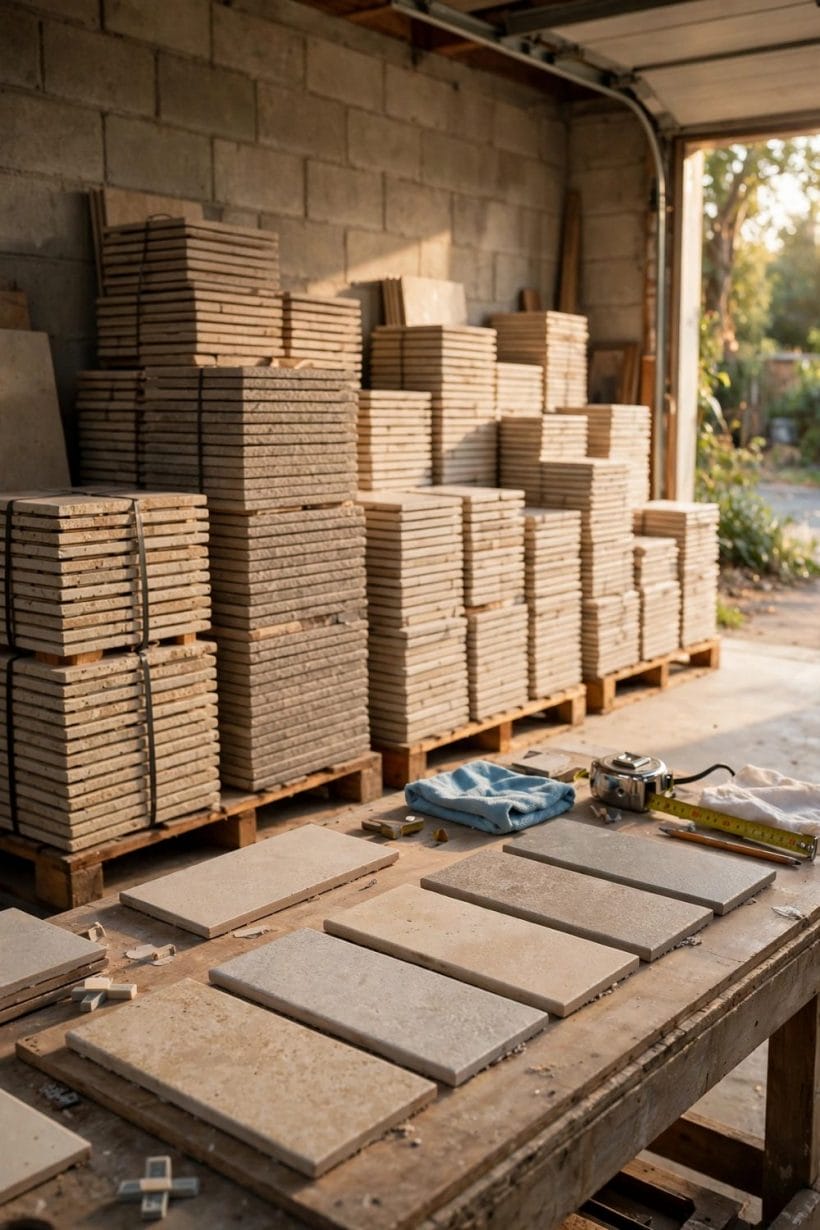
If the house yields nothing, tiles sometimes hide in plain sight: whole, unworn pieces of the same floor often survive under appliance footprints, inside fitted-cupboard floors and beneath later overlays at a room’s edges. Harvesting a hidden tile to repair a visible one is an old tiler’s manoeuvre, done carefully and reversed in spirit — the hidden spot receives the closest substitute. Where plumbing or waterproofing is involved, that lifting and re-laying is professional work, not a weekend experiment. Only when the house itself is exhausted does the search move outside, to the yards whose stacks fill the photograph above — and you will arrive there carrying measurements and photographs, not hope.
4. Pattern at Scale: Why One Tile Can Lie
A single tile is a liar in both directions. Held in the hand, a candidate can look perfect; laid into a field of two hundred, its pattern repeat can clash at every third grout line. The reverse happens too — a tile that looks wrong alone can disappear completely at floor scale, where the eye reads rhythm rather than detail.
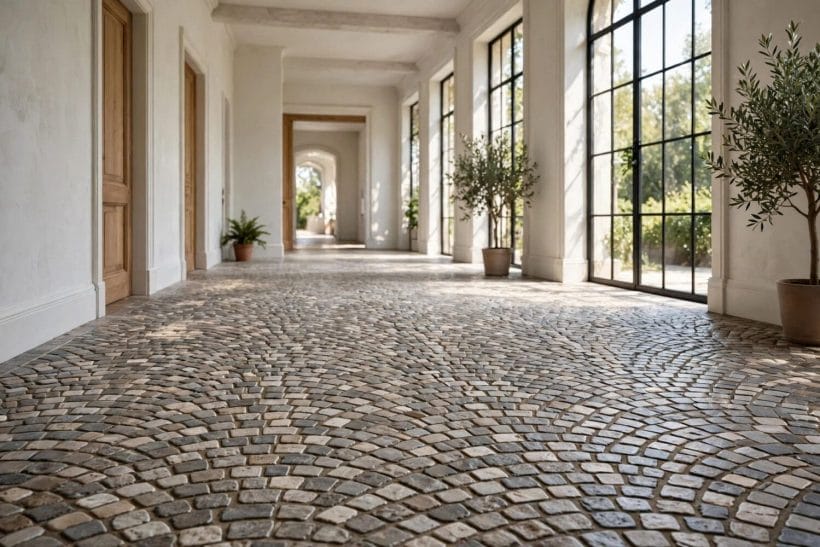
The sett floor in this hall makes the point at architectural size: no single stone in it matches another, yet the field reads as one calm surface because tone, size and joint stay consistent. Judge every candidate the same way — never by one piece under a shop light. Ask to see several pieces together, step back to viewing distance, and read the field. Floor-scale judgement is a transferable skill: the tiny house flooring ideas guide applies the same field-first thinking to small floors, where there is even less room for a mismatch to hide.
5. Photograph It Like Evidence
Your photographs are the hunt’s working documents — they are what you send ahead to yards, what you compare candidates against, and what stops you buying the wrong tile twice. Take them properly, once: a straight-on shot of several tiles with their grout lines, in daylight; a raking-light shot that shows the surface texture; a close shot of the pattern’s repeat; and, if a loose piece exists, its back and broken edge, which show body colour and any maker’s marks in general relief.

The terrace in this photograph is being documented exactly right — outside, in flat daylight, crouched to tile level. Add one household object of known size at the frame’s edge for scale, and shoot the damaged area as well as the perfect one. Keep the set on your phone for the whole hunt; section 10 files them permanently when the repair is done.
6. Second-Hand and Surplus: Asking, Not Assuming
Salvage yards, reclamation merchants and surplus stockists are the second half of the search — the warehouse aisle below is their world — and the discipline there is to ask rather than assume. A listing, a shelf label or a confident assurance is not a match; your sample, laid against their tile in daylight, is the only test that counts.

Arrive with questions, and treat the answers as the product being offered. How many pieces are there, and are they all from one batch? Can a sample be taken home against a deposit to be judged in the room’s own light? If the shade proves wrong, what are the terms for bringing pieces back? Will they hold the quantity you might need while you decide? A yard that welcomes those questions is a yard that understands tiles; a yard that waves them away is telling you something. Compare on their ground before anything is paid for: carry your sample and your photographs, lay their tile against yours near the door where the daylight is honest rather than under warehouse tubes, and look at the pair from standing height as well as in the hand. Yards also know each other’s shelves — a merchant who cannot help will often name the one who might, which makes every visit useful even when it ends empty-handed. The same discipline serves any discontinued hunt — the parallel search for out-of-production cabinetry is walked through in matching discontinued kitchen cabinets, and its questions transfer almost unchanged.
7. Shade, Wear and the Honest Close Match
Suppose the hunt ends, as many do, with a close match rather than a twin. Two differences decide whether it disappears. The first is shade: tiles were made in batches, and batches drift — which is why the same range in a different batch can sit visibly lighter or warmer than your floor. The second is wear: a floor that has been walked on, washed and sunlit for years has a softened surface no new tile, however correct, fully shares.
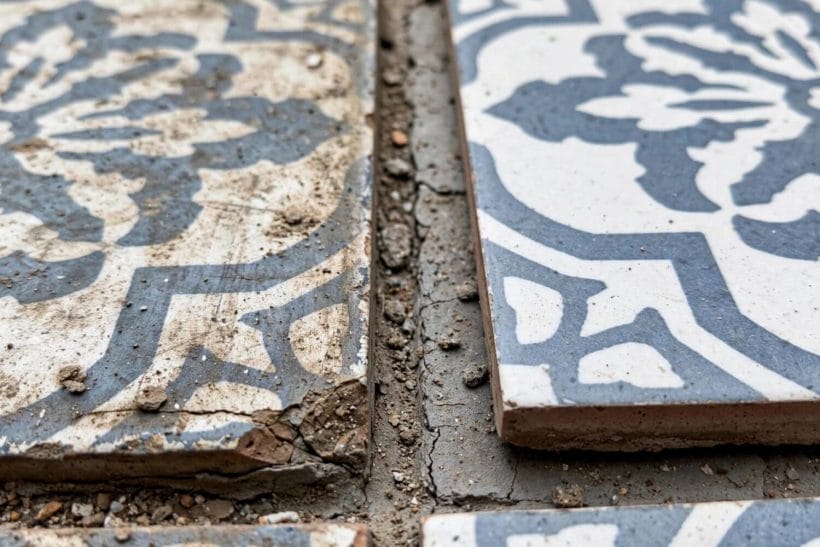
The pair in this photograph — the worn original beside its cleaner relative — is the honest picture of most successful repairs. The craft is in the placement: put the closest pieces in the most-seen ground, retire the least-matching to edges and under furniture, and let grout (next section) mediate what remains. Natural materials set the expectation well — the slate tile bathroom ideas collection celebrates surfaces where no two pieces were ever identical, and a close-match repair judged by that standard usually passes in daily life.
8. Grout, Layout and Other Camouflage
When the tile is nearly right, grout finishes the disguise. Grout colour shifts how a tile’s shade is read — a grout nearer the tile’s tone softens a mismatch, while a contrasting grout frames every piece and exposes it. Re-grouting the repair zone, or in small rooms the whole floor, in a considered tone is the cheapest invisibility available.
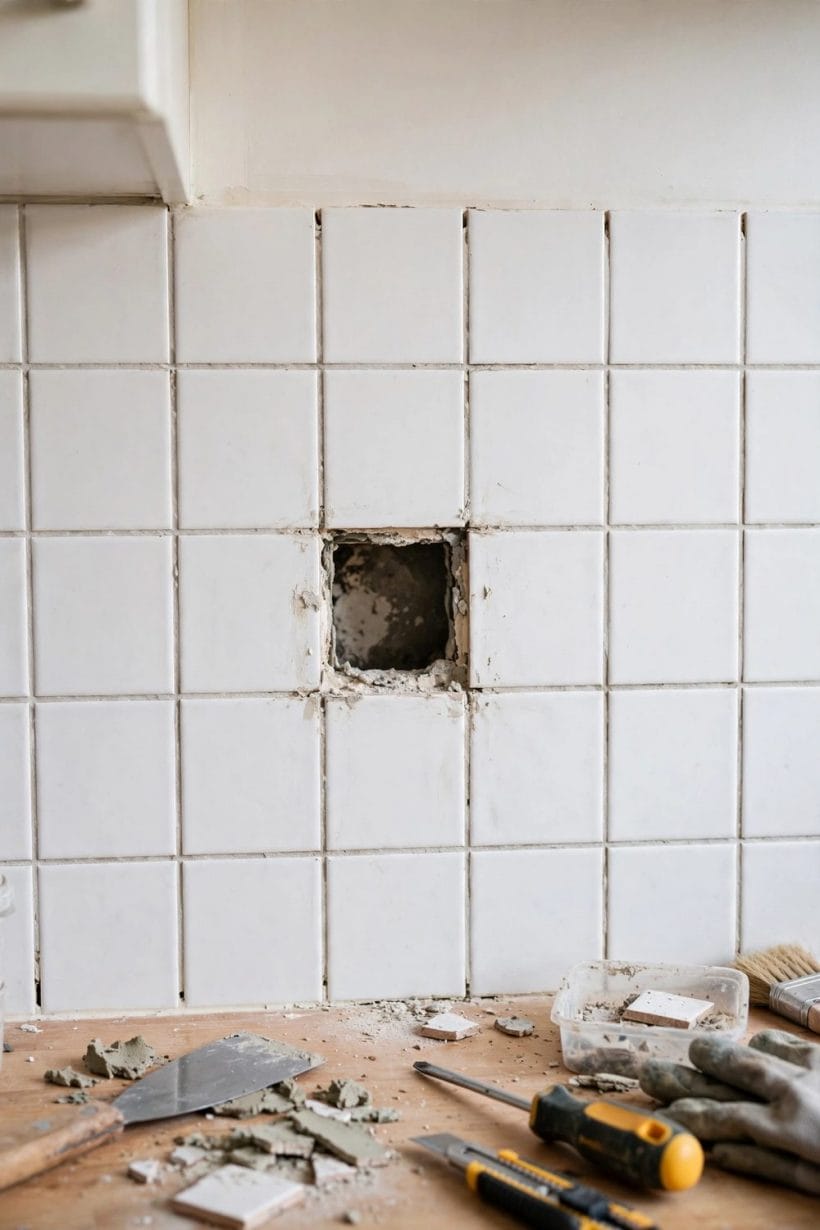
Layout helps as well: a replacement worked into the pattern’s natural rhythm reads as part of the field, while one interrupting the repeat draws the eye the photograph above is familiar with — a single gap in a white wall, tools below, waiting for its piece. If several pieces are being replaced, scatter them by the pattern’s logic rather than grouping them in the damage’s shape. And keep the repair’s edges at grout lines, never mid-tile: the grid forgives, the cut confesses.
9. When Matching Fails: Re-Tile One Whole Plane
Some hunts end honestly empty-handed, and the backup from the table — plan it early, not in despair — takes over. The principle is wholeness: never patch a plane with an almost; instead, change one complete plane deliberately. One wall of a shower, the floor of one small room, a border run or a feature insert in a contrasting but companionable tile — each reads as a decision, where a scatter of near-matches reads as an accident.
Small rooms forgive this best, because their planes are few and their whole surfaces can be renewed for the effort of a patch elsewhere — the rooms in the tiny bathroom ideas collection are the scale where one-plane renewal is a weekend’s ambition rather than a renovation. Keep whatever sound original tiles come out; they join the spares box, and the next repair in a surviving plane may yet be a true match.
10. Future-Proofing: The Spares Box and the Paper Trail
Every repair, successful or substituted, should end by making the next one easier. Keep the leftover pieces from this hunt — the close matches, the harvested originals, the samples you were given — in one labelled box, stored flat and dry. Beside them, file the paper trail this guide has been quietly building: the measurements from section 2, the photographs from section 5, the name of the range and maker exactly as printed on any packaging you ever saw, and where the spares were found.
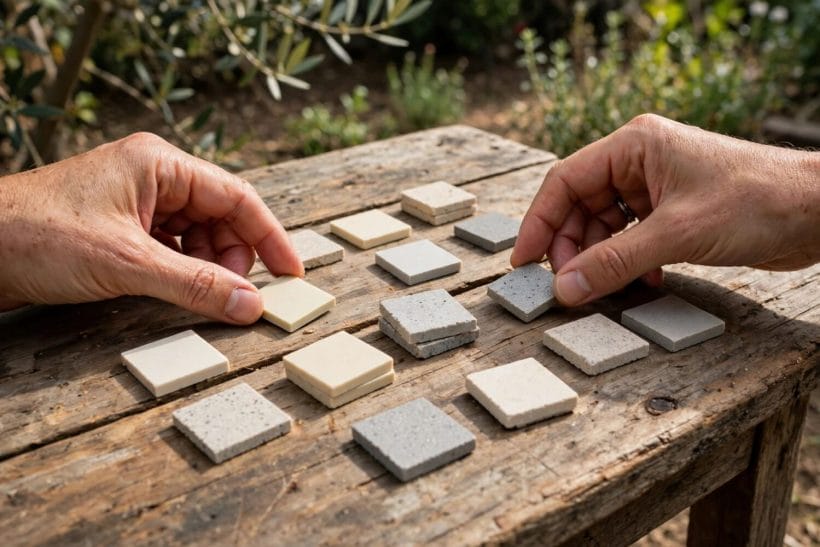
Keep one sound original piece, or a cut sample of one like those being sorted above, with the paperwork rather than in the box — it is the reference every future comparison gets judged against. And adopt the rule this whole post argues for, from the other side: whenever any tile is laid in your home from now on, keep more spares than feels sensible, and write down what they are. The cheapest discontinued tile is always the one already in your own loft.
Final Considerations
A discontinued tile is a problem of evidence, not of luck: identify precisely, search at home before the world, photograph like you mean it, ask questions instead of assuming answers, and let grout and placement finish what shade began. And if the true match never comes, one whole plane changed with confidence will look better than a floor apologising for its patches — usually within a week, nobody in the house will remember which tiles were the new ones.



0 Comments