

A tiny house wall is only a few inches thick, yet inside it a quiet contest runs all winter: warm, moist indoor air pushing outward toward the cold. Get the layers in the wrong order and that moisture condenses inside the cavity, feeding mould and rot you cannot see. Get them right and the wall stays dry for decades.
1. At a Glance: Vapor Control in Brief
Moisture control in a small, tightly built home comes down to a short chain of decisions: understand which way vapour is driving, slow it on the correct side of the assembly, seal the layer that stops air, and give the wall a way to dry. This vapor barrier placement guide walks through each decision in order. The table below is the short version; the sections after it work through the reasoning and the mistakes that matter most in a tiny house, where one shower and one kettle can load a very small air volume with surprising moisture.
| Layer | Its job | The mistake to avoid |
|---|---|---|
| Vapour barrier / retarder | Slows vapour diffusion through the assembly from the warm side | Placing it on the cold side, where it becomes a condensing surface |
| Air barrier | Stops bulk air movement, which carries far more moisture than diffusion | Leaving seams, joints and penetrations unsealed |
| Insulation | Keeps interior surfaces warm enough to stay above the dew point | Gaps and compression that leave cold stripes in the wall |
| Cladding and flashing | Sheds rain and lets the exterior face dry | Sealing the outside so tightly the wall can never dry outward |
| Ventilation | Removes moisture at source before it ever reaches the wall | Relying on the wall to handle moisture that should have been exhausted |
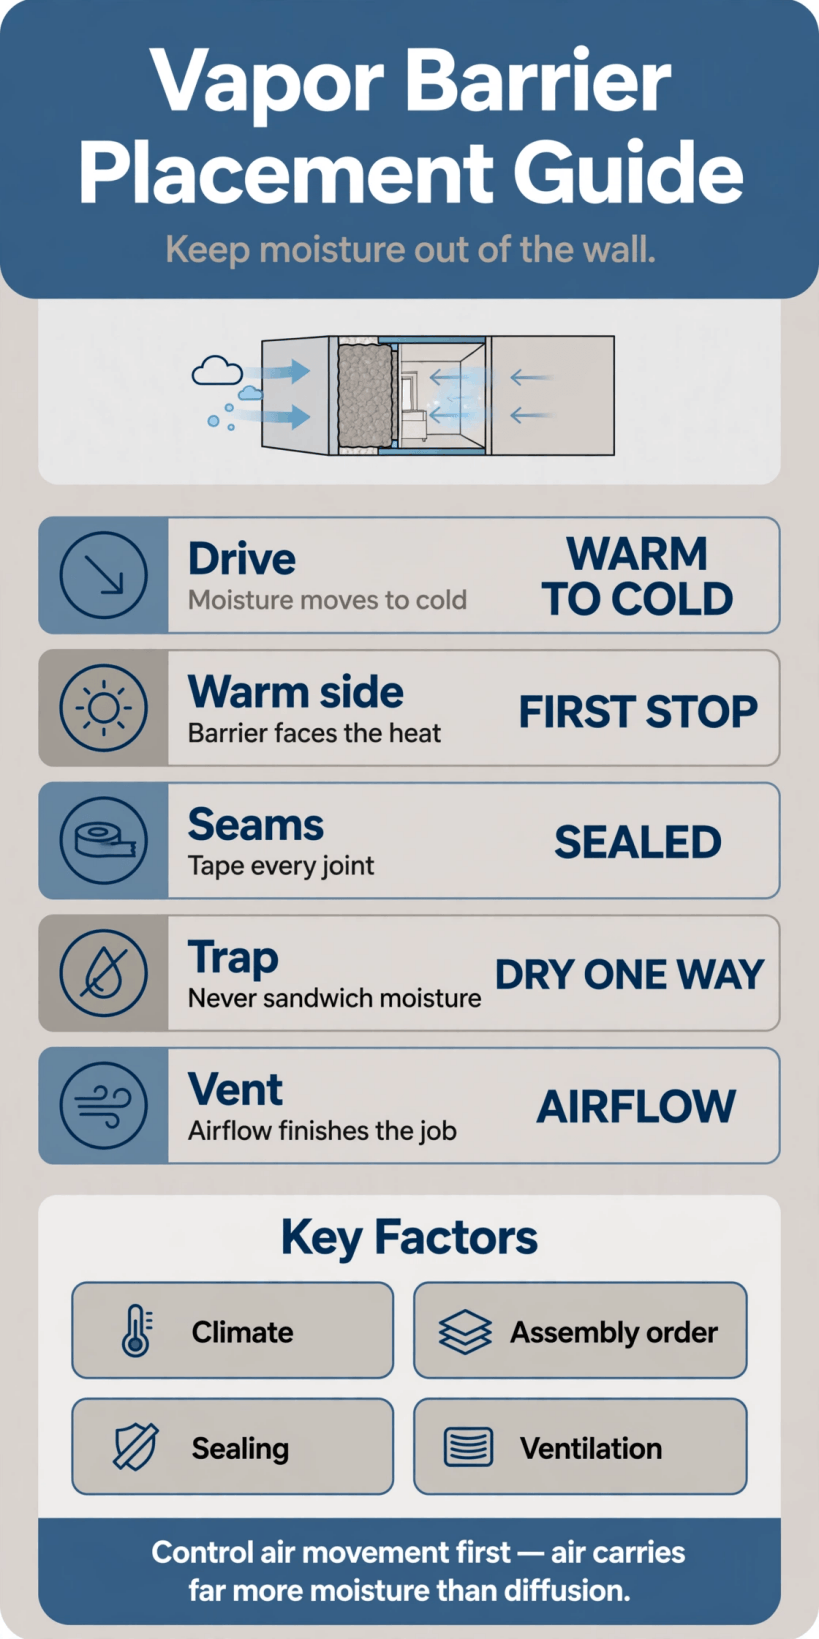
The whole system on one page: drive, warm side, sealed seams, no moisture sandwich — and ventilation finishing the job.
2. Vapor Drive Explained: Warm Side, Cold Side
Vapour drive is the tendency of water vapour to move from a warm, humid space toward a cold, dry one. Warm air holds more moisture, and the vapour-pressure difference pushes it through whatever lies in its path. In winter the drive runs inside to out: warm, moist indoor air, cold exterior. In a hot, humid summer the drive reverses and moisture pushes inward. Direction is a property of season and climate, not of the wall — which is why every placement rule starts with where you live.
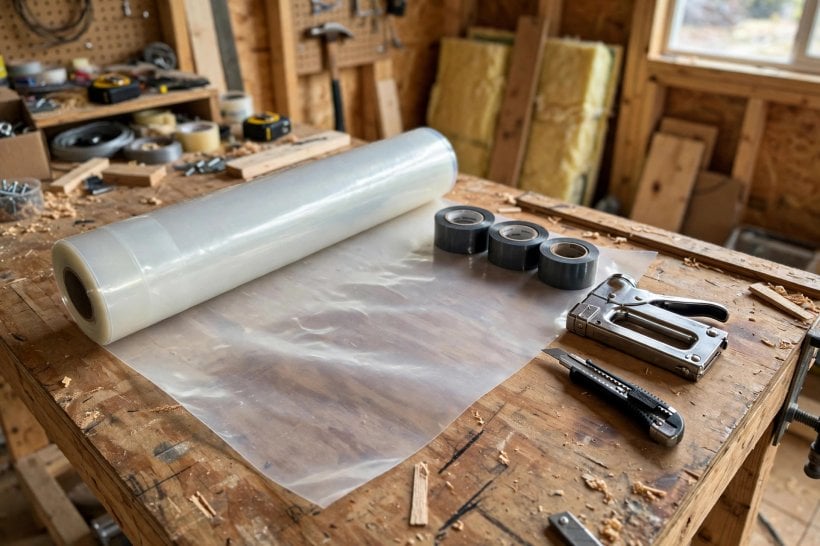
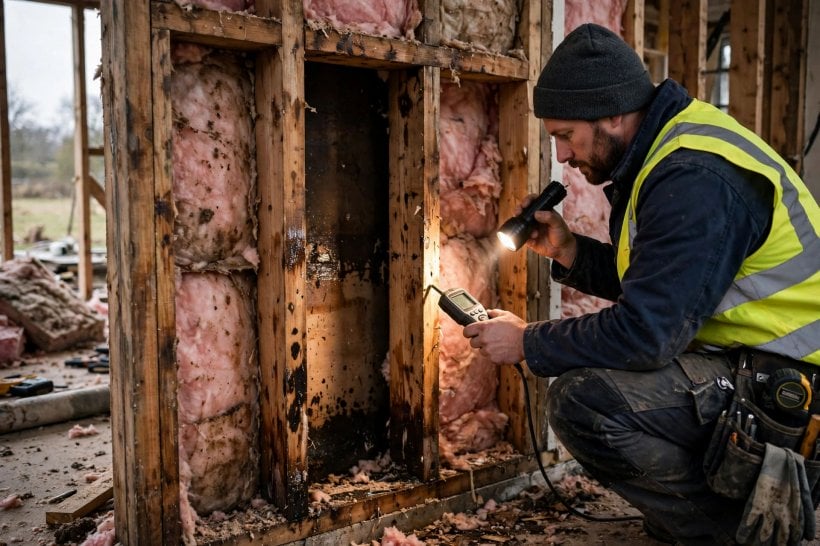
The danger point is the first cold surface the vapour meets. Moist air cooling inside the wall can reach its dew point and condense into liquid water in the cavity — and liquid water, not vapour, rots timber and grows mould. The strategy follows: slow vapour before it reaches that surface, keep the surface warmer with insulation, or remove moisture from the indoor air first. In a tiny house the wall is thin and drying reserves small, so an error a thick wall might forgive for years can show up within a few winters.
3. Vapor Barriers, Retarders and Air Barriers: Three Different Jobs
Three terms get used as if they were interchangeable, and confusing them is the root of many bad walls. A vapour barrier almost completely blocks vapour diffusion — polyethylene sheet and foil-faced products are the classic examples. A vapour retarder is the broader family: materials ranked by how much vapour they let through, down to membranes and boards that merely slow the flow. Many assemblies need a retarder, not a total barrier, because a wall that can dry slowly in one direction is safer than one sealed tight on the wrong side.
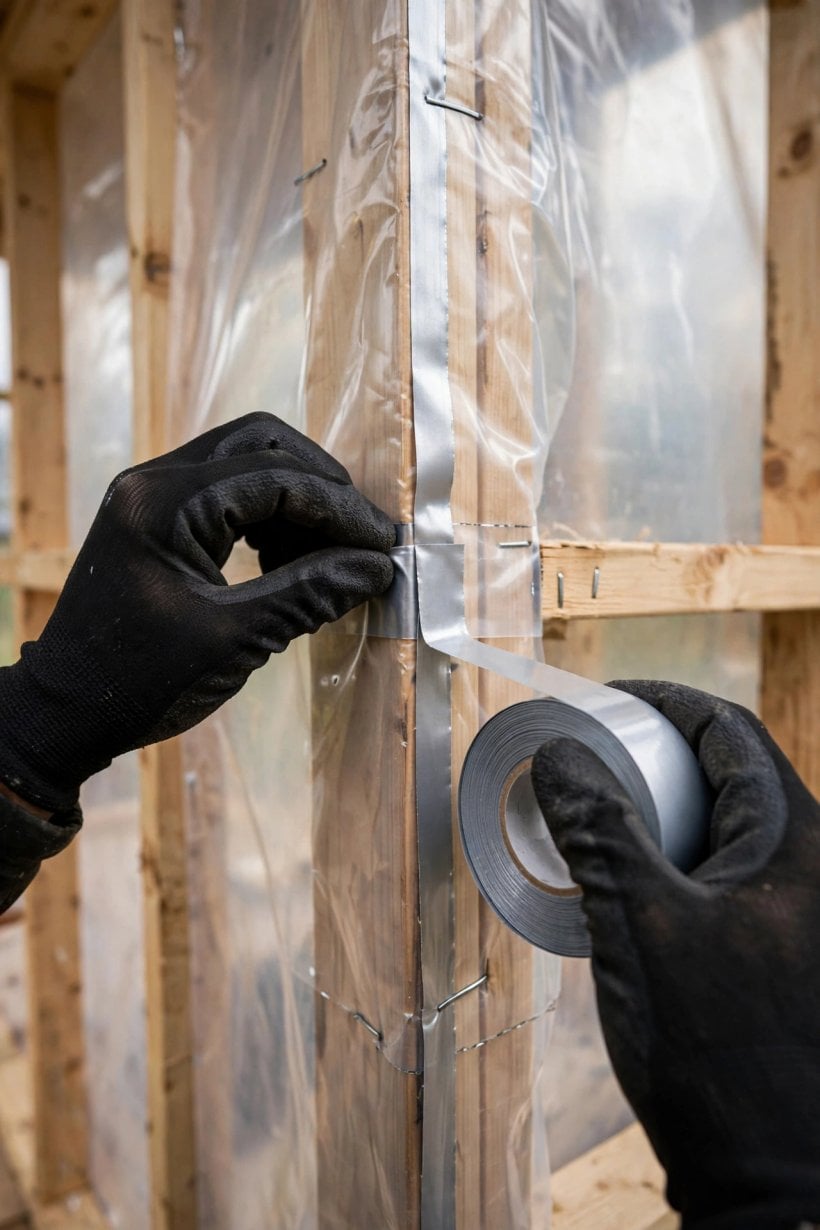
The air barrier does a different job entirely. Diffusion moves vapour molecule by molecule; air leakage moves it in bulk, through gaps and holes — and moving air carries far more moisture than diffusion ever does. A perfectly chosen vapour layer with an unsealed seam is a dam with the gate open. In practice one material often does both jobs: a membrane taped at every seam, sealed at every edge and gasketed around every penetration is simultaneously the vapour control layer and the air barrier. Insulation choices interact with both — this comparison of spray foam, rockwool and sheep’s wool insulation for tiny houses shows how different insulation types change what the wall needs from its control layers — some resist vapour themselves, others let it pass freely.
4. Where the Barrier Goes in Walls
The working rule is the warm-side rule: in a heating-dominated climate, the principal vapour control layer goes toward the interior of the insulation — behind the interior lining, on the warm face of the studs — so vapour is slowed before it enters the cold part of the cavity. Placed there, the membrane itself stays warm, safely above the dew point, and never becomes the condensing surface it exists to prevent. In a cooling-dominated climate the logic flips: the warm, wet side is the exterior most of the year, an interior plastic barrier becomes a cold-side trap, and builders there keep interior layers vapour-open and manage moisture from the outside instead.
Between those cases sits the mixed-climate wall, heated in winter, cooled in summer, seeing drive in both directions. The usual answer is restraint: a moderate retarder rather than a near-impermeable barrier, an assembly that can dry to at least one side, and extra attention to rain control and ventilation. Variable-permeance membranes — smart retarders — exist for exactly this case, opening up to let a wall dry when conditions reverse. Draw the layer order before the first sheet goes up. Thin high-performance assemblies make the same point — this explainer on vacuum insulated panels in tiny houses shows how thinner, more technical insulation makes the position and continuity of every layer matter more, not less.
5. Floors and Ceilings: The Forgotten Surfaces
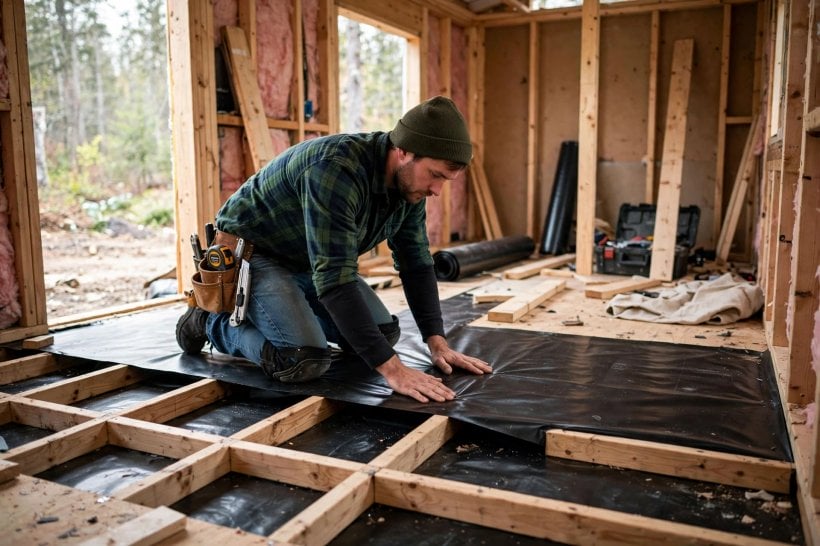
Walls get the attention, but floors and ceilings fail quietly and often. A tiny house floor — especially on a trailer or over an unheated skirted space — has cold air beneath it and warm, moist air above it all winter, so the drive runs downward. The answer mirrors the wall: keep the floor able to dry in at least one direction, protect the underside from splash, ground moisture and rodents, and be wary of sealing the floor between two impermeable layers — a sheet membrane below and vinyl flooring above — with the structure trapped between them. If you are calculating the floor build-up anyway, this tiny house floor insulation calculator helps you think through the floor as a system, not a single layer.
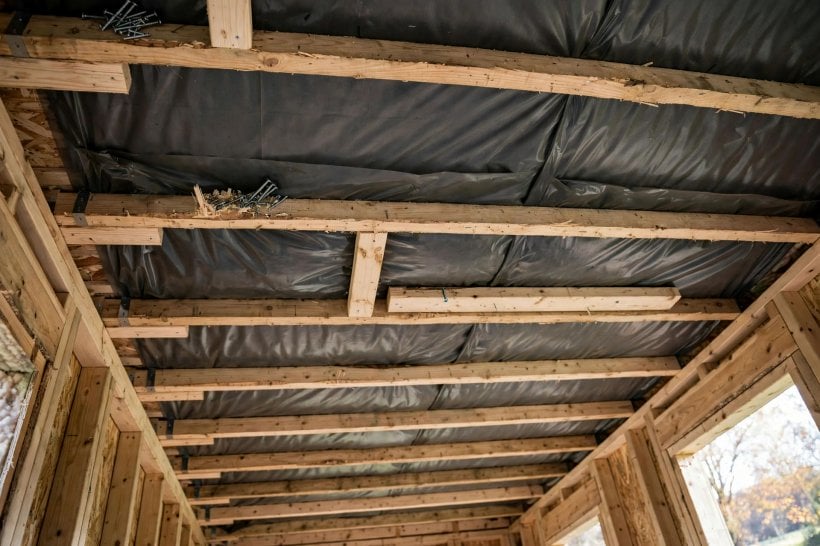
Ceilings and roofs carry the highest risk, because warm moist air rises and presses hardest against the top of the house, and a roof has the coldest surface of all on a clear winter night. The ceiling air barrier must be continuous with the wall air barrier — the top plate junction is a classic leak — and every penetration, from light fittings to flues, needs proper sealing. In a loft, sleepers breathe moisture toward that ceiling all night, raising the local load further. Ventilated roof build-ups give the roof a drying path; unvented assemblies lean entirely on layer order and airtightness. Either way: draw it, seal it, and photograph it before the lining hides your work forever.
6. The Double-Barrier Trap and When to Avoid It
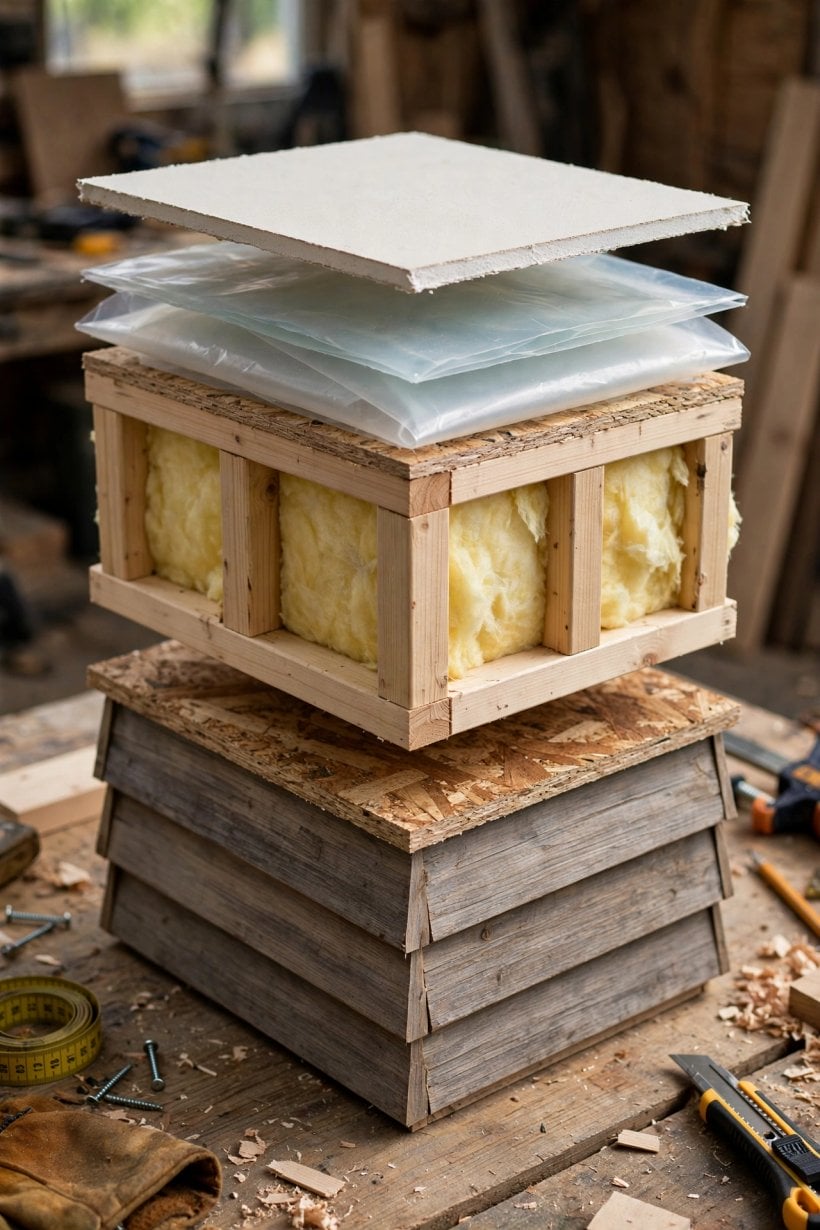
The most dangerous wall in tiny house building is the one sealed on both sides — the plastic bag trap. It happens innocently: foil-faced rigid foam goes on the outside of the frame, and later a polyethylene sheet goes on the inside, each step sounding like good practice on its own. Together they create a cavity that cannot dry in either direction. No wall is perfectly built or perfectly plumbed forever; one small leak or one season of construction moisture puts liquid water into that cavity — and once in, it has nowhere to go. The rot that follows can be well advanced before any smell or stain betrays it.
The avoidance rule is simple: a wall should dry toward at least one side, and the more impermeable one face is, the more open the other should be. If your exterior is already low-permeance — foil-faced foam, metal cladding over foam — keep the interior face vapour-open and spend your effort on airtightness, flashing and ventilation. The same logic applies at the skin of the building: this guide to flawless metal siding and stopping oil canning is a reminder that cladding is a rain system first — and a wall whose cladding already resists vapour has used up its one impermeable layer. Count your barriers before adding another; in almost every tiny house wall, the right number is one.
7. Sealing Seams, Penetrations and Edges
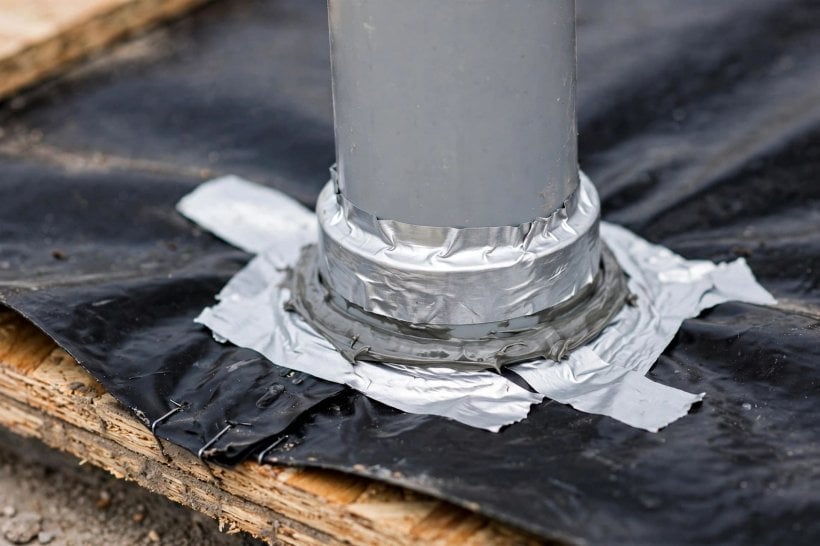
Placement decides where the layer sits; sealing decides whether it works. A membrane stapled up with open overlaps fails its own logic, because air — the main moisture carrier — moves through every unsealed joint. The craft standard is unglamorous and absolute: overlap sheets generously, tape every seam with a tape compatible with the membrane, seal the perimeter to the floor and ceiling layers so the air barrier is one continuous skin, and treat every penetration as a small project of its own. Pipes, wires, vents and window openings each need a collar, gasket or sealant detail that flexes without tearing.
Work in an order that protects continuity. Run the membrane before lining, photograph every wall before it is covered, and keep tape in your pocket during fit-out, because the plumber and electrician will cut your barrier after you seal it — re-checking their penetrations is part of the system. Junctions deserve the same suspicion as seams: where wall meets floor, roof and corners, small gaps concentrate air leakage and thermal bridging. This step-by-step guide to sealing and weatherproofing tiny house sill plates and corners covers exactly those junctions, and its logic applies indoors as much as out: the sill plate and corner details are where a continuous barrier is most often quietly broken. A blower-door test, if you can arrange one, turns all of this from faith into a list — leaks announce themselves.
8. Climate Differences and Mixed Climates
Every rule in this article bends around one variable: climate. In cold, heating-dominated regions the drive is outward most of the year, and the classic interior-side vapour control layer earns its keep — the case the warm-side rule was written for. In hot, humid, cooling-dominated regions the drive is inward most of the year, an interior plastic sheet is a condensing surface waiting for summer, and walls are kept vapour-open to the interior so they can dry inward. Copying a wall recipe from one climate into the other is how careful builders rot houses with the best of intentions.
Mixed and marine climates are the honest middle: drive reverses with the seasons and the assembly must tolerate both. Successful mixed-climate walls share themes — moderation in permeance, a guaranteed drying direction, excellent rain control, and mechanical ventilation doing steady work all year. Shoulder seasons matter too: a wall that handles January and July can still condense in a cold, damp spring. The right question is never “where does the barrier go?” in the abstract; it is “which way does vapour drive, for how many months, in my climate, in my assembly?” Answer that, and placement becomes a decision you can defend — which is what the visualizer below this article lets you test.
9. Ventilation: The Other Half of Moisture Control
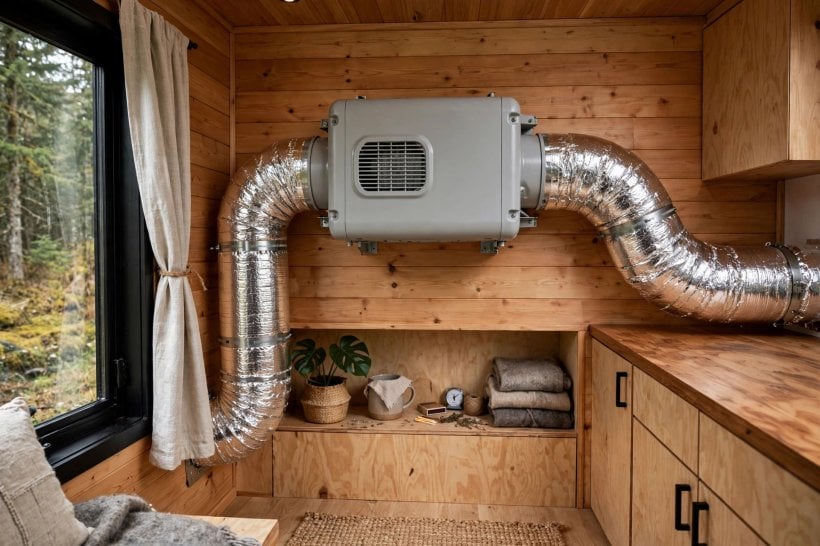
Every gram of moisture you exhaust at source is a gram the wall never has to handle. Cooking, showering, drying clothes and breathing release a steady stream of water into a tiny volume of air, and in a small, well-sealed house indoor humidity climbs faster than in any conventional home. Source extraction — a cooker hood venting outside, a bathroom fan that runs long enough — removes the peaks; background ventilation handles the baseline. That pairing makes a tight envelope safe rather than stuffy: the barrier slows what vapour reaches the wall, and ventilation lowers how much vapour there is.
Heat recovery ventilation suits tiny houses particularly well: it supplies fresh air continuously while keeping most of the heat that plain exhaust throws away, without the uncontrolled draughts that leak moisture into the structure. Sizing and filters still matter, but the principle is simple — controlled air through a machine, not uncontrolled air through your walls. This detailed guide to tiny house ventilation with HRV and ERV systems works through the options, the mould connection and the practical sizing questions in full. The two halves are really one idea: keep indoor air dry enough, and wall layers ordered well enough, that vapour never finds a cold surface in quantity.
10. Mistakes That Rot Walls and How to Check Your Build
The failures repeat so reliably they can be listed. Cold-side barrier: a sheet placed where the drive makes it the condensing surface. Double barrier: impermeable layers on both faces, with no drying direction left. Unsealed seams: a correct layer undone by air leakage. Recipe copying: a detail imported from a climate with the opposite drive. Wet construction: lining closed over damp timber, sealing moisture in from day one. Ventilation neglect: a tight house with no planned fresh air. Notice what the list omits: exotic materials. Rot is usually an ordering and sealing failure, not a shopping failure.
Checking your own build is a short routine. Draw the assembly — every layer, in order — and mark the principal vapour control layer and the direction the wall can dry; if you cannot mark a drying direction, stop and redesign. Walk the drive through the seasons and confirm the barrier sits on the warm side of the dominant season, or is deliberately moderate if the drive reverses. Before lining, inspect and photograph every seam, edge and penetration. After the first heating season, watch for the early witnesses: persistent window condensation, musty smells at skirting level, mould at external corners and behind furniture. Caught then, fixes are usually ventilation habits or a missed seal — maintenance, not reconstruction. The wall that rots is almost always the wall nobody checked.
Final Considerations
Vapour control rewards builders who think in systems rather than products. The membrane is cheap and simple; what protects the house is the reasoning around it — drive direction, warm-side placement, one clear drying path, obsessive sealing, and ventilation lowering the load. All of those decisions are settled before the lining goes on, which is why the drawing and the pre-cover photographs matter as much as the installation. Keep this vapor barrier placement guide open while you draw your own assembly, question any detail that seals both faces of a cavity, and when you reach the tool that follows this article, run your own climate and placement through the Vapor Drive visualizer — watching moisture move, stop, or get trapped in the wall you are planning makes the warm-side rule feel obvious faster than any warning.
Vapor Drive Visualizer
This tool visualizes the invisible battle of “Vapor Drive”—how moisture moves through your walls differently in Winter vs. Summer. It specifically demonstrates the dangerous “Plastic Bag Trap” (Double Vapor Barrier), showing how well-intentioned builders rot their tiny homes from the inside out by trapping moisture between two impermeable layers.
Vapor Barrier Guide
Avoid the “Plastic Bag Trap” & Mold.
1. Your Climate Zone
Class I = 6mil Poly Plastic or Foil.
Simulation ready. Select parameters.
The Rules of Rot
Vapor always moves from Warm (High Pressure) to Cold (Low Pressure). Your vapor barrier must stop moisture before it enters the wall cavity and hits a cold surface.
Winter: Warm Inside -> Barrier Inside.
Summer: Warm Outside -> Barrier Outside.
Never install a vapor barrier on both sides (e.g., Rigid Foam outside + Plastic Sheet inside). Walls must be able to dry in at least one direction. If you seal both sides, any tiny leak creates a “swimming pool” inside your wall that cannot dry, guaranteeing rot.


6 Comments