

A forum question about shower surfaces sounds like a product argument, but the honest answers underneath it are never really about a brand. They are about seams, grout, cleaners and whether the wall still looks good in five years. Those are material questions, and they can be checked before you buy anything.
This guide works through shower-surface materials the way a careful buyer should: how each system is made, where its joints fall, how it behaves under daily water, what the maker allows you to clean it with, and what happens when part of it is damaged.

1. Shower Surface Materials at a Glance
Scope first. This guide owns the surface decision itself — panels, slabs, cast surfaces and tile assemblies compared as systems. The room around it is covered elsewhere on the site: the canon in bathroom ideas, door-free layouts in open shower ideas, compact wet zones in small shower ideas, one colour scheme’s tile story in black and white tile bathroom ideas, the floor half of the room in bathroom flooring ideas, and the tub alternative in alcove bathtub ideas. Here, everything serves the shower wall.
One rule governs the whole guide: judge a shower surface as a system, not a sample. A hand-sized swatch cannot show you the seam in the corner, the joint at the tray or the cleaner’s small print — and those three things, not the swatch, decide how the shower ages.
| System | What it is | Watch for |
|---|---|---|
| Moulded panels | One-piece or few-piece wall sheets | Corner joints and trims |
| Sheet and slab | Flat panels over a firm backing | Seam placement and sealing |
| Cast surfaces | Moulded walls and trays to match | Surface coat care rules |
| Tile assemblies | Pieces in mortar, grout between | Grout upkeep and waterproofing |
2. Start With How the Surface Is Made
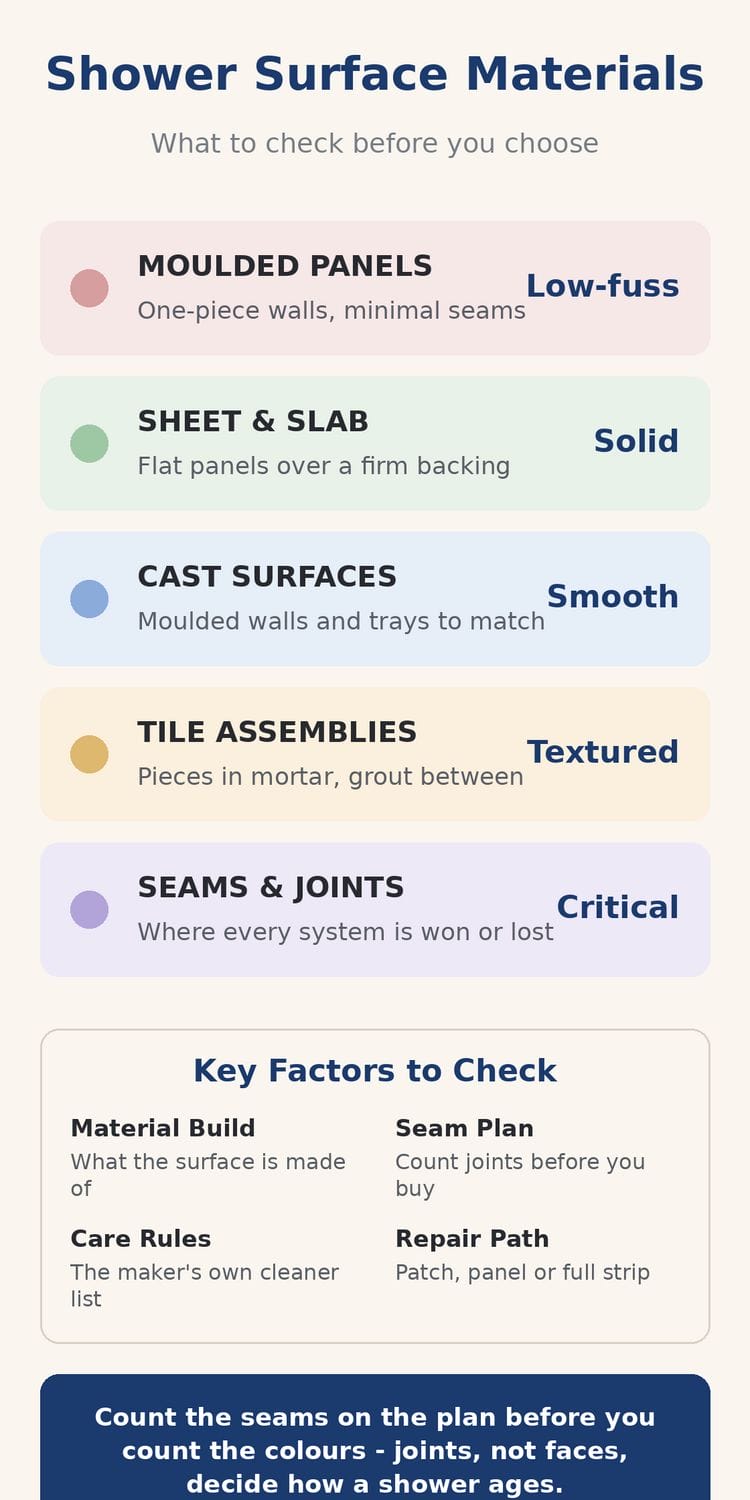
Construction decides character. Two showers can share a colour and a photograph and behave completely differently for a decade, because one is a single moulded skin and the other is four hundred pieces held by grout. Start every comparison by asking which of the four builds you are looking at.
The four builds also divide by who can fix them. Panel and slab systems lean on their installers and makers; tile leans on any competent tiler anywhere. If your home is far from the showroom that sold the shower, that difference in who can help you later is a real part of the comparison.
1. One-piece moulded panels minimise the pieces
A moulded panel system wraps the shower in a few large sheets, sometimes a single formed piece per wall. Fewer pieces means fewer joints, and the surface itself is continuous — what you are really buying is the absence of seams.
2. Slab and sheet materials bring a rigid, architectural feel
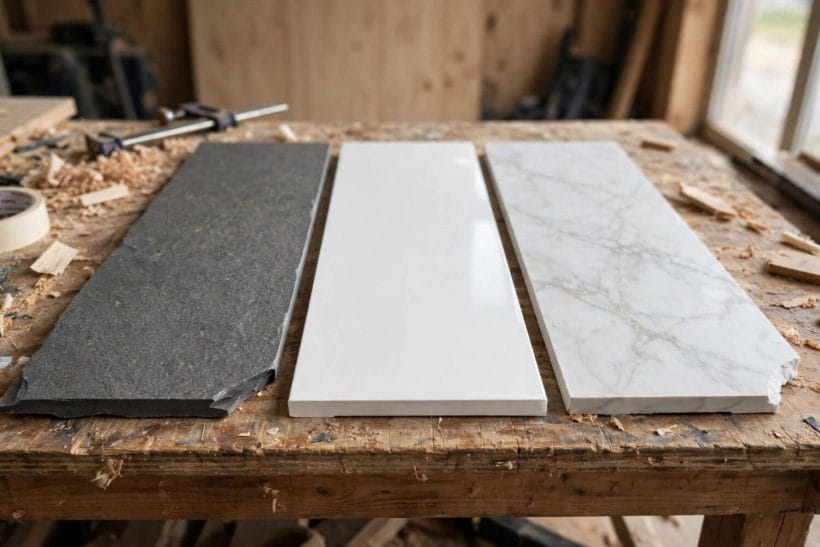
Flat sheets and slabs — stone-look composites, solid-surface sheets and similar — are cut to the room and fixed over a prepared backing. They read crisp and tailored, and their quality shows at the edges and joints rather than the face.
3. Tile is an assembly, not a surface
A tiled shower is layers: substrate, waterproofing, mortar, tile and grout. Each layer can be excellent and the assembly still fail at a weak joint, which is why tile rewards good installation more than any other system.
3. Seams, Joints and Corners
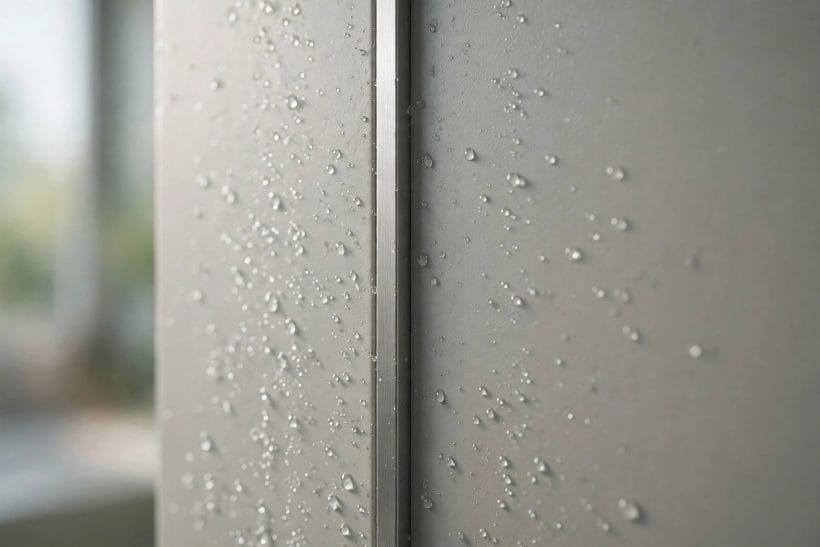
Water is patient, and it tests joints, not faces. The seam plan — where the joins fall, how corners are handled, what seals them — is the most predictive page in any shower brochure, and the one buyers read last.
Ask to see the jointing at full scale, in a finished display shower, and look at the oldest display in the showroom rather than the newest. Joints age in public there: sealant lines, corner profiles and grout tell you in one glance what five years of steam does to each system.
4. Count the seams before you count the colours
Ask for the seam map of your actual shower size, not the display model. Every seam is a maintenance line and a potential water path; fewer, well-placed seams beat a beautiful surface crossed by joints.
5. Interrogate the corner detail
Corners are where panels meet, tiles turn and water lingers. Ask how the system handles internal corners — formed, jointed with a profile, or sealed — and look at a finished corner in person before deciding.
6. Know what the trims and sealants are doing
Trims and sealant beads are not decoration; on many systems they are the waterproofing’s visible edge. Check what they are made of, whether they are replaceable, and whose job the maker says resealing is.
4. Water Behaviour at the Surface
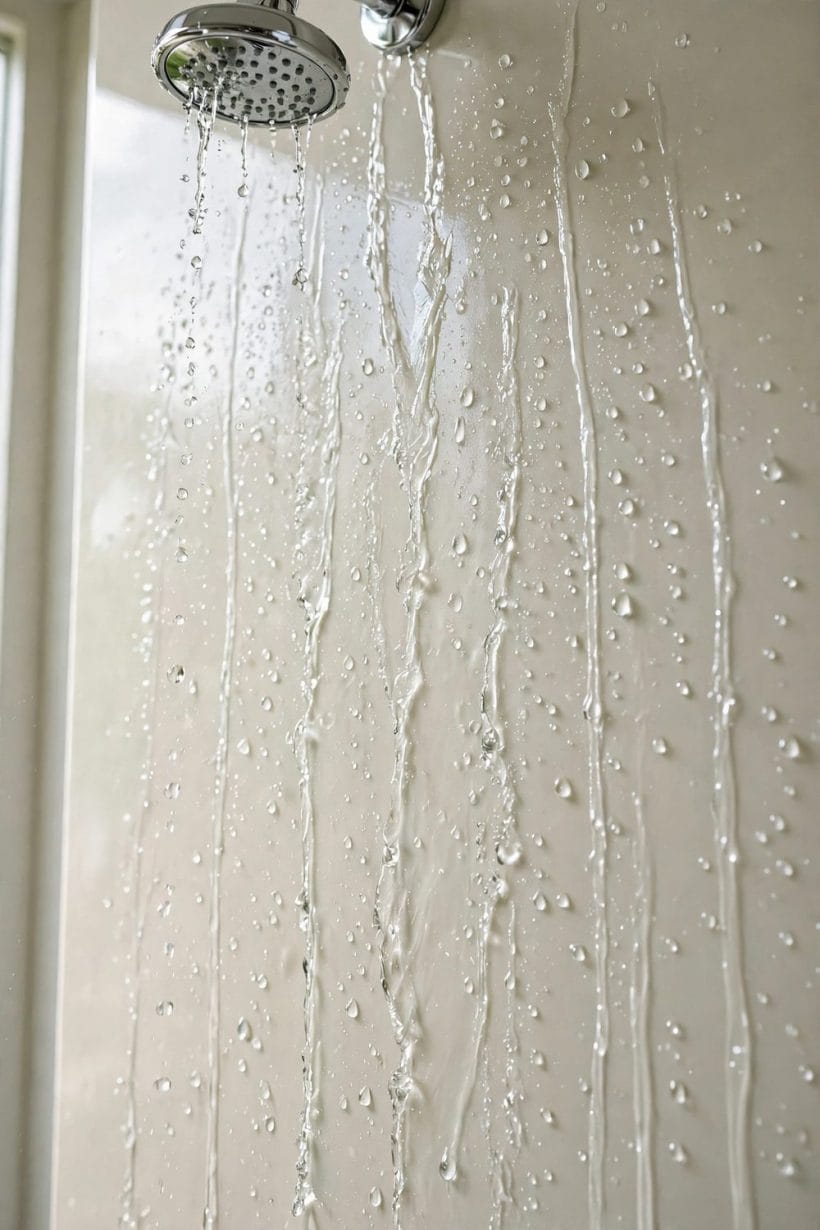
A shower surface lives wet. How the face handles water — beading off a non-porous skin, or drinking slightly into grout lines — decides how it looks after a thousand showers and how much of your weekend it asks for.
Temperature belongs in this section too. Some surfaces feel cold to the first touch and warm slowly under the water; others feel neutral at once. In an unheated bathroom in winter, that first-touch difference is a daily experience, and it is free to test in the showroom with the back of a hand.
7. Non-porous faces shrug water off
Continuous panel and slab faces give water nowhere to soak in, which is why they wipe down fast and resist staining. Their weak points are never the face itself — always the joints around it.
8. Grout is the porous exception in a tiled shower
Tile faces are usually hard and glassy; the grout between them is the absorbent part. Sealed, well-kept grout behaves well, but it is a standing maintenance item that panel systems simply do not have.
9. Slope and drainage finish the job the surface starts
Even the best surface fails a badly drained tray. Check that the tray or floor falls properly to the waste and that wall surfaces meet it cleanly — surface choice and drainage design are one decision.
5. Thickness, Backing and Rigidity
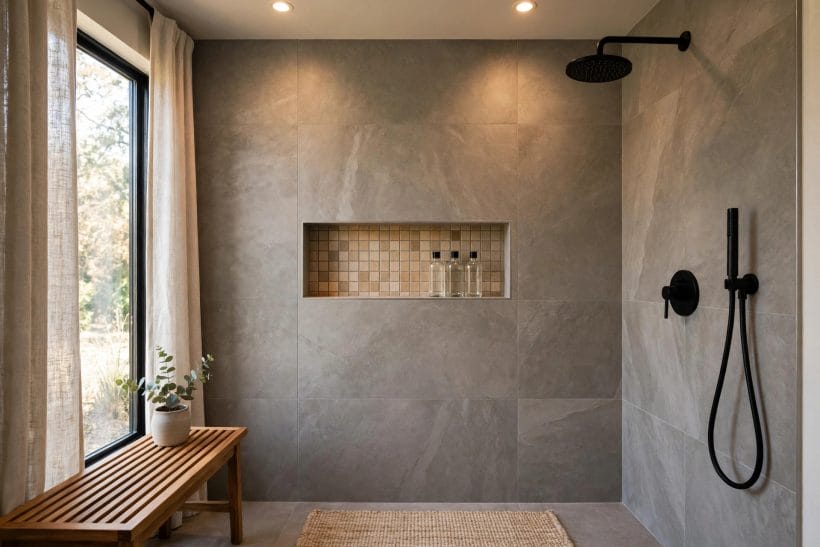
Run a hand over a showroom shower and you learn what brochures omit: how solid the wall feels. Rigidity comes from the material’s own thickness or from the backing behind it, and a hollow, flexing wall undermines confidence in any system.
Thickness also governs how a surface takes fixings. Grab rails, shelves and seats all anchor through the shower wall, and the maker will have rules about where and how. If anyone in the household may need rails later, ask about fixing zones now, while the system choice is still open.
10. Thin skins depend on their backing
Lightweight panels are only as firm as the wall they are fixed to. Ask what backing the maker specifies, whether your walls meet it, and press a display wall in its middle — not at its studs.
11. Solid slabs carry their own stiffness
Heavier sheet and slab materials feel planted because they are. The trade is handling: cutting, lifting and fitting them is slower work, and the installation side of the quote reflects it.
12. Listen for the hollow note
Tap and lean. A shower wall that drums or flexes under a leaning shoulder will flex under an elbow for years, working its seals as it goes. Rigidity is a longevity feature, not a luxury.
6. Finish, Colour and Pattern
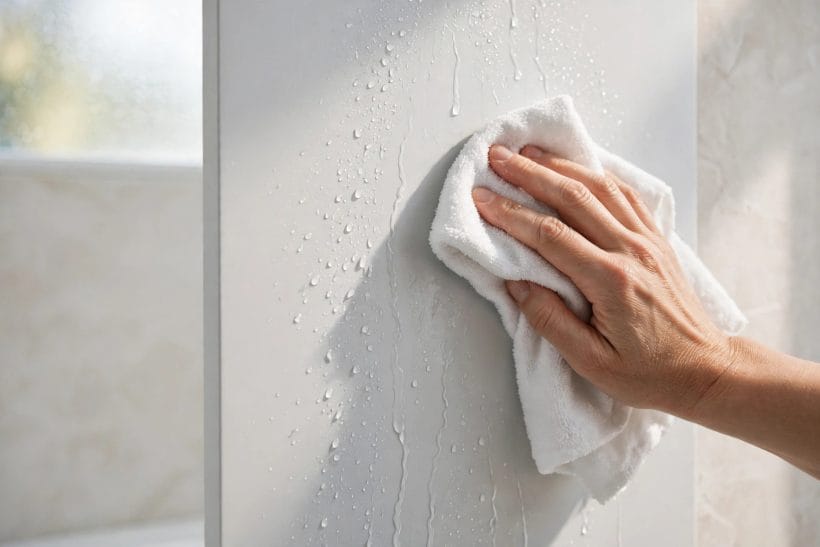
With the system understood, the enjoyable decisions remain — but finish is still a practical choice wearing pretty clothes. Gloss level, how the pattern is made and how the colour runs through the material all change how the shower wears.
Light in your actual bathroom gets a vote here. A finish chosen under showroom spots can shift under a warm ceiling light or a north-facing window, and dark surfaces show water spots under raking light that a display never has. Take samples home and look at them wet, in your own light, morning and evening.
13. Matte hides water marks, gloss returns light
In hard-water homes, a matte or satin face forgives the daily speckle that a mirror gloss displays. In a dark shower, the same gloss earns its keep by bouncing light back into the cubicle.
14. Ask whether the pattern is printed or through-body
Some surfaces wear their pattern as a printed or coated face; others carry colour through the material. A through-body surface hides small scratches better, because what shows underneath is the same colour.
15. Scale the pattern to the cubicle
Large-vein and large-format patterns need wall width to read properly; in a small shower they are cropped into confusion. Small, quiet patterns and plain finishes scale down gracefully.
7. Cleaning and Everyday Care
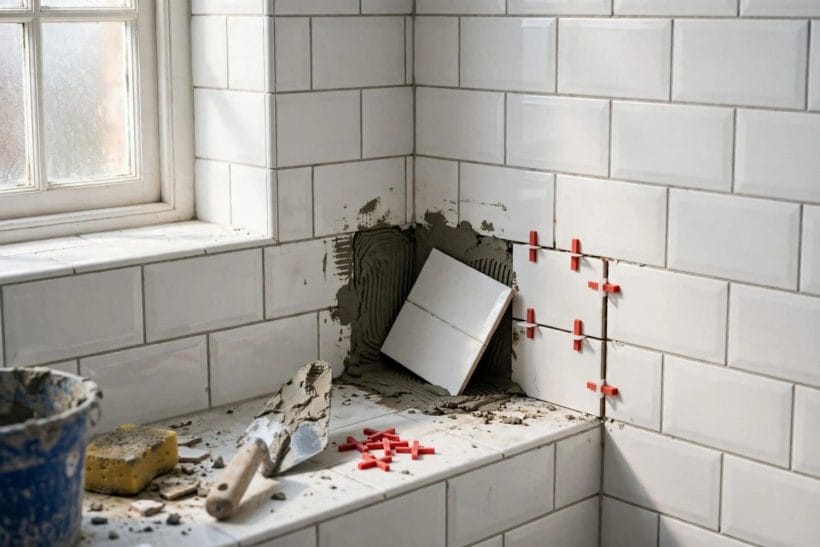
Care rules are where forum complaints are born: a surface someone loves is usually one whose cleaning matches their patience. Read the maker’s care list before purchase, not after the first limescale ring.
Household reality deserves a vote as well. A surface whose care depends on a squeegee after every shower will be squeegeed by exactly one member of most households. Choose the care routine the whole household will actually keep, because an unkept routine — not a bad material — is behind most disappointing showers.
16. Work only with the cleaners the maker allows
Every surface has a forbidden list — abrasives on one, acids on another, bleach on a third. The list is short and printed; a shower that needs products you will not buy is the wrong shower.
17. Know your water before you blame the surface
Hard water marks every system; it just shows sooner on dark and glossy faces. If your water is hard, weight light colours and matte finishes, and plan a squeegee habit into the design.
18. Compare grout care with panel care honestly
Tile asks for periodic grout attention; panels ask for sealant checks at their joints. Neither is care-free — the honest question is which small, occasional job fits your household better.
8. Repair and Replacement Reality
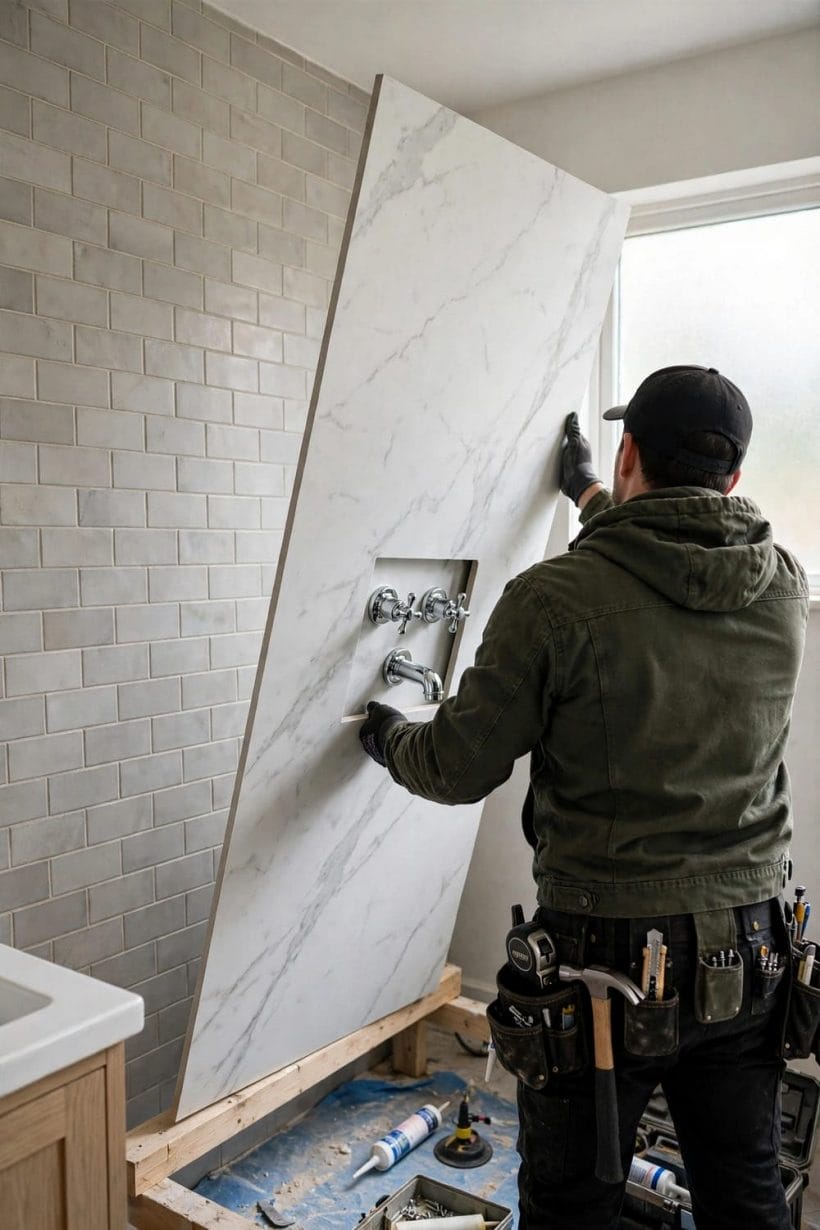
Damage happens — a dropped bottle, a cracked corner, a slipped tool during a tap change. The repair story differs sharply by system, and it is far better read in the showroom than discovered in a wet bathroom.
Insurance and accidents aside, consider the small-change future: a new tap, a moved shelf, a rail added for a parent. Systems differ in how gracefully they accept new holes and changed fittings, and a shower is usually altered at least once in its life.
19. Local repairs favour some systems
Solid surfaces can often be sanded or patch-repaired invisibly; a single tile can be cut out and replaced. A damaged moulded panel, by contrast, may mean replacing the whole formed piece.
20. Panel replacement is a bigger, cleaner job
Swapping a panel is disruptive but bounded: one piece out, one piece in, joints remade. Ask whether your exact pattern is still stocked, because a discontinued design turns a panel swap into a full re-wall.
21. Tile patches depend on spares
A tiled repair is only invisible if the tile survives in a box in your garage. Whatever system you choose, keep spares — tiles, a panel offcut, the sealant’s name — from installation day.
9. Fit, Cutting and Installation Checks

No bathroom is square, and shower systems differ in how forgivingly they absorb that fact. The installation conversation — who measures, who cuts, what the warranty requires — is the last check before money moves.
Timing hides in this section too. Templated systems are measured, made and fitted in stages; tile is built in place day by day. Ask how long the bathroom will be out of service under each system — in a one-bathroom home, the calendar can be the deciding specification.
22. Out-of-square walls favour scribed systems
Sheets and slabs can be scribed and cut to a wandering wall; rigid moulded pieces cannot change shape. Measure your corners honestly and let the answer steer the system choice.
23. Valve and niche cut-outs are the skill test
Every shower needs holes — for valves, heads and niches. Ask who cuts them, where the joints land relative to them, and look at a finished cut-out edge: it is the installer’s signature.
24. Get the warranty paperwork, not the promise
Surface warranties commonly depend on approved installation and approved cleaners. Leave with the documents, the installer’s details and the care list in writing — the folder is part of the product.
10. Questions to Ask Before You Buy
The final section gathers the whole guide into the conversation to have in the showroom. A seller who answers these plainly is selling a system they understand; one who steers you back to the colour chart is telling you something too.
Bring three things to that conversation: your shower’s true measurements, a photograph of the room’s light, and your water type if you know it. Answers given against real numbers and real light are worth more than an hour of general advice, and a good seller will visibly prefer working that way.
25. What exactly is this surface, and how thick?
Material, construction and thickness, in plain words. If the answer is only a brand name and a finish name, you do not yet know what you are buying.
26. Show me the seam plan for my shower’s size
Where every joint falls, how corners are made, and what seals them. This single drawing predicts more about your next decade of showers than any other page in the brochure.
27. What will I clean it with, and what can I repair?
The allowed cleaners, the forbidden ones, and the honest repair path for a chip, a crack and a failed joint. A surface whose care and repair you understand is a surface you will still like in five years.
Final Considerations
Shower surfaces disappoint when they are bought as photographs and judged as systems. Chosen the other way round — construction first, seams counted, care rules read, repair path known — every major system in this guide can serve a household well for years. Ask the unglamorous questions in the showroom, keep the paperwork and the spares, and the daily shower becomes the easiest part of the bathroom to live with. If a forum argument about one surface started your search, let it end with the questions in section ten rather than with anyone’s verdict — including this guide’s. That discipline protects both the budget and the bathroom over the long term.



0 Comments