

This tool tackles the “Energy Vampire” of tiny homes: the wheel well. It’s a thin piece of sheet metal separating your living space from freezing road spray. This calculator helps you design an insulated box that stops the cold without stealing too much precious floor width.
It features a “Thermal Layer Visualizer” that shows exactly how adding inches of Rigid Foam or Spray Foam pushes the “Freeze Line” away from your interior.
Every tiny house on wheels hides an energy vampire in plain sight: the wheel well. It is a thin piece of sheet metal separating your living space from freezing road spray, and it leaks heat all winter.
Good wheel well insulation turns that cold steel hump into a sealed, walkable box that stops the cold without stealing precious floor width. This guide shows you how to size it, layer it and seal it properly.
1. At a Glance: Wheel Well Insulation by the Numbers
The tool on this page calls the wheel well the “Energy Vampire” of tiny homes, and the fix it designs is an insulated box built over the steel fender. You enter three fender dimensions, choose one of three insulation strategies, and press Build Virtual Box. In return you get a total R-value, a finished width for the box, and a materials list covering both wells. Its Thermal Layer Visualizer even shows how adding inches of rigid foam or spray foam pushes the “Freeze Line” away from your interior, so you can see the cold retreat before you cut a single board.
| Insulation strategy | Thickness | R-value | Where it shines |
|---|---|---|---|
| XPS Rigid Foam | 1 inch | R-5 | Basic cover, minimal width added |
| XPS Rigid Foam | 2 inches | R-10 | Standard for cold climates |
| Closed Cell Spray Foam | 2 inches | R-13 | Best air seal and bonding |
| Plywood cap | 1/2 inch | Included in finished width | Protection layer over the foam |
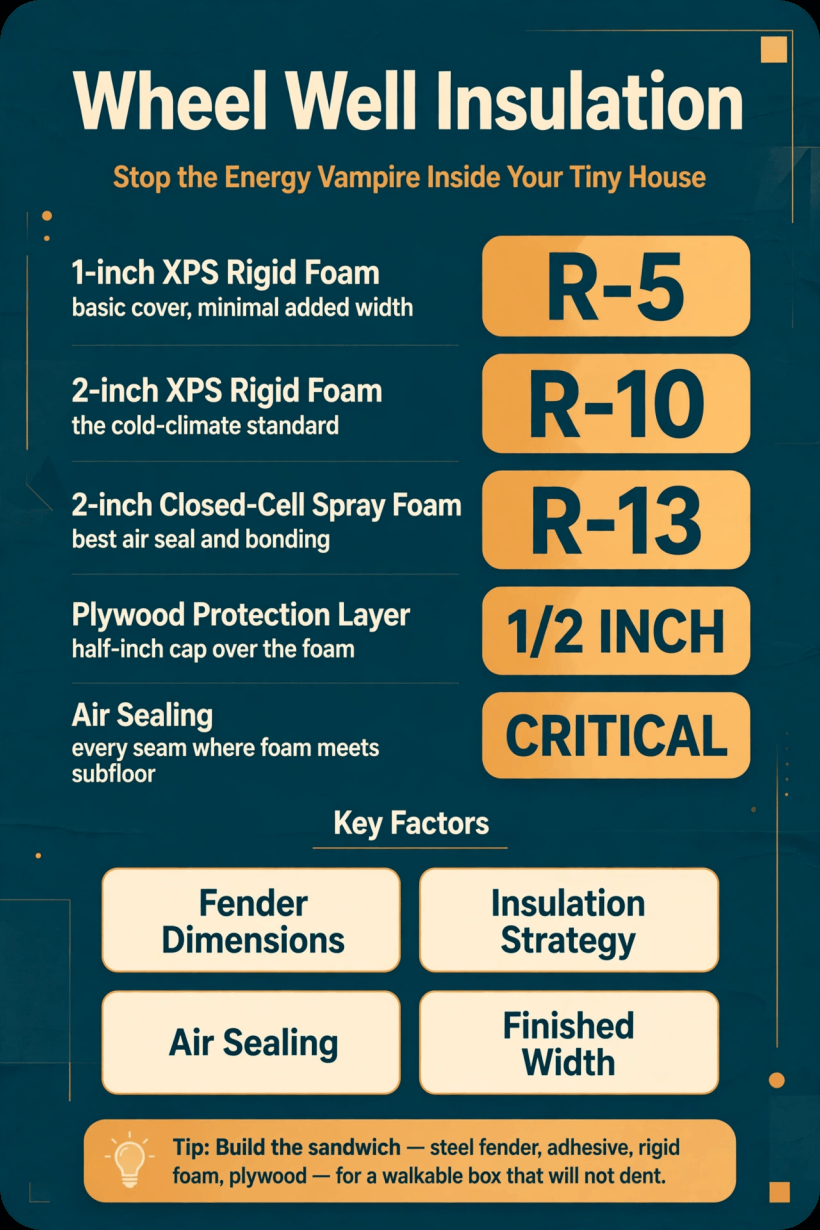
The three insulation strategies the Wheel Well Box Designer compares, from the basic R-5 cover to the R-13 spray foam build, plus the factors that decide between them.
Two outputs matter most. The total R-value tells you how hard the finished box resists heat flow, and the finished width tells you exactly how much floor the box will claim once the insulation and the 1/2-inch plywood are added to the fender’s depth. Plan around both numbers and the wheel well stops being a cold surprise and becomes a deliberate, measured part of the build.
2. Why the Wheel Well Is the Energy Vampire
Most of a tiny house envelope is a honest sandwich of framing, insulation and sheathing, but the wheel well breaks the pattern. Where the trailer’s tire rises into the floor plan, the structure gives way to a curved steel fender, and that fender is little more than shaped sheet metal. On one side sits your heated living space; on the other, the open road, winter air and freezing spray thrown up by the tire. Steel passes heat eagerly, so the fender becomes a cold bridge that drains warmth out of the room around the clock.
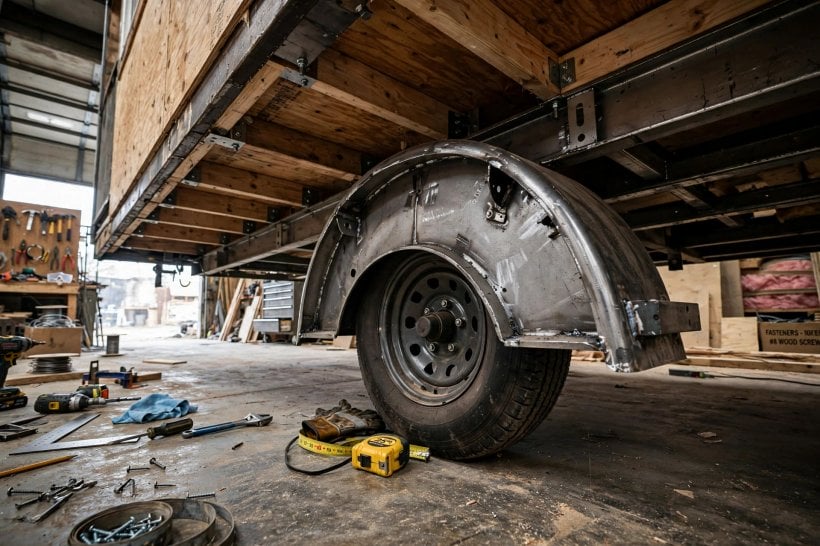
You feel the theft locally before you see it on a heating bill. The floor beside the well runs cold underfoot, the box itself can sweat with condensation when warm indoor air meets the chilled metal, and anything stored against it lives in the coldest corner of the house. The calculator’s Thermal Layer Visualizer makes the mechanism visible: with no insulation, the Freeze Line sits close to the interior face, and every added inch of foam pushes it outward toward the road, where it belongs. Treating the wells is also a natural partner to skirting a tiny house for winter, since both jobs aim at the same enemy, the cold air washing around the underside of the home.
3. Measure the Fender: Length, Height and Depth into the House
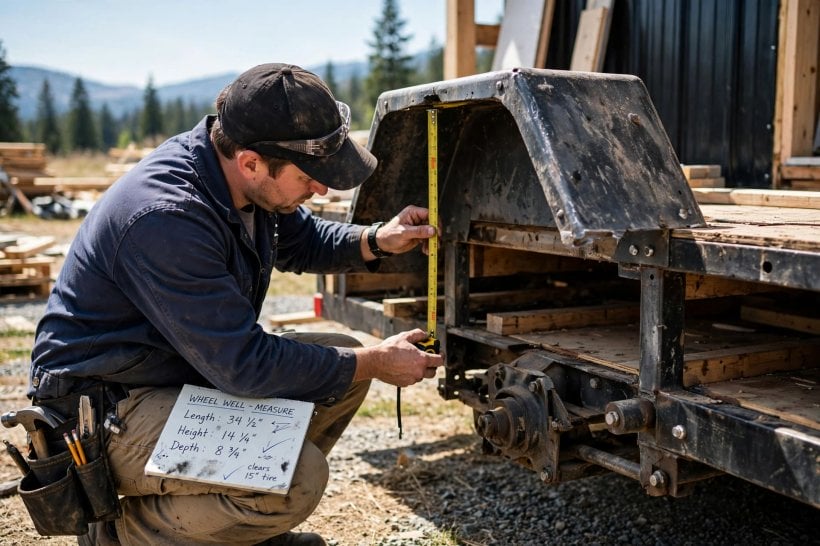
The designer asks for three dimensions, all in inches. Length is the fender’s run along the wall. Height is how tall the fender rises above the subfloor. Width, labelled “Depth into House,” is how far the fender sticks out from the wall into your room, and the tool even glosses it with that exact reminder, because this is the measurement builders most often guess wrong. The example entries the tool suggests, 64 inches long, 10 inches high and 9 inches deep, give a sense of the scale of a typical fender, but your trailer is the authority, not the example.
Measure each well separately rather than assuming the pair match. Fenders are curved, closer to a trapezoid than a neat rectangle, so take the length at the base where the box will sit, the height at the crown, and the depth at the widest point of the intrusion. A box designed from the widest and tallest readings will clear the steel everywhere; a box designed from average readings will fight you at the crown. Write the figures down before you open the tool, because every output it gives, R-value aside, is arithmetic built on these three numbers.
4. Finished Width: What the Box Costs Your Floor
Insulating the well is not free. Every layer you add grows the box into the room, and in a tiny house the room has none to spare. That is why the tool reports a finished width alongside the R-value: it takes the fender’s depth, adds the thickness of your chosen insulation, and adds the 1/2 inch of plywood that caps the build, since the readout is explicit that the finished width includes the ply. A fender that intrudes 9 inches, wrapped in 2 inches of foam and capped with ply, presents a noticeably deeper box to the floor plan than the bare steel did.
Run the comparison before you commit. The 1-inch XPS option exists precisely for tight layouts: the tool describes it as basic R-5 with minimal width added, and where a walkway or a cabinet run passes the well, that saved inch and a half can matter more than raw R-value. Where the plan has room, the thicker strategies buy comfort instead. The same width discipline applies across the whole floor, which is why it pairs naturally with planning your floor insulation build-up as one system rather than a series of surprises.
5. Choosing Your Insulation Strategy: R-5, R-10 or R-13
The tool offers three strategies, and the honest answer is that each is right somewhere. The 1-inch XPS rigid foam build is the basic cover: R-5, the least width added, and a sensible choice for mild climates, shoulder-season use, or a floor plan that simply cannot give up more room. The 2-inch XPS build doubles that to R-10, and the tool names it the standard for cold climates, which makes it the default most full-time builders should start from. The 2-inch closed cell spray foam build reaches R-13 and adds the best air seal and bonding of the three, because spray foam glues itself to the steel and fills the fender’s curves instead of approximating them with flat board.
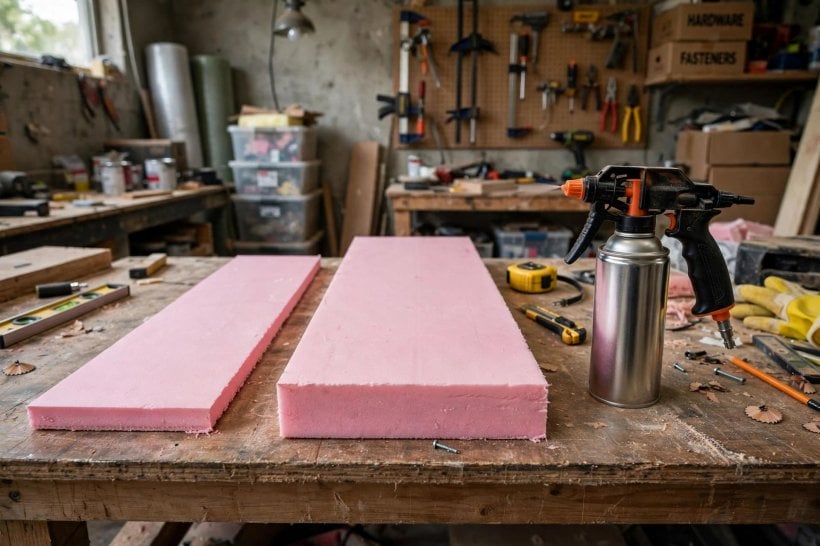
Think about the fender’s shape when you choose. Flat XPS board is simple to cut and dry-fit, but a strongly curved fender can leave voids behind a flat sheet, and voids are where cold air collects. Spray foam follows the curve exactly, which is part of why the tool credits it with the best air seal. Whichever strategy you pick, remember the box works alongside the rest of the envelope, and details like correct vapor barrier placement elsewhere in the floor keep the whole assembly dry and durable.
6. The Sandwich Method: Four Layers, One Box
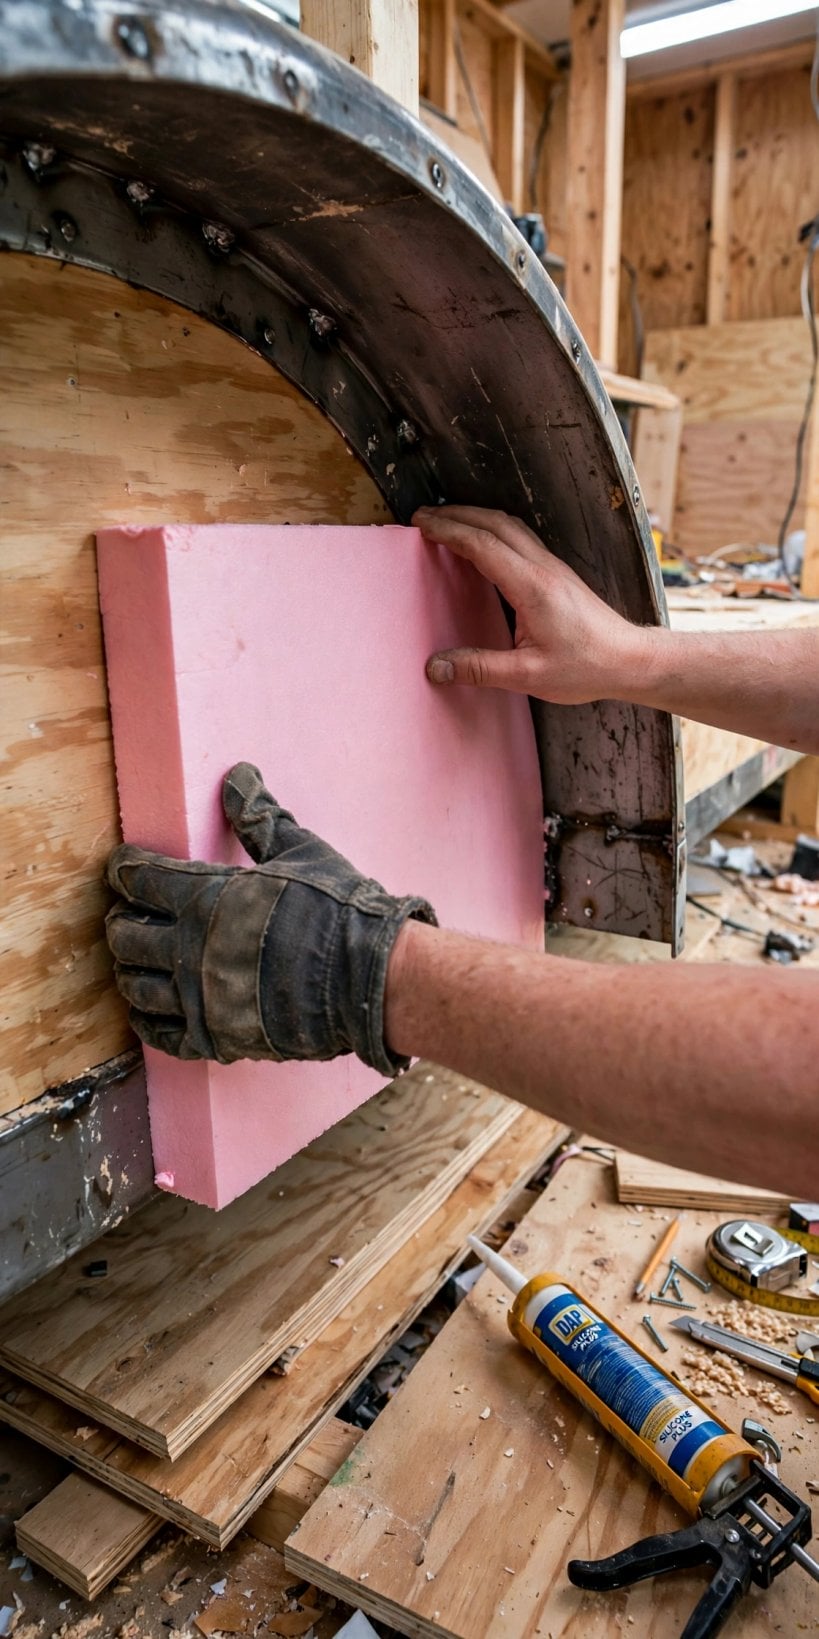
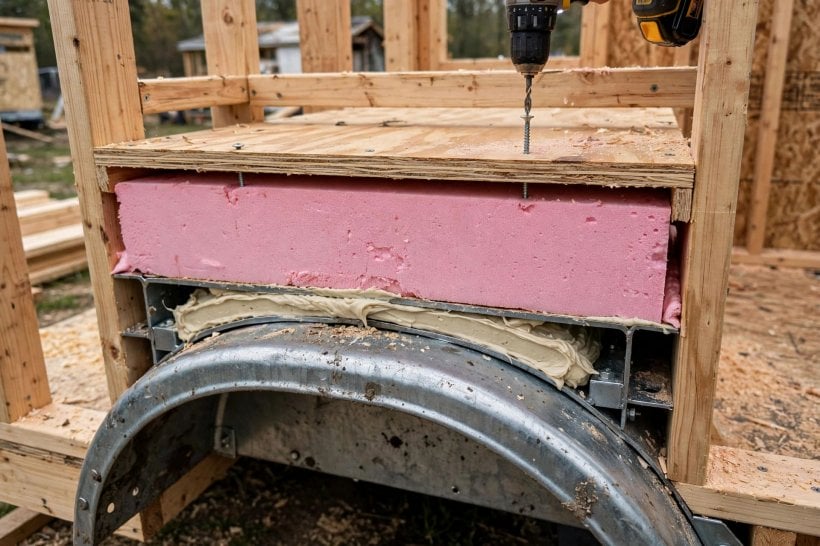
The tool prescribes a specific build order it calls the Sandwich Method, and the sequence is worth following literally. Layer 1 is the steel fender itself, cleaned and ready. Layer 2 is adhesive, specified as construction adhesive (PL Premium), which bonds the foam to the metal. Layer 3 is the rigid foam, shown in the sandwich at R-10. Layer 4 is the 1/2-inch plywood, labelled simply as protection. Nothing in the stack is decorative; each layer answers a weakness of the one beneath it.
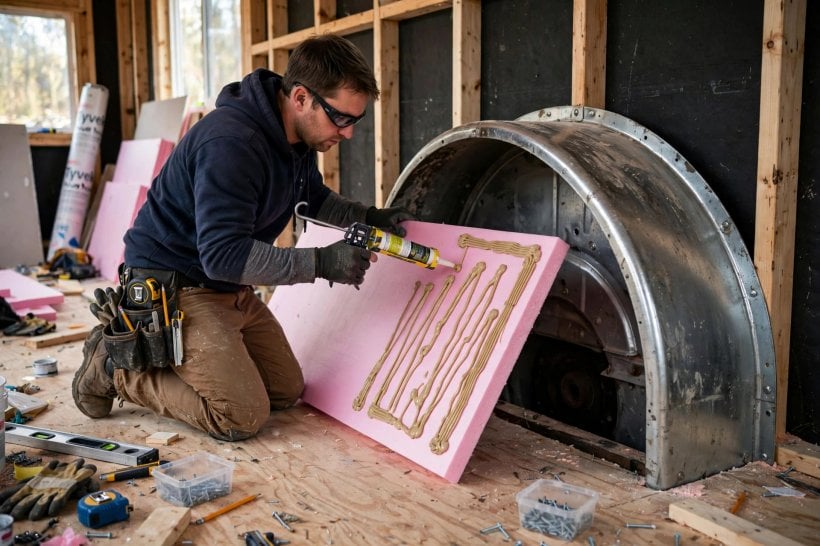
The adhesive matters more than it looks. Foam merely resting against the fender can shift, drum against the steel and open gaps at its edges, while a bonded sheet behaves as one piece with the fender and stays where the design put it. The plywood cap then turns soft foam into structure, spreading loads across the box instead of letting a heel or a furniture leg punch into the insulation. It is the same layered thinking used in the floor and walls, and the weights of those layers are worth tallying with the rest of your build, much as you would when calculating sheathing weight for the shell.
7. Air Sealing Is Critical: Killing the Cold Bridge
The tool is blunt about the step builders skip: “Air Sealing is Critical.” Simply gluing rigid foam to the metal isn’t enough, it warns, because the seams where the foam meets the subfloor remain open, and moving air defeats insulation in a way still air never does. Its image is memorable: even a pinhole leak acts like a blowtorch of cold air into your home. A box can carry a respectable R-value on paper and still pour cold across the floor all winter if its perimeter breathes.
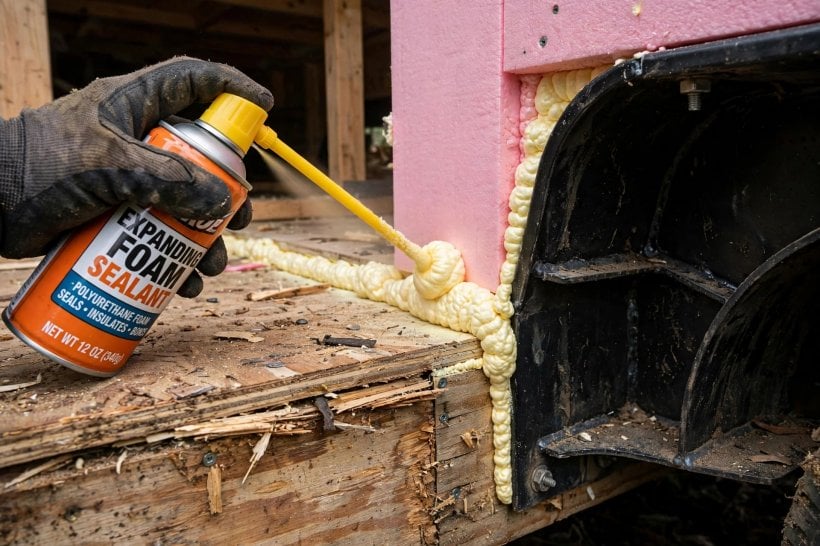
The prescribed fix is to seal those seams with spray foam (Great Stuff) or acoustic sealant, working the full perimeter where foam meets subfloor and anywhere two boards butt together. Take your time here, because this is fiddly, hidden work that nobody will ever admire and everybody will feel. Seal, let it cure, then inspect with a hand and a light for the gaps you missed. Of all the steps in this build, this is the one where an extra half hour buys the most warmth.
8. The Plywood Cap: A Box You Can Stand On
The sandwich ends with 1/2-inch plywood for a practical reason the tool states plainly: it creates a durable, walkable box that won’t dent when you step on it. Bare or merely foam-covered wells force an awkward etiquette on a tiny house, where every surface gets used; a capped box can be stepped on, sat on, and built against without a second thought. In many layouts the finished box earns its keep as a window seat, a step up to a loft, a shoe bench or the base of a storage unit, which is the best possible outcome for floor space you could not avoid losing.
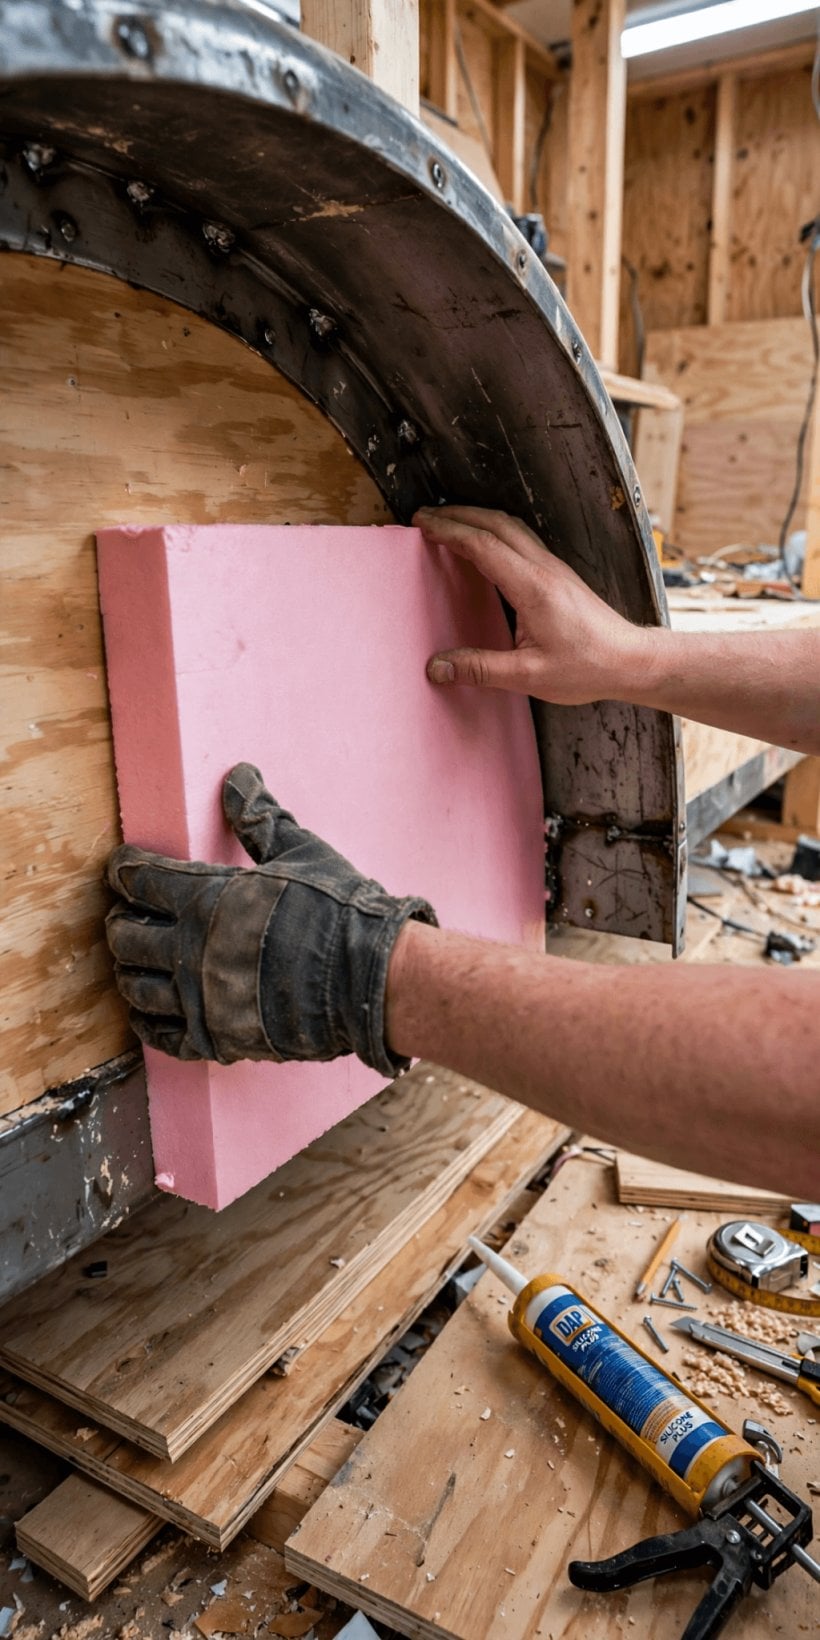
Because the cap is part of the room, finish it like the room. Sand it, seal it or paint it to match the interior, and consider how it meets the surrounding floor so toes and chair legs glide over the transition. A cushion turns it into seating; a hinged lid turns it into storage, as long as the insulation below stays sealed and undisturbed. However you dress it, the box now works for the house instead of against it, and pairing it with thermal curtains over the nearby glass keeps that whole wall feeling warm.
9. Materials for Two Wells: The Tool’s Shopping List
Press Build Virtual Box and the tool turns your dimensions into a shopping list headed “Materials Needed (2 Wells)”, because almost every tiny house has a pair to treat. It calculates the square feet of insulation your boxes require and the square feet of 1/2-inch plywood needed to cap them, both derived from the fender dimensions you entered. Alongside those calculated figures it lists the consumables as fixed companions to the job: 1 tube of construction adhesive (PL Premium) and 1 can of spray foam for the gaps.
Buy from the list rather than from memory. Foam board and plywood are sold in sheets far larger than a wheel well, so one sheet of each typically covers both wells with offcuts to spare, and the offcuts are useful for test-fitting your cuts before you commit the good material. Keep the adhesive and the gap foam on hand before the first board is cut, since the build order does not pause gracefully without them. And while the quantities are small, log the materials with the rest of your build weights, the same habit behind calculating GVWR for a tiny home, because small layers across a whole house are how totals quietly grow.
10. Mistakes That Bring the Cold Back
The first mistake is treating the foam as the whole job and skipping the seam sealing the tool insists on; an unsealed R-10 box will underperform a sealed R-5 one, because air leaks bypass insulation entirely. The second is choosing the thinnest strategy for a genuinely cold climate to save width, then paying for the decision every night of winter. The tool labels the 1-inch build “basic” and the 2-inch build the cold-climate standard for a reason, and your climate, not your optimism, should make that call.
The third mistake is designing furniture, walkways or cabinetry from the bare fender’s dimensions and forgetting the finished width, so the box collides with a plan drawn around the steel alone. The fourth is measuring one well and mirroring it, then discovering the second fender differs just enough to leave the foam short at the crown. Avoid all four and the wells largely disappear from your attention, which is the goal: in a well-heated house, as any guide to heating a tiny home in winter will tell you, the best envelope details are the ones you never have to think about again.
Final Considerations
The wheel well will never be the best-insulated part of a tiny house, and it does not need to be. It needs to stop being the worst: a bare steel bridge from the road to your floor. Measure honestly, pick the strategy your climate and floor width can support, build the sandwich in order, and seal every seam as if the whole job depended on it, because thermally it very nearly does. Then run your own numbers through the designer below and build the box it describes.
Treat the pair of wells together, finish the plywood cap so the boxes read as furniture rather than apologies, and count their layers in the wider discipline of the build, from the floor under them to the flooring weight above the subfloor. Do that, and the energy vampire is fed, sealed and forgotten.
Wheel Well Box Designer
Wheel Well Box Designer
Build insulated boxes that stop cold spots.
1. Fender Dimensions
How far it sticks out from the wall.
2. Insulation Strategy
- 0 sq ft Insulation
- 0 sq ft 1/2″ Plywood
- 1 Tube Constr. Adhesive (PL Premium)
- 1 Can Spray Foam (Gaps)
The “Cold Bridge” Killer
Simply gluing rigid foam to the metal isn’t enough. You must seal the seams where the foam meets the subfloor with Spray Foam (Great Stuff) or acoustic sealant. Even a pinhole leak here acts like a blowtorch of cold air into your home.
Layer 1: Steel Fender
Layer 2: Adhesive (PL Premium)
Layer 3: Rigid Foam (R-10)
Layer 4: 1/2″ Plywood (Protection)
This creates a durable, walkable box that won’t dent when you step on it.




0 Comments