

Short logs laid like brick, mortared at both ends and showing their growth rings to the room: the walls of a cordwood house are part masonry, part woodpile and entirely characterful.
This guide covers the full craft, from seasoning wood and mixing breathable mortar to laying walls, protecting them with deep eaves, and what really drives the cost of this slow, satisfying build.
1. Log Ends and Mortar at a Glance
Start with the whole technique in one view. Cordwood stacks short, dry logs across the wall thickness and binds them with mortar, giving a wall that is structural, insulating and beautiful all at once, in exchange for patience. The summary below, drawn from this post’s own infographic, shows the bargain: cheap local materials for heavy labour.
| Part of the Design | What It Means |
|---|---|
| Walls (Structure) | Short logs set in mortar like bricks, laid perpendicular and mortared for a solid structural layer |
| Insulation (Comfort) | Sawdust-lime core in the wall fills the cavity for natural insulation and moisture regulation |
| Build (Process) | Slow, cheap materials, heavy labour: local logs, lime and sawdust, low cost but time-demanding |
| Key Factors | Wood drying, breathable mortar mix, protective roof overhang and permits to check |
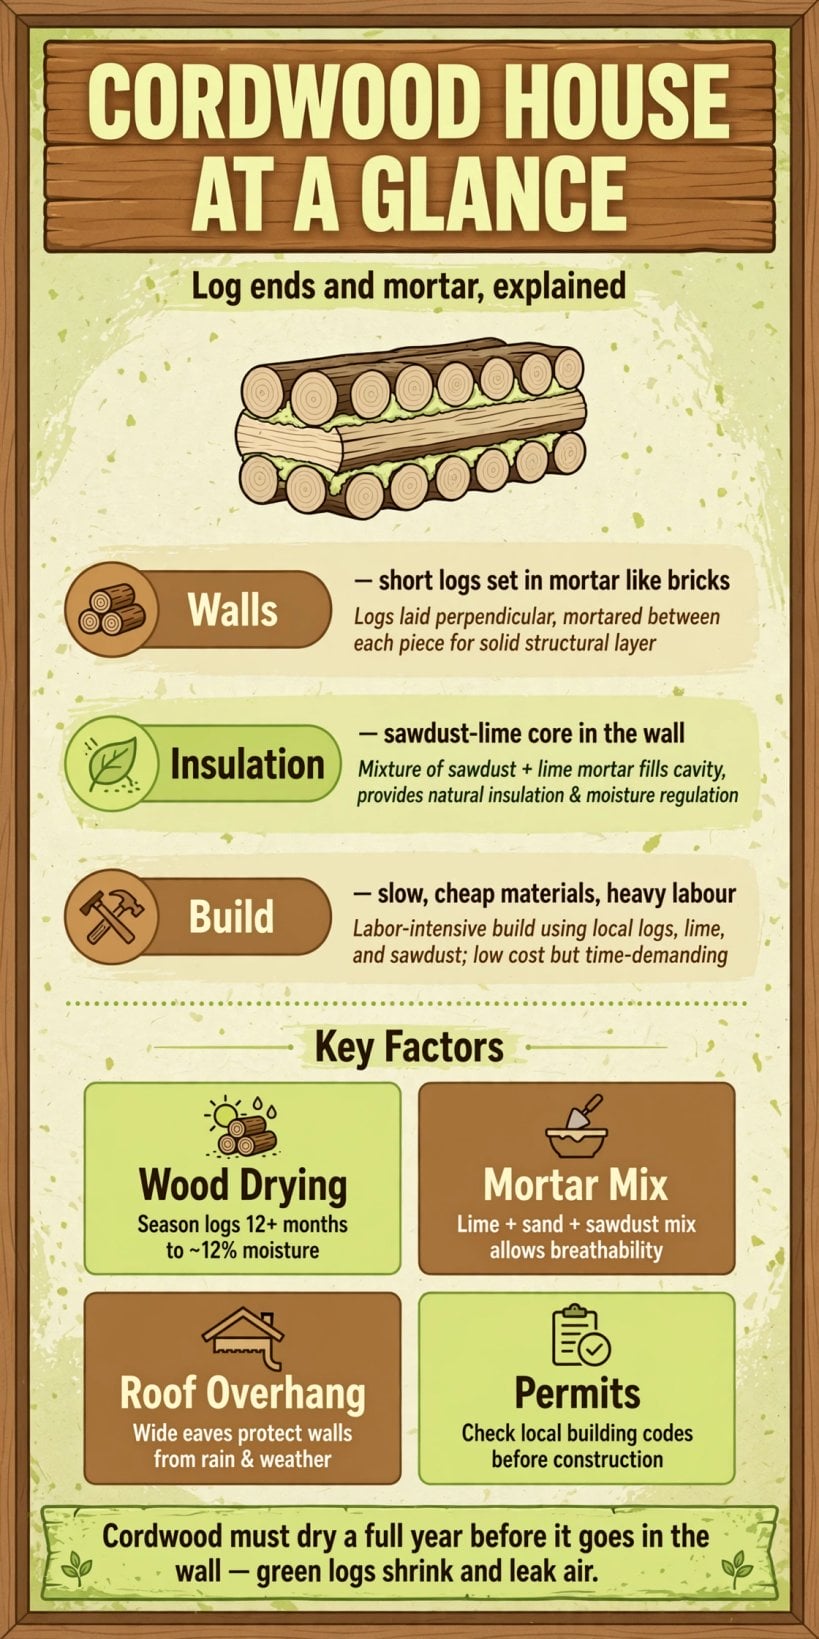
Cordwood must dry a full year before it goes in the wall: green logs shrink and leak air.
Read the walls row with respect for the material. Each log end is both structure and finish, and the wall gains its strength from thousands of small, well-mortared joints rather than from any single heroic member. Insulation is not added afterwards; it lives in the wall itself, in the sawdust-lime core between the mortar joints, which buffers moisture and slows heat in the same quiet way the logs do. The build row is the honest price: this is one of the cheapest wall systems money can buy and one of the slowest, because every log is handled, placed and mortared by hand.
The key factors row turns the technique into a checklist. Wood must be dried properly, a full year or more down to around twelve percent moisture, or the logs will shrink in the finished wall and open air leaks. The mortar mix must breathe, lime with sand and sawdust rather than a hard cement that traps moisture. Wide eaves keep rain off the log ends, which are the wall’s vulnerable face. And permits need checking early, because a wall of log ends and mortar deserves proper approval like any structural system.
2. What Cordwood Construction Really Is
Cordwood, also called stackwall or log-end construction, lays short lengths of debarked log across the thickness of the wall, ends facing in and out, bedded in mortar. The logs run perpendicular to the wall face, so what you see is a mosaic of round ends; what you live behind is a wall often a foot or more thick, with real thermal mass and a naturally insulated core. It is an old technique with deep roots in northern building traditions, revived by self-builders for its economy and beauty.
The wall works as a team. The log ends provide mass and character, the mortar joints bind everything into a continuous structural layer, and the sawdust-lime insulation core between the inner and outer mortar beds slows heat and manages moisture. None of the three works alone: mortar without dry wood cracks and leaks, wood without breathable mortar rots, and insulation without the mass is just a thin promise. Understand the team and the technique stops looking quaint and starts looking engineered.
Keep the technique honest when you dream. Cordwood suits owner-builders with time, access to suitable timber and a love of repetitive craft; it suits nobody in a hurry. The labour logic in earthship homes and off-grid design, costs and realities rhymes directly: both building types trade purchased materials for months of skilled, supervised hand work, and both punish the belief that free materials mean a free house.
3. Wood: Species, Cutting and the Full Year of Drying
Wood selection is the first craft decision and the one most beginners rush. Dense, rot-resistant species with modest shrinkage are the traditional choice, cut to uniform length, cleanly debarked and split or rejected where checks and cracks run deep. Bark left on is not rustic character; it is a future gap between log and mortar, so debark thoroughly and inspect every piece as if it will be on display, because it will be.
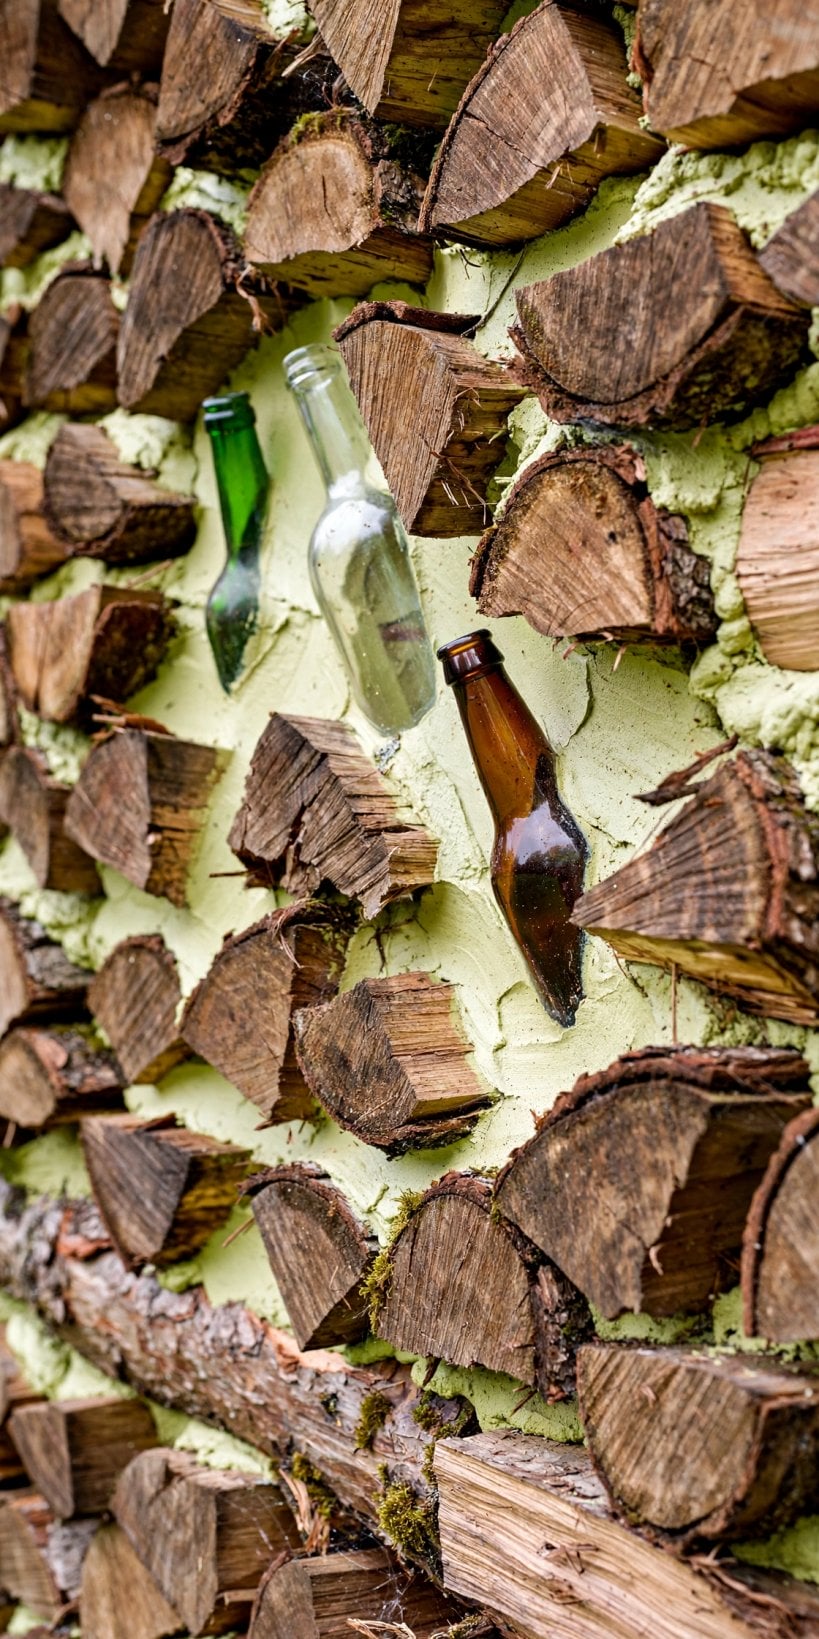
Drying is the discipline the infographic puts in capital letters, and it deserves them. Logs should season for twelve months or more, stickered under cover with airflow, down to around twelve percent moisture before they enter a wall. Green or damp logs shrink as they dry in place, opening air leaks around every piece and loosening the mortar’s grip, which is exactly the failure the caption warns about. A moisture meter is a small purchase that protects the largest labour investment of the build.
Plan the wood supply like a harvest, because it is one. Cut and stack a full building season ahead of the walls, keep the drying stacks covered but ventilated, and sort as you go so wall-laying days are not spent hunting for the right length. The patient material logic in hobbit house ideas with earth-sheltered charm, plans and costs applies in different clothes: in unusual builds, the materials must be ready before the structure, never procured in a panic mid-wall.
4. Mortar: The Breathable Mix That Holds It Together
Mortar in cordwood is not the hard grey stuff of brickwork. The traditional and best-performing mixes are lime-based, with sand and sawdust, formulated to breathe: they flex slightly with the wood, pass moisture vapour rather than trapping it, and cure into a joint that works with the logs instead of fighting them. Hard cement-rich mixes look strong and behave badly here, cracking as wood moves and holding damp against log ends.
Mix for consistency, not just strength. The sawdust in the mix lightens it, improves insulation and gives the mortar a sympathetic relationship with the wood, but the proportions must be right and the mixing thorough, batch after batch, wall after wall. Test mixes on sample panels, let them cure, wet them, watch them: a weekend of testing beats a season of regretting, because the mortar is the one element you cannot adjust after the wall is up.
Laying technique matters as much as the recipe. Mortar is typically placed at the inner and outer edges of each log, with the sawdust-lime insulation filling the cavity between, so the wall reads as log ends framed by mortar with a warm core hidden inside. Keep joints full but not smeared, tool them neatly, and protect fresh work from driving rain and fast drying. The careful-joint discipline in living in a shed with legality, comfort and conversion basics is a smaller cousin of the same truth: in hand-built walls, the joint is the building.
5. Building the Wall: Courses, Corners and Rhythm
Wall building is rhythm work. Logs are laid in courses across the wall thickness, each bedded in mortar at both faces, with the insulation core placed as you go, and the wall rises slowly, course by course, day by day. Corners and junctions need the same planning as any masonry: interlock the work, keep the courses level, and think through how each wall meets the next before the first log of the day is placed.
Openings are built in, not cut later. Door and window frames are set as the wall rises around them, with proper lintels or arches carrying the courses above, because sawing openings through finished cordwood is a miserable job that damages the very joints you laboured over. Size every frame, order every unit and know every lintel before the walls reach sill height; the wall will not wait for a delayed delivery without costing you weather protection and momentum.
Pace the work to the mortar and the season. Cordwood walls should not be rushed in freezing weather or left exposed to driving rain mid-course, so plan the building season honestly and protect the work each night. The steady, unhurried sequencing in how to get a tiny house built the proper way is doubly true here: this wall rewards the builder who plans the season, not the one who chases the calendar.
6. The Roof Overhang: The Wall’s Best Friend
The infographic gives the roof overhang its own key-factor panel, and experienced builders would give it two. Log ends are end grain, which drinks water eagerly, so wide eaves that throw rain clear of the walls are not a style choice but the primary weather defence. A generous overhang keeps the walls drier, reduces maintenance, and lets the building age gracefully instead of greying and checking under every storm.
Design the roof and walls as one system. The overhang depth, the wall height and the local wind-driven rain all interact, and the roof structure must be planned for the thick, heavy walls it sits on, with proper plates, ties and load paths. A roof that barely covers the wall top is a design failure wearing shingles; a roof that shelters the walls generously is the cheapest maintenance contract you will ever sign.
Detail the top of the wall with the same care. The wall plate, the junction between log ends and roof structure, and the ventilation of the roof build-up all need proper resolution, because the most sheltered wall in the world still meets weather at its head. The load-path honesty in tiny two-story shed houses and what they teach about small footprints applies at any scale: roofs need real paths for their weight, and walls need real protection from the sky.
7. Foundations, Floors and Services in Thick Walls
Thick walls need honest footings. A cordwood wall is heavy, wide and unforgiving of settlement, so foundations must be designed for the real loads and the real soil, with drainage that keeps the wall base dry for the life of the building. Raise the first course well above ground level on a durable stem wall or plinth: log ends near soil and splashback are an invitation to decay, and the cheapest rot repair is the one never needed.
Services run through thick walls differently. Plumbing, wiring and vents need planned routes, chases or sleeves placed during wall building, because retrofitting through a foot of log and mortar is slow, dusty and damaging. Group wet rooms to keep runs short, decide where the electrical panel, water heater and any heating plant will live, and draw every penetration before the walls rise past it.
Floors and ceilings complete the thermal story. An insulated floor keeps the mass walls’ benefits from leaking downward, and the ceiling and roof build-up must match the walls’ breathable, moisture-careful logic rather than sealing the building in plastic. The systems thinking in underground house ideas and earth-sheltered living pros and cons transfers well: in massive, breathable buildings, every layer should understand moisture, or the one that does not becomes the problem.
8. Interiors: Living Among the Log Ends
Inside, a cordwood home is unlike any conventional room. The walls are a mosaic of log ends, each with its own rings and tone, and the texture does much of the decorating on its own. Interiors work best when they let the walls speak: simple plastered or timbered partitions where needed, calm floors, and furnishings that do not compete with the extraordinary texture surrounding them.
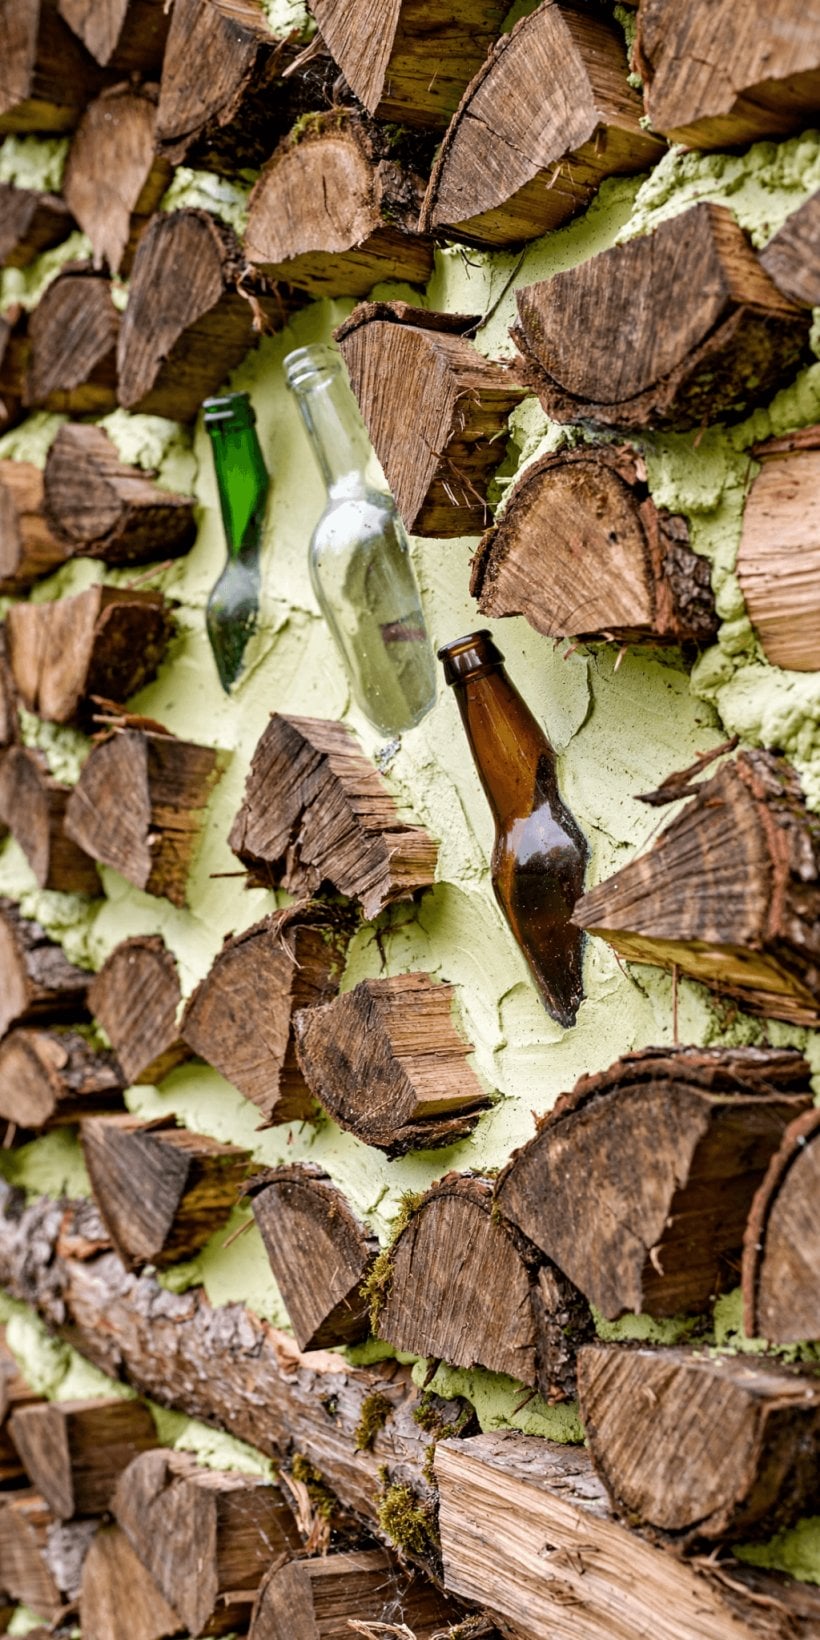
Thermal mass is the quiet luxury of these rooms. Thick log-and-mortar walls smooth temperature swings, holding the day’s warmth into the evening and the night’s cool into the morning, which makes the home feel settled in a way lightweight buildings rarely achieve. Plan heating to work with the mass rather than against it: steady, gentle warmth that charges the walls beats fierce intermittent blasts that fight them.
Light and colour finish the effect. Deep window reveals in thick walls are beautiful light scoops, and pale, warm interior accents bounce daylight deep into rooms, a lesson shared with tiny house interior paint colors that make small rooms glow. Keep the palette restrained, let timber tones repeat from wall to furniture, and reserve any strong colour for small, deliberate moments. In a room already rich with texture, restraint is not emptiness. It is good manners.
9. What Drives the Cost of a Cordwood Build
Costs are best understood by what drives them, because the headline of cheap materials tells only half the story. The first driver is labour: felling or sourcing, cutting, debarking, drying, stacking, mortaring, insulating and finishing, all by hand, all measured in weeks and months. Whether that labour is your own time, hired help or a mix, price it honestly, because the wall consumes hours the way other builds consume money.
The second driver is everything around the walls. Foundations for heavy masonry-like construction, a proper roof with generous overhangs, doors and windows set into thick reveals, and full services, plumbing, electrics, heating, are conventional costs that no log end reduces. The third driver is time itself: a longer build means longer site costs, more weather protection, and more of your life spent on scaffolding, which is a cost even when no invoice records it.
Set against the drivers the genuine economy: wall materials from local timber, lime, sand and sawdust can be remarkably inexpensive, and a well-built cordwood home offers decades of low-maintenance, thermally comfortable living. The tent-dweller’s budgeting honesty in living in a tent long term with setup, comfort and legality guidance makes the same point at the other end of the spectrum: count every currency, money and time alike, and the project becomes a plan instead of a surprise.
10. Permissions, Builders and the Build Sequence
Permissions deserve early, friendly handling, because log-end walls are unusual enough that officials will want to understand them. Check with your county or city planning and building officials what approvals, inspections and standards apply to cordwood construction on your land, and meet them with drawings and, where needed, engineering that shows the wall system clearly. Requirements vary by place, and this guide offers the principle, not a promise: engage early, design to what your officials require, and let their questions improve the building.
Skills and supervision are the second half of permission to succeed. If you are new to the technique, learn on a small structure first, a garden room, a sauna, a woodshed with walls, before committing the family home to your first mortar batch. Workshops and experienced cordwood builders exist, and a week learning from someone who has raised real walls is worth a season of trial and error. Value relevant experience over enthusiasm in anyone you hire, and supervise volunteer help as the construction project it is.
Run the sequence in its unforgiving order: secure and dry the wood a full year ahead, design completely, resolve permissions, build foundations and drainage, raise the walls in a fair season with openings built in, roof generously before weather turns, then fit services and interiors at a human pace. The converted-tower pragmatism in silo house ideas for converting a grain silo into a home closes the circle: unusual walls reward builders who respect their particular physics, and patience is a structural material.
Final Considerations
Log ends, breathable mortar and a year’s patience in the woodpile: the cordwood wall asks for time and craft, and returns a home with the warmth of timber and the honesty of masonry. Dry the wood fully, mix the mortar to breathe, shelter the walls with deep eaves and let honest drawings and priced labour drive every decision. Do that, and the slow wall becomes what its best builders always intended: not the cheapest house, but one of the most satisfying a pair of hands can raise.


0 Comments