

Three quiet weeks, one warm box, and a little patience can turn a tray of ordinary eggs into the next generation of your flock. Learning how to incubate chicken eggs is mostly learning what not to fiddle with.
This day-by-day guide walks from setting to hatch in plain stages, so you always know what today asks of you, and what it asks you to leave alone.
1. Incubation at a Glance
Artificial incubation replaces a broody hen with four managed things: warmth, moisture, turning and time. The hen does all of it by instinct; the incubator does it by setting, and you do it by resisting the urge to keep adjusting both. The whole process divides into four clear stages. Setting is day zero, when prepared eggs go into a warmed, settled machine. The early days are about turning and steadiness. The final days, called lockdown, are hands off. And hatch arrives around day twenty-one, when the chicks do the hardest work of all, entirely by themselves.
| Stage | When | The Rule |
|---|---|---|
| Setting | Day 0 | Warm and steady |
| Turning | Early days | Several times daily |
| Lockdown | Final days | Hands off |
| Hatch | Around day 21 | Let them work |
Four key factors run through every stage: temperature, humidity, turning and patience. Temperature matters most, and steady beats clever every time, because an incubator that holds its setting calmly outperforms one that is opened, adjusted and second-guessed every few hours. Humidity supports the egg without drying or drowning the chick. Turning keeps the developing chick from sticking to the shell. Patience ties the three together. The sections that follow take each stage in order, and throughout this guide the advice stays general and safe: follow your own incubator manual for its exact settings, because models differ.
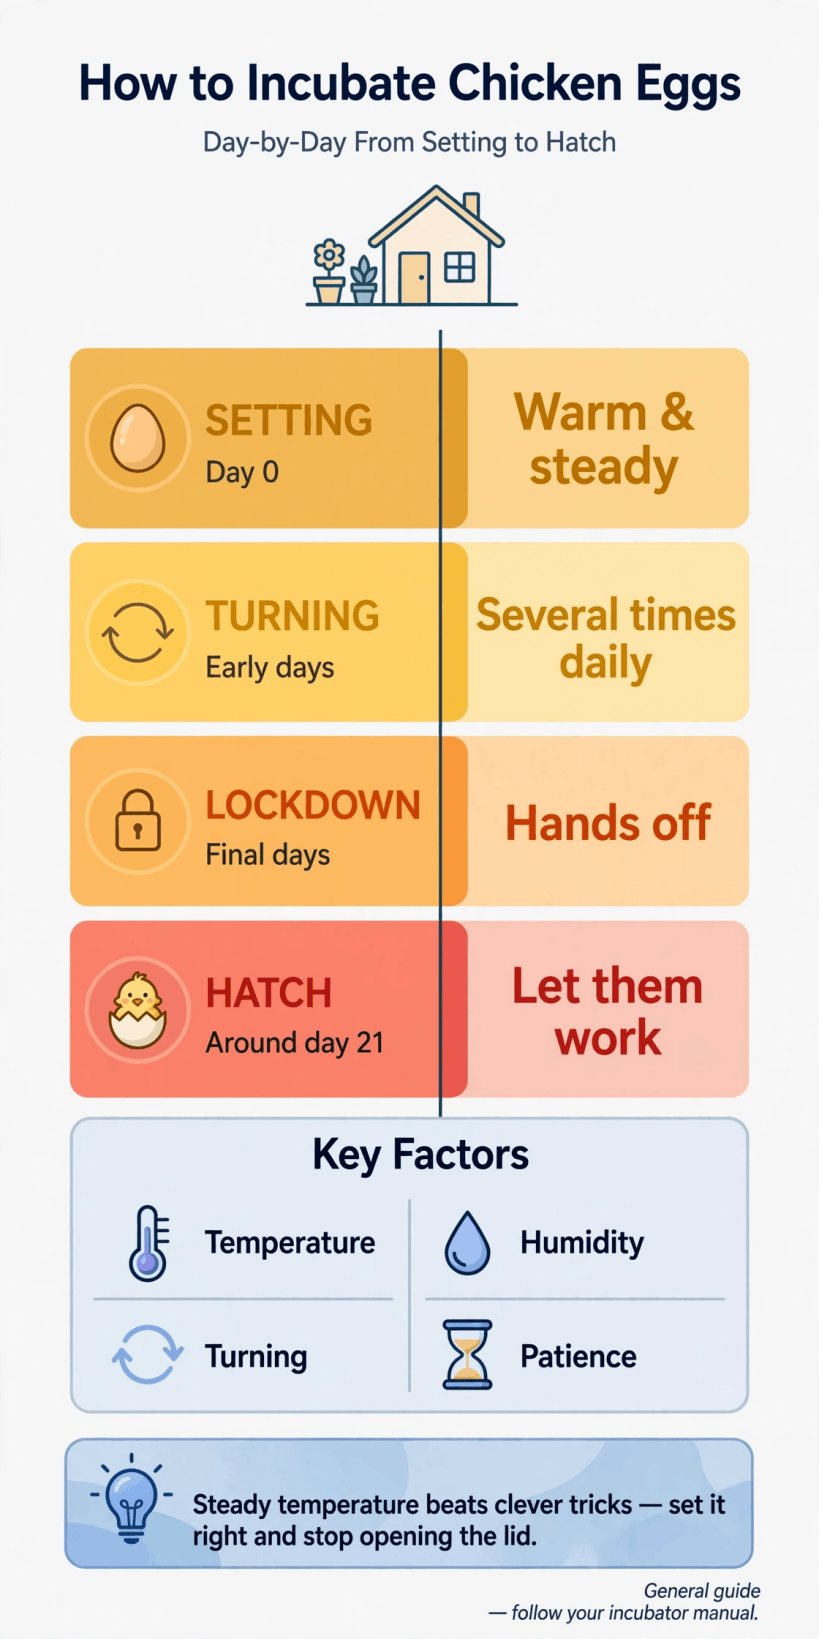
Four stages from setting to hatch, and the four factors that carry an egg safely through all of them.
2. Before You Set: Eggs, Incubator and Room
Good hatches are decided before a single egg goes in. Start with the eggs themselves: choose clean, normally shaped eggs from healthy, well-fed hens, and avoid washing them, because the shell carries a natural protective coating. Eggs that are cracked, badly misshapen or filthy rarely reward the space they take. Fresh eggs that have been stored point-down in a cool room, and turned gently while they wait, give you the soundest start. Where the eggs come from matters just as much; a settled, productive home flock, the kind built by following how to raise chickens well through the seasons, produces far better hatching eggs than a stressed or poorly fed one.
Set the incubator up empty and let it run until its temperature is genuinely steady, not just reached once but held through a full cycle of your room warming and cooling. Place it out of direct sun, away from draughts and curious pets, in the quietest room you have. Check its thermometer against a second one if you can, because a small error held for three weeks is not a small error at all. Decide, too, which hens you are breeding from before you collect: keepers choosing future layers often set eggs from their most reliable hens, and our comparison of the best chicken breeds for eggs is a useful guide to which birds those might be.
3. Setting Day: Day 0
Setting day should feel almost boring. Bring the stored eggs up to room temperature slowly so condensation does not form on the shells, mark the date clearly on your calendar and in a notebook, and load the eggs into the already steady incubator in one calm session. Many keepers mark each egg lightly in pencil on opposite sides, which makes turning checks easy later. Note the number set and the source of each group. Then close the lid and, this is the real discipline of day zero, walk away. The temperature will dip as cool eggs warm through; that is normal, and adjusting the controls to chase it causes the overshoots that do real damage.
Day zero: eggs loaded once, into a machine that is already warm and steady, and then left alone.
From here the rhythm of the hatch is set. Your jobs for the next three weeks are few and repetitive: keep the machine steady, turn the eggs if yours is a manual model, watch the water for humidity as your manual directs, and keep brief records. Everything else is the eggs’ work. Keepers who also raise table birds will recognise the same principle from selecting the best meat chickens for a season: the outcome is largely decided by good choices made calmly at the start, then protected by not interfering with them afterwards.
4. The Early Days: Turning and Steady Warmth
In the early days a hen would shift her eggs constantly, and turning is the incubator keeper’s imitation of that care. An egg that is never turned lets the developing chick settle and stick against the shell membranes, which it cannot survive. Automatic turners do this quietly for you; with a manual machine, turn each egg gently several times a day, at spaced intervals, washing your hands first and working quickly so the eggs lose as little warmth as possible. The pencil marks from setting day now earn their keep, showing at a glance which eggs have been turned and which have been missed.
Warmth in this stage is about steadiness rather than heroics. Check the reading at roughly the same times each day, learn what your machine normally shows in the morning cool and the afternoon warmth of the room, and only adjust when a clear pattern, not a single reading, tells you something has shifted. Every lid-lifting costs heat and moisture and takes time to recover, so look through the window where you can. While the incubator ticks quietly through these days, use the time to prepare what comes next: the brooder, and in due course housing, because chicks grow astonishingly fast. Working through sound chicken coop plans now beats building in a panic later.
5. Candling and Checking Development
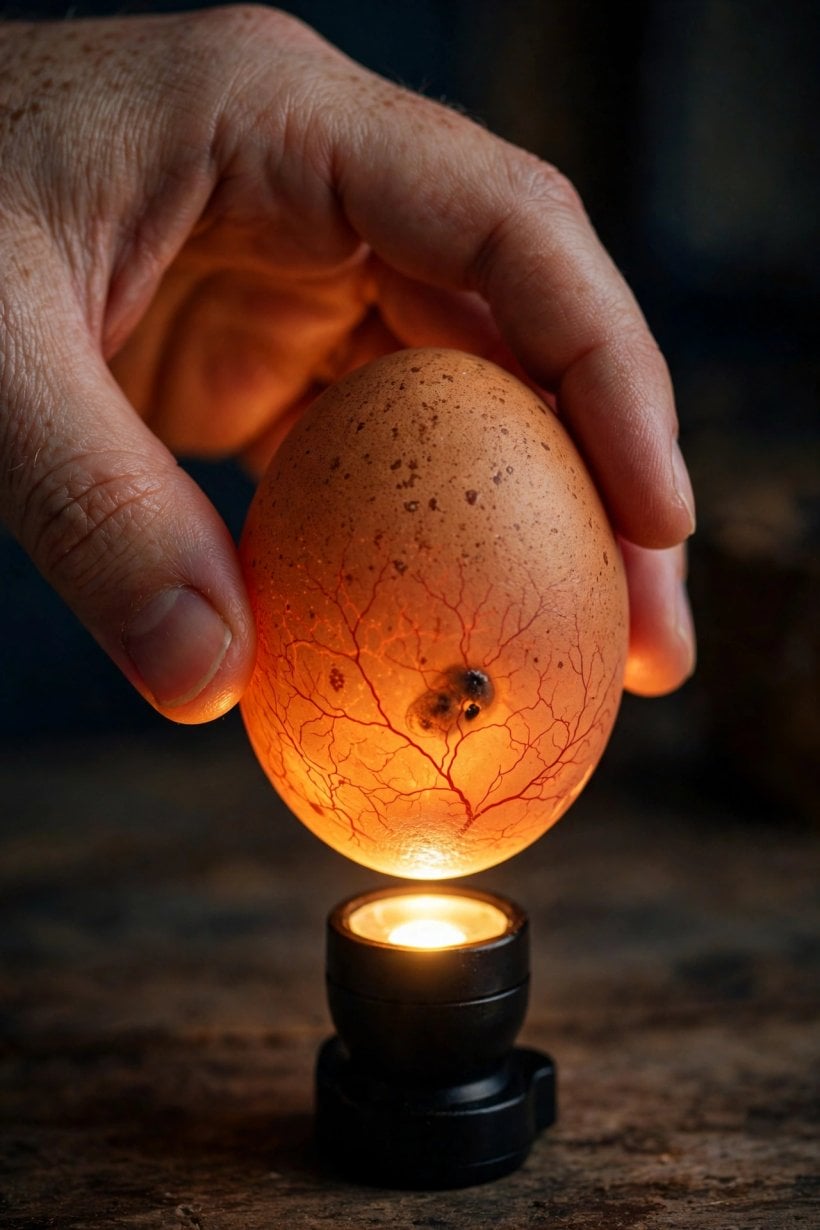
Candling is shining a bright light through the egg in a dark room to see, in silhouette, how development is going. Part-way through incubation a fertile egg shows a web of fine blood vessels and a dark, growing centre; an egg that stayed clear and bright has not developed. Candling once or twice is genuinely useful: it confirms the hatch is alive, and it lets you remove eggs that are clearly not developing, which protects the rest from a rotting egg later. Work calmly, keep each egg out of the warmth only briefly, and handle every shell as if it were much more fragile than it feels.
Just as important is knowing what candling is not. It is not a daily entertainment, and it is not a verdict on every shadow. Beginners see too little and panic, or see something odd and intervene. If an egg is doubtful, mark it, return it and check it at the next candling rather than condemning it on one uncertain look. Record what you saw in the notebook, numbers set, numbers developing, dates checked. Those simple records turn one hatch into lessons for the next, and they cost nothing but a minute with a pencil each time you close the lid.
6. Humidity and Ventilation Without Fussing
Humidity is the factor beginners worry about most and understand least, usually because they try to control it hour by hour. An egg must lose a little moisture steadily through its shell across the three weeks, so the chick inside has room to move and breathe at hatch. Too dry and the chick can become stuck to its membranes; too wet and it may grow in an egg that never made space for the air cell it needs. Your incubator manual gives the method for your model, typically water in its built-in channels, added in stages rather than chased daily. Follow that method, keep the water topped up as directed, and let the design do its job.
Ventilation walks alongside humidity. Developing chicks use oxygen and produce waste gases through the shell, and incubators have vents for exactly this reason. Keep vents as the manual directs, never seal a machine up tight in the name of holding moisture, and be aware that opening the lid dumps both warmth and humidity at once, which is why the lockdown stage later is strictly hands off. The quiet rule for this whole middle subject is simple: set humidity up the way the maker intended, check it when you turn or glance in, and resist every clever trick. Steady beats clever, here most of all.
7. The Middle Stretch: Routine, Records and Patience
Between the early turning days and the drama of lockdown lies the long, quiet middle of incubation, and it is where hatches are quietly won. Nothing new needs inventing in this stretch. The eggs turn, the warmth holds, the water is checked, the notebook fills with short, dull entries, and that dullness is the sound of everything going right. Boredom tempts keepers into opening the lid for a look, candling one more time, or adjusting a control that did not need adjusting. The middle stretch asks you to protect the process from your own enthusiasm.
Use these days practically instead. Set up the brooder and test its warmth before it is needed. Make sure chick feed, a shallow drinker and clean bedding are in the house, not on a shopping list. Think ahead to where this hatch fits your flock: which birds they will join, what space they will need as growers, and how you will keep them safe as they move outside. A hatch is not three weeks; it is the first chapter of birds you may keep for years, and a little planning in the quiet days makes every later stage, brooding, growing on and laying, calmer for you and for them.
8. Lockdown: The Final Days
Lockdown is the name keepers give the final days, and the word is the instruction. Turning stops, because the chicks are positioning themselves for hatch and must not be rolled about. Humidity is set for hatch as your manual directs, typically raised for this stage, the lid goes on, and it stays on. Every opening now steals the warm, moist air that hatching chicks depend on, and can chill or dry an egg at the exact moment its occupant is working hardest. If your machine needs anything done, do it before lockdown begins, then commit to watching through the window.
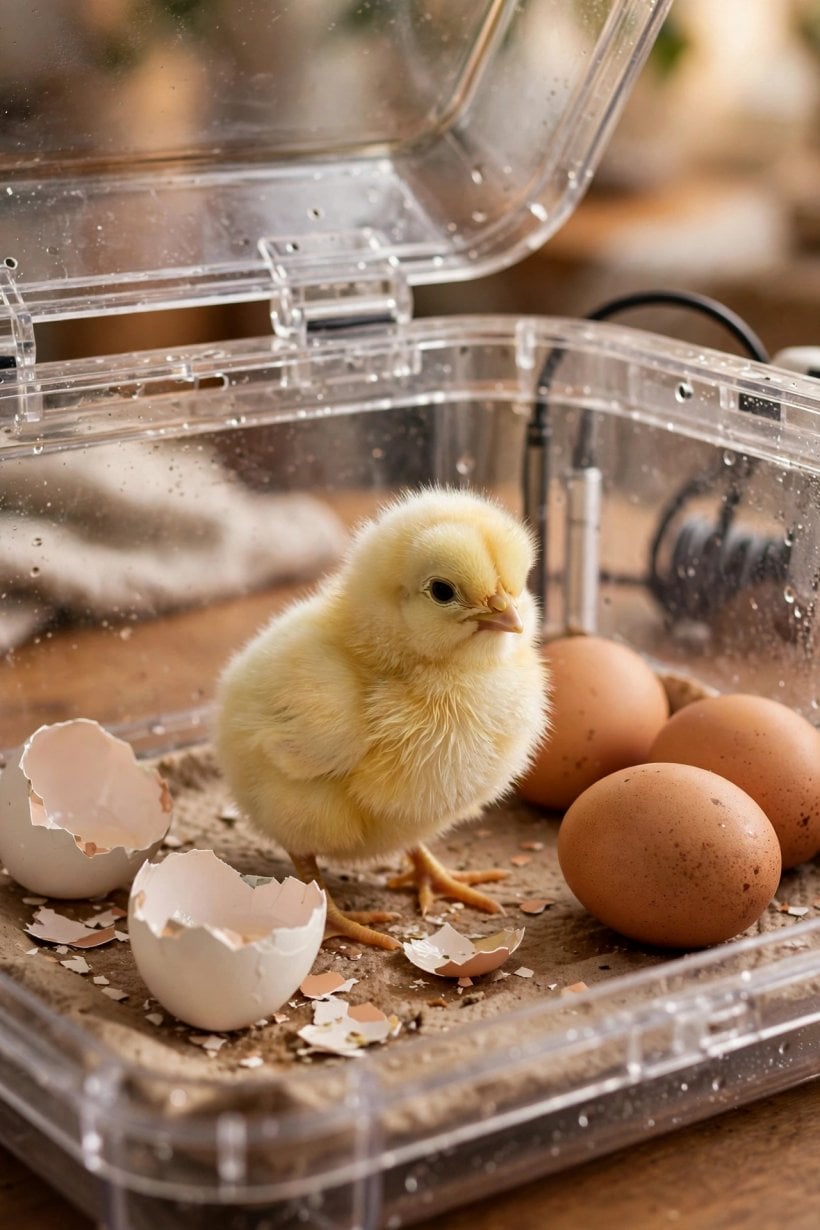
Lockdown: turning stopped, lid closed, hands off, while the chicks position themselves to hatch.
These are the hardest days for the keeper and the easiest to describe: do nothing, patiently. You may see eggs rock slightly as chicks shift inside, and hear nothing at all, both of which are normal. Prepare the last few things quietly: the brooder warmed and ready, a camera if you like, and your own expectations set to the chicks’ timetable rather than yours. Hatch is a window, not an appointment, and the final days teach the patience that the whole craft of incubation has been pointing at since day zero.
9. Hatch Day: Around Day 21 and the Hours After
Around day twenty-one the first sign is usually a pip, a small crack where the chick has broken the shell from inside, followed often by a long rest that worries every first-time keeper. Resting is working: the chick is absorbing the last of its yolk and gathering strength, and helping it out of the shell almost always does harm, tearing membranes that are not ready to part. A chick that has pipped works its way around the shell in its own time and emerges damp, exhausted and perfectly designed to recover in the warm, humid air of the incubator, which is exactly why the lid stays shut while others are still hatching.
Leave newly hatched chicks in the machine until they are dry, fluffy and active, and move them to the brooder in a quick, calm batch once the hatch is finished or clearly winding down. Not every egg hatches, and not every chick that starts finishes; that is the honest arithmetic of incubation, not a personal failure. Note the result in the notebook, set, fertile, hatched, while it is fresh. Then clean the incubator thoroughly once it is empty, because good hygiene between hatches is one of the simplest advantages the next batch can be given.
10. The Brooder: First Days After Hatch and Mistakes to Avoid
The brooder takes over where the incubator leaves off: a safe, warm, draught-free space with dry bedding, chick feed in a shallow feeder and clean water in a drinker that tiny chicks cannot fall into. Watch behaviour rather than gadgets. Chicks spread out comfortably, eating, drinking and sleeping in loose groups are content; chicks huddled tightly together are cold, and chicks pressed to the far edges avoiding the warmth are too hot, and in both cases you adjust gradually and watch again. Keep the brooder secure, because chicks are prey for almost everything, and the same thinking behind good chicken predator protection for the coop starts on day one in the brooder.
The mistakes to avoid across the whole craft are few and familiar: opening the lid out of curiosity, chasing temperature readings with constant adjustments, turning carelessly or not at all, sealing vents, helping chicks hatch, and setting eggs before the machine was steady. Every one is a patience failure, not a knowledge failure. Avoid them and most hatches reward you. And when the new chicks are up, feeding and loudly alive, allow yourself the keeper’s traditional pleasure of choosing chicken names for the ones that will stay, because a home-hatched flock member is never quite just a chicken again.
Final Considerations
Incubation is a simple process that rewards a calm keeper: sound eggs, a steady machine, faithful turning, a disciplined lockdown and the restraint to let chicks hatch themselves. Follow your incubator manual for its exact settings, keep short records, and treat each stage as its own small job done at the right time. Learn how to incubate chicken eggs this way, one unhurried hatch at a time, and the skill quickly becomes one of the most satisfying on the whole homestead.


0 Comments