

A shipping container can be stacked nine high and survive an ocean storm, which tempts people to treat it as indestructible. Then they cut a twelve-foot opening for sliding doors and wonder why the roof sags. The box’s strength lives in its corrugated walls — and every cut removes structure that must be replaced, not just patched.
Shipping Container Home Structural Integrity: At a Glance
Shipping container home structural integrity comes from a stressed-skin system, not from thick steel. The corrugated walls are shear panels, the four corner posts carry the stacking loads down to the corner castings, and the roof is little more than a lid spanning between the top rails. That anatomy decides everything about modifying the box: small openings under four feet need a welded header and studs, large openings need a full steel moment frame, full wall removals need an engineer’s stamp, and the corner posts are never touched at all. The ten sections below follow the order a build meets them — how the box carries load, the cutting rules by opening size, the sacred corners, joining steel, the rust and contamination reality of used boxes, insulation, and finally foundations and stacking.
| Topic | What It Covers | Key Fact or Figure |
|---|---|---|
| 1. A Box Engineered for Stacking, Not Living | Why the container tempts — and traps — converters | Designed for cargo, not floor plans |
| 2. How the Box Carries Load | Corrugation, corner posts, roof bows and floor | Carries 60,000+ lbs stacked nine high |
| 3. Small Openings: The Under-4-Foot Rule | Headers and studs for modest cuts | 4-inch square tube header |
| 4. Large Openings and Full Wall Removal | Moment frames and engineered replacements | Large openings run 4–12 feet |
| 5. The Corner Posts: Sacred Steel | The steel you never cut | Keep 2+ feet of intact wall at each corner |
| 6. Welding vs Bolting: Joining and Cutting Steel | Connections, cutting tools and edge care | Plasma cutter is the right tool |
| 7. Rust: The Used-Box Reality | Inspection and the full treatment system | Spot-painting over rust is a 2-year fix |
| 8. Contamination and Choosing Your Box | Floors, chemicals and the one-trip decision | One-trip: $3,000–5,000; WWT: $1,500–3,000 |
| 9. Insulation: The Steel Sweats | Foam against steel, done correctly | 2–3 inches of spray foam: R-13 to R-20 |
| 10. Foundations and Stacking | Piers, levelling and twist-locks | 6 piers for a 40-footer |
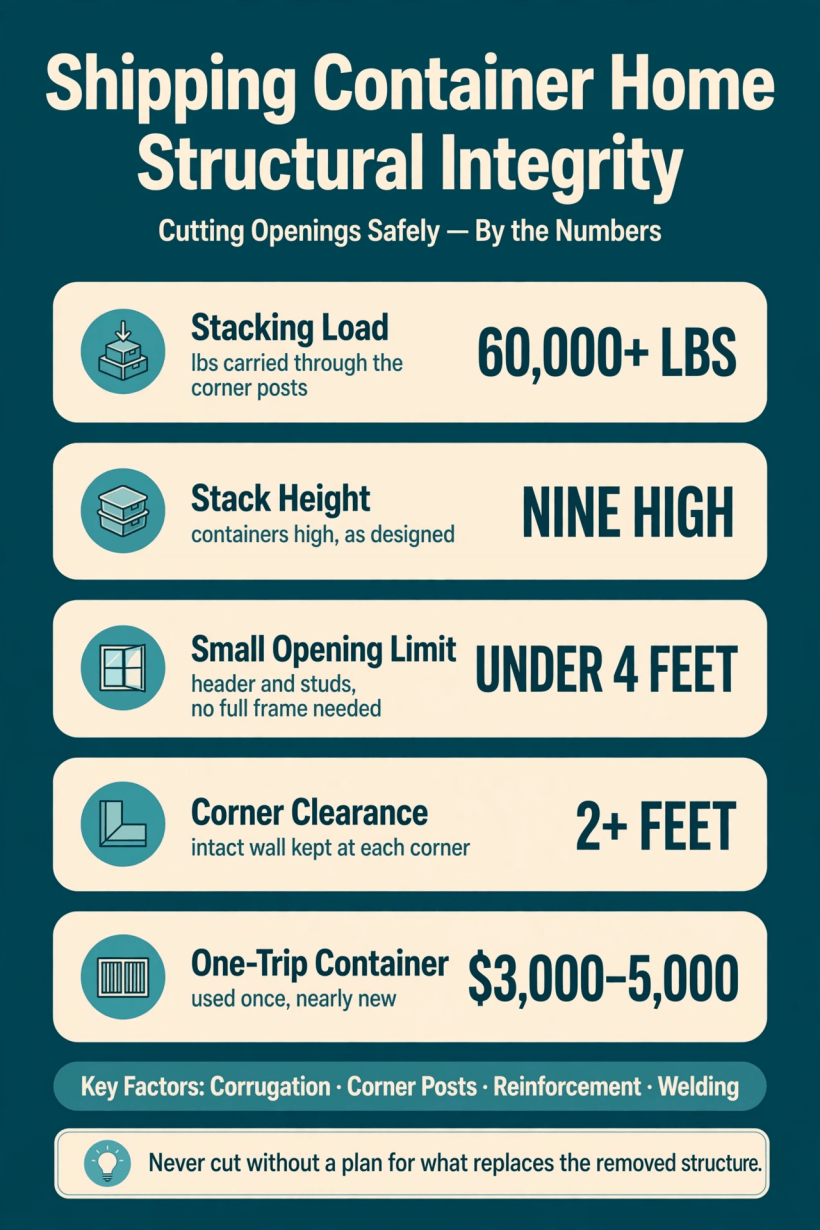
Container structure by the numbers: 60,000+ lbs carried nine high, small openings under 4 feet, 2+ feet of wall kept at every corner, and one-trip boxes at $3,000–5,000.
1. A Box Engineered for Stacking, Not Living
A shipping container is a structural marvel — designed to carry 60,000+ lbs stacked nine high, surviving ocean storms. But that strength lives in the corrugated walls; cut a window and you have removed structure. Container homes fail when people treat the box like a blank canvas instead of a stressed shell, and the failures rarely announce themselves on cutting day: they show up as a roof that sags over a wide opening, doors that will not close on a twisted frame, and walls that drum and flex in wind they once shrugged off.
This guide covers cutting openings without compromising integrity — the anatomy first, then the reinforcement rules by opening size, the joining methods, and the used-box realities of rust and contamination. The container is one of several unconventional shells compared in our roundup of alternative housing options, and it is the one whose structure is most often misunderstood, precisely because it looks so simple from outside: a steel box. It is not a box. It is a system, and the sections below take the system apart piece by piece.
2. How the Box Carries Load
The strength system has four parts. The corrugated walls come first: the corrugations are the structure — each fold is a mini-beam — and the wall panels carry the roof and stacking loads as shear walls, resisting the racking forces that would otherwise fold the box sideways. The corner castings and posts come second: the four corner columns carry the vertical stacking load, and they are the strongest points on the box, the places where the weight of the stack above enters and leaves. The roof bows are third, and the lightest of the four: the roof is NOT structural for snow or people — it simply spans between the top rails, keeping weather out. The floor completes the system: marine plywood over steel cross-members, strong for cargo, though it needs assessment for residential loads.
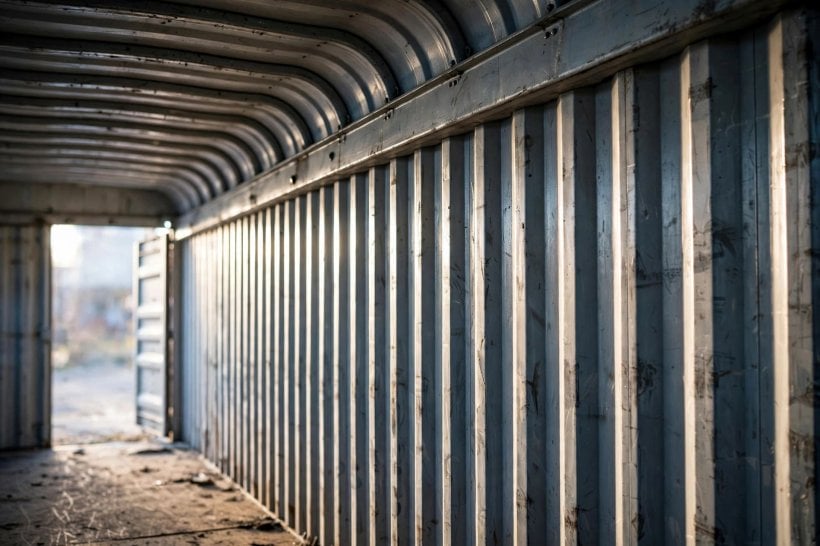
The key insight governs every later section: the walls do the work — every cut removes structure that must be replaced with framing. It also explains the roof’s limits. Because the roof bows only span between the rails, any snow load the roof carries arrives through the walls; run the numbers for your climate with our tiny house snow load calculator before assuming a container roof shrugs off a northern winter. A container is strong the way an eggshell is strong: enormously, in the directions it was designed for, and surprisingly fragile outside them.
3. Small Openings: The Under-4-Foot Rule
The engineering rules scale with the size of the hole. Small openings — under 4 feet wide — are the straightforward case: cut, then frame with a welded steel header (4-inch square tube or channel, sized to the span) and king and jack studs of steel or wood tied to the corrugation. The header picks up the load the removed corrugation folds were carrying across the top of the opening and delivers it to the studs at the sides, which carry it down past the cut. The wall’s shear path is interrupted only briefly, and the frame restores it.
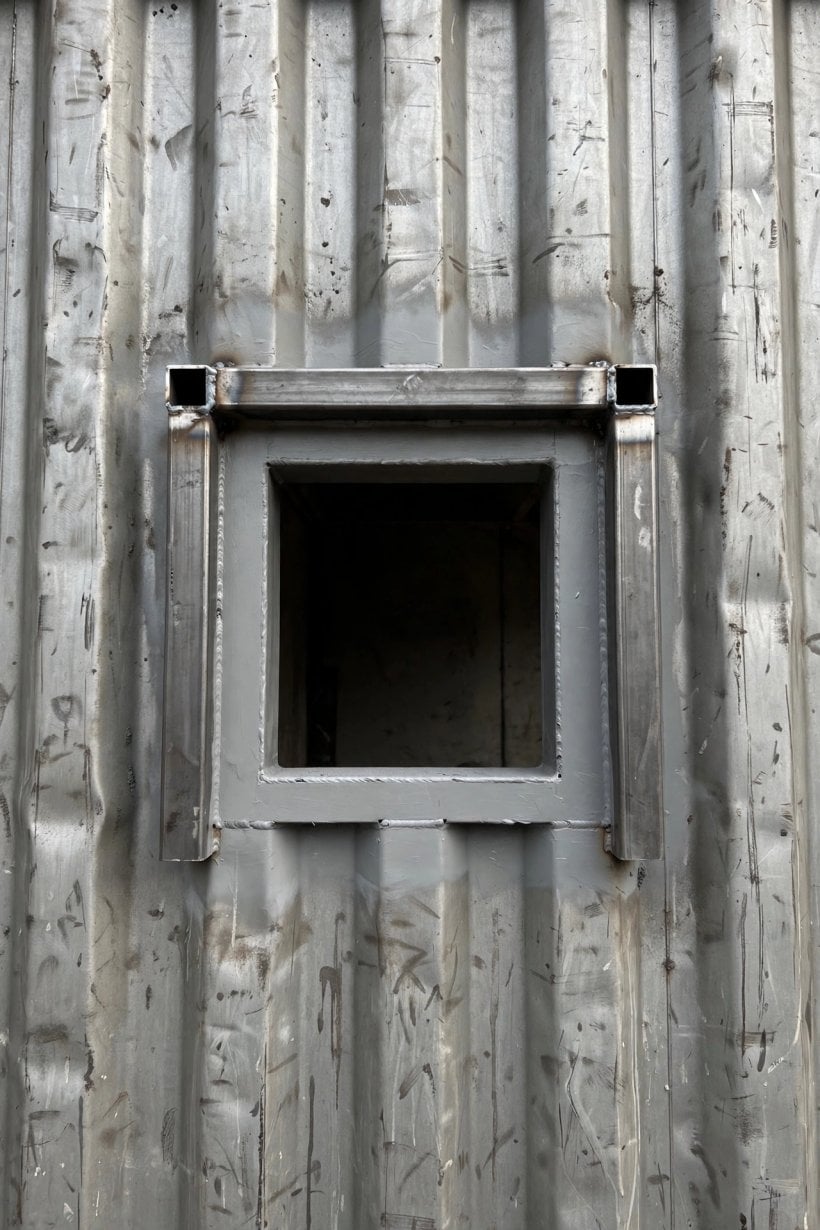
Most windows and standard doors live in this category, which is why the sensible way to plan them starts on paper: lay the openings out against one of the shipping container house floor plans so every cut stays in the small class wherever the design allows. The discipline that matters most here is sequence: never cut without a plan for what replaces the removed structure. The steel you take out must come back as a frame — ideally fabricated and ready before the cutter touches the wall, so the box is never left standing with its structure open and unreplaced.
4. Large Openings and Full Wall Removal
Large openings — 4 to 12 feet wide — leave the simple-header world behind. A cut that size needs a full moment frame: welded steel columns and a beam around the opening, because the removed corrugation’s strength must be fully replaced. This is structural steelwork, not carpentry — hire a welder who understands load paths, and treat the frame as a designed component, not a beefier version of a window header. The twelve-foot sliding-door opening from this guide’s introduction lives here, and so does its sagging roof when the frame is skipped or undersized.
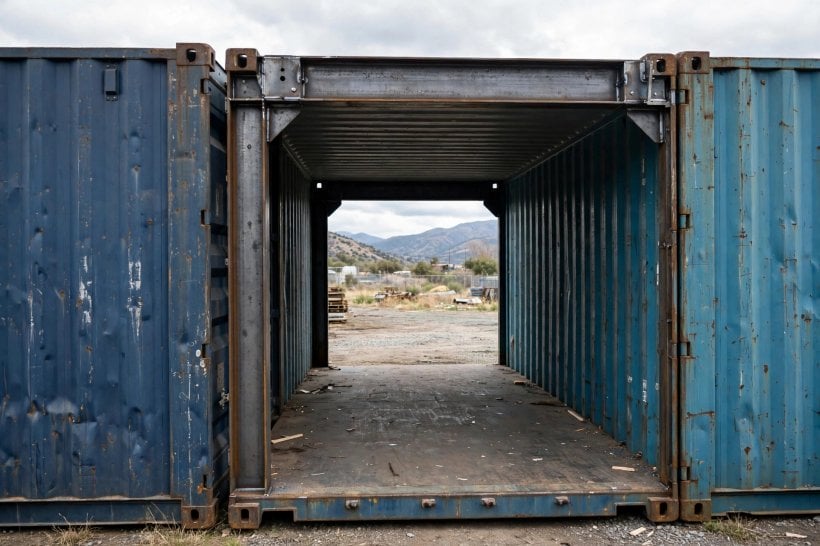
Full wall removal — joining containers side by side — is the extreme case. The entire wall’s shear capacity must be replaced with an engineered steel frame: columns plus a beam, often with moment connections. This requires a structural engineer’s stamp in most jurisdictions — the engineering is well documented standard practice, but the stamp is not optional decoration; it is how the replacement structure gets verified before the wall comes out. This is where shipping container home structural integrity is won or lost: not in the steel you keep, but in the steel you put back. The rule has no exceptions at any size — the bigger the opening, the more of the system you have removed, and the more deliberately the replacement must be designed.
5. The Corner Posts: Sacred Steel
Never cut the corner posts or corner castings. They carry the stacking loads and anchor the twist-locks; compromising them compromises the entire box. This is the one absolute in container conversion, and it extends beyond the posts themselves: for openings near corners, keep 2+ feet of intact wall at each corner, because the corner region is the highest-stress zone of the whole structure and cuts there need engineered reinforcement.
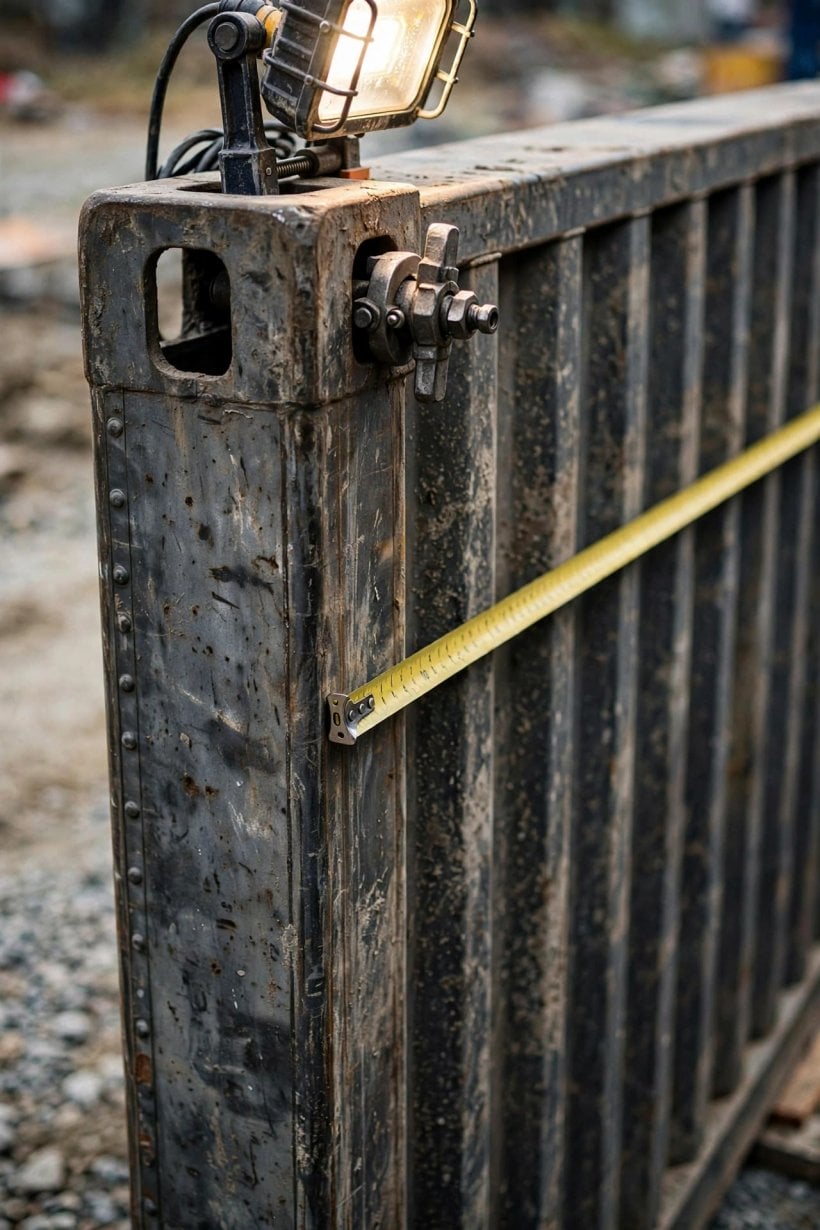
The castings matter beyond the post’s own strength. If stacking containers, the corner castings must remain fully functional — they are the connection, and damaged castings cannot lock. A cut that nicks a casting, or heat damage from careless cutting near one, can quietly retire the box’s ability to be stacked or lifted safely. The roof deserves the same respect at its corners: the roof is weak to begin with, so skylights and roof openings need curbs and reinforcement — and the roof will pond water, so slope it or cover it with a real roof. Corners first, roof second: protect the parts of the system that were never generously sized.
6. Welding vs Bolting: Joining and Cutting Steel
Welding is the standard for structural connections: full-penetration welds on moment frames, by a welder certified for structural work — a bad weld is worse than no weld because it looks strong. Bolting is viable for non-moment connections: through-bolts with backing plates, useful where welding access is poor or disassembly is wanted. The choice follows the connection’s job: if the joint must resist rotation as part of a frame, weld it; if it clamps components together in shear, bolts with proper backing plates serve well and can be undone.
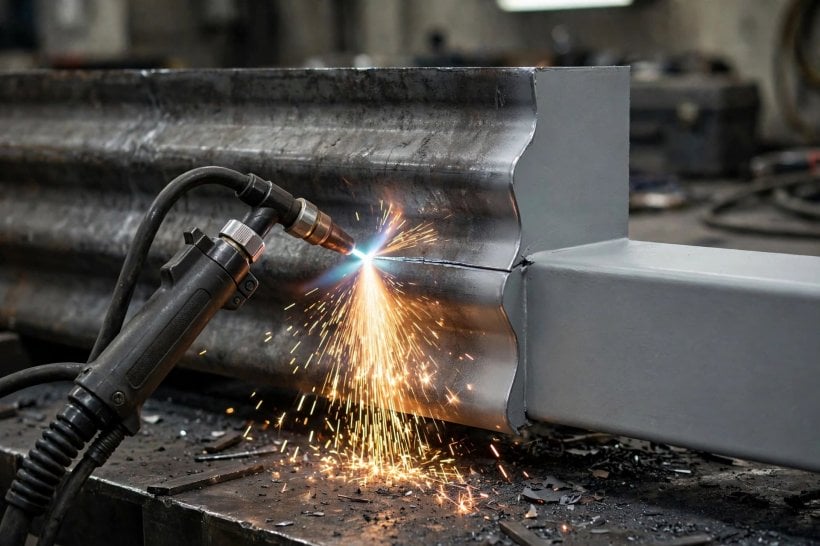
The cutting itself has a right tool. The plasma cutter is clean and fast — the right tool for finish cuts. The angle grinder works, but slowly, with ugly edges. The torch is the one to avoid for finish work: its heat warps the thin corrugation. Whatever makes the cut, the edge treatment follows immediately: grind cuts smooth and prime at once, because bare steel edges rust within days — the cut edge is the corrosion starting point for the whole wall. A conversion’s steelwork is judged years later at exactly these edges.
7. Rust: The Used-Box Reality
Most conversions start with a used box, so inspect before buying: roof dents (ponding means rust-through), door seals, floor condition, and the CSC plate, which tells you the box’s age and history. Rust treatment is a system, not a touch-up: wire-wheel to bare metal, apply rust converter, then marine-grade primer and paint — the full system. Spot-painting over rust is a 2-year fix, and on a structure you intend to live inside for decades, a 2-year fix is a scheduled failure.
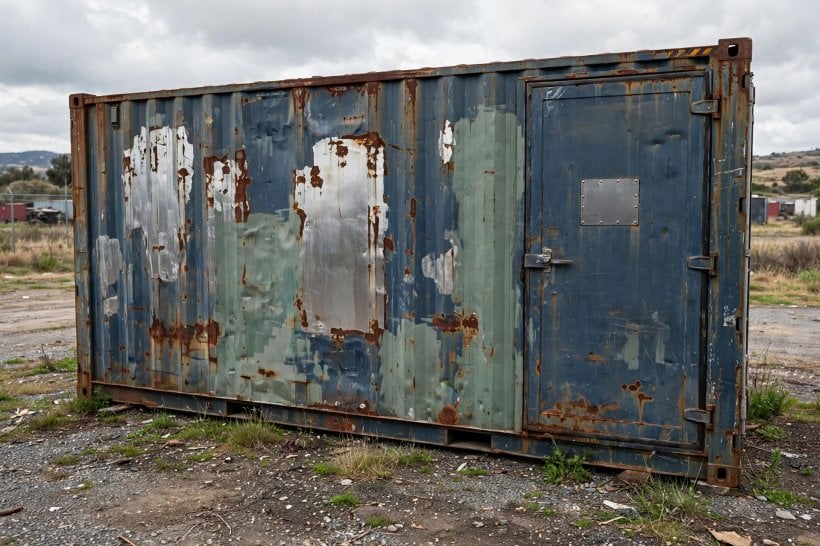
The budget follows the box’s grade. One-trip containers — used once, nearly new — run $3,000–5,000. Wind-and-watertight used boxes run $1,500–3,000, but budget $500–1,500 for rust remediation on top. That arithmetic narrows the apparent saving considerably: the cheaper box plus its remediation lands close to the one-trip price, with more work and more unknowns attached. Rust is also a structural question, not just a cosmetic one — section loss in a corrugation fold is strength loss in the shear wall, which is why the full treatment system matters on load-carrying panels most of all.
8. Contamination and Choosing Your Box
The used-box reality has a second half: what the box carried and what it was treated with. The floor is the first concern — marine plywood, often contaminated with pesticides — and many builders replace it outright rather than live on top of an unknown chemical history. Beyond the floor: industrial chemicals from cargo spills, and lead paint on older boxes. Test and remediate — or buy one-trip and skip the question.
That is the real argument for the one-trip premium. At $3,000–5,000 the one-trip box is nearly new: minimal rust, no remediation budget, a floor with one known journey, and a short, documented history on its CSC plate. The WWT box at $1,500–3,000 makes sense for workshops, storage-first projects and tight budgets where the remediation time is genuinely free. For a home, the contamination question alone usually settles it. Whichever grade you choose, the inspection from the previous section still applies in full — grade is a starting point, not a guarantee.
9. Insulation: The Steel Sweats
Steel is a thermal nightmare — insulate correctly or live in a condensation box. The interior standard is closed-cell spray foam directly on the steel, 2–3 inches giving R-13 to R-20: the foam is also the vapor barrier AND the air seal, which is why it is the standard for a reason. Its cost is space: you lose 4–6 inches of interior width. The alternative is exterior rigid foam plus cladding, which keeps the steel warm — no interior condensation — but changes the look and adds cost. The full method comparison, foam against the other materials, is covered in our guide to how to insulate a tiny house.
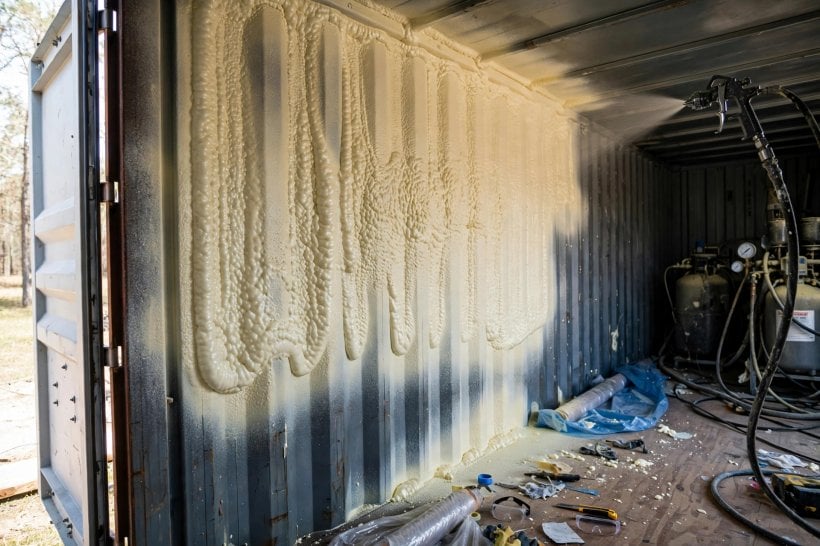
Two options are nevers. Never fiberglass batts against steel: condensation soaks them — the mold sandwich. And never uninsulated steel in any climate with temperature swings: it will rain indoors. Thermal bridging runs through all of it: the steel frame conducts around insulation, and spray foam’s continuity is its advantage. Moisture that does form needs somewhere to go and air that keeps moving, which is why insulation pairs with the ventilation discipline in our guide to tiny house ventilation — sealed steel and stale air are the mold recipe, in containers above all.
10. Foundations and Stacking
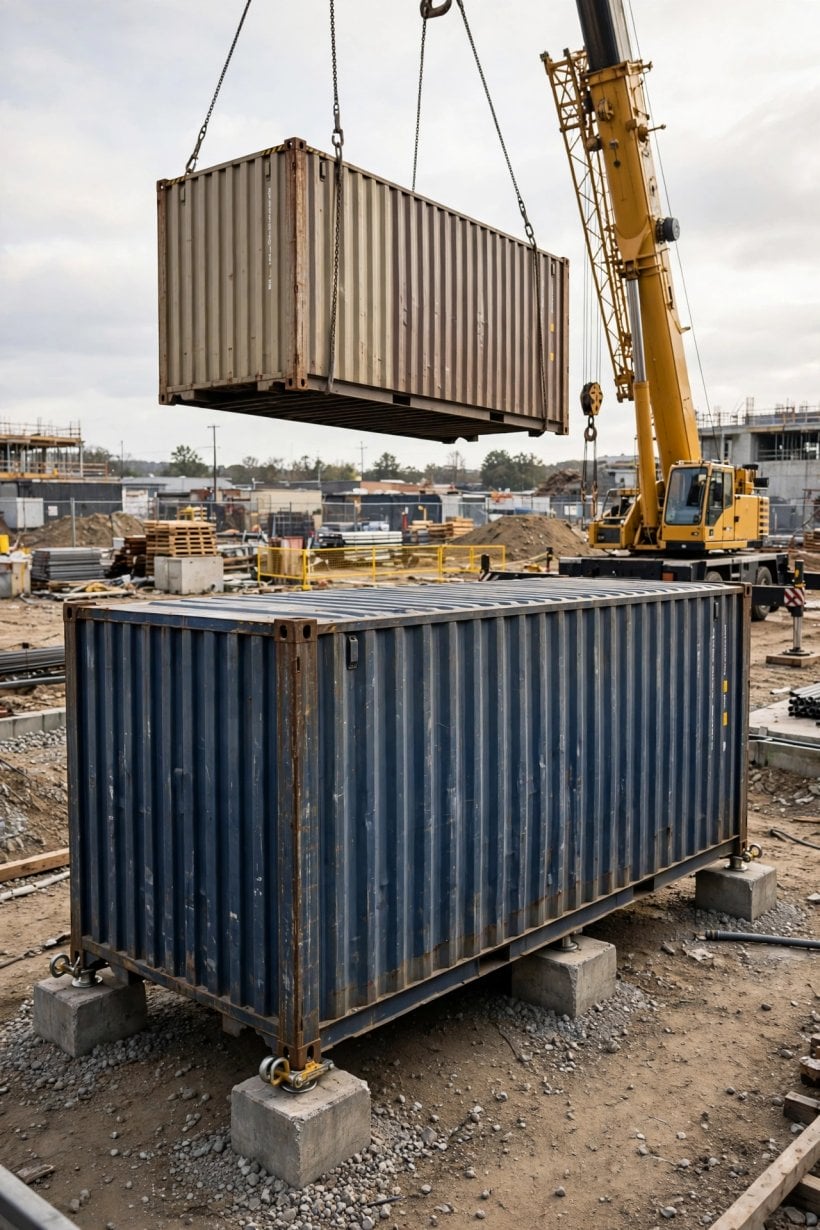
The foundation is refreshingly simple: piers at the four corners minimum — the corner castings want point support, and full slabs are overkill — with 6 piers for a 40-footer, at the corners plus midspan. Levelling is the part to get right: the box must sit level and twist-free, because a twisted box will not let its doors close. Level the piers, not the box — shimming a steel box into plane against unlevel supports builds the twist in permanently. Site preparation before the piers go in follows the same order as our guide to how to prepare land for a tiny house.
Stacking uses the designed connection: twist-locks at the corners, then weld or bolt for permanence, with the foundation engineered for the doubled load. Verify the lower box’s walls can carry the upper — they are designed for it, nine-high stacking, but only through the corner posts. And one caution closes the loop with the cutting sections: openings in the lower box of a stack need the engineer’s review. The loads are real, they arrive through the corners and walls you may have cut, and the review is cheap insurance against the most loaded structure in the whole project.
Final Considerations
Respect the corrugation — replace every bit of structure you cut. Never touch the corner posts. Weld structural frames like lives depend on it, because they do. Remediate rust and contamination before building, spray-foam the steel, and found it on level piers at the corners. The container is a brilliant starting point — but only if you understand what makes it strong and refuse to casually remove it. For the wider build sequence this steelwork sits inside, see our step-by-step guide to how to build a tiny house.




0 Comments