

A walipini takes the greenhouse underground, where the earth itself steadies the temperature through the coldest weeks. Built into a pit with one angled, light-facing roof, a sunken greenhouse can keep growing long after surface beds have given up for the year.
This guide walks through the whole build in order: choosing the ground, digging the pit, glazing the roof, draining water away, and tending the beds inside, from the first spadeful to the first harvest.
1. At a Glance: The Walipini in Brief
Everything in this build serves one central idea: earth-sheltered growing. The pit walls hold warmth, the angled roof gathers low winter light, and careful drainage keeps the whole structure dry. The table below sums up the design before the step-by-step sections unpack each part in turn.
| Pit Depth | 6–8 ft, below grade |
| Growing Season | Year-round, extended well beyond surface beds |
| Glazing | South-facing, angled to the winter sun |
| Earth Walls | Thermal mass for stable temperatures |
| Drainage | Channel water away from the pit |
| Sun Angle | Maximum winter exposure |
| Venting | Prevents humidity build-up |
| Water Table | Keep it below the pit floor |
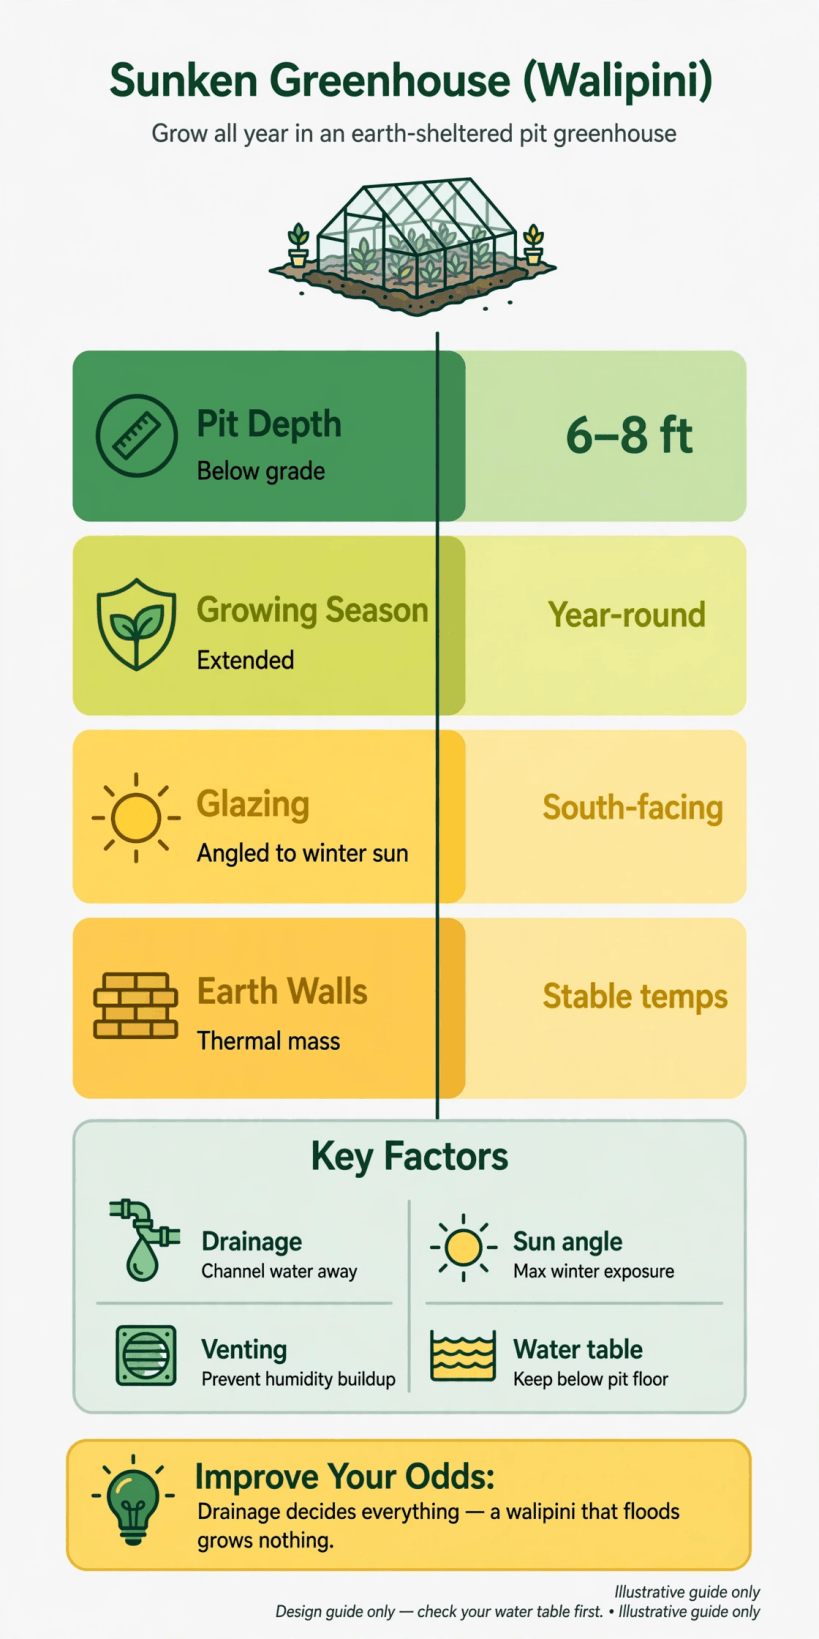
The walipini at a glance: a 6–8 ft pit, south-facing glazing, earth-wall thermal mass, and drainage, venting and water table as the deciding factors.
Keep those four key factors in mind as you read on. Drainage channels water away, the sun angle maximises winter exposure, venting prevents humidity build-up, and the water table must stay below the pit floor. Get them right and the structure rewards you every season; get drainage wrong and, as the summary warns, a walipini that floods grows nothing.
2. What a Walipini Is and How Earth Sheltering Works
A walipini is a pit greenhouse: a rectangular excavation with growing beds at the bottom, earth or earth-backed walls, and a transparent roof set at an angle above ground level. Instead of fighting the weather with heaters and fans, it borrows the most reliable temperature regulator on any plot, the soil itself. A short distance below the surface, ground temperatures stop swinging with the day and the season. They stay comparatively cool in a heatwave and comparatively mild in a frost, and a structure sunk into that stable layer shares its calm.
The roof does the opposite job. Where the walls borrow steadiness, the glazing gathers change: low winter sunlight enters at a welcoming angle, warms the air, the beds and the earth walls, and the walls then release that stored warmth slowly through the night. This daily exchange, gain by day and release by night, is the whole engine of the design. Nothing about it needs fuel, wiring or moving parts, which is why the idea suits off-grid and low-input growing so well.
It also explains the design’s limits. A pit greenhouse receives light from one direction only, so it favours crops that thrive in bright but not scorching conditions, and it asks more of its builder at the digging stage than any surface structure. If you are still choosing your plot, read our guide to how to buy land for a tiny house alongside the placement survey in every tiny house placement option explained, because the right ground matters more here than any later detail.
3. Choosing the Site: Sun, Slope and Water
Site selection decides more of your success than any building skill you bring afterwards. Start with the sun. The glazing faces the equator, south in the northern hemisphere, so you need a spot where that aspect stays open through winter, when the sun rides low and fences, trees and buildings throw their longest shadows. Visit the plot at different times of day, and picture the winter scene rather than the summer one, because a site that feels sunny in July can sit in shade for the very weeks the greenhouse exists to cover.
Next, read the slope. A gentle slope is a friend: it lets you dig into the high side, step in at the low side, and lead water away downhill without pumps or deep drains. Flat ground can work, but it asks more digging and more deliberate drainage. Avoid hollows entirely. A hollow collects cold air and surface water, the two things this structure least wants, and no amount of careful building fully redeems a flooded basin.
Finally, investigate the water you cannot see. Dig a test hole where the pit will go and watch how it behaves after rain. Soil that drains freely is ideal; heavy, waterlogged ground warns that the water table sits too close to your planned floor. Local knowledge helps here: neighbours, well diggers and gardeners nearby all know where water lingers. Choose slowly. Moving a planned pit on paper costs an afternoon; moving a dug one costs a season.
4. Planning the Pit: Depth, Size and Layout
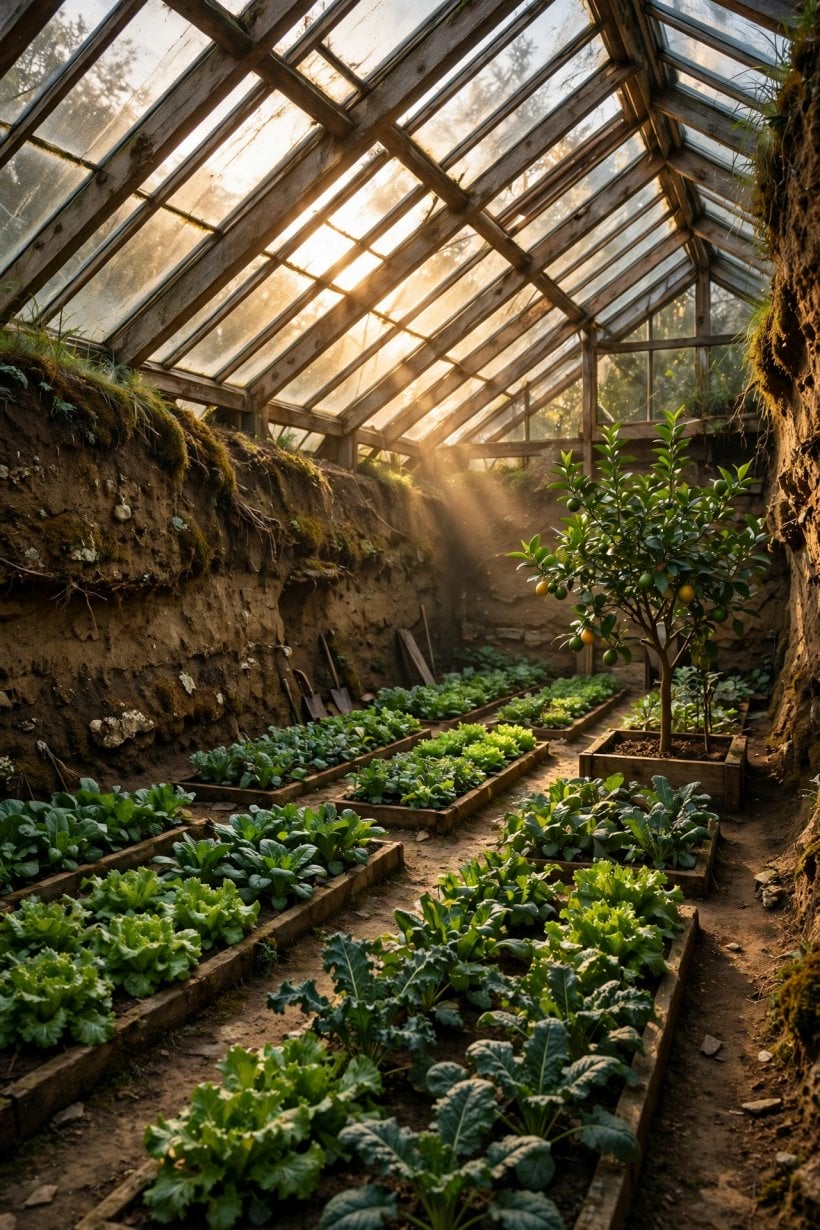
The design summary sets the pit at six to eight feet below grade, and that range deserves respect. Shallower, and the walls hold too little of the earth’s steadiness to carry crops through hard weather; deeper, and light struggles to reach the far corners, access grows awkward, and the digging multiplies. Within the range, let your climate and your soil guide you: colder sites and free-draining ground favour the deeper end, while heavy ground and a high water table argue for staying nearer the top of it.
Size the pit to the garden you can actually tend. A modest pit, well planted, outgrows an ambitious one that exhausts its keeper, so sketch the beds first and the excavation second. Plan beds along the sunlit side where light lands longest, a working path where you can kneel, carry and turn with a basket, and headroom at the door end for tools and a water butt. Leave the shaded strip beneath the high wall for storage, seedlings in transit, and crops that prefer cool roots.
Lay the whole plan out on the surface with pegs and string before any digging, then stand inside the outline at different hours and watch where the light falls. That rehearsal costs nothing and reveals awkward corners while they are still imaginary. Gardeners planning beds above ground will find the same layout thinking in our guide to herb garden layouts by bed size and sun, whose sun-first logic applies below ground just as well.
5. Digging and Building the Earth Walls
Excavation is the heavy chapter of the build, and pacing matters more than speed. Strip and save the topsoil separately from the subsoil: the topsoil returns to the beds later, rich and alive, while the subsoil can build up the banked side or leave the site. Dig in stages, checking levels and the string outline as you go, because walls drift out of true quietly and are far easier to correct at half depth than at full depth.
As the pit deepens, think about what the walls must do. They retain the surrounding earth, they store warmth, and they face a damp environment for years, so they need both strength and a finish that shrugs off moisture. Builders answer this in several traditional ways: rammed and stabilised earth where the soil suits it, stone where stone is plentiful, or block and brick where a crisp, durable face is wanted. Whichever you choose, batter or step the wall slightly as it rises, keep its footings on firm, undisturbed ground, and cap the top so rain sheds outward rather than soaking down behind the face.
Safety belongs in this section, not an afterthought. Deep, unsupported excavations can slump, so work in dry weather where you can, shore or bench wide cuts, never leave a tall sheer face standing over a weekend of rain, and keep spoil heaps back from the edge so their weight does not load the wall. A walipini is a patient project; the pit you dig carefully in stages is the one that stands for decades.
6. The Roof and Glazing: Letting Winter Light In
The roof is the only part of the structure that meets the sky, and it has three jobs: admit maximum winter light, shed weather, and open for ventilation. Its angle is the critical decision. The glazing tilts toward the low winter sun so that light arrives close to square-on during the coldest months, which is when every ray counts most; in summer the same angle presents a more oblique face to the high sun, softening the midday glare the pit would otherwise trap.
Frame the roof strongly and simply. It spans the pit, carries wind and, in many climates, snow, and supports glazing that must stay sealed against driving rain, so treat it as a small building roof rather than a garden cloche. Provide a ridge or high-side vent along the top and an opening at the low side as well: warm, moist air rises and escapes at the top while cooler air draws in below, and that through-flow is what keeps the interior sweet on still, bright days.
Choose glazing for durability and light rather than novelty, keep panes or sheets replaceable one at a time, and detail every junction so water runs off and away, never into the pit. Growers weighing powered extras against passive design will find useful context in how much solar power a tiny house needs, a reminder that the most reliable energy in a smallholding is usually the kind designed in, not plugged in.
7. Drainage: The Detail That Decides Everything
Every experienced pit grower tells the same story: drainage decides everything. A sunken structure sits exactly where water wants to go, so the build must intercept that water above the pit, carry it around the pit, and give any that arrives a way out that never crosses the beds. Begin at the surface. Grade the ground around the rim so rain falls away on every side, and cut a shallow diversion channel on the uphill side to catch slope water before it ever reaches the walls.
Inside, give the floor its own quiet system. A gravel-filled trench along the low edge, a sump at the lowest corner where a bucket or small pump can clear rare storm water, and beds built slightly proud of the paths all keep roots in moist soil rather than standing water. Line and finish wall bases so splashing and seepage dry quickly, and keep irrigation modest and targeted: drip lines and cans at the roots add water where plants use it, while overhead soaking loads the air with humidity the vents must then clear.
Then respect the one absolute from the design summary: the water table must stay below the pit floor. If your test hole fills from below, or the floor stays spongy long after rain, the honest answers are to raise the design, shallowing the pit and banking earth around a partly raised structure, or to choose another spot. No membrane, sealant or optimism converts a seasonal pond into a greenhouse, and recognising that early is good building, not defeat.
8. Inside the Greenhouse: Beds, Paths and Planting
With the shell dry and bright, arrange the interior around the light. The sunniest strip, directly beneath the glazing, belongs to the crops that ask most of the season: salads and herbs through winter, warmth-loving fruiting plants as days lengthen. The middle ground suits leafy greens and roots that enjoy steady, unhurried growth, and the cooler shade near the high wall is not wasted space but a nursery zone for seedlings, cuttings and plants resting between crops.
Build beds you can reach from the path without stepping on the soil, because compacted bed soil drains badly and grows poorly, two faults this structure works hard to avoid. Keep paths firm, dry and wide enough for a kneeling pad and a harvest basket. A water store inside, filled from the roof or carried in, buffers temperature as well as thirst, releasing a little warmth overnight while keeping irrigation close at hand.
Plant for succession rather than spectacle. Small, frequent sowings of fast crops keep the beds earning through the short days, while slower staples occupy their corners undisturbed. Rotate families around the beds season by season so soil pests and diseases find no permanent home, and feed the soil with compost whenever a crop clears: in an enclosed pit, the soil is a closed economy, and what you return to it is exactly what the next planting has to spend.
9. Ventilation, Humidity and Seasonal Care
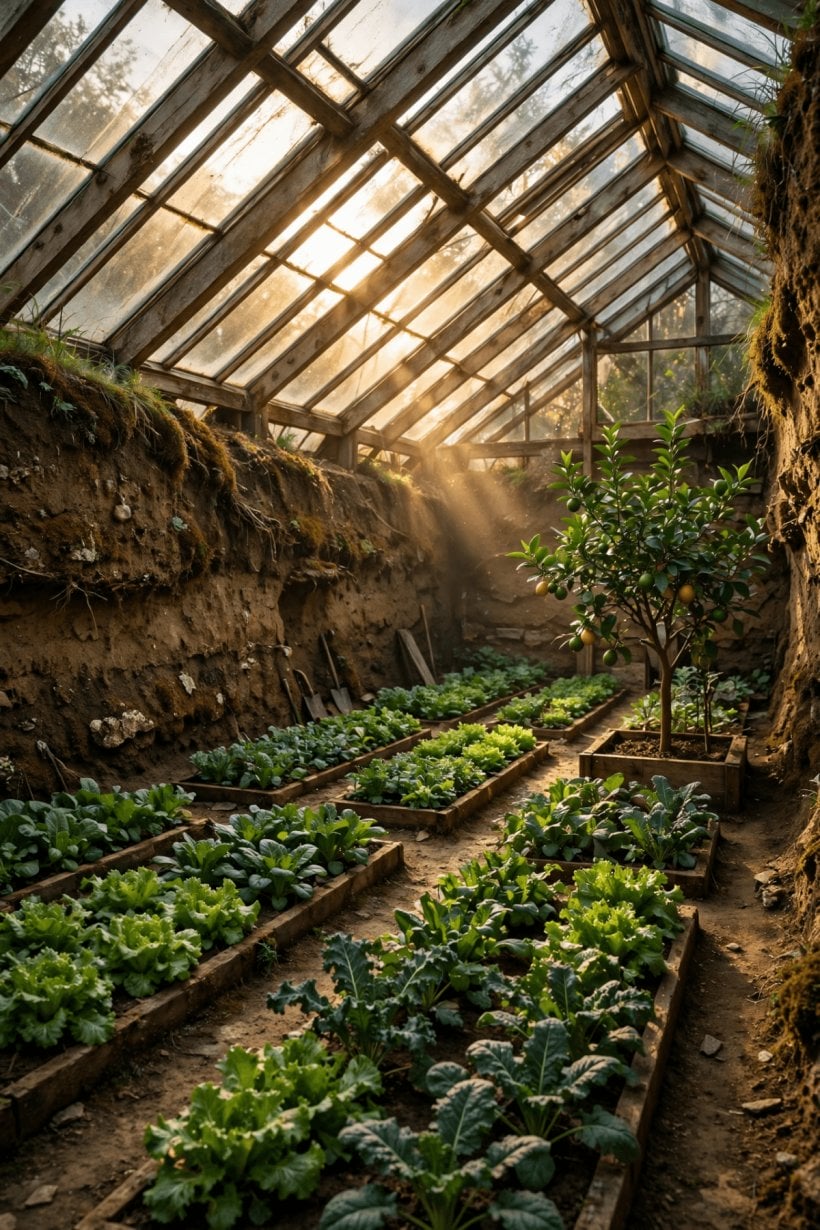
Still, damp air is the pit’s quiet enemy. Plants transpire, soil evaporates, and in an enclosed hollow that moisture has nowhere to drift, so condensation gathers on the glazing, drips back onto foliage, and invites the moulds that thrive in cool, wet stillness. The design summary lists venting as a key factor for exactly this reason. Open the high vent whenever the sun warms the roof, even briefly in midwinter, and let a short daily exchange of air reset the interior before humidity builds.
Seasonal care follows a rhythm. In winter, vent on bright days, water sparingly and in the morning, and clear condensation-friendly clutter so air can move. In spring, increase watering and feeding as growth quickens, and begin shading or wider venting on the first fierce days, which arrive in a pit earlier than gardeners expect. Summer is the test of ventilation: both vents open, doors ajar where the design allows, and tender crops moved toward the cooler wall. Autumn asks for a deep clean, clearing spent plants and washing glazing so the returning low sun enters through glass at its brightest.
Tend the structure as faithfully as the crops. Check roof seals before the wet season, clear the diversion channel whenever leaves gather, and walk the walls after heavy rain looking for soft spots or slips. Ten minutes of inspection after each storm is the cheapest insurance this building can have, and it is also, many growers find, the pleasantest chore on the plot, as in the kitchen-garden cooking covered by the complete solar oven guide.
10. Effort, Costs in Kind and Common Mistakes
Judge this project honestly before you begin. Its running demands are famously light, no fuel, no power, little bought-in warmth, but its opening effort is the heaviest of any small greenhouse: a great deal of earth moves exactly once, by machine or by hand, and walls and roof must be built to building standards rather than garden standards. The fair comparison is not with a polytunnel’s price tag but with its lifespan and its heating bills, weighed over many seasons in the qualitative, whole-picture way set out in an honest decision guide to getting a tiny house.
The common mistakes repeat so reliably that they read as a checklist. Digging before testing the water table. Facing the glazing by guess instead of by the winter sun. Skipping the uphill diversion channel because the day of digging was dry. Building beds too wide to reach, then compacting them by treading. Sealing the roof so proudly that no vent opens, and growing mould in a monument to airtightness. Each is a planning error, not a building error, which is good news: all of them are avoidable at the pegs-and-string stage for free.
The last mistake is scale. A pit sized beyond its keeper’s hours fills with neglected corners, and neglected corners in a damp hollow become problems. Build the smallest version that covers your winter ambitions, keep it immaculate for a full year, and let success argue for an extension. Earth-sheltered growing rewards patience at every stage, and the build itself is simply the first lesson in it.
Final Considerations
A walipini asks a great deal of its builder for a few weeks and very little of anyone ever after. Give it a sunny, free-draining site, a pit six to eight feet deep, south-facing glazing angled to the winter sun, earth walls that store the day’s warmth, drainage that never sleeps, and vents that open whenever the sun does, and it will repay the work with growing weather in the middle of winter. Start with the test hole, plan on paper, and let the ground itself cast the deciding vote. Readers simplifying the rest of small-space life alongside the garden will enjoy marie kondo folding for tiny wardrobes and best dumb phones for minimalists, two companions to the same calm, low-input philosophy that this earth-sheltered pit grows by.


0 Comments