
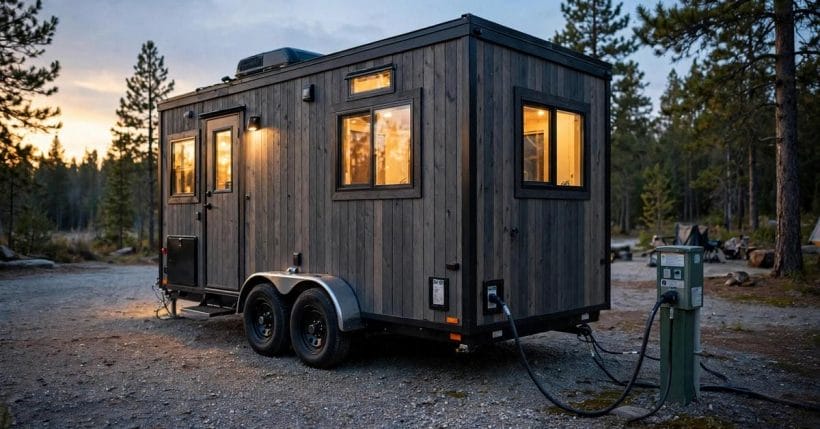
Every light, socket and appliance in a small home traces back to one drawing and one panel. Understanding your tiny house wiring diagram at the planning stage helps you place outlets where life actually happens, size the service for your biggest day, and talk to an electrician in a shared language.
Read this guide as a planning overview, not a how-to manual. Electrical work is licensed, inspected work: use these pages to design and to ask better questions, and leave final hookups to a licensed electrician.
1. Tiny House Electrical at a Glance
A tiny home’s electrical system has the same anatomy as a big house’s, compressed: power arrives through an inlet or a permanent connection, lands in a main panel, and leaves again on a handful of branch circuits that feed lights, outlets and appliances. Most small homes run a modest number of circuits, commonly somewhere in the range of four to eight, because there are simply fewer rooms to serve. Shore power inlets come in two common standards, a smaller and a larger capacity, and the choice between them is one of the most consequential in the whole build. Wire sizes follow load, with the gauges used for ordinary branch circuits in small homes falling in a familiar, narrow band. The table below gathers these planning figures in one place. Treat every one of them as a typical figure for early design conversations, not a specification: your electrician sizes the real system for your loads, your site and the rules that apply where the home will live, and an inspector verifies it.
| Component | Typical Planning Figure | Notes |
|---|---|---|
| Shore power inlet | Two common standards, 30A or 50A | Choose for your biggest day, not your average one |
| Main panel | About 4–8 circuits | Breakers sized and labelled circuit by circuit |
| Wire gauge | Chosen by load, 12–14 AWG typical | Final sizing belongs to your electrician |
| Off-grid option | Battery bank plus inverter, solar ready | Pairs with shore power in many hybrid builds |
| Key factors | Amps, panel labelling, grounding, inspection | Size for load, label clearly, bond the ground, get it inspected |
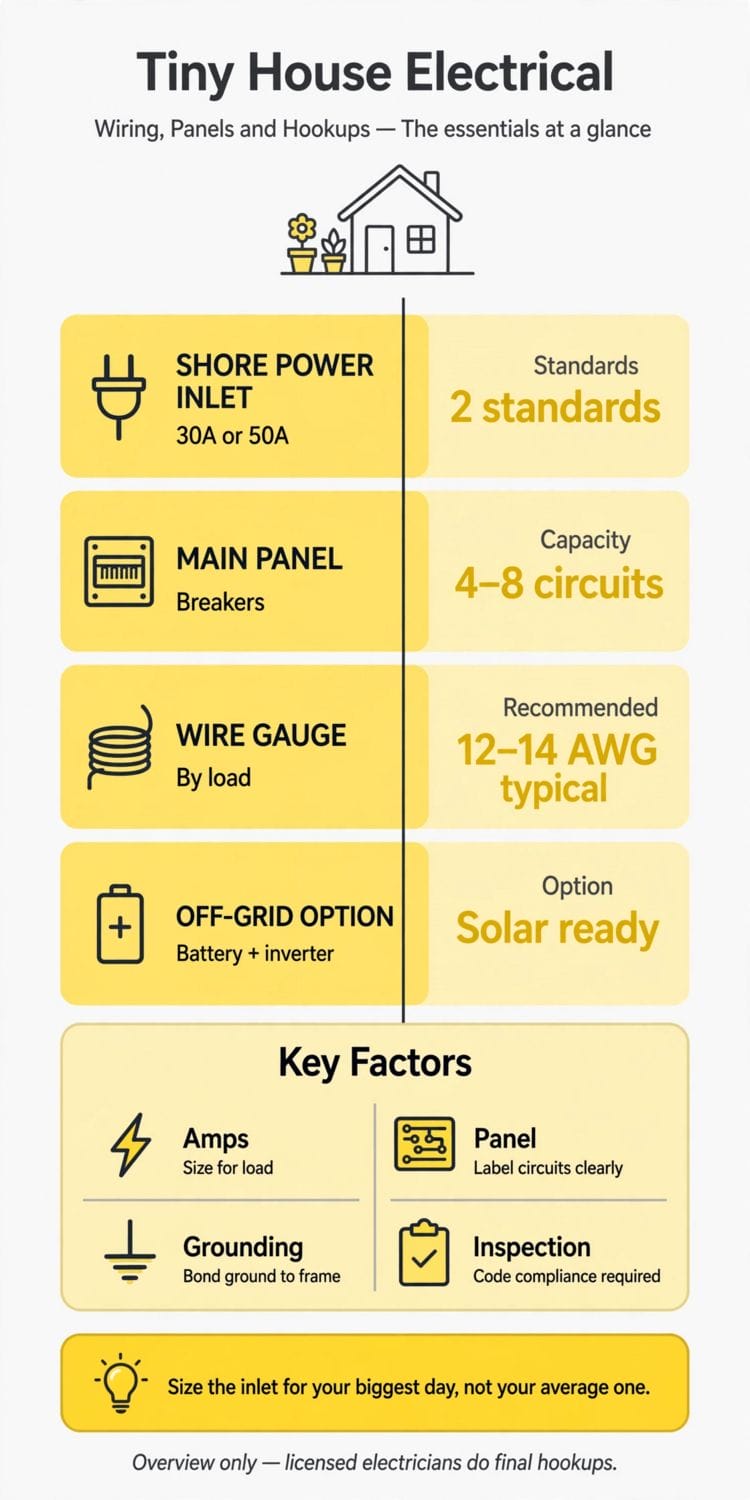
The essentials at a glance: the two shore power standards, a compact panel of four to eight circuits, wire gauge chosen by load, the battery-and-inverter off-grid option, and the reminder that this is an overview, with final hookups for licensed electricians.
Four factors recur through every section that follows: size the system for the real load, label the panel so a stranger can read it, ground and bond everything the way your electrician specifies, and treat inspection as a milestone to plan for rather than a hurdle to dodge. Hold those four, and the details below fall into place.
2. How Power Flows Through a Tiny Home
Follow one electron’s journey and the whole system makes sense. Power starts outside the home: at a pedestal in a park, a connection on a host property, a metered supply on your own land, or, off grid, at your own generation and storage. It enters through a rated inlet or a permanent service connection, travels a short, protected run to the main panel, and there it meets the main breaker, the single switch that can silence the whole home. From the panel, branch circuits radiate outward, each protected by its own breaker, each feeding a defined set of lights, outlets or a single hungry appliance. Neutral and ground conductors run alongside throughout, and the whole system is bonded and earthed in the manner your electrician and local rules require for a structure of this type.
Seeing the flow exposes the planning questions that matter. Where does power enter, and is that point reachable, weather-protected and close to the panel? How many circuits does your lifestyle genuinely need, and which loads must never share one? What happens, and what stays alive, when the main breaker trips or the external supply fails? These are design questions, not wiring instructions, and they belong at the same table as the floor plan and the plumbing runs. Our building a tiny house checklist sequences them that way, because a panel position chosen late has a way of colliding with a window, a stair or a water line chosen earlier.
3. Shore Power: Choosing Your Inlet
For a home on wheels, the inlet is the front door of the electrical system: the weather-rated socket, usually mounted on an outside wall, into which the supply cord plugs. Inlets come in two common standards, a smaller-capacity version long associated with recreational vehicles and a larger-capacity version that can carry substantially heavier simultaneous loads. The right choice is a lifestyle question disguised as a hardware one. Add up your biggest plausible moment: heating or cooling running, water heating recovering, cooking underway, a kettle or hairdryer on top. If that moment fits comfortably within the smaller standard with margin to spare, it can serve you well and matches the pedestals found in many parks. If your biggest moment strains it, the larger standard buys headroom you will bless every winter evening.
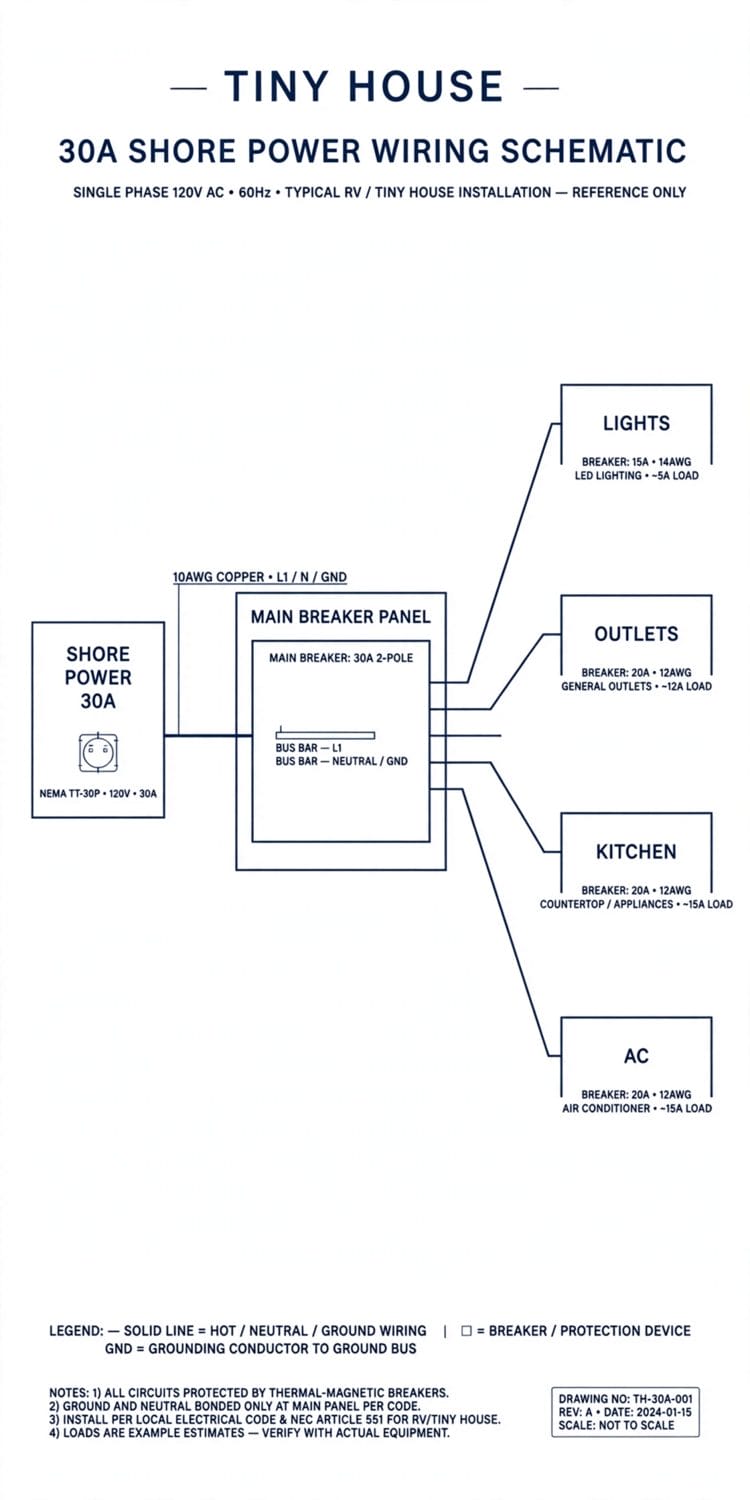
Adapters exist to step between standards, and they have their place for travel, but they do not create capacity that is not there; plugging a hungry home into a smaller supply through an adapter simply moves the limit upstream, where a tripped pedestal breaker will enforce it. Think, too, about the cord itself: its length, its storage, its route across a wet site, and an inlet position that keeps the connection off the ground and out of puddles. If your home will connect permanently on your own land instead, the arrangement changes and so do the approvals involved, which is why site power belongs in the same conversation as our guide to preparing land for a tiny house, where services are planned before the home arrives.
4. The Main Panel: Breakers and Circuits
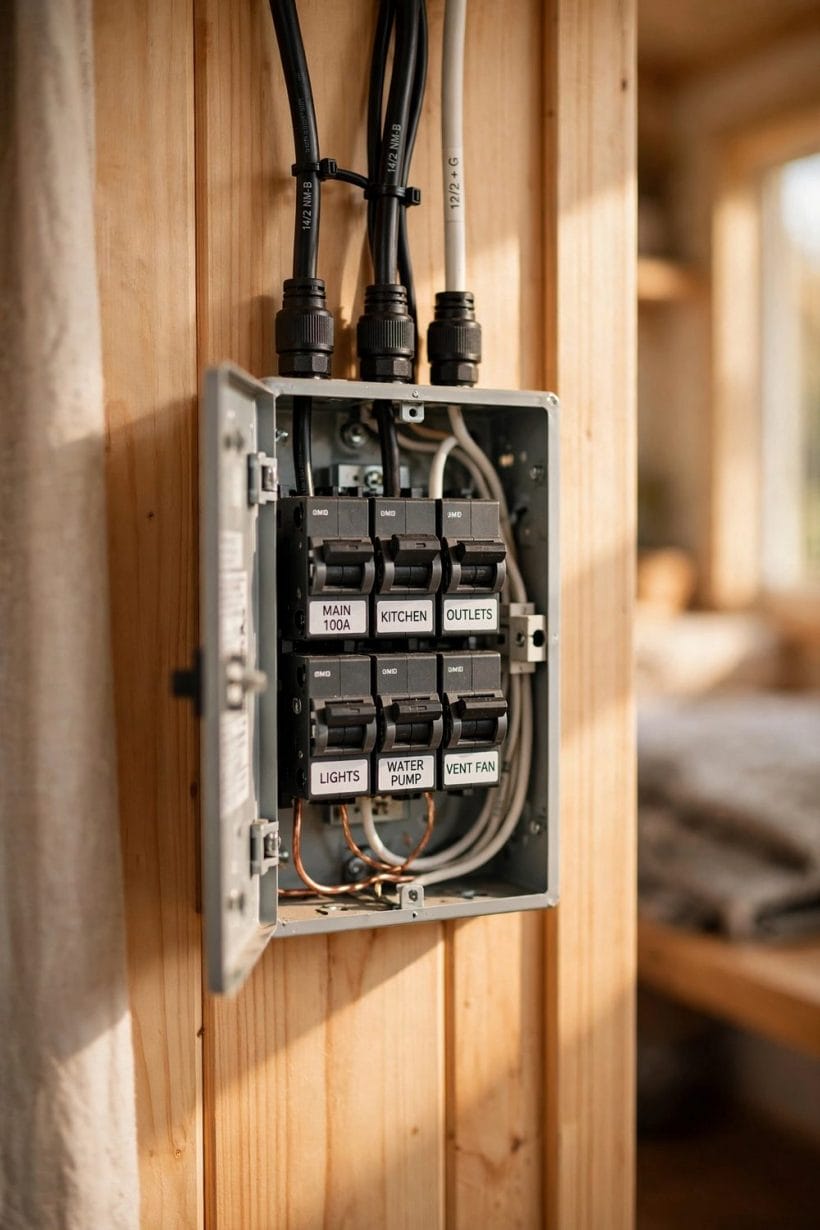
The panel is the system’s control room, and in a tiny home it is usually a compact unit with a small bank of breakers, commonly somewhere around four to eight circuits. Good circuit planning is mostly separation: lights apart from outlets, so a tripped breaker never leaves you entirely in the dark; the kitchen on its own circuit or two, because that is where hungry appliances cluster; heavy single loads, heating, cooling, water heating, cooking, each given the dedicated provision your electrician specifies; and outdoor or bathroom outlets grouped where their extra protection requirements can be handled together. The aim is a panel where any single fault takes down the smallest sensible slice of the home.
Two habits separate a professional panel from a confusing one. The first is labelling: every breaker marked clearly, in words a guest or a future buyer can act on at midnight, ideally backed by a printed circuit directory kept with the home’s documents. The second is spare capacity: an empty slot or two and physical room in the panel cost almost nothing at build time and are gold later, when a heat pump, a washer-dryer or a workshop outlet joins the household. Panel position matters as well: accessible without moving furniture, reachable standing on the floor rather than in the loft, and sensibly separated from water sources. Your electrician will confirm the exact equipment and arrangement that satisfy your local requirements and the classification of your home, and that confirmation is part of the design, not a final rubber stamp.
5. Reading a Wiring Diagram: Symbols and Circuits
A wiring diagram is the home’s electrical story drawn in shorthand, and you do not need to be an electrician to read the plot. At its simplest it shows the panel, each circuit leaving it, and the devices strung along each circuit in the order the cable visits them: outlets as small marks along a wall, switches paired by dashed lines to the lights they control, fixed appliances as named blocks. Symbols vary a little between drafters, but a legend almost always travels with the drawing, and tracing one circuit at a time with a finger, from breaker to last outlet, turns a bewildering web into a set of simple lists.
Read your diagram the way you would proofread a letter, hunting for the mistakes that are cheap now and expensive in a finished wall. Is there an outlet where the desk will live, and one beside the bed at pillow height? Does the kitchen circuit reach both worktops? Are switches where a hand falls when entering each room in the dark, including at the loft stair, a detail our guide to tiny house stairs flags from the layout side? Are the exterior light and the entry outlet on the diagram at all? Walk the drawing against the floor plan room by room, as we suggest doing for layouts in our guide to tiny house dimensions, and mark every change in pencil. The diagram your electrician finalises becomes part of the home’s permanent record, worth keeping with the manuals long after the build crew has gone home.
6. Wire Sizing: Gauge Follows Load
Every conductor in the home is chosen for the load it must carry and the distance it must carry it. Heavier loads and longer runs call for heavier cable; light loads on short runs can use lighter cable, and the gauges found on ordinary branch circuits in small homes sit in a familiar narrow band, with the heavier end used where demand is greatest. Undersized cable is not a saving; it is a heating element hidden in a wall, which is why sizing is a calculated decision made with proper tables and your actual loads, not a guess or a habit. Breakers and cable are a matched pair in this logic: the breaker exists to protect the cable, so the two are always specified together by whoever designs the circuit.
For the owner, the useful skills are simpler: knowing that gauge follows load, that long runs to a detached inlet or a far room can change the answer, and that any future load, a bigger heater, an added appliance, a hot tub on the deck, deserves a conversation before it is plugged in rather than a surprise after. If you are buying a finished home, ask for the wiring diagram and the panel schedule, and have an electrician sanity-check the system against how you intend to live in it. If you are building, keep the as-built diagram updated every time a circuit changes during the build. Electricity forgives tidy records; it is improvised, undocumented changes that come back as mysteries, nuisance trips and, at worst, hazards years later.
7. Lighting and Outlets: Planning Room by Room
With the backbone understood, the pleasurable part is planning points room by room. Kitchens want outlets along the worktop for the appliances that migrate, plus provision for the fixed ones, and layered lighting that puts real light on the chopping board rather than behind the cook. Living areas want outlets at the media wall, at the desk position and beside the main seat, with reading light that does not depend on the ceiling fitting. Bathrooms concentrate risk and need together: power for grooming at the mirror, kept at the distances and with the protections your electrician specifies for wet rooms, and never improvised. Sleeping lofts want a switch reachable from the pillow, a light for the stair, and an outlet that spares anyone from trailing a charging cable across the bed.
The thread connecting these choices is honesty about behaviour. Count the devices that charge overnight. Notice where laptops, tools and seasonal appliances actually gather. Plan the switch positions around furniture you own, not furniture in a catalogue. Our room-by-room tour of tiny house interiors approaches the same rooms from the design side and pairs naturally with this one: read them together and the outlet plan and the furniture plan stop competing for the same walls. Add a couple of outlets beyond the plan wherever the budget allows; in finished walls, the cheapest outlet is always the one installed before the lining went on.
8. Off-Grid Power: Batteries, Inverters and Solar
Many tiny homes are built hybrid: a shore inlet for serviced sites and a battery-based system for freedom between them. The off-grid side has its own anatomy. Generation, most commonly roof or ground solar panels, feeds a charge controller; the controller fills a battery bank; an inverter turns the batteries’ stored direct current into the alternating current the home’s outlets expect; and a changeover arrangement decides, safely and unambiguously, which source is feeding the panel at any moment. Sizing runs backwards from your daily consumption: list what must run, for how long, on the darkest week you plan for, and let that arithmetic, done with your installer, set the panel area and battery capacity rather than optimism.
Honesty about loads is the whole game off grid. Heating water and heating air with electricity are the two hungriest jobs in a home, and many off-grid builds give them to another fuel, reserving the batteries for light, refrigeration, pumps, electronics and small appliances. Weight and space join the calculation in a home on wheels, because battery banks are heavy and every component, panels, controller, inverter, batteries, cabling, must live somewhere serviceable. A solar-ready build, with roof structure, cable routes and panel space planned even if the array comes later, is the smart middle path for owners who are not ready to commit. Keep generation, storage and the main panel in one documented diagram, and have the final system installed and checked by professionals who work with these systems routinely.
9. Grounding, Protection and Wet Areas
Protection is the part of the system designed for the day something goes wrong. Grounding and bonding give fault current a deliberate, low-resistance path so breakers trip decisively instead of leaving metalwork live; in a home built on a steel trailer or raised on metal supports, how the structure itself is bonded is a specific question for your electrician, answered in the context of your build, not borrowed from a forum. Protective devices layer on top of that foundation: breakers guard cables against overload, and ground-fault and arc-fault protection, fitted where your electrician and local rules require, guard people and timber against the fault types ordinary breakers cannot see.
Wet areas concentrate the care. Bathrooms, kitchen sinks, exterior outlets and anything near a water source get the heightened protection and the correct equipment for the location, and exterior connections live in weather-rated enclosures with covers that protect them in use, not just at rest. Raised homes add one more wrinkle, since much of the cabling may run beneath an elevated floor, reachable and inspectable but exposed to weather and wildlife, a situation our feature on the tiny house on stilts discusses from the services side. None of these decisions should be improvised, and none need frighten a planner: they are standard professional territory, and your job is simply to make sure they are in the brief, in the budget and in the final inspection, not trimmed when costs tighten.
10. Hookup Day: Connecting Safely, Inspections and Records
The day the home meets its supply should be boring by design. The sequence your professionals will expect runs roughly like this: the installation completed and tested, the panel labelled, the diagram updated to match reality, the inspection booked and passed where your jurisdiction requires one, and only then the supply connected and each circuit proven in turn, lights, outlets, appliances, protective devices tested, until the home is simply, uneventfully live. If anything trips, buzzes, warms or misbehaves in that first week, it is reported and resolved under the installer’s eye rather than lived with; new systems should be perfect, and early faults are information, not character.
Close the project by becoming the keeper of its records: the final wiring diagram, the panel directory, equipment manuals, the inspector’s sign-off where one exists, and the electrician’s contact details, filed together and copied to whoever may own the home after you. Schedule your own habits from day one: test protective devices on the maker’s recommended rhythm, glance at the panel and inlet each season for damage or corrosion, and treat any repeated trip as a question to be answered, never a breaker to be uprated. Work through the wider build in order with our building a tiny house checklist, and the electrical system takes its proper place, planned early, installed professionally, and trusted for years.
Final Considerations
Plan the system on paper, size the inlet for your biggest day, keep circuits few, separated and labelled, and let licensed hands make the final connections. Electricity rewards exactly the virtues a tiny home teaches everywhere else: honesty about needs, respect for limits, and no improvisation where safety lives. Do that, and the power in your small home becomes what it should be, invisible, reliable and entirely taken for granted.



0 Comments