

Between your house and your trailer lies a single critical joint: the subfloor. It carries the entire structure’s weight into the steel frame and resists the shear of every panic stop and frost-heaved county road. Get the fastening wrong and the house can shift on the frame, racking walls and popping finishes. This is no place for whatever screws were on sale.
1. Fasten Subfloor to a Steel Trailer at a Glance
The way you fasten subfloor to a steel trailer decides whether the house above it travels as one structure or slowly works itself loose, because this one connection does three jobs at once: it carries gravity loads down into the frame, it resists the shear of braking, cornering and wind, and it holds the house down against uplift. Two fasteners compete for the work — self-tapping screws and through-bolts — and the professional answer is not a winner but a division of labour: bolts where the house could leave the trailer, screws where parts could shift or rattle. The table gathers the whole system; the sections after it take each fastener, each pattern and each failure mode apart.
| Attribute | Detail |
|---|---|
| The Connection’s Job | Carries gravity loads, resists shear, and prevents uplift |
| The Assembly | Steel frame, then optional rigid foam between cross-members, then pressure-treated sill and 2×6 or 2×8 joists, then 3/4″ T&G sheathing |
| Perimeter Fastener | 3/8″ or 1/2″ Grade 5 or Grade 8 through-bolts, every 4 feet along the sill plates |
| Interior Fastener | #12 TEK self-tapping screws, every 12–16″ along interior cross-members |
| Screw Spec | #12 or 1/4″ diameter, hex-head, 2–3″ long, penetrating the steel flange by at least 3/4″ |
| Bolt Spec | Through wood and steel with washers and lock nuts, 2–3 threads past the nut |
| Speed | Screws win 10:1 — seconds each against minutes each for bolts |
| Cost | Roughly $0.50 per screw against $1.50–2 per bolt with hardware |
| Drilling Rule | Start with a 1/8″ pilot and step up; edge distance at least 1.5× the bolt diameter |
| Longevity Rule | A sill gasket at the steel–wood interface, coated fasteners, and a painted frame |
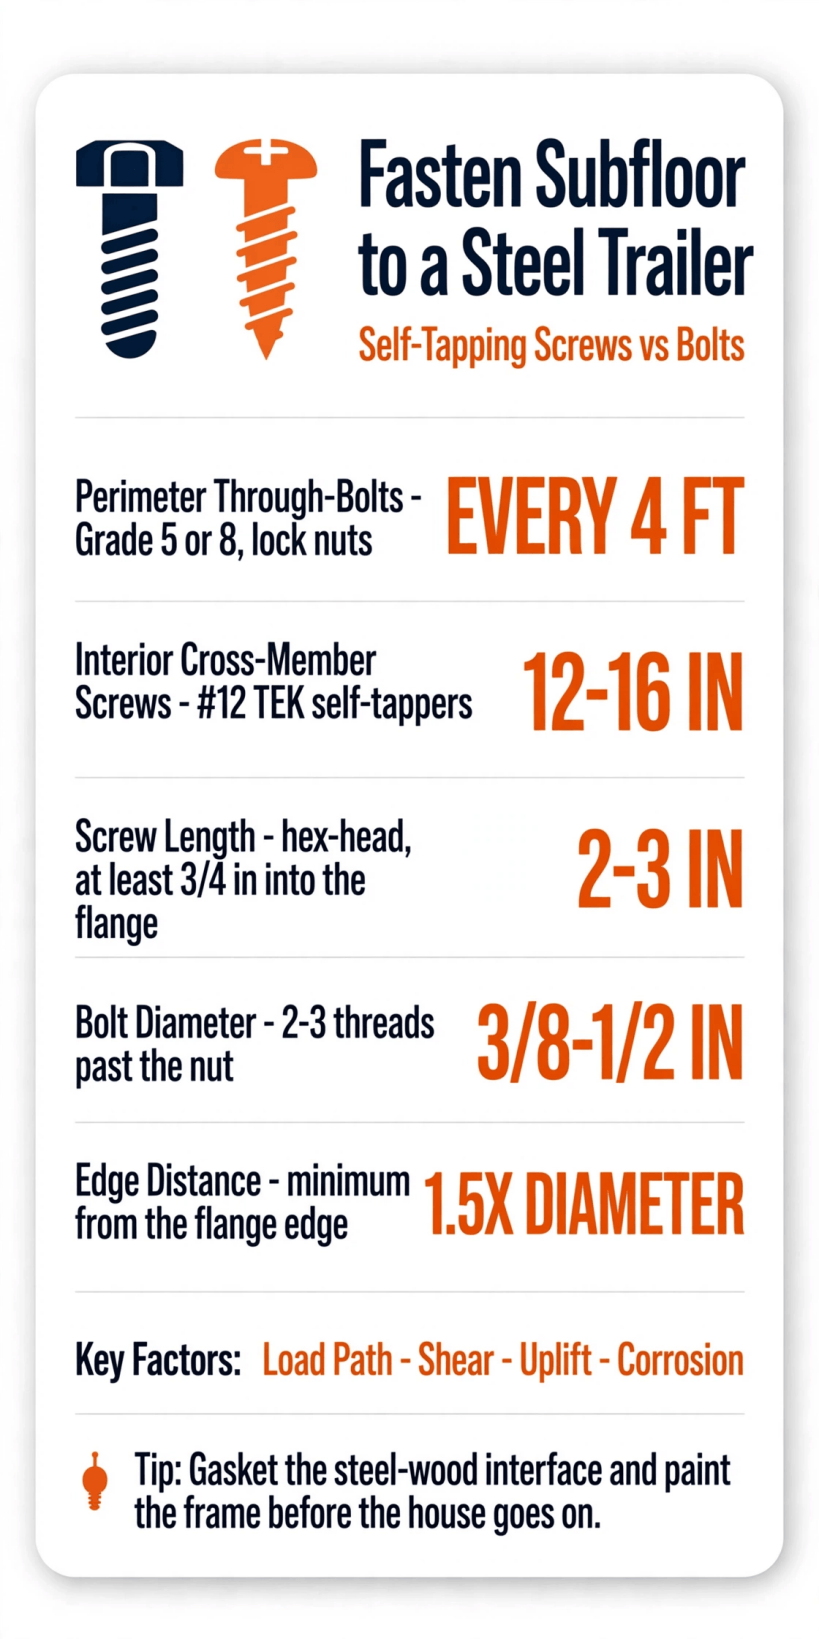
One joint, two fasteners: bolts carry the perimeter every four feet, screws stitch the interior every twelve to sixteen inches.
Read the assembly from the steel upward, because the fasteners only ever tie one layer to the next. The trailer frame comes first. Between its cross-members there may be rigid foam insulation. Above the steel sit the pressure-treated sill plates and floor joists — 2×6 or 2×8 — and on top of them the subfloor sheathing itself, 3/4″ tongue-and-groove plywood or Advantech. The fasteners’ job is to tie the wood framing to the steel beneath it; the sheathing then fastens wood-to-wood into the joists. Every specification in this guide — the spacings, the diameters, the drilling rules — exists to keep that layered sandwich acting as a single structure under loads it will feel every mile of its life.
2. The Connection’s Job: Gravity, Shear and Uplift
Gravity is the obvious load. The house’s entire weight transfers through the subfloor framing into the trailer cross-members, and the fasteners keep that path closed: a joist that can lift, slide or rock on the steel is a break in the load path, and breaks concentrate stress on the fasteners that remain. Getting the loads themselves right starts before a single hole is drilled — the gross weight the frame must carry is the subject of the weight limits of tiny houses guide, and the connection can only ever be as honest as the weight estimate behind it.
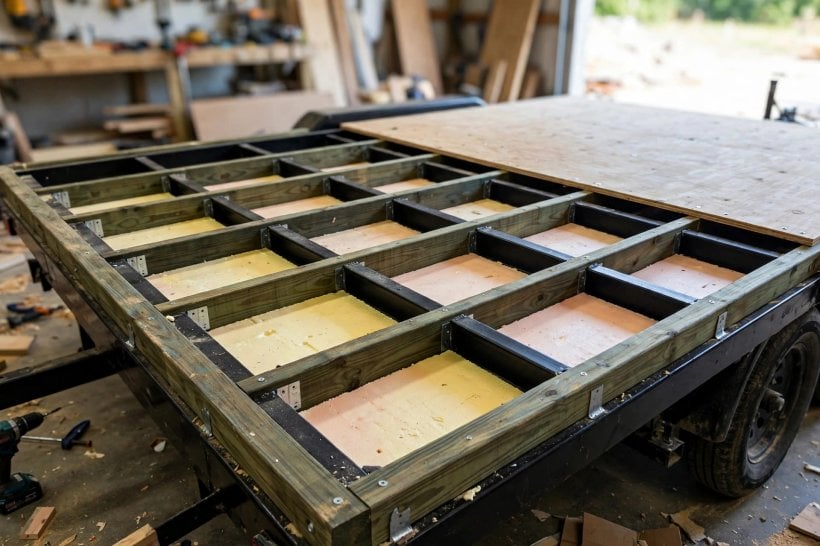
Shear is the load that arrives sideways. Braking, cornering and wind all push the house laterally against the frame, and the fasteners resist that push in shear — the force trying to slide one layer across the other. Uplift is the third job and the least intuitive: wind and road dynamics actively try to lift the house off the trailer, and the connection is the only thing holding it down. The three jobs explain the whole design that follows. Shear is everywhere along the floor and rewards many fasteners spread widely; uplift concentrates at the perimeter, the corners and the outriggers, and rewards the strongest fasteners placed exactly there. The optional rigid foam between the cross-members plays no structural role in any of this — the insulation choices for the floor cavity are covered in the guide to how to insulate a tiny house — but it must be fitted before the framing is fastened down over it, because afterwards it is sealed in for good.
3. Self-Tapping Screws: The Fast Option
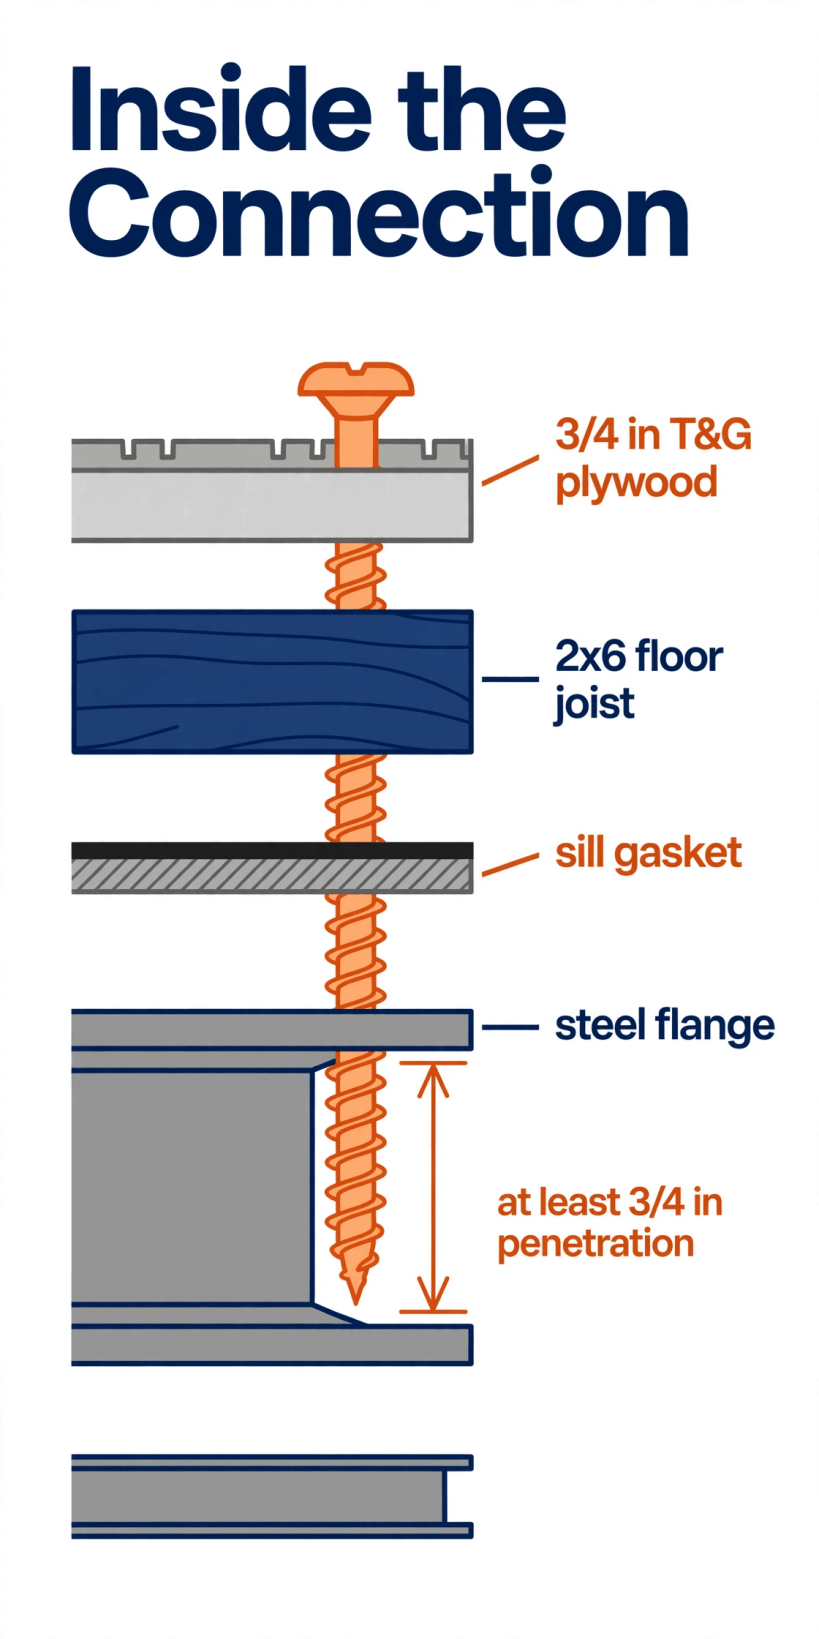
Self-tapping screws are hardened TEK-type screws that drill their own hole in steel — no pre-drilling, no pilot, no second operation. The typical specification is #12 or 1/4″ diameter, hex-head, 2–3″ long, and the length is not arbitrary: the screw must penetrate the steel flange by at least 3/4″ to develop its grip. Driven with an impact driver, one sinks in seconds; a whole floor of them takes about an hour. They are genuinely good in shear, which is the dominant load across the interior of the floor, and they are removable — a screw backs out for repairs, which matters on a connection you may one day need to open. The cross-section below shows what a correct installation looks like inside the sandwich: sheathing, joist, gasket and flange, with the screw’s point well through the steel.
The weaknesses are the mirror image of the strengths. Pull-out strength is lower than a through-bolt’s because the threads grip thin steel — a 1/4″ flange offers limited engagement, and there is simply less material holding the screw than a nut and washer clamp on a bolt. In thin material a screw can strip, spinning uselessly in an oversized hole. And vibration works on them: road miles can loosen a screw over time, which is why the original specification defends against it with thread locker or serrated-flange heads that bite and stay. None of this disqualifies the screw; it assigns it. Where the primary load is shear and speed matters — along the interior cross-members — the self-tapper is the right tool. Where uplift concentrates, §4’s fastener takes over.
4. Through-Bolts: The Strong Option
A through-bolt passes through the wood framing and the steel flange together, and is clamped from the far side with washers and a nut. The typical specification is Grade 5 or Grade 8, 3/8″ or 1/2″ diameter, long enough to leave 2–3 threads past the nut once tightened. The strength is of a different order from any screw: the nut-and-washer combination clamps the full sandwich, rather than relying on thread grip in thin steel, and the connection is positive — the bolt cannot pull through, because the washer sees to that. Lock nuts resist the vibration that loosens lesser fasteners. At the perimeter, the corners and the outriggers — anywhere uplift matters — this is the primary structural connection, and nothing else in the guide substitutes for it.
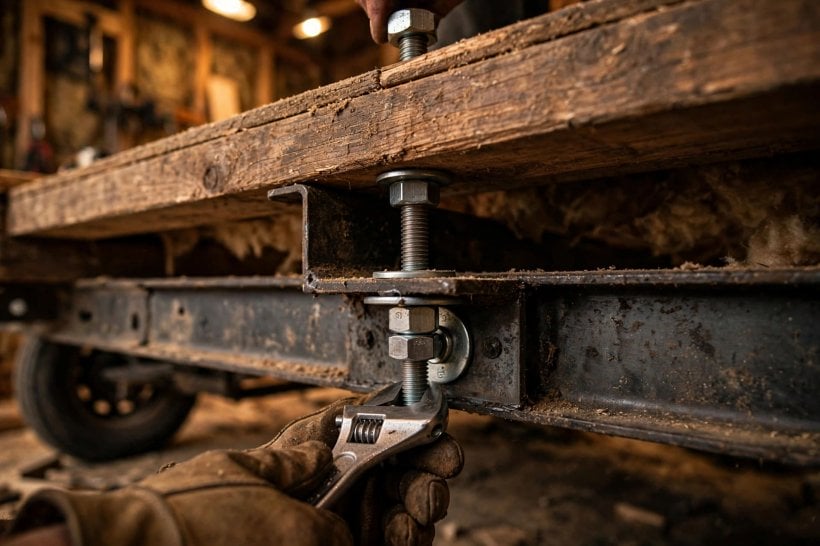
The costs are time and access. A bolt takes minutes, not seconds: each hole must be drilled in steel — and steel drilling is the real time cost of the entire system — then the bolt is placed, the washer fitted, the nut started and tightened. Every bolt also requires access to both sides of the joint, which means someone under the trailer holding the nut: the least fun job on the build, and a two-person operation by definition. And for light shear connections in the floor’s interior, the bolt is simply overkill — strength the load never asks for, bought at the highest labour price on the job. The bolt’s economics only make sense where its strength is actually spent, which is precisely the perimeter logic of §6.
5. Head-to-Head: Speed, Strength, Vibration, Cost and Skill
Set side by side, the two fasteners split the honours cleanly, and the split is the argument for using both. On speed it is not close: self-tappers sink in seconds each, bolts take minutes each, and screws win 10:1 — across a whole floor that is the difference between an hour and a working day. On strength the verdict reverses decisively: a clamped sandwich of bolt, washer and nut outmuscles thread grip in thin steel every time. Vibration resistance follows strength — bolts with lock nuts hold, while screws can back out under road miles unless thread locker or serrated-flange heads defend them.
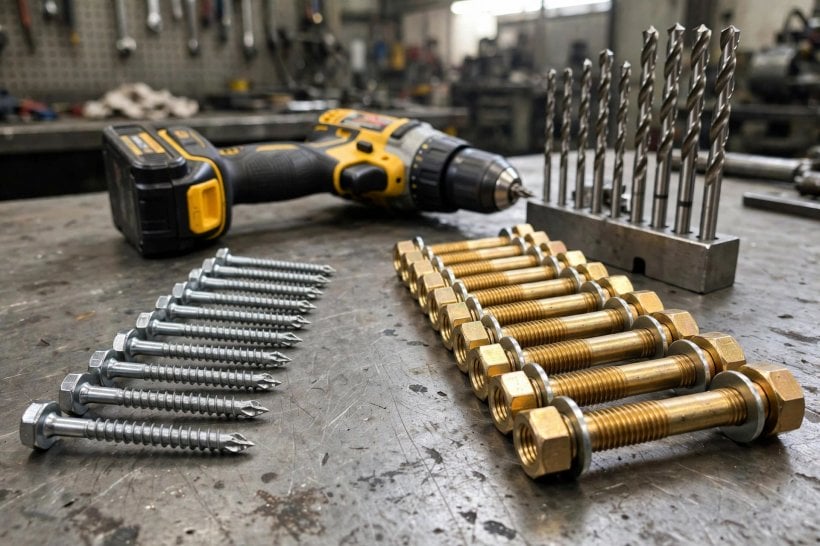
Cost goes to the screws: roughly $0.50 each against $1.50–2 for a bolt with its hardware, a three-to-fourfold difference that multiplies across every connection on the floor. Removability is the one honest tie — both fasteners come out when a repair demands it, the screw by backing out, the bolt by unbolting. Skill goes to the screws as well: an impact driver is a one-person, one-tool job, while bolts demand drilling steel accurately and a second pair of hands underneath. Tally it and neither fastener wins the comparison outright, because they are not really competitors. One is a fast, cheap, shear-hungry fastener for the field of the floor; the other is a slow, strong clamp for its edges. The recommended system simply reads the tally and deploys each where its column wins.
6. The Recommended System: Both Fasteners, Each in Its Place
The professional pattern is a hybrid, and its geography follows the loads of §2. Through-bolts — 3/8″ or 1/2″ — run every 4 feet along the perimeter sill plates, forming the primary structural connection: the uplift and shear path that ties the house to the trailer where separation forces concentrate. They also go at every corner, where two directions of load meet, and at the outrigger connections, where the floor cantilevers beyond the frame. Self-tapping screws — #12 TEKs — run every 12–16″ along the interior cross-members, securing the floor joists against shear and bounce as the secondary connections. The same screws handle blocking and bridging attachment, and the subfloor sheathing is screwed to the joists with standard subfloor screws, wood-to-wood, a separate and simpler fastening that never touches steel.
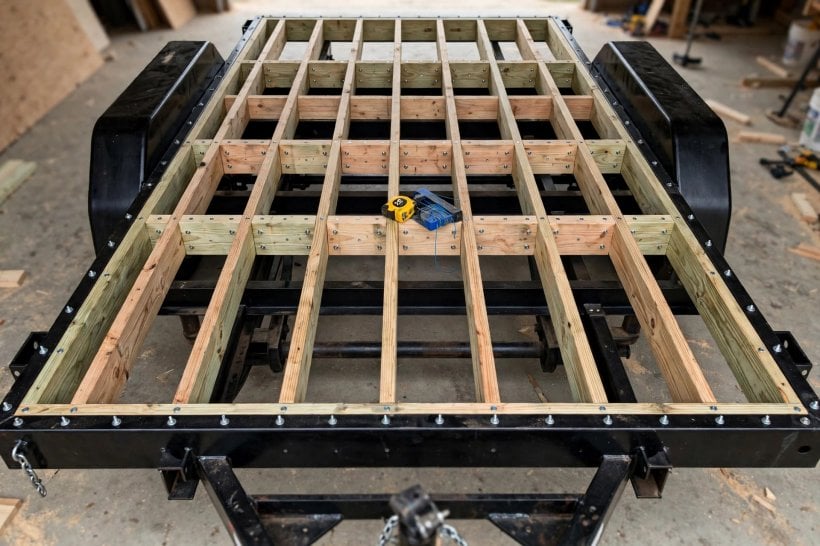
The principle compresses to one sentence: bolts where the house could leave the trailer; screws where parts could shift or rattle. Run that rule across the floor and the pattern draws itself — a bolted ring at the perimeter, corners and outriggers, a screwed field inside it. The hybrid is faster than an all-bolt floor, because the slow two-person fastening is confined to the ring where it earns its keep, and stronger than an all-screw floor, because the uplift path is clamped rather than threaded. It is also the pattern the floor plans themselves assume: the layouts drawn around the trailer’s structure in the tiny house trailer-specific floor plans all presuppose a subfloor that is bolted at its edges and screwed through its field, so the plan and the fastening schedule agree from the first drawing.
7. Drilling Steel: Bits, Pilot Holes and Edge Distance
Every through-bolt begins as a hole in structural steel, and drilling steel is a technique, not an afterthought. Bit choice comes first: cobalt or titanium-nitride bits, because standard HSS bits die quickly in structural steel — buy the good bits. Speed is the counterintuitive part: drill slow, with cutting oil, at low RPM with firm pressure, because fast drilling overheats the bit and dulls it. Start small — a 1/8″ pilot hole, then step up in size; do not try to drill 1/2″ in one pass. When the hole is through, deburr it: clean edges matter twice over, because burrs cut bolt threads and prevent washers from seating flat.
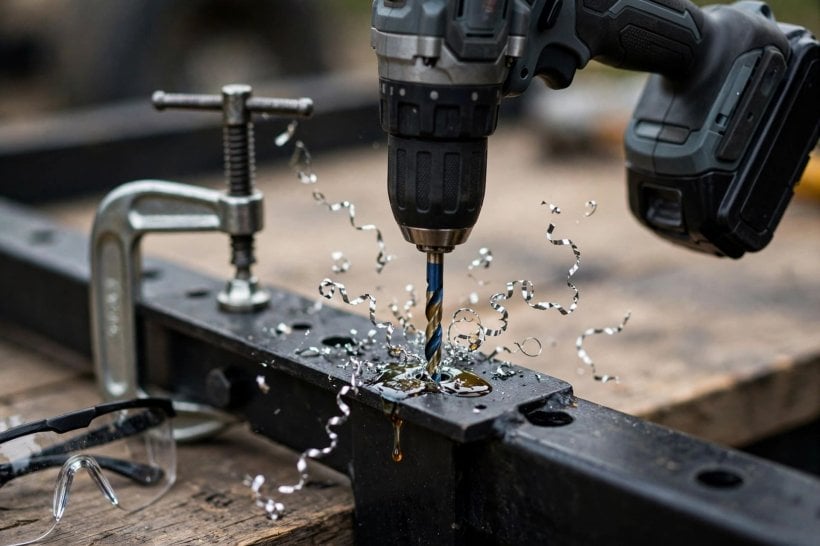
Location is the rule that protects the flange itself. Centre the hole on the flange, never near the edge: the minimum edge distance is 1.5× the bolt diameter, and inside that margin the steel can tear out under load, turning the strongest fastener in the system into its weakest point. The safety list belongs in the same breath, because steel drilling throws hot, sharp chips: clamp the work, wear eye protection, and keep a fire extinguisher nearby — cutting oil and sparks are an unfriendly pairing. None of this is optional garnish. A bolt is only as strong as the hole it sits in, and a hole torn at the flange edge or ovalled by a wandering bit quietly downgrades a Grade 8 fastener to scrap.
8. Corrosion: The Steel–Wood Interface
The connection’s slowest enemy is neither shear nor uplift but chemistry: steel plus wood plus moisture equals corrosion and rot, working invisibly inside the sandwich for the life of the house. The first defence is the sill gasket — closed-cell foam or EPDM between the wood and the steel — which breaks the moisture path and stands as the single biggest longevity measure in the whole assembly. The second is the framing itself: pressure-treated lumber for all wood touching steel. But treatment carries its own warning: verify compatibility, because the copper in ACQ-treated wood accelerates steel corrosion — which is exactly why the gasket barrier is not optional with treated timber, since the gasket is what stands between the copper and the flange.
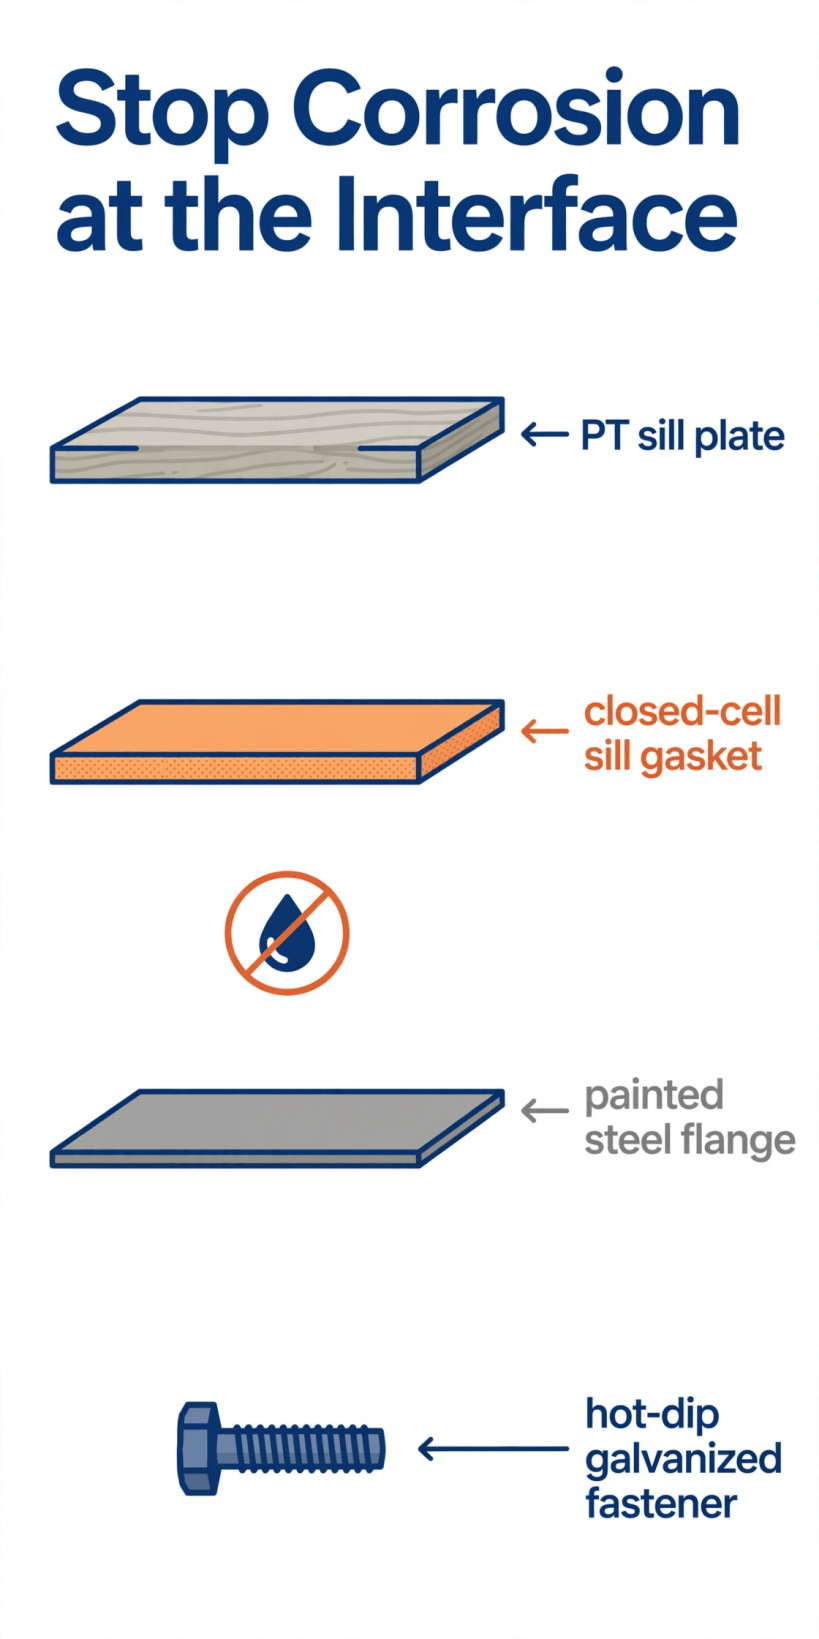
The fasteners themselves must be specified for the sandwich they live in: hot-dip galvanized or ceramic-coated, because bare steel screws rust in the sandwich, quietly losing the section that their grip depends on. The last defence is applied before any wood arrives: paint the trailer frame with rust-inhibiting paint on all steel before the house goes on — once the house is on, the frame is unreachable, and this is the only chance. The sealing discipline continues upward from the same joint in the guide to sealing and weatherproofing sill plates and corners, which treats the perimeter from the weather side; between the gasket below and the sealant above, the interface is defended from both directions.
9. The Buried Connection: Access, Repairs and What Comes Next
Everything about this joint is shaped by one fact: once the floor is down and the walls are up, it disappears. That is why the drilling of §7 and the painting of §8 happen in the open, why bolts are set while both sides of the joint are still reachable, and why the two-person nut-holding job, miserable as it is, belongs to the one week of the build when it is still possible. It is also why removability matters in §5’s tally — both fasteners can come out for repairs, the screw backing out and the bolt unbolting, but any repair means working from beneath a finished house, so the honest strategy is a connection that never needs one.
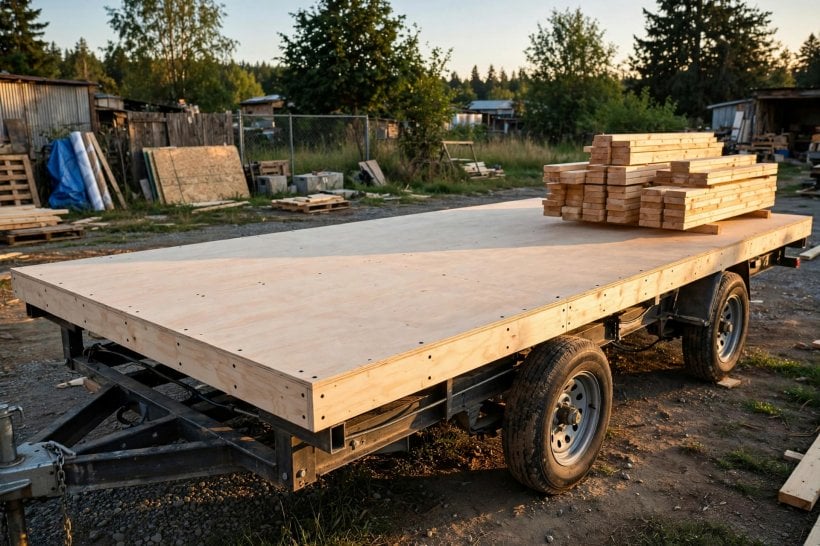
What comes next raises the stakes further, because everything the house later becomes stands on this deck. Heating may be laid over it — the systems compared in the underfloor heating in tiny houses guide sit directly above the subfloor — and walls rise from its perimeter, following the sequence in the guide to how to frame a tiny house on a trailer. Every one of those layers assumes the deck beneath is flat, fixed and silent. A floor that shifts on its frame does not stay a floor problem: it racks the walls above it and pops the finishes above them, which is why the fastening schedule is checked before the deck is covered, not after the house is built.
10. The Final Walk-Through: Checking the Pattern Before It Disappears
Before the sheathing closes over the framing for good, walk the connection once, slowly, against the specification. On the perimeter: through-bolts every 4 feet along the sill plates, at every corner and at the outriggers, each with its washer seated flat on a deburred hole and 2–3 threads showing past a lock nut. Through the field: #12 TEKs every 12–16″ along the interior cross-members, each penetrating the flange by at least 3/4″, none stripped and spinning, the vibration-prone ones defended with thread locker or serrated-flange heads. Through the sheathing: standard subfloor screws into the joists, wood-to-wood, completing the sandwich.
Then check the quiet items, the ones no photograph will ever show. Every hole centred on its flange with at least 1.5× the bolt diameter of steel around it. The sill gasket running unbroken between wood and steel, with no gap where ACQ-treated timber touches the flange directly. Every fastener galvanized or ceramic-coated, none bare. And the frame’s rust-inhibiting paint complete on every face the house is about to cover — because this walk-through is the last time any of it will be visible. The loads the connection carries do not diminish once it is hidden; the gravity, the shear across every panic stop, the uplift in every crosswind all keep arriving for the life of the house. The check takes an hour. The connection it certifies has to last decades.
Final Considerations
Bolt the perimeter — 3/8″ or larger through-bolts every 4 feet with lock nuts — screw the interior cross-members with #12 TEKs every 12–16″, gasket the steel–wood interface, and paint the frame before it disappears under the house. Neither fastener wins this comparison outright, and that is the point: the screw is speed and numbers, the bolt is clamp and certainty, and the floor needs both, each where its strength is actually spent. The same load thinking continues upward through the house — the loft joist span and load capacity guide applies it to the framing above — but it starts here, at the one joint that carries everything. The subfloor connection is invisible for the life of the house, which is exactly why it must be done right the first time.




0 Comments