
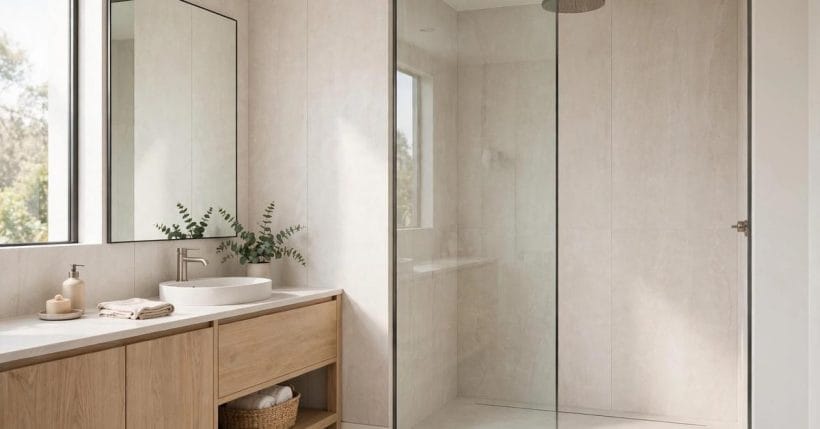
A shower wall has a quiet job to do. It must stand up to daily splashes, steam and cleaning, it must look calm and finished beside the rest of the bathroom, and it must keep water where it belongs. When a wall fails at that job, the signs rarely appear on the surface first. They show up as damp patches, soft grout, a musty smell that lingers after showering, or paint peeling on the other side of the wall. That is why choosing a shower wall is less about picking a pretty finish and more about working through a short list of checks before anything is fitted. This guide sets out those shower wall checks in general terms, so you can ask good questions, compare options fairly, and spot the details that matter most.
One point matters before anything else. This guide is about looking, comparing and asking questions. It is not a fitting guide, and it gives no installation instructions. Plumbing, waterproofing, tiling and any work that touches the structure of the wall belong to qualified professionals. What follows helps you understand what to look for when you talk to them, what a finished wall should look like, and which questions are worth asking before work begins.
1. Start With the Wall Behind the Surface
Every shower surface sits on something, and that something matters as much as the finish you see. A wall that is uneven, soft in places, or already marked by damp will not be improved by covering it up. Before choosing a surface, look at the bare wall with fresh eyes. Is it flat and firm to the touch? Are there stains, bubbles in the paint, or a faint musty smell near the floor? Those signs do not tell you what caused the problem, but they do tell you to pause and ask a professional to look before any new surface goes on.
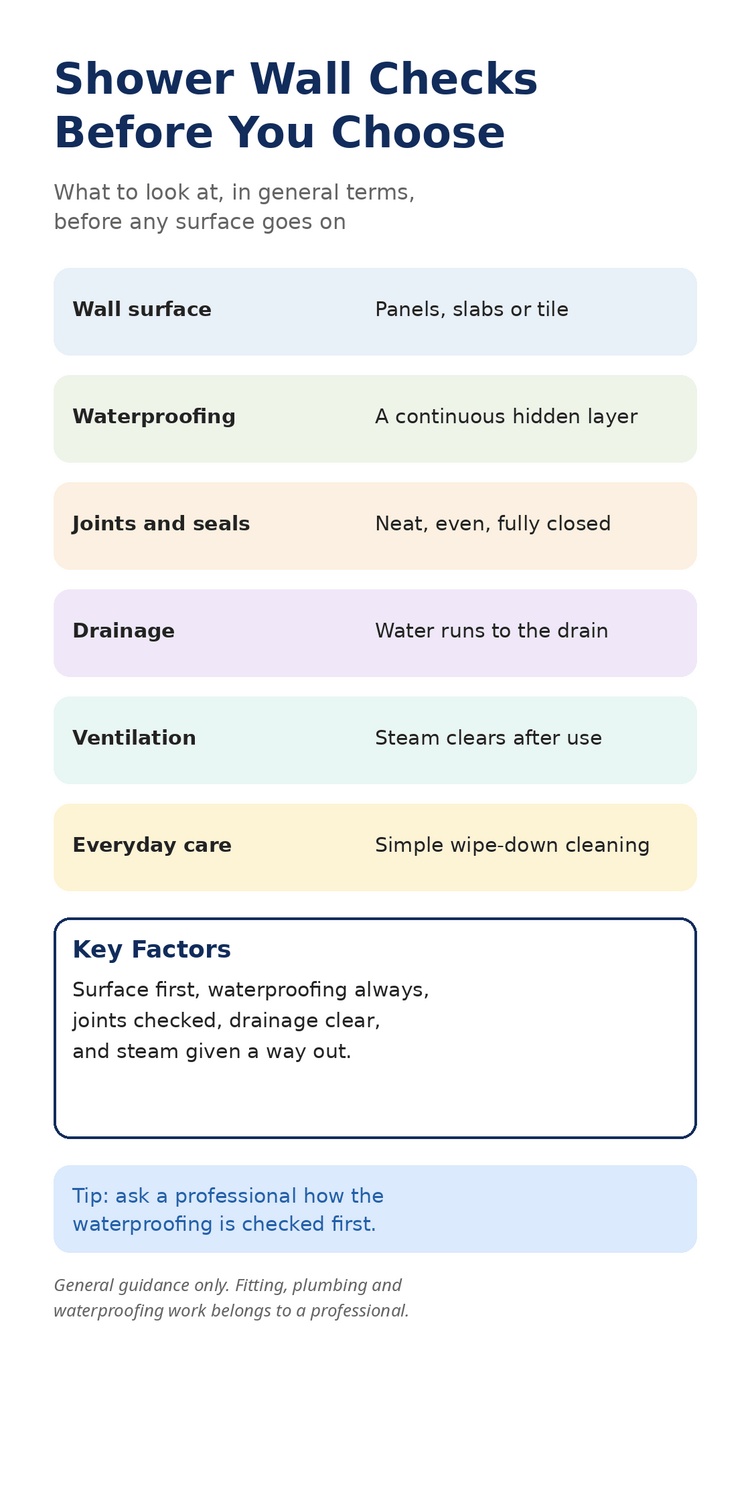
The wall behind a shower also decides how water behaves over time. In a wet area, water does not only run down the surface. Steam settles on every cool face, splashes reach corners and edges, and small amounts of moisture can sit where two surfaces meet. A good shower wall system takes all of that into account, with a waterproof layer behind the visible surface and careful detailing at every joint. That hidden layer is easy to forget when you are choosing colours, but it is the part that protects the rest of the room.
Ask, in plain language, what sits behind the surface you are considering. How is the waterproof layer formed, where does it run, and how far up the wall does it go? How are corners, pipe entries and the junction with the floor handled? A clear, unhurried answer is a good sign. Vague answers, or an answer that skips the hidden layer altogether, are worth following up before you commit. The visible finish should always be the last decision, not the first.
2. Panels, Slabs and Tile: The Three Broad Choices
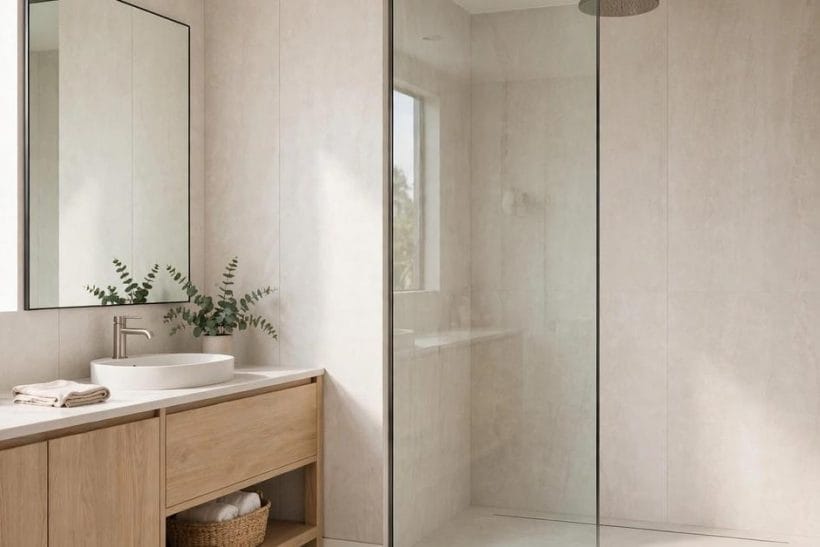
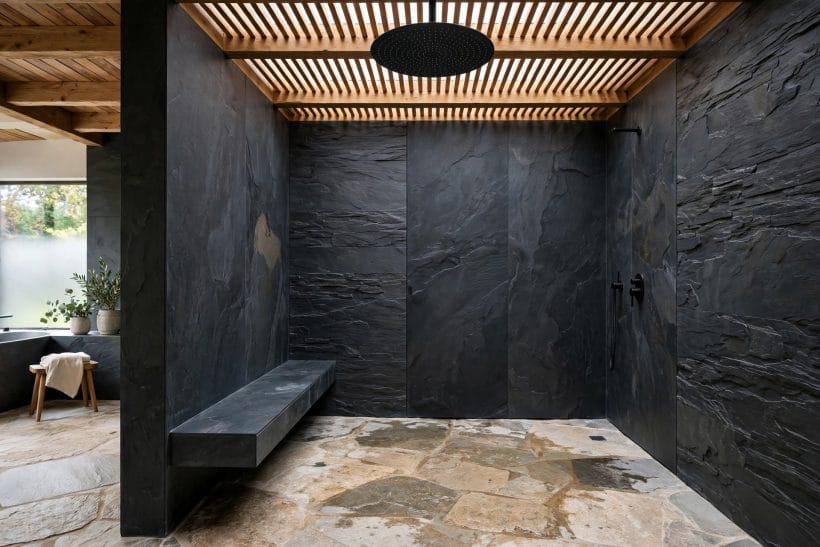
Most shower walls fall into three broad families, and each has a different character. Large panels give a calm, almost seamless look, because there are few joints to break up the surface. Slabs carry a similar calm, with a solid, stone-like presence and long, clean lines. Tile, by contrast, is made of many small pieces, so it brings pattern, rhythm and colour in a way that a single sheet cannot. None of these families is right for every room. The question is which character suits your bathroom, your cleaning habits, and the shape of the space.
Panels and slabs are often chosen for their quiet look and their easy wipe-down surface. With fewer joints, there are fewer places for soap and grime to gather, and the wall reads as one continuous plane. Tile offers the opposite pleasure: the chance to play with size, shape and grout colour, and to repair a small area without disturbing the whole wall. A tiled wall can also wrap neatly around niches, shelves and awkward corners, where a large sheet may need careful cutting and planning.
When you compare these families, look beyond the sample on the wall. Hold the sample in your own bathroom light if you can, and look at it wet as well as dry, because water changes how a surface reads. Think about how the surface will look after everyday use, not only on the day it is fitted. A surface that shows every water mark may still be a fine choice, but only if you enjoy wiping it down. For a wider look at how different surfaces behave, see the shower surface materials guide, which compares panels, slabs and tile in general terms.
3. Waterproofing: The Layer You Cannot See
Waterproofing is the least visible part of a shower wall and the most important. It is the continuous layer behind the surface that stops water reaching the structure of the wall. When it is done well, you will never think about it. When it is missing, damaged or incomplete, water finds its way through, slowly and quietly, and the damage often appears far from the shower itself. That is why this check deserves more attention than any colour or finish decision.
You cannot judge waterproofing by looking at a finished wall, so the check happens in conversation and in timing. Ask how the layer is formed, whether it runs continuously across the whole wet area, and how it is joined at corners, around pipes and at the floor. Ask when it is checked, and whether it is inspected before the surface goes on. A professional who welcomes those questions, and who can explain the sequence in plain language, is giving you exactly the reassurance you need.
Be wary of any approach that treats the visible surface itself as the waterproofing. A panel or a tile may shed water well, but the layer behind it is what protects the wall when water gets past a joint, a seal or a fixing. The two jobs are different, and both matter. If the answer to your waterproofing questions is unclear, take that as a reason to slow down and seek a second professional opinion, not as a detail to settle later.
4. Joints, Seals and Corners
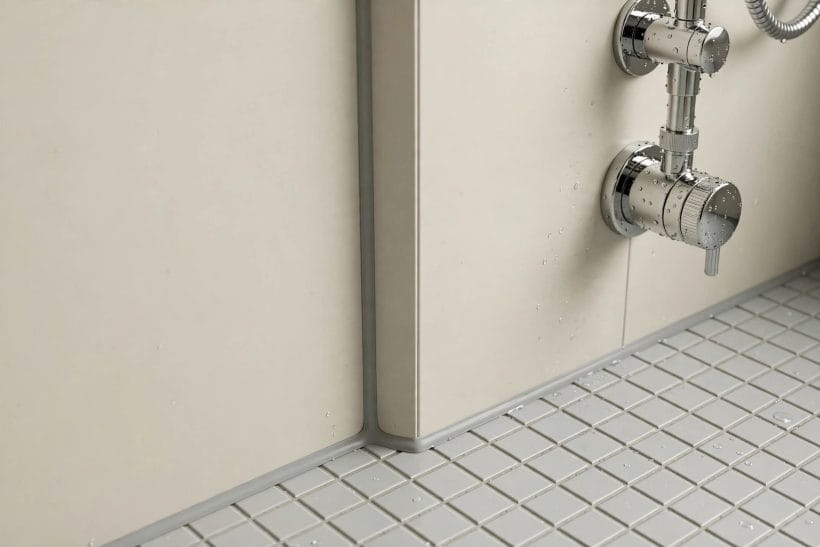
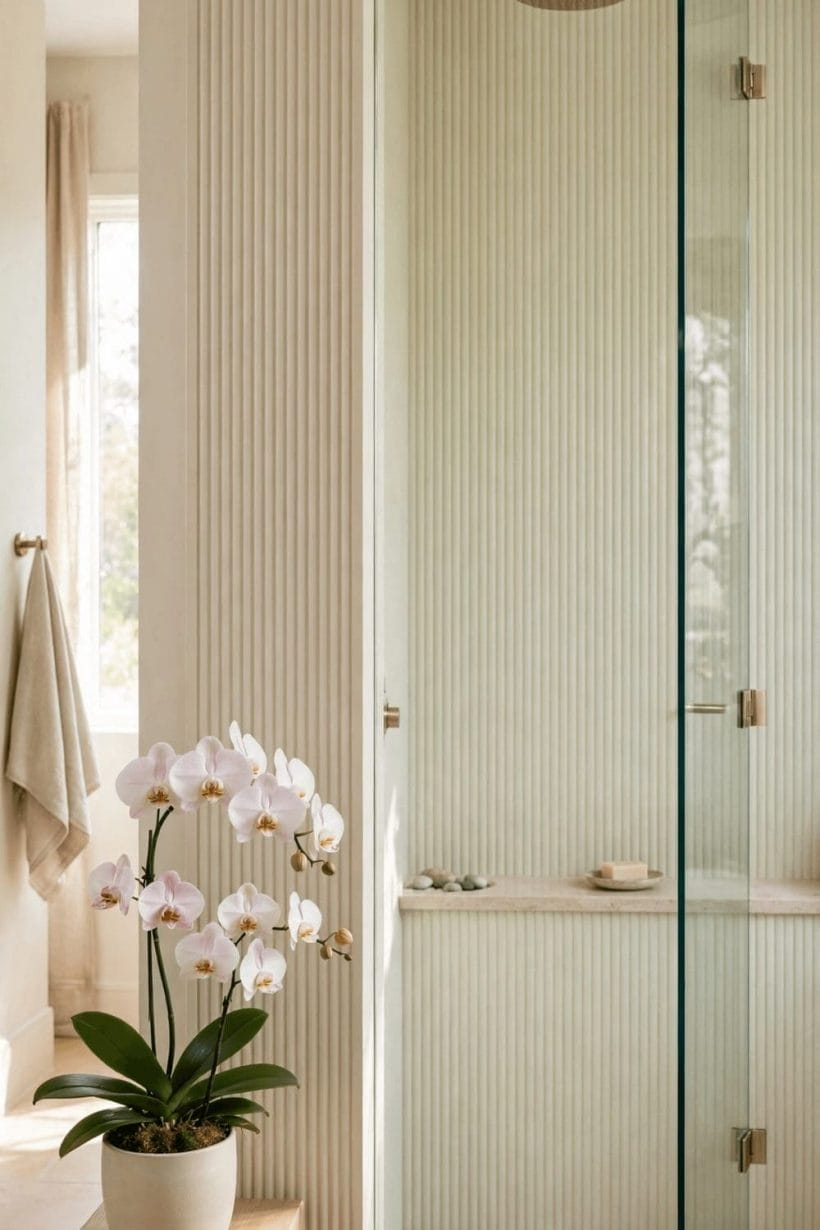
Joints are where a shower wall is most often tested. Every place where two surfaces meet, where a panel meets a tray or a floor, or where a pipe passes through the wall, is a place water can linger. Look at joints in showrooms and in photographs with a critical eye. Are they even and consistent, or do they widen and narrow as they run? Is the sealant smooth and continuous, or cracked, patchy or pulling away at the edges? A neat joint is not only about looks. It is a sign that the surfaces were prepared and fitted with care.
Corners deserve the same attention. An internal corner, where two shower walls meet, collects water every time the shower runs. An external corner, where the shower wall turns into the rest of the bathroom, is often bumped and brushed past. In both cases, the detailing should look deliberate: a clean turn, a well-formed seal, and no gap where water can sit. If a corner looks improvised, ask how it is sealed and how it will be maintained.
Seals also change with time, so ask about care. How often should seals be checked, what does wear look like, and who should renew them when the time comes? A wall whose seals are easy to inspect and renew is a wall that can be kept in good order for years. A wall whose seals are hidden or hard to reach may look tidy at first, but it can hide problems until they are well advanced. Simple, visible detailing is a practical virtue, not a compromise.
5. Drainage, Falls and the Floor Edge
A shower wall does not work alone. It works with the floor, and the floor must carry water away cleanly. When you look at a shower, watch how water would travel. It should run toward the drain, not pool against the wall or sit in a corner. Standing water against a wall keeps joints wet long after showering, and that long, damp contact is what tests seals and grout over time. A floor that clears quickly gives the wall an easier life.
The junction between wall and floor is therefore one of the most important details in the whole shower. Look for a clean, continuous meeting between the two surfaces, with no gap and no rough edge. Ask how that junction is sealed and how it is protected during fitting, when it is easiest to damage. In a walk-in or level-entry shower, where there is no step to hold water back, this junction and the fall of the floor matter even more, because there is nothing else to catch a stray splash.
Think, too, about the room beyond the shower. Water that escapes the shower area does not stay polite. It runs across the bathroom floor, under cabinets and toward doorways. A well-planned shower keeps water in its zone, with the wall, the floor and any screen working together. For ideas on how open showers handle this balance, see the open shower ideas collection, and for tighter rooms, the small shower ideas collection shows how compact layouts keep water contained.
6. Ventilation and Steam
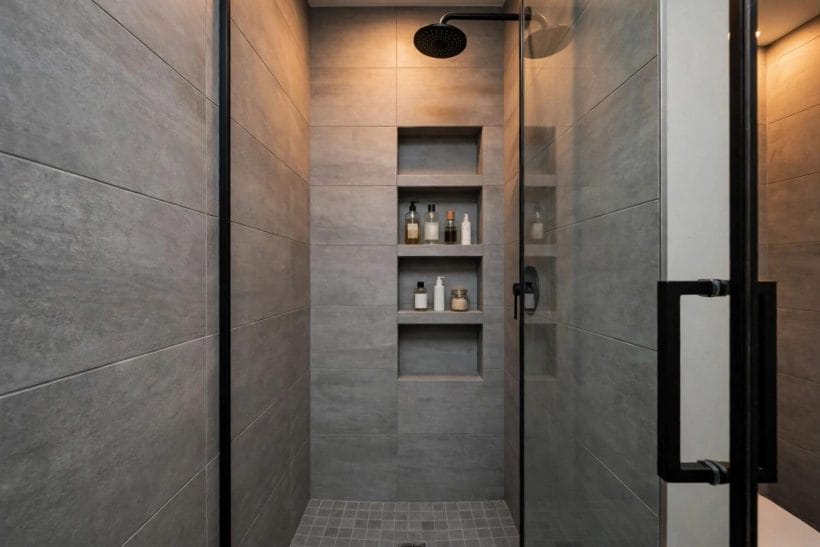
Steam is the part of showering that people forget when they choose a wall. Hot water fills the room with warm, damp air, and that air settles on every surface, including the wall above the shower and the ceiling. A wall that dries quickly after showering stays cleaner and smells fresher than a wall that stays damp for hours. Ventilation is what makes that drying happen, and it deserves a place in your checks alongside the surface itself.
Look at how air moves in your bathroom. Is there a window that opens, a fan that clears the room, or a door that lets damp air out? After showering, does the mirror clear reasonably soon, or does the room stay misty? Those everyday observations tell you a lot about how hard your shower wall has to work. A room with sluggish air will test any surface more than a room that clears quickly, and that may change which finish you favour.
Ask a professional how ventilation and the wall choice relate in your room. A surface that wipes dry in moments may suit a slower room, while a surface with many joints may need a room that dries well. This is not a reason to avoid any particular finish. It is a reason to match the finish to the room you actually have, rather than to a photograph of a room with different light, air and size. The wet room ideas collection is a useful place to see how whole-room drainage and air work together in fully open layouts.
7. Light, Colour and How the Wall Reads
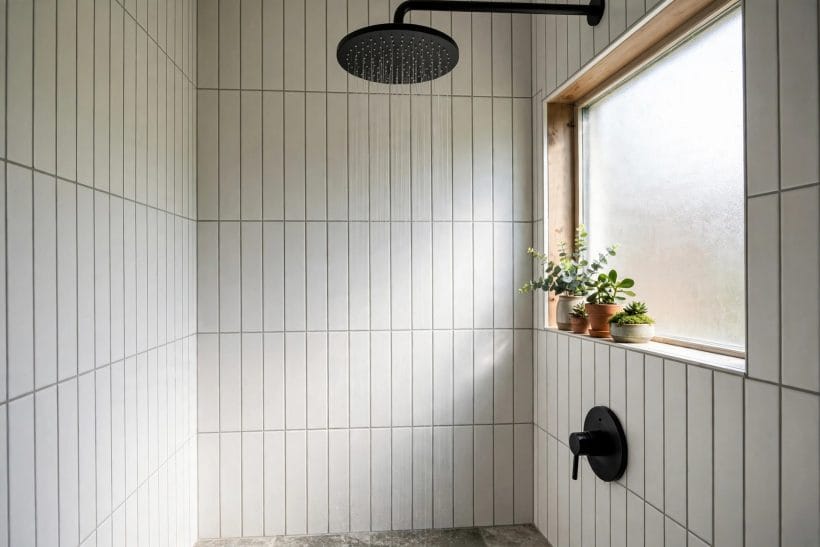
A shower wall is also a visual decision, and light changes everything about it. A pale, glossy surface bounces light around a small bathroom and can make the room feel larger and brighter. A dark, matt surface absorbs light and can feel calm and enclosed, but it may also make a windowless room feel smaller. Neither effect is right or wrong. The check is to see the surface in light like your own, at the time of day you usually shower, rather than under showroom lights alone.
Colour works in a similar way. A wall colour that looks serene in a large, bright showroom may feel cold in a small room with a single light, and a warm tone that feels rich in the shop may feel heavy at home. Take samples home when you can, and live with them for a few days. Look at them in morning light and in evening light, dry and with a splash of water on them. A sample that still pleases you after a few days of looking is a better guide than a sample that dazzled you for a few minutes.
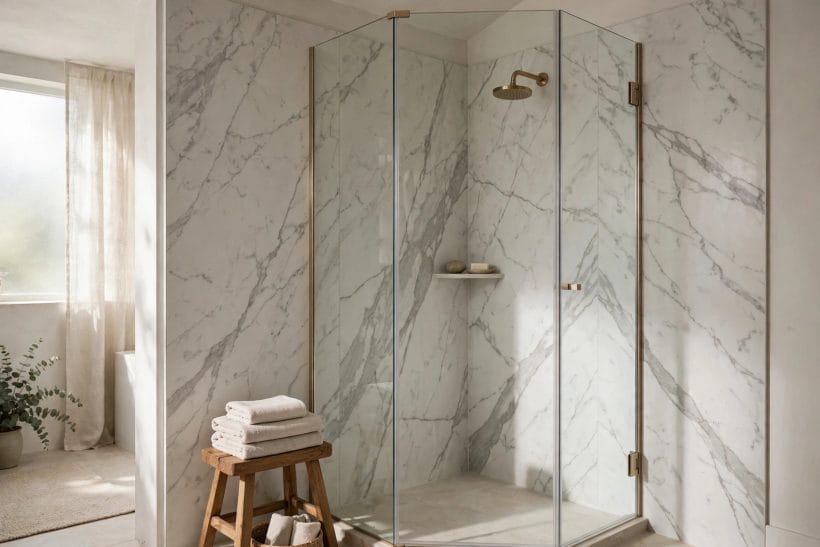
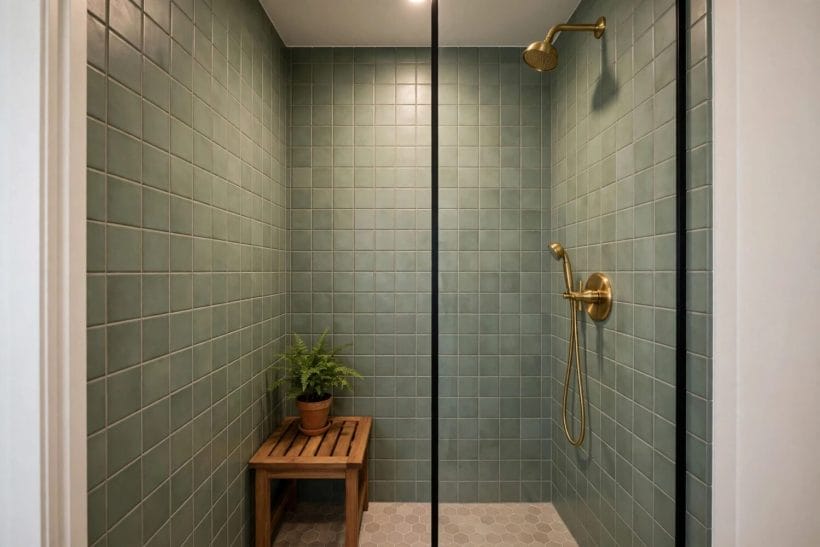
Pattern also plays a part. A large, plain surface reads as calm and modern, and it lets other details, like brass fittings or a timber stool, take the eye. A patterned or small-format tile brings movement and craft, and it can turn the shower wall into the feature of the room. Think about what else is in the bathroom before you decide. If the floor is already busy, a quiet wall may balance it. If the room is plain, a patterned wall may be exactly what it needs. The bathroom wall tile designs collection shows how tile pattern and colour change the feel of a whole room.
8. Niches, Shelves and Fittings
Shower walls are rarely empty. They carry niches for bottles, shelves for soap, rails for towels, and fixings for the shower head itself. Each of those additions breaks the surface, and each break needs the same care as any other joint. A niche that is neatly formed, with clean edges and a surface that drains, is a pleasure to use. A niche with rough edges or a flat base that holds water will gather soap and grime, and it will be the first place the wall looks tired.
When you plan fittings, think about where your hands naturally go. A shelf at a comfortable height, a niche within easy reach, and a shower head placed so that water falls where you stand, all make daily showering smoother. These are not luxuries. They decide whether the shower feels considered or merely assembled. Ask how each fitting is fixed through the wall, and how the fixing is sealed, because a fixing that is not sealed properly is simply a small hole in your waterproofing.
Also consider how fittings will age. A finish that looks bright when new may show water marks quickly, while a softer finish may hide them but need gentler cleaning. Look at fittings in older displays when you can, not only in new ones, and ask what cleaning they need. A wall whose fittings are easy to clean and easy to reach will stay looking good with far less effort than a wall whose fittings demand constant attention.
9. Cleaning and Everyday Care
The best shower wall for you is often the one you will actually clean. That sounds obvious, but it is easy to fall for a surface that looks beautiful in a photograph and then discover that it needs more care than your routine allows. Before choosing, be honest about your habits. Do you wipe the shower down after use, or do you prefer a surface that can wait until the weekly clean? Do you like using strong cleaners, or do you prefer gentle ones? The answers narrow the field quickly.
Different surfaces ask for different care. A smooth, large-format surface usually wipes clean in moments, with few joints to scrub. A small-format tile has many more grout lines, and those lines need attention to stay bright. A textured or matt surface may hide water marks well, but it may also hold soap residue in its texture. None of this makes any surface a poor choice. It simply means that the right surface is the one whose care routine matches your life.
Ask what cleaning a surface needs, and what cleaning it dislikes. Some finishes are sensitive to harsh cleaners, and some grouts stain if left damp. A clear care routine, given before you buy, is a sign of honest advice. If the care routine sounds like more work than you will do, choose a simpler surface and enjoy it, rather than choosing a demanding one and resenting it. A shower wall that is easy to keep clean is a wall that keeps looking like the room you fell for.
10. Small Bathrooms and Tight Corners
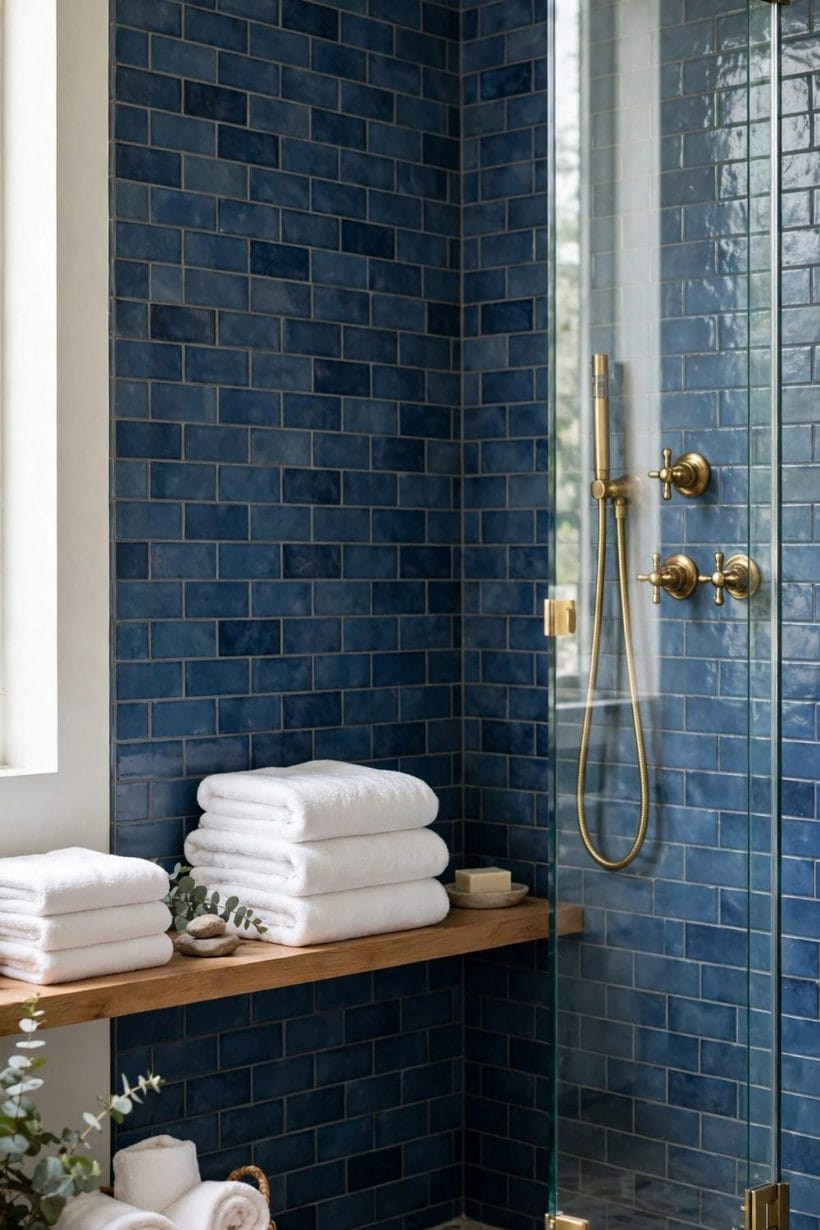
Small bathrooms test shower walls in particular ways. In a tight room, the shower wall is close to everything: the basin, the door, the mirror. A surface that looks calm in a large room can feel busy when it is only ever seen from a short distance, and a joint that is invisible across a big bathroom may be very visible when you stand beside it. In a small room, simplicity is often your friend, and a quiet surface with clean joints will usually serve you better than a fussy one.
Corner showers deserve a special look, because two walls meet in a small space and both are constantly wet. The corner itself, the way the two surfaces turn, and the way the door or screen meets the wall, all need to work together. A corner that is well detailed feels generous even in a small footprint, because nothing catches the eye for the wrong reason. A corner that is poorly detailed feels cramped, because every flaw is right in front of you. For layout ideas in tight footprints, see the corner shower ideas collection.
Also think about the order of work in a small room. When space is tight, fitting a shower wall is harder, and the professionals doing it need room to work carefully. Ask how the wall will be fitted in your space, how the waterproof layer will be checked in a corner, and how the finished wall will be protected while the rest of the room is completed. Those practical questions matter more in a small bathroom than anywhere else, because there is less room to correct a mistake later. The shower remodel ideas collection shows how the order of work shapes the finished result.
Final Considerations
Choosing a shower wall comes down to a handful of calm decisions, made in the right order. Start with the wall behind the surface and the waterproof layer that protects it. Then compare panels, slabs and tile for their character and their care, not only for their looks. Check joints, seals and corners with a critical eye, make sure water drains away cleanly, and match the surface to the air and light of your own room. Those checks will guide you well, whatever finish you eventually choose.
Above all, keep the conversation with a professional at the centre of the process. Bring your questions about waterproofing, joints, drainage and care, and listen for clear, plain answers. A good professional will welcome those questions, because they show that you understand what matters. Take your time, live with samples in your own light, and choose the wall that suits your room, your routine and your eye. A shower wall chosen that way will do its quiet job well, day after day, and it will look as good in everyday use as it did on the day you chose it.


0 Comments