

This tool demonstrates the “Gas Chamber Effect”—how quickly two people breathing in a sealed 200 sq ft box can raise CO2 levels to brain-fogging concentrations. It simulates the rise in parts-per-million (PPM) over a single night of sleep.
It also includes a “Sensor Tech Check” section, explaining why cheap “eCO2” sensors (found in many budget monitors) are often useless trash compared to NDIR (Non-Dispersive Infrared) sensors.
You sealed your tiny house tight against the winter cold, and by 3 a.m. the air inside has been breathed twice over. You wake up groggy, with a dull headache, and blame the mattress.
It is probably not the mattress. In a small, tight box, two sleeping people can push CO2 to brain-fog levels before morning — and the tiny house air quality simulator below shows exactly how fast.
1. At a Glance: One Night of Breathing in a Small Box
The tool below demonstrates what it calls the Gas Chamber Effect: how quickly people breathing in a sealed tiny house can raise CO2 levels to brain-fogging concentrations. It takes four inputs — floor area, ceiling height, occupants, and ventilation status — and simulates the rise in parts per million (PPM) over a single night of sleep, starting from the normal outdoor level of 400 PPM. The ventilation setting is the lever that decides how the night ends, because it sets how much of the room’s air is replaced each hour:
| Ventilation status | Air changes per hour in the model | What it means overnight |
|---|---|---|
| Sealed Tight (Night Mode) | 0.1 | Almost no fresh air — the model treats this as very dangerous, because CO2 simply accumulates |
| Standard Leaky Construction | 0.35 | The standard code minimum the tool models — incidental leaks do a little of the work |
| Mechanical HRV (Lunos/Panasonic) | 1.5 | Good mechanical ventilation, exchanging air continuously through the night |
| Window Open | 3.0 | Lots of air — the fastest dilution of the four, if you can sleep with it |
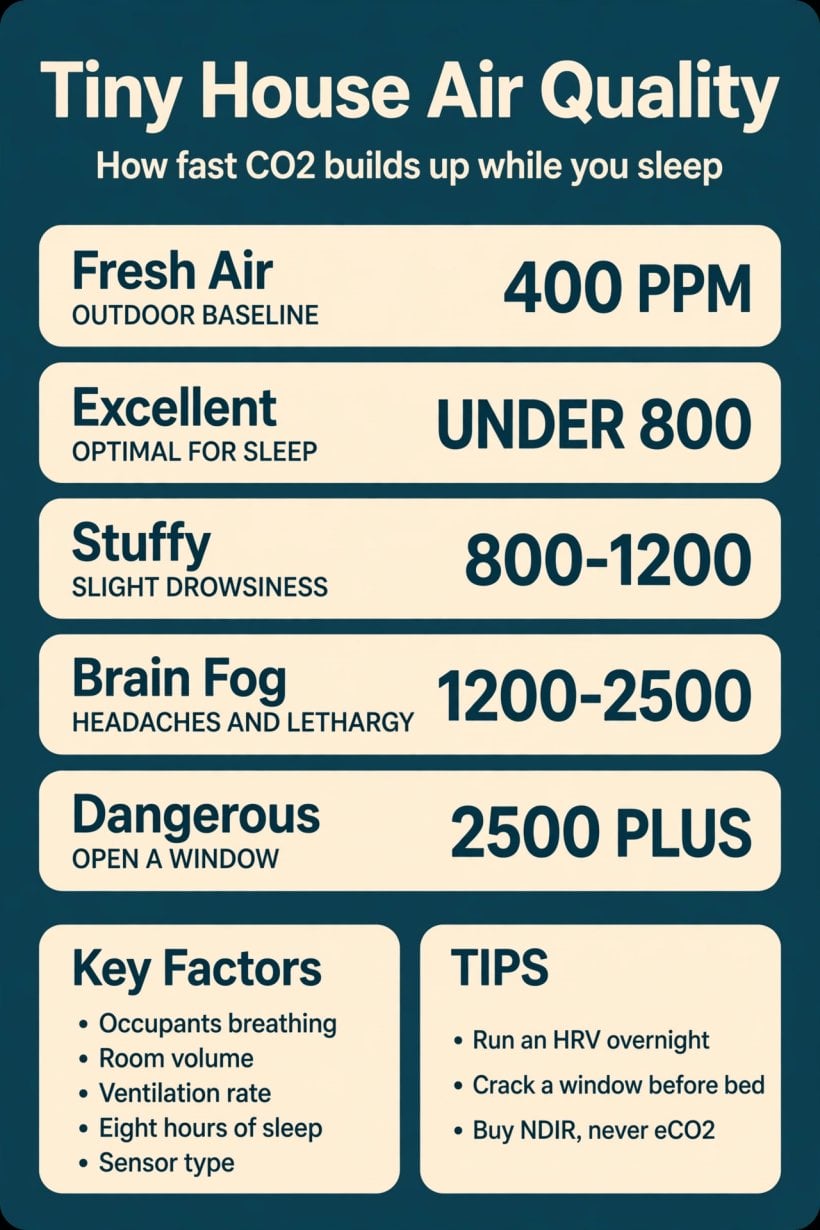
One night at a glance: outdoor air starts at 400 PPM, under 800 is excellent, 800–1200 turns stuffy, 1200–2500 is brain fog, and past 2500 the tool calls it dangerous.
Everything that follows hangs off those four settings and the verdict bands above them. The room gives you a fixed supply of air, the sleepers steadily spend it, and the ventilation decides whether the supply is topped up or left to run dry.
2. The Gas Chamber Effect: Why a Sealed Tiny House Fills With CO2
Every breath adds CO2 to the room. In a large, leaky house that exchange is lost in the noise: the volume is huge and the building leaks enough air that no one notices. A tiny house removes both protections at once — the volume is a fraction of a conventional home’s, and a well-built one is sealed deliberately tight to keep heat in and weather out.
The original tool states the result bluntly: two people breathing in a sealed 200 sq ft box can raise CO2 levels to brain-fogging concentrations over a single night. Nothing is malfunctioning. It is simply arithmetic — a steady source of CO2, a very small container, and no meaningful route for fresh air to get in. The simulator’s name for it, the Gas Chamber Effect, is deliberately uncomfortable: a sealed tiny house behaves less like a small house and more like a closed container with people inside it.
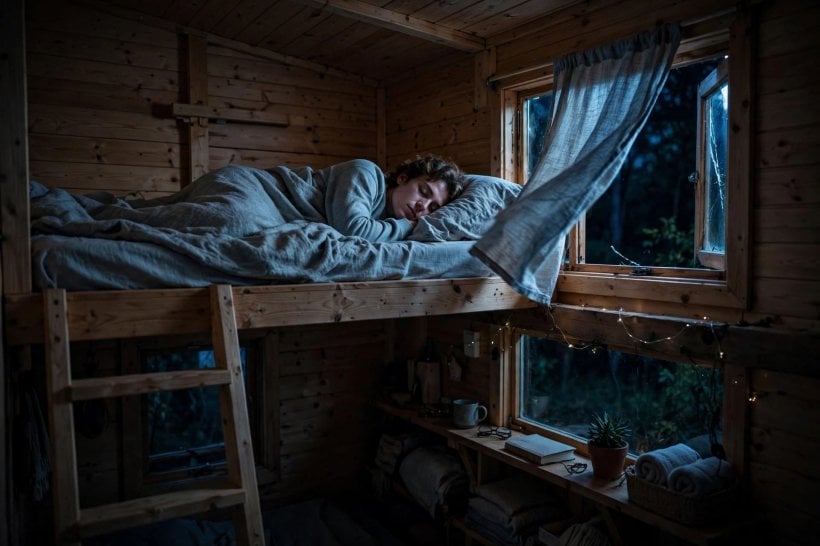
That framing changes how you should think about airtightness. Sealing well is good building practice, but it quietly transfers responsibility for fresh air from the building’s leaks to you. Once the leaks are gone, ventilation stops happening by accident and has to be provided on purpose, every night — including the coldest one, when every instinct says to keep the house shut tight.
3. Room Volume: Floor Area, Ceiling Height and the Air You Share
The simulator’s first two inputs are floor area and ceiling height, and together they define the room’s volume — the total supply of air the sleepers share. The defaults sketch the classic case: 200 sq ft under a 10 ft ceiling is 2,000 cubic feet of air. That sounds like a lot until you set it against a whole night of breathing.
Volume is a buffer, not a solution. A bigger room dilutes the same amount of CO2 into more air, so the concentration climbs more slowly and peaks lower. A smaller room — or the same room with a low ceiling, a loft pressing the sleeping space down, or the door closed on a sleeping nook — concentrates every breath faster. Two tiny houses with identical footprints can feel completely different by morning, because one has a meaningfully larger tank of air.
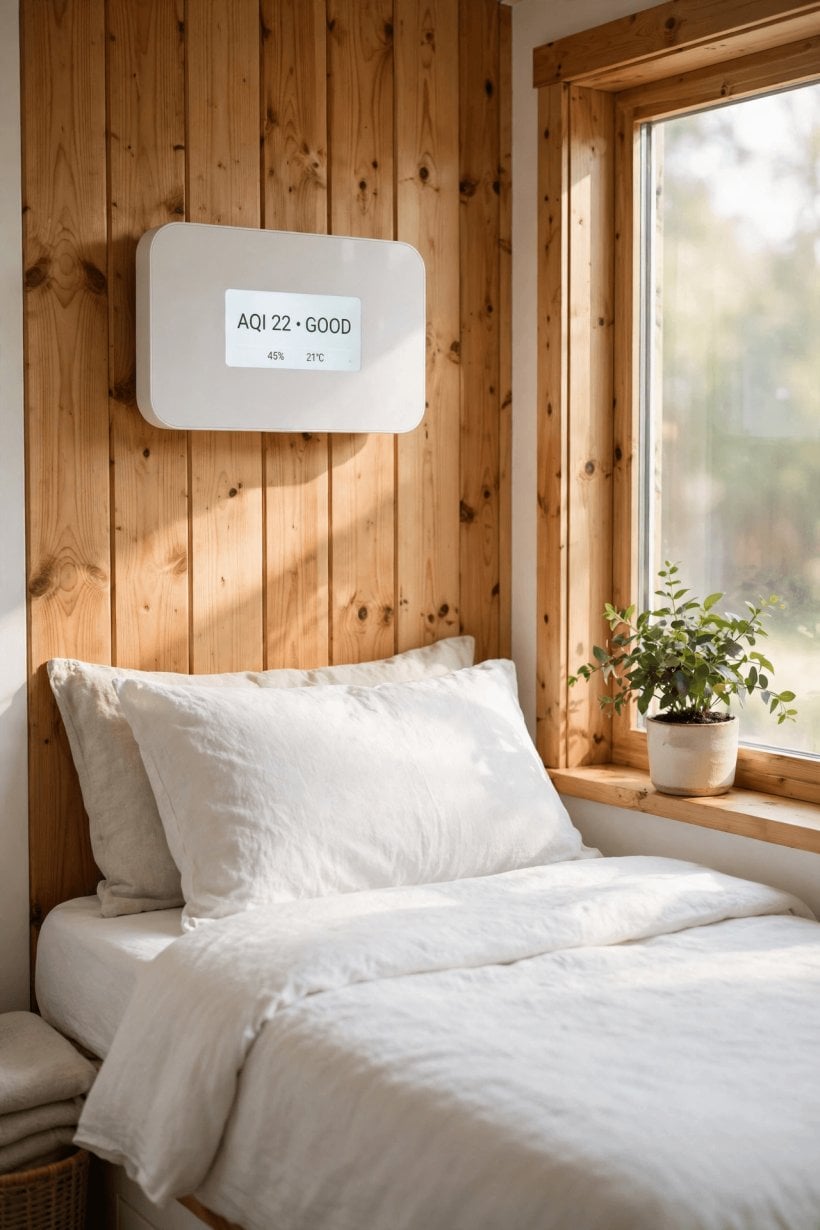
When you run the tool, measure honestly. Use the floor area as it is actually slept in, and the real ceiling height above the bed, not the peak of a vaulted roof. If the bedroom door closes at night, the volume that matters is the volume inside that door. In a space this small, small errors are not rounding — they are the difference between a stuffy verdict and a dangerous one.
4. Occupants: Every Sleeper Is a CO2 Source
The third input is the simplest and the most underestimated: how many people are breathing. The slider runs from 1 person to 4 people, with 2 as the default — the couple in the sealed 200 sq ft box from the tool’s own introduction. Each sleeper is a steady, all-night source of CO2, and the sources simply add: two people fill the room roughly twice as fast as one, four people roughly four times as fast.
Sleeping generation is lower than waking generation, but it never stops, and it runs for the full length of the simulation. That is the compounding detail people miss: not the strength of any single breath, but eight uninterrupted hours of them, in a space small enough that each hour’s output is a meaningful fraction of the whole volume.
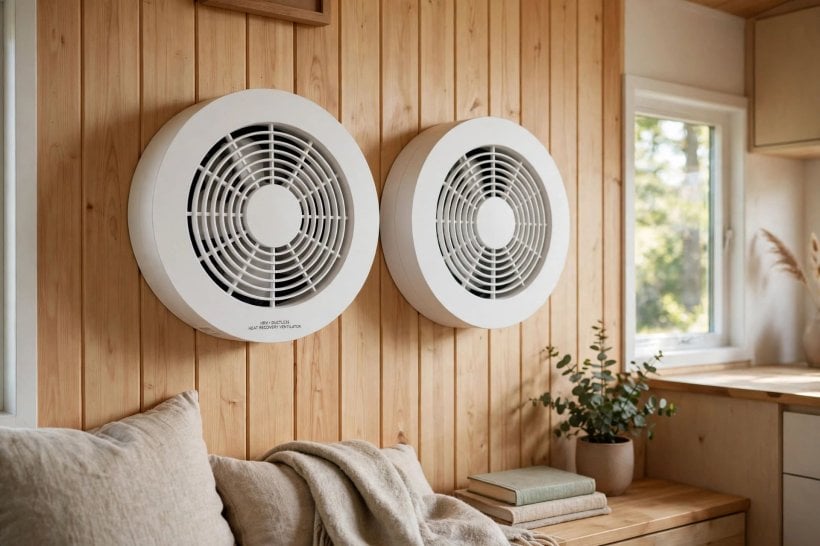
The practical lesson is to plan for the fullest house, not the usual one. If your tiny house regularly sleeps four — children, guests, a friend on the couch — that is the occupancy your ventilation has to serve, because CO2 does not average itself across the week. One crowded, sealed night is enough to produce the headaches and the broken sleep.
5. Ventilation Status: The Four Ways a Tiny House Breathes at Night
The fourth input decides the night. In the simulator’s model, a sealed-tight house in night mode exchanges about 0.1 air changes per hour — in the tool’s own assessment, very dangerous, because almost nothing leaves and almost nothing arrives, so CO2 accumulates along a curve that only points one way. Standard leaky construction, at 0.35 air changes per hour, is the standard code minimum the model works with: incidental gaps around windows and doors do a little quiet work all night, which is why older, draftier tiny houses often feel less stuffy than tighter modern ones.
Mechanical ventilation is the deliberate answer. The tool’s HRV setting — it names Lunos and Panasonic units — runs at 1.5 air changes per hour and holds the line continuously, which is why the tiny house HRV efficiency calculator treats heat-recovery ventilation as fresh air without throwing the heat away. An open window, at 3.0 air changes per hour, dilutes fastest of all — if weather and noise let you sleep with it open, a point the tiny house window condensation and HRV calculator explores from the moisture side.

Notice what the four settings really are: four answers to who is in charge of the air. Leaks answer by accident. A window answers when you remember. An HRV answers every night whether you remember or not. The simulator makes the cost of each answer visible in a single number by morning.
6. Reading the Verdict: From Fresh Air to Dangerous
Press the button and the tool answers with a predicted CO2 level and a plain-language verdict. Below 800 PPM it reads EXCELLENT — clean, fresh air, optimal for sleep. Between 800 and 1200 PPM the verdict is FAIR / STUFFY: the air feels stale and slight drowsiness is possible. Between 1200 and 2500 PPM it turns POOR, and the tool names the condition directly — brain fog — with headaches, lethargy and poor sleep quality, plus its own blunt advice: crack a window.
Above 2500 PPM the badge reads DANGEROUS: significant cognitive decline, nausea and increased heart rate. The animated gauge and fog layer make the point visually — as the number climbs, the room on screen clouds over. Treat the bands as a ladder of sleep quality as much as safety.
The starting point matters too. The simulation begins at 400 PPM, the normal outdoor level the tool labels FRESH AIR. Every point above that is CO2 the occupants added to a space that could not clear it — the number really measures the gap between how fast the sleepers produce CO2 and how fast the house can get rid of it.
7. Why Night Mode Is the Worst Case
The simulator is built around one specific scenario — its button says it outright: Simulate 8 Hours of Sleep. Night is when every factor lines up against you at once: the longest continuous occupancy the house ever sees, doors and windows shut for warmth and security, and the occupants generating CO2 steadily without ever stepping outside to reset the air.
Daytime forgives. People come and go, doors open, windows get cracked for a dozen small reasons, and nobody spends eight unbroken hours in the smallest room. Night removes all of that forgiveness — and it is when the consequences land: the CO2 peak arrives in the small hours, deep inside the sleep it is degrading, so you feel the result at the alarm clock, not when it happened.
The small hours are also when other appliances share the same sealed volume. A furnace cycling through the night — its behavior modeled in our RV furnace efficiency and noise simulator — and a wood stove drawing combustion air from the room, the subject of the wood stove clearance calculator, are part of the same indoor-air picture. In a box this small, nothing breathes alone: every flame, fan and sleeper works the same limited supply.
8. Sensor Tech Check: eCO2 Gadgets vs Real NDIR Measurement
Half the tool is a warning about the gadget you might buy to check all this. Its Sensor Tech Check section divides monitors into two kinds. The first is “eCO2” — estimated CO2 — found in cheap monitors at $10–$40. The verdict is unsparing: avoid these. They do not actually measure CO2 at all; they measure VOCs — smells — and use a math formula to guess the CO2 level from them.
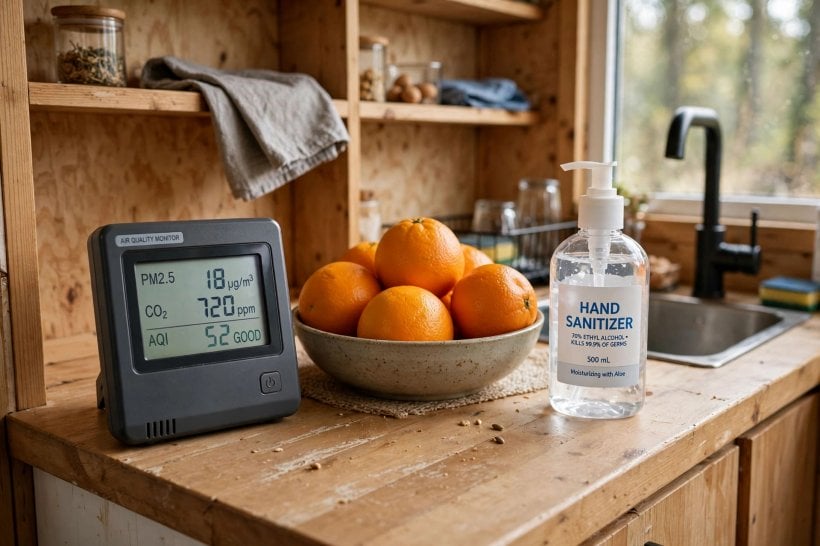
That guess fails in ways that would be funny if the topic were not safety. Peel an orange near an eCO2 sensor, or use hand sanitizer beside it, and it will false alarm — it has detected a smell and converted it into a CO2 reading unrelated to the air anyone is breathing. The original guide calls such sensors often useless trash compared with the real thing, and in a sealed tiny house a sensor that cries wolf over citrus is worse than none: it teaches you to ignore it.
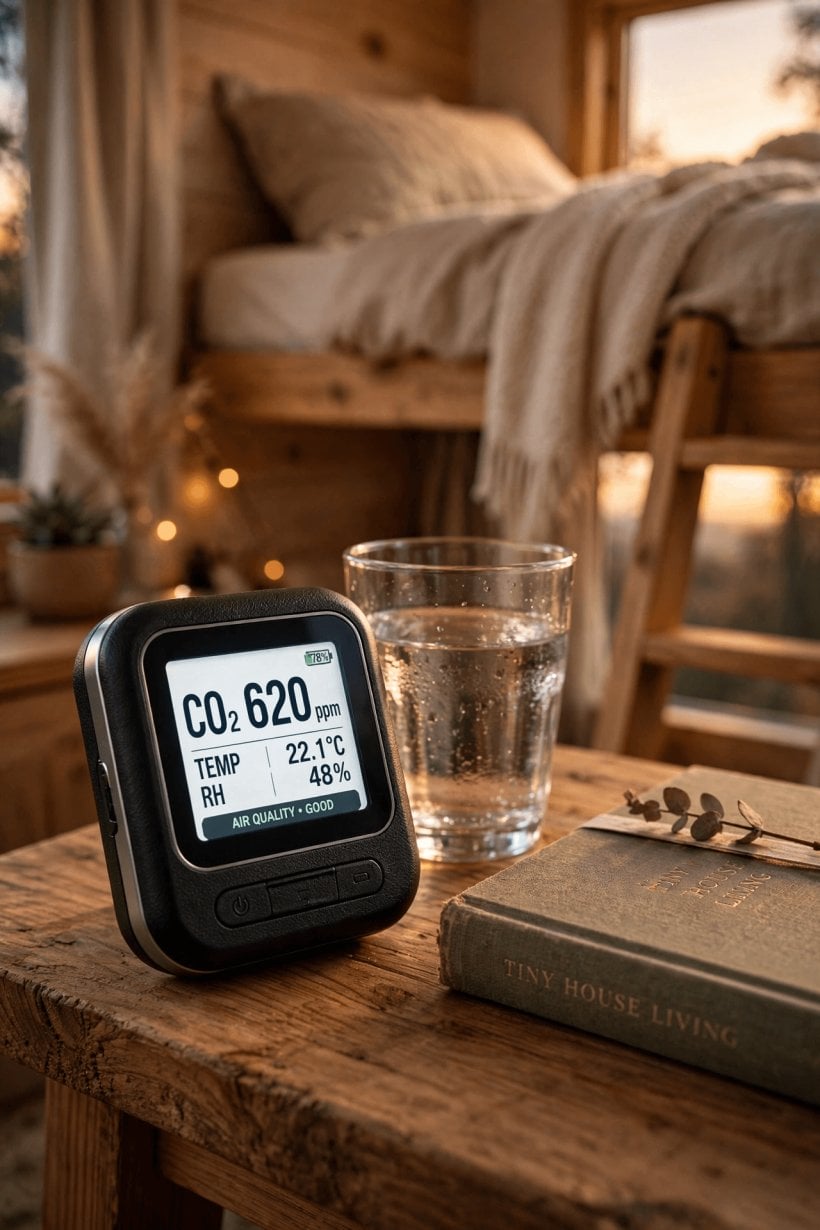
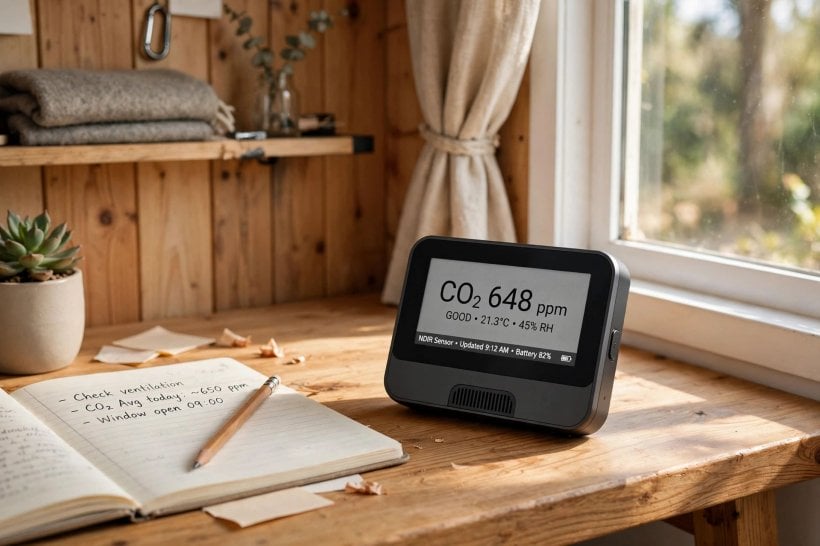
The real thing is an NDIR sensor — Non-Dispersive Infrared — which the tool prices at $80 and up. NDIR units use infrared light to count actual CO2 molecules, and the guide describes them as accurate, stable and essential for life safety in a sealed tiny house. Its buying advice is specific: look for “NDIR” explicitly on the box, naming brands like AirGradient and Aranet4. The rule is simple enough to tape to the fridge: if the listing says eCO2 or estimated, it is not measuring your air.
9. Fixing the Air: Ventilation You Run on Purpose
The simulator’s four ventilation settings are really a to-do list in disguise. If sealed night mode produces the dangerous verdict, the fixes are the other three settings: give the house a deliberate way to breathe. An HRV is the complete answer — continuous exchange all night, with the heat largely kept — and the setting the model rewards with the steadiest numbers. A cracked window is the honest budget answer: less controlled and weather-dependent, but the fastest dilution of all.
Deliberate ventilation pays a second dividend the CO2 number does not show: moisture. The same stale, humid air that carries CO2 also carries the water vapor that condenses on cold surfaces, which is why ventilation and mold prevention are the same conversation — the dew-point side is worked through in the flash coat mold prevention simulator, and whole-house air paths, roof included, in the tiny house roof venting visualizer.

What changes in practice is modest: a ventilator that runs overnight instead of being switched off with the lights, a window habit on mild nights, and a monitor you can trust. None of it requires rebuilding the house — just admitting that a tight tiny house does not breathe on its own, and breathing for it on purpose.
10. Using the Simulator — and the Mistakes It Catches
Run the tiny house air quality simulator with your real numbers, not flattering ones. Enter your actual floor area and ceiling height, set the occupants slider to the fullest night the house honestly sees, and choose the ventilation status that matches how the house is really slept in — not how you intend to sleep in it once the good habits start. Press Simulate 8 Hours of Sleep and read all three outputs: the predicted PPM, the verdict badge and the symptom line.
Then experiment, because comparison is where the tool earns its keep. Hold the room constant and move only the ventilation from sealed to HRV to window, and watch the same night produce three different mornings. Then hold the ventilation and move the occupants from two to four. Those sweeps tell you which lever your house needs — more air exchange, or a plan for crowded nights.
The mistakes it catches are consistent. Simulating for two people when the house sleeps four. Trusting a cheap eCO2 gadget’s green light instead of the physics. Sealing the house tighter each winter for warmth while quietly deleting the leaks that used to ventilate it, and never replacing them. And the quietest mistake of all: feeling groggy every morning and blaming the mattress — everything except the air, the one thing the simulator could have checked in a minute.
Final Considerations
A tiny house’s small volume is its defining comfort and its defining air-quality risk, and the two cannot be separated. The same tight envelope that keeps the heat in keeps the CO2 in, and the simulator below exists to make that trade visible before it becomes a pattern of dull mornings. The defenses are neither exotic nor expensive: ventilation that runs on purpose through the night, and — if you measure — a genuine NDIR sensor doing the measuring.
So before your next night in the house, spend one minute with the tool. Set your room, your people and your honest ventilation status, and see the morning you are actually going to wake up to.
Tiny House Air Quality Sim
Tiny House Air Quality Sim
CO2 Buildup & Sensor Technology Guide.
1. Room Parameters
Know Your Sensor Tech
Avoid these. They don’t actually measure CO2. They measure VOCs (smells) and use a math formula to guess the CO2 level. If you peel an orange or use hand sanitizer near them, they will false alarm. Common in cheap generic monitors.
Non-Dispersive Infrared. These use a laser to count actual CO2 molecules. They are accurate, stable, and essential for life safety in a sealed tiny house. Look for “NDIR” explicitly on the box (brands like AirGradient, Aranet4).




0 Comments