

Building a tiny house is not one project but ten small ones wearing a trench coat, and the builders who finish happy are the ones who do them in the right order. This checklist is the order.
Work through the stages below from land to move-in day, ticking items off as you go, and follow the links at each stage to the Togaze guide that covers it in depth.
Print it, pin it inside the workshop door, and mark each item with a date rather than a hopeful tick. A dated checklist becomes the build’s diary, and on the hard days, and there will be a few, it is proof in your own handwriting that the mountain is mostly climbed.
1. The Whole Build at a Glance
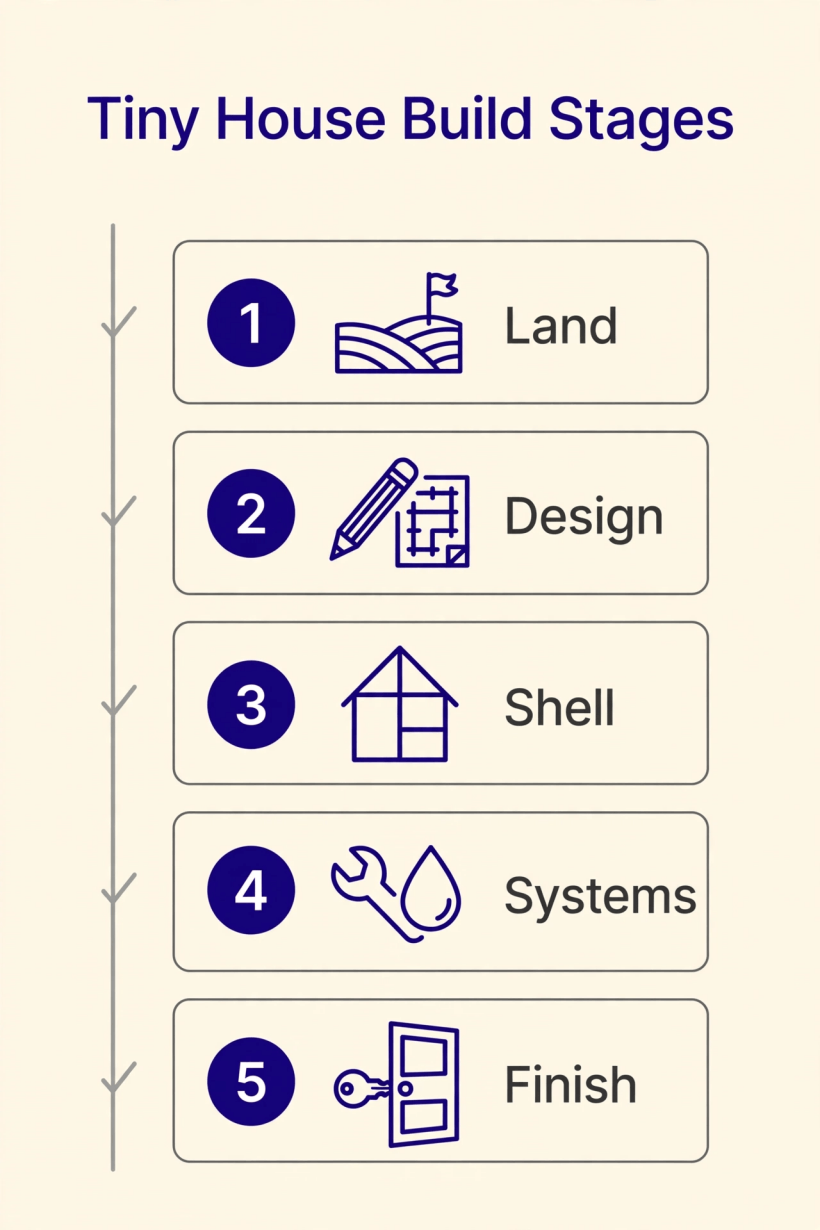
The journey groups naturally into five stages. The first two are thinking stages, land and design, where mistakes cost nothing but honesty. The middle stages build the shell and thread the systems through it. The last stage is finishing, checking and moving in. The table below is the whole build on one screen; the sections that follow expand each stage into a working checklist.
| Stage | Focus |
| Stages 1 to 2 | Site and design: land, law, plans and the trailer base |
| Stages 3 to 4 | Build and utilities: shell, framing, roofing, electrical and plumbing |
| Stage 5 | Completion: interior finish, checks and moving in |
| Key factors | Budget order, permits, weight and balance, inspections |
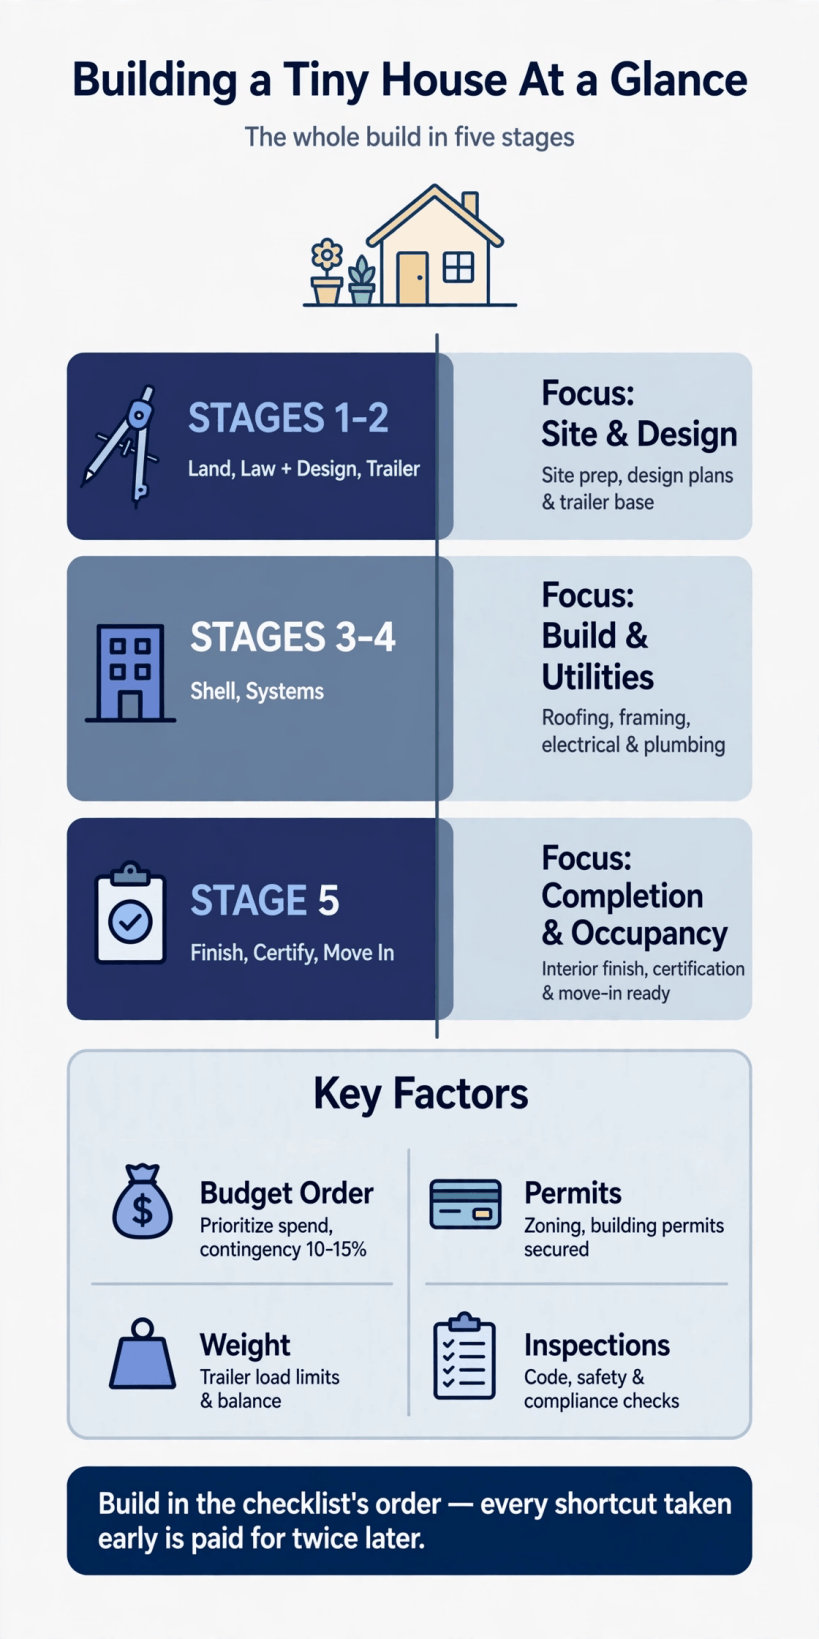
The whole build in five stages, from site and design to completion and move-in day.
One habit separates smooth builds from sagas: finish each stage completely before borrowing work from the next. A half-insulated shell with finished cabinets is not progress; it is a future demolition job. The checklist’s order exists because every trade hides the previous one’s work, so inspect, photograph and sign off each stage while you can still see it.
2. Land: Choosing and Preparing the Plot
Everything starts with where the home will stand, because land decides your rules, your access and your daily view. Score candidate plots the way our where to buy land for eco-living scoring system does: water, access, sunlight, neighbours and legal fit, in that order of stubbornness. Then work through the preparation steps in our how to prepare your land for a tiny house guide before a single timber is cut.
- Confirm the plot can legally host the home you plan, in writing where possible
- Check vehicle access for delivery of the trailer, materials and the finished home
- Find water: a well, a connection or a storage plan, and test what you find
- Walk the ground after heavy rain and note where water sits and drains
- Mark sun path, prevailing wind and the view you will wake up to
- Agree boundaries, screening and neighbour sightlines before building day
Visit the plot at different hours and in different weather before you commit to it. Morning mist will show you the cold hollow, a windy afternoon will grade the shelter of the trees, and a chat with the nearest neighbour will tell you more about living there than any listing. Land is the one part of the project you cannot return to the shop, so court it properly.
3. Law: Permits, Rules and Paperwork
Paperwork is the cheapest stage of building a tiny house and the most expensive to skip. Rules about small homes differ between states, counties and cities, so this checklist gives you questions, not answers: the answers live with your county or city offices, and asking early, politely and in person is a genuine build skill. Our building codes for unconventional eco-structures guidance explains how officials tend to think, and the wider story in our tiny house movement history shows why the frameworks are still being written.
- Ask how a home of your size and type is classified where it will stand
- Ask what permits, inspections and certificates the build will need
- Confirm setback expectations from boundaries, wells and waterways
- Check connection rules for water, power and drainage at the plot
- Keep every approval, email and receipt in one build folder
- Photograph the build at each stage for your records and insurer
Bring a sketch and a humble attitude to those office visits. Officials answer the same questions weekly, and a builder who arrives with a plan, a plot map and a notebook gets the good version of their knowledge: which inspector cares about what, which form trips everyone, and which local builder solved this exact puzzle last spring. Write names down; continuity is a quiet superpower in paperwork.
4. Design: Plans, Layout and Honest Measurements
Design is where the home is truly built; the workshop merely repeats it. Begin in the tiny house floor plans hub, compare the specialised collections such as the tiny house trailer-specific floor plans and the gooseneck tiny house floor plans, and then draw your own version at full scale on paper. Measure your real life, your books, your pans, your tallest friend, and let the plan answer to them.
- Fix the footprint and ceiling heights before falling for finishes
- Place the bathroom and kitchen back to back to shorten plumbing runs
- Decide the bed format: loft, raised platform or a real ground-floor bed
- Tape the plan on a floor at full size and walk it with a laundry basket
- Plan storage into stairs, benches and every hollow wall
- List the appliances now, because their sizes draw the kitchen for you
Design for the worst week, not the best day. Where do wet boots go in February, where does a poorly guest sleep, and where does the laundry dry when it rains for a week? A plan that answers those three questions honestly will feel generous all year, while a plan drawn around a sunny afternoon photograph will start negotiating with you by November.
5. Base: Trailer or Foundation, Level and True
A wheeled build stands on its trailer, and a fixed build stands on its foundation; both deserve the same obsession with level, anchoring and corrosion protection. If your plan uses a fifth-wheel trailer, the layout thinking in our gooseneck tiny house ideas guide will help you choose, and our how to transport a tiny house guide covers what the base must survive on moving day.
- Match the trailer or foundation rating to the finished weight, with margin
- Check the deck is flat, square and free of rust or rot before building
- Plan tie-downs and anchoring as structure, not as an afterthought
- Decide floor insulation and the vapour strategy before the subfloor closes
- Weigh the base and record the figure in the build folder
Budget a contingency inside this stage and every one after it. A sensible reserve, held back deliberately rather than spent hopefully, is what turns a discovered problem, a rotten trailer cross-member, a foundation that needs to go deeper, from a crisis into a Tuesday. Order the budget as the infographic suggests: structure first, systems second, finishes last, because paint can wait a season and a sound base cannot.
6. Shell: Framing, Sheathing and Roofing
The shell stage turns drawings into weather. Frame for the openings you actually ordered, sheath and wrap the structure against driven rain, and get a roof on as early as the sequence allows, because every later trade works better under cover. The workshop discipline in our how to get a tiny house built guide is worth rereading here, whether the hands on the tools are yours or a builder’s.
- Frame walls square and check diagonals before sheathing
- Flash every opening as if the rain has a personal grudge, because it does
- Choose roofing for weight, noise in rain and the pitch of your roof
- Fit windows and doors, then hose-test the shell before lining it
- Photograph every wall before it is closed, for future fault-finding
The day the roof goes on is the build’s emotional summit, and it deserves respect in the schedule. Dry shelter means materials stop degrading on site, tools can live in the build, and evening work under a lamp becomes possible. Many builders date their whole project from that day, everything before it was preparation, everything after it is a house becoming finished.
7. Systems: Electrical, Plumbing and Water
First-fix systems go in while the walls are open: cable runs, pipe runs and the routes for ventilation. Keep the wet wall shared and short, plan the drainage with our tiny house greywater systems guide open beside you, and think about supply with the rainwater harvesting and tank sizing guide. Power planning, grid, solar or a hybrid, borrows its logic from our solar vs wind power for a homestead comparison.
- Draw a one-page map of every cable, pipe and valve before walls close
- Pressure-test plumbing and test every circuit before lining
- Put isolation valves and access panels where hands can reach them
- Vent the bathroom and hob properly to the outside air
- Label both ends of every run while you still remember them
- Leave spare capacity in the consumer unit and the water manifold
If any stage justifies professional help on a do-it-yourself build, it is this one. Gas work belongs to qualified hands wherever it appears, final electrical connections deserve a professional eye, and an hour of a plumber’s time at first-fix can prevent a winter of regrets. Knowing which jobs to hand over is not a failure of the self-build dream; it is the dream, properly insured.
8. Insulation, Lining and Interior Fit-Out
Insulation is the comfort budget, so spend it continuously: roof first, walls next, floor always. Line the interior once the systems pass their tests, then fit the kitchen, bathroom and storage as one joinery project rather than three shopping trips. The storage thinking in our tiny house closet design ideas will stop you wasting the tall corners.
- Insulate in a continuous layer and mind the thermal bridges at frames
- Choose lining boards for weight as well as looks on a wheeled build
- Build storage walls and stairs before buying freestanding furniture
- Fit the shower waterproofing as if your floor depends on it
- Leave the flooring until heavy work is done, then protect it
This is also the stage where weight quietly accumulates, board by board and book by book of tiles. Weigh the build again before the final finishes go in if it will ever travel, and be ready to swap a heavy choice for a lighter one while the swap is still easy. Comfort matters, but so does the number on the weighbridge ticket in the folder.
9. Alternatives and Shortcuts Worth Knowing
The classic timber build is not the only road to a small home. A converted truck, walked through in our box truck conversion ideas guide, starts with a weatherproof shell already built, and at the far simple end of the spectrum our living in a tent long term guide shows what shelter alone can teach a household. Knowing the alternatives sharpens the main plan: every shortcut on this page is a stage of the checklist that somebody else has already paid for in the price of the vehicle or the kit.
- Compare a self-build against a shell-only purchase from a builder
- Price a kit or park model honestly against your own timeline
- Keep the paperwork stages identical whichever route you choose
- Never let a shortcut skip the land, law or weighing stages
Whatever route you take, the questions stay the same; only the answers change hands. A kit moves framing from your Sundays to a factory, a conversion moves the shell stage into a purchase, and a commissioned build moves almost everything except land and law. Use this checklist to interrogate every offer: which stages does it genuinely complete, and which does it merely hide?
10. Finish, Final Checks and Move-In Day
Finishing is a hundred small completions: paint, trim, seals, curtains, and the first night sleeping in the space you drew a year ago. Before that night, walk the whole checklist backwards, test every system under real load, and arrange cover with the help of our how to insure a tiny house guide, describing the finished home exactly as it stands.
- Snag the build room by room, in writing, and finish the list fully
- Weigh the completed home and file the figures with the paperwork
- Test heating, water, drainage and power through one full day of use
- Fit smoke and carbon-monoxide alarms and a fire extinguisher by the door
- Stock the first-night box: kettle, bedding, tools, torch and takeaway menu
- Sleep in the home on site for a weekend before any long journey
Give the finished home a gentle first month. Timber moves, seals settle, and new systems reveal their personalities at three in the morning rather than at inspection time. Keep the tools handy, the build folder closer, and a short list on the fridge for the small adjustments that turn a completed build into a tuned home. Then invite the people who helped, cook them something in the small kitchen, and let the house start earning its stories.
Final Considerations
A tiny house rewards the orderly. Land before law, law before design, design before timber, systems before lining and checks before journeys: follow the checklist’s order and each stage makes the next one cheaper, calmer and better built. Check the local details with your county or city as you go, keep the build folder honest, and the day the door closes on your first night inside will feel less like luck and more like what it is, the visible end of a thousand small jobs done in the right sequence.
Finally, keep this page. Builds have second acts: a deck next spring, a solar upgrade, a move to a new plot, a sale to the next hopeful household. The checklist, the folder and the photographs you made along the way are the home’s memory, and they will make every one of those chapters easier than the first. That is the quiet dividend of building in order: the house comes with its own instruction manual, written by the only author who knows it completely, you.


0 Comments