

A tiny house roof in summer is not just hot — it is a radiant heater aimed at your head. The sun loads the roof surface, the roof beams that heat downward, and in a sleeping loft the ceiling sits inches from your face. A sheet of foil can turn most of that heat away — but only if one installation detail is right.
The simulator below shows why, and lets you test your own roof before you build.
1. At a Glance: The Three Installation Methods Compared
The tool on this page illustrates the physics of reflectivity vs. emissivity. It demonstrates why a thin sheet of shiny foil can stop 97% of radiant solar heat from entering your tiny house, but only if it is installed correctly with a dedicated air gap. Its Heat Ray Visualizer shows solar radiation penetrating standard roofing materials versus bouncing off a radiant barrier, and it calculates the potential AC energy savings for hot climates like Texas and Florida. Everything comes down to three installation choices, compared here on the simulator’s Hot setting (95°F peak, Texas/Florida):
| Installation method | What it means | What the simulator shows |
|---|---|---|
| No Radiant Barrier | Standard shingle/metal roof only | Attic temperature 135°F — the full heat load comes through |
| Foil with Air Gap (Correct) | Draped over rafters or on furring strips | Attic temperature drops sharply and AC savings reach 15% |
| Sandwiched (Incorrect) | Smashed between sheathing and insulation | ZERO EFFECT — conduction takes over and the foil does nothing |
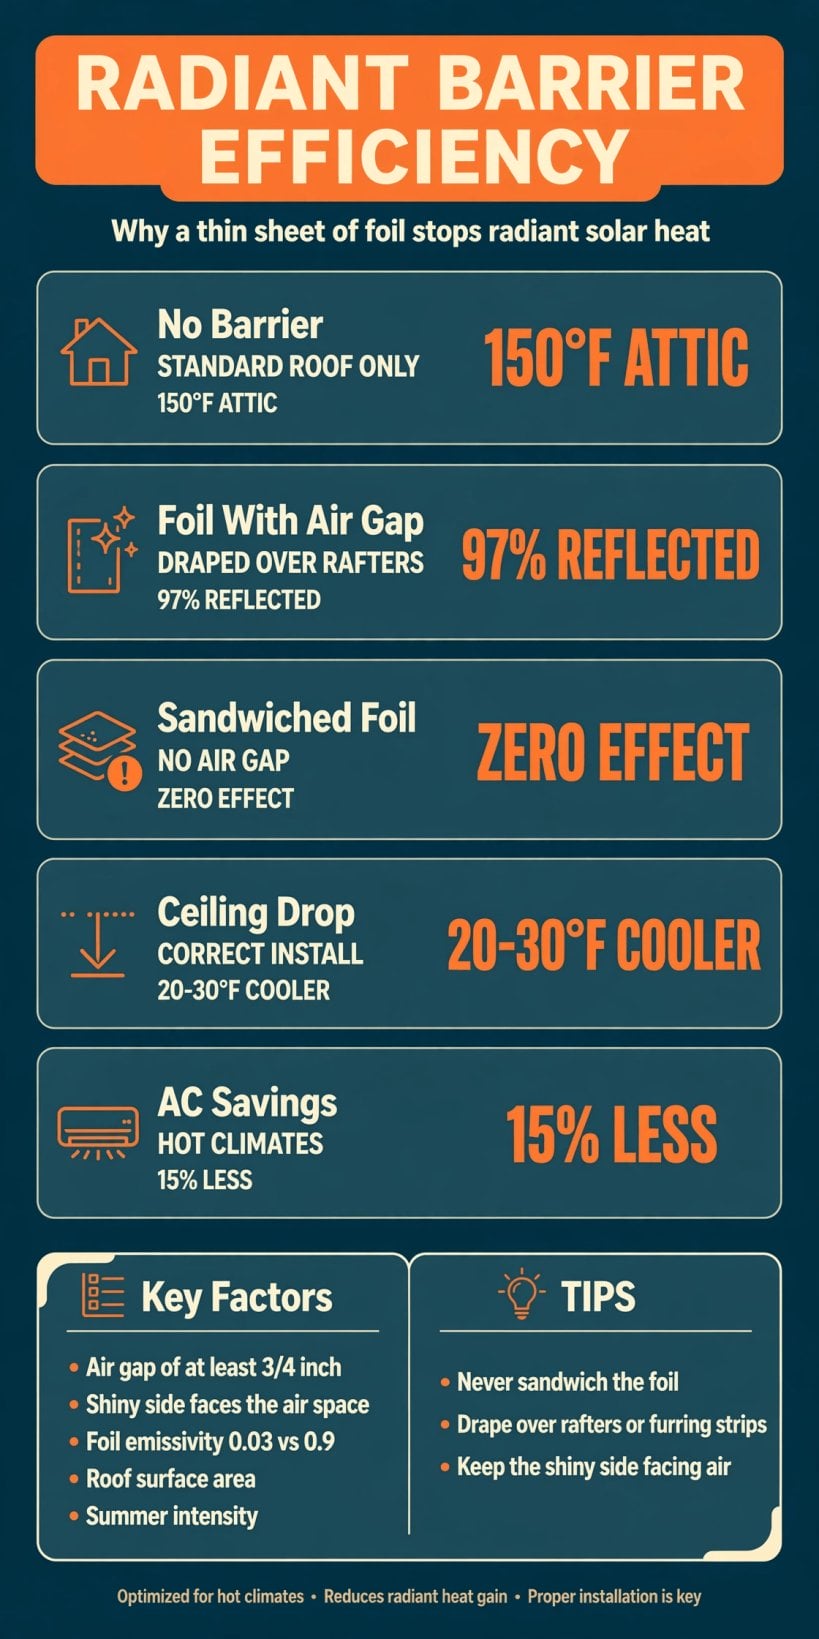
The whole story on one card: an unprotected attic at 150°F in extreme heat, 97% of radiant heat reflected when foil faces an air gap, and a sandwiched install that scores exactly zero.
Notice that the material never changes across those three rows — it is the same foil in each one. Only the installation changes, and with it the result swings from a cooler ceiling and real AC savings to literally zero effect. That is the central lesson of this guide: with radiant barriers, the product is the easy part. The physics of the air gap decides whether it works at all. The sections below unpack the heat transfer at play, the two numbers on the foil that matter, and how to read the simulator’s verdict for your own climate.
2. Radiant Heat: The Third Heat Transfer Your Roof Uses
Most insulation thinking is about conduction — heat creeping through solid material — and convection, heat carried by moving air. A sun-baked roof adds the third mechanism: radiation. The hot roof surface emits radiant heat downward in straight lines, the way the coils of an electric heater glow at a room, and whatever it lands on absorbs it and warms up. In a tiny house that target is close. The original post puts it plainly: in a tiny house the roof is just inches from your head, so the radiant load lands on the ceiling directly above your bed, your desk and your kitchen.
This is why a roof can defeat insulation that looks adequate on paper. Cavity insulation slows conducted heat working its way through the assembly, but the underside of a hot roof deck keeps radiating at the materials below it all afternoon. The same structure-borne heat path shows up in walls, too, where conductive framing drags down a wall’s real performance — our steel frame thermal bridge simulator models that cousin of this problem. A radiant barrier attacks the roof version at its source: instead of absorbing the radiation and re-emitting it inward, the foil reflects it back and emits almost nothing of its own.
3. Reflectivity vs. Emissivity: The Two Numbers on the Foil
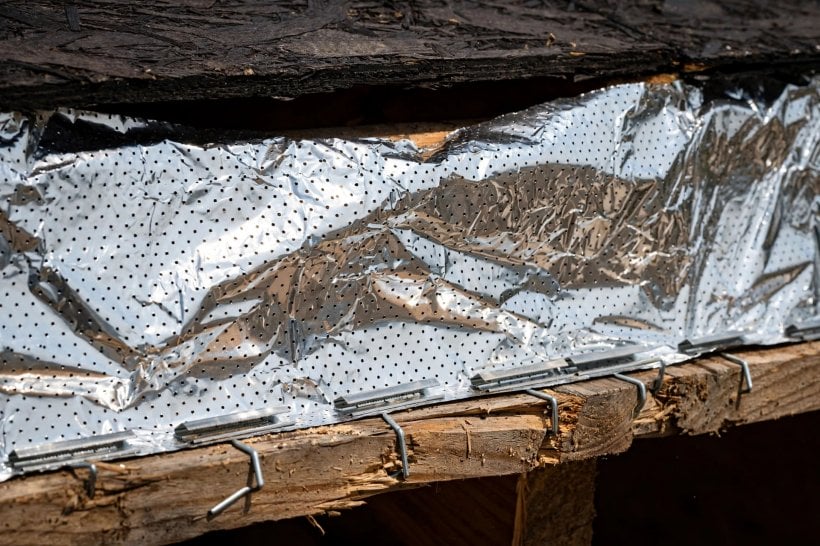
Two properties decide how a surface handles radiant heat. Reflectivity is the share of incoming radiation a surface bounces away. Emissivity is the share it absorbs and then re-emits as heat of its own — and this is where radiant barrier efficiency is truly decided, because a surface that absorbs little has little to give off. The post’s physics panel gives the contrast directly: standard building materials absorb about 90% of solar heat, an emissivity of 0.9. Aluminum foil emits only about 3-5%, an emissivity of 0.03.
Run those two numbers side by side and the foil’s advantage stops sounding like marketing. A roof deck at emissivity 0.9 soaks up nearly all the radiant energy hitting it and passes the warmth along. A foil surface at 0.03 reflects the incoming radiation and radiates back almost nothing, so the space below it is cut off from the roof’s heat output. That is how, in the post’s words, a thin sheet of shiny foil can stop 97% of radiant solar heat from entering the house. Builders chasing thin, high-performance wall and roof layers will recognize the same inches-versus-performance trade the aerogel ROI and space savings calculator prices out — in a tiny house, every layer has to earn its thickness.
4. The Air Gap Rule: The #1 Mistake
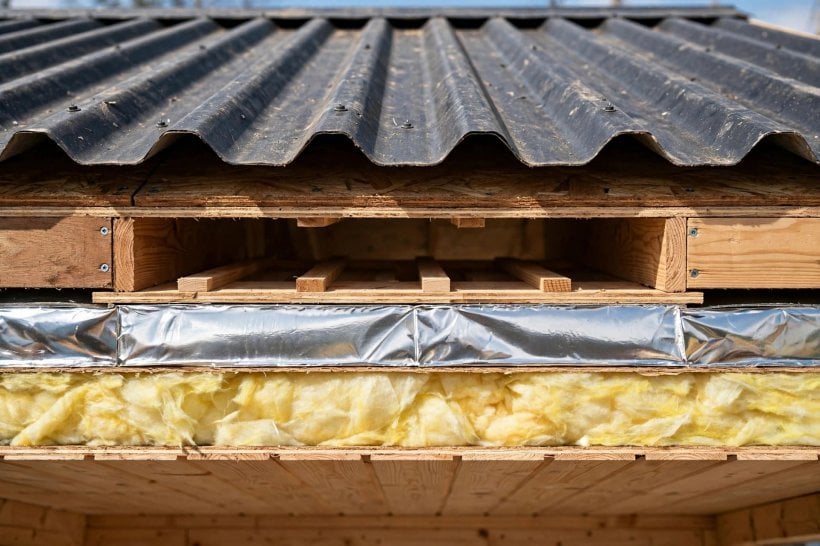
The simulator’s physics panel names it without hedging: the air gap rule is the #1 mistake. Radiant heat must travel through air to be reflected. The foil’s shiny face needs an open air space in front of it — you typically need at least 3/4 inch of air space facing the shiny side. That gap is not slack or sloppy fitting; it is the working part of the system. Radiation crosses the gap, strikes the foil, and is reflected and barely emitted, so the heat never gets a conducting path into the room.
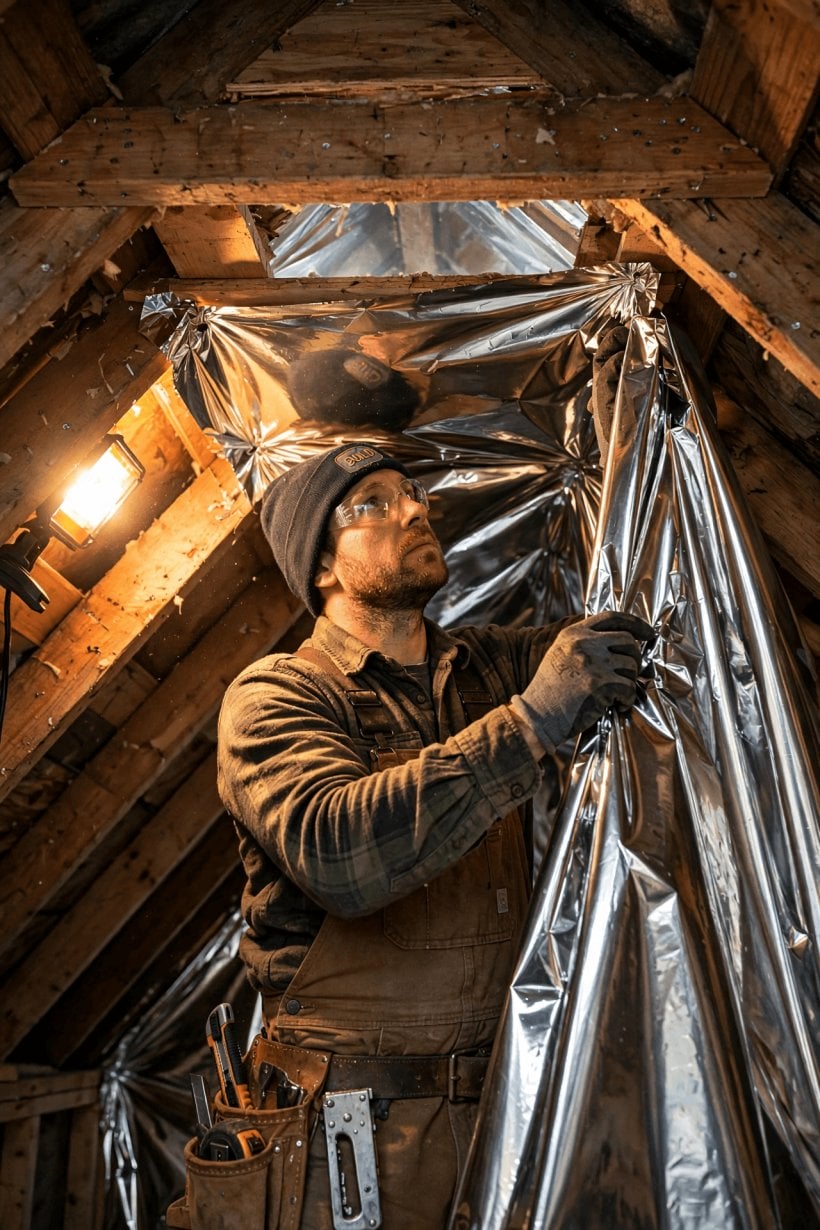
Protecting that gap is the real installation job. The foil is draped over the rafters or mounted on furring strips precisely so the air space survives: the drape sags slightly between rafters to hold the channel open, and furring strips fix the spacing mechanically where a flat run is needed. Let insulation press up against the foil, or let the foil press flat against the roof deck, and the air space collapses at that spot — and with it, the reflection the whole system depends on. Section 6 shows what the simulator does to an install with no gap at all.
5. Reading the Simulator: Roof Area, Method and Summer Intensity
The tool asks for three inputs under Roof Configuration. The first is roof surface area in square feet, which scales the heat load the visualizer works with — a longer house with a bigger roof collects more sun, and the attic temperature result reflects that exposure. The second is the installation method: no radiant barrier, foil with air gap, or sandwiched. The third is summer intensity, and it is worth reading the three settings as three real places: Moderate, peaking at 85°F; Hot, at 95°F, labelled Texas/Florida; and Extreme, at 110°F, labelled Arizona.
Press Simulate Heat Gain and the tool answers with an attic temperature and an AC savings figure, while the Heat Ray Visualizer redraws the roof: rays penetrating the assembly when there is no barrier, rays bouncing off the foil when the air gap is present. With no barrier at all, the simulator’s attic temperatures tell the summer story on their own — 110°F on the Moderate setting, 135°F on Hot, and 150°F on Extreme. Those are the numbers your ceiling, and everything under it, starts from before any cooling strategy gets a say.
6. Sandwiched Foil: The Frying Pan Effect
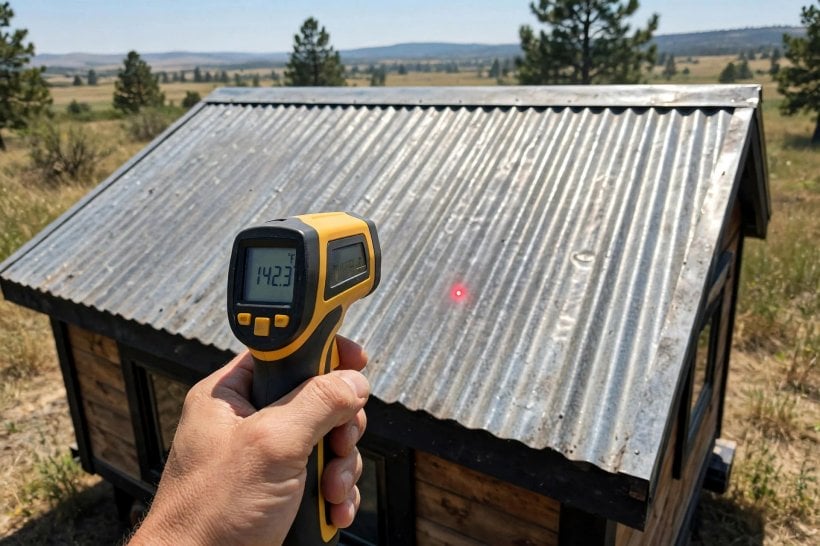
Choose the third installation method and the simulator delivers its bluntest verdict: ZERO EFFECT. Its warning reads, “Radiant barriers require an AIR GAP to function. Conduction has taken over.” The post’s physics panel explains the failure with a kitchen image that is hard to forget: if you sandwich foil directly between roof sheathing and insulation, heat simply conducts through the foil like a frying pan. Pressed against hot sheathing on one side and insulation on the other, the thin metal has no radiation to reflect — it just becomes one more conducting layer in the stack, passing heat along by contact.
This failure matters because it is invisible once the ceiling is closed. A sandwiched install uses the same foil, the same staples and the same money as a correct one; it simply never works, on any day, in any climate. It is also a useful reminder that radiant barriers and bulk insulation do different jobs in the same assembly — the foil handles radiation, while cavity materials like spray foam, rockwool and sheep’s wool handle conduction and air leakage, as our guide to insulating a tiny house with spray foam, rockwool or sheep’s wool works through. A roof that needs both mechanisms handled has to give each layer the conditions it works in: insulation its cavity, foil its air gap.
7. Hot Climates: Texas, Florida and Arizona Sun
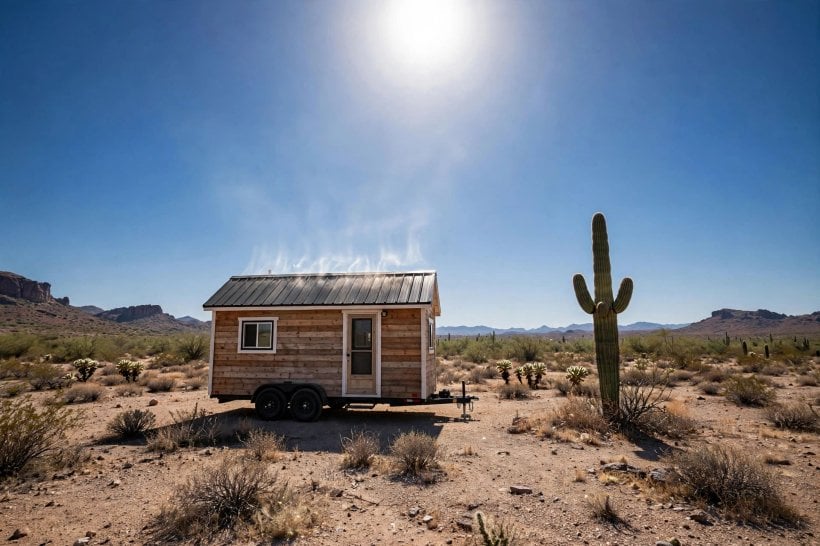
The simulator is frankly aimed at hot climates — its own settings name Texas, Florida and Arizona, and its AC savings output only matters where cooling is a real load. That targeting is honest physics. Radiant gain scales with how hard the sun drives the roof, so the hotter the summer peak, the larger the heat load a barrier turns away, and the bigger the difference between the 150°F unprotected attic on the Extreme setting and the same attic with the foil working. In a mild summer the same foil still functions, but there is simply less radiant heat for it to refuse.
Hot-climate builders should read the barrier as one layer in a whole cooling strategy rather than a solo fix. Orientation and roof exposure decide how much sun arrives in the first place — the territory of our tiny house passive solar simulator — and what the barrier does not stop, the cooling system must still remove. But the order of operations matters: every degree the foil keeps out of the attic is a degree the AC never has to pump out, which is why the tool reports the correct install as an AC savings percentage rather than only a temperature.
8. What a 20-30°F Cooler Ceiling Feels Like in a Loft
The post’s headline comfort figure deserves a slow read: in a tiny house where the roof is just inches from your head, a working barrier can drop ceiling temperatures by 20-30°F in summer. Ceiling temperature is not an abstraction in a loft. The ceiling is the surface nearest your body for the eight hours you sleep, and a hot ceiling radiates down at you exactly the way the roof deck radiated at it. A ceiling running 20-30°F cooler changes the loft from the last place that cools at night to a space that tracks the rest of the house.
That difference also compounds through the evening. A roof assembly that never absorbed the day’s full radiant load has less stored heat to give back after sunset, so the whole interior settles faster once the sun is off the roof. The simulator’s attic temperature output is the attic-side version of the same story — compare the no-barrier figure for your intensity setting against the dropped figure with foil and air gap, and you are looking at the burden your ceiling would otherwise carry into the night.

9. Installing It Right: Draped Rafters and Furring Strips
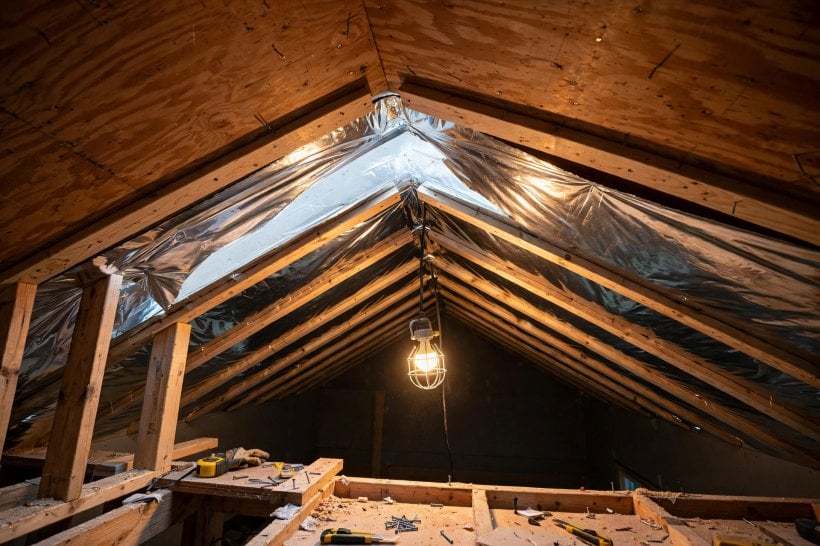
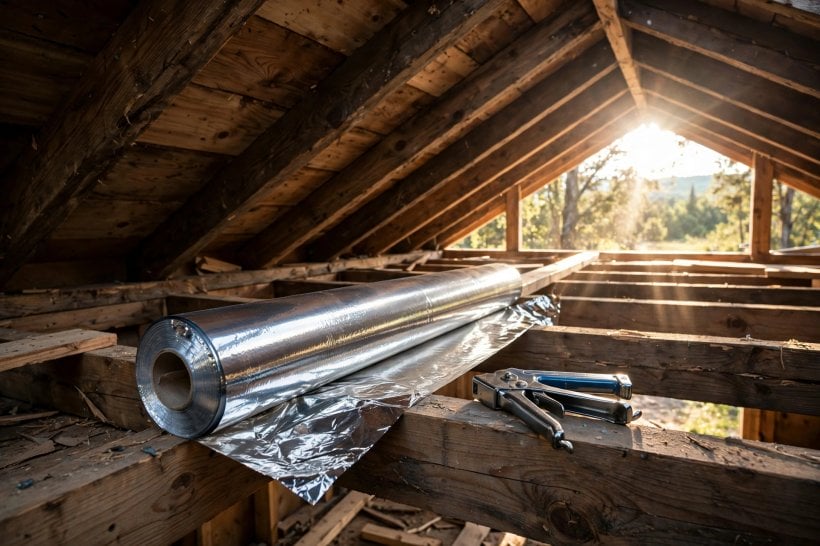
The correct method, in the tool’s own option text, is foil draped over rafters or on furring strips. Draping runs the foil across the tops of the rafters so it sags gently between them, holding an air channel open beneath the roof deck along every bay. Furring strips achieve the same spacing on assemblies where the foil must run flat: thin strips fix a consistent gap, and the foil mounts to them with its shiny side facing the air space — the orientation the physics panel insists on, since the shiny face does the reflecting and must be the one facing air.
Workmanship points follow from the physics. Keep the air channel continuous from low to high in each bay rather than pinching it shut at obstructions, and do not let other layers drift into the gap during the rest of the build. The roof assembly’s other moving-air questions — what vents, what stays sealed — connect to the venting strategy explored in our tiny house roof venting visualizer, and the two tools reward being read together: one manages radiant heat at the foil, the other manages air and moisture through the same roof.
10. Running Your Own Roof Through the Simulator
Using the tool takes under a minute, and it teaches fastest as a three-step sequence. First, set your roof surface area and your honest summer intensity — the peak your climate actually delivers, not its average day — leave the method on No Radiant Barrier, and press Simulate Heat Gain. Note the attic temperature: that is your roof exactly as a standard build leaves it. Second, switch only the method to Foil with Air Gap and run it again. The attic temperature drop and the 15% AC savings figure are what correct installation buys on your own roof, in your own climate setting.
Third, switch to Sandwiched and run it once more, and sit with the ZERO EFFECT verdict for a moment — same foil, same roof, nothing gained, purely because the air gap is gone. That three-run comparison is the entire argument of this guide in miniature, and it is why radiant barrier efficiency is an installation question long before it is a shopping question. Carry the result into the wider cooling picture: the loads the barrier refuses still have to be handled by the system sized in our tiny house cooling analyzer, and the floor beneath you has its own heat paths, worked through in the floor insulation calculator for tiny houses.
Final Considerations
A radiant barrier is the rare building product whose success has almost nothing to do with the product. The foil’s numbers — 97% of radiant heat stopped, emissivity 0.03 against standard materials at 0.9 — are available to every installer who buys the same roll. What separates the build that gets a ceiling 20-30°F cooler and 15% AC savings from the build that gets zero effect is a 3/4 inch of air, held open on purpose, with the shiny side facing it.
So plan the gap before you buy the foil. Decide the drape or the furring strips, keep the channel continuous, and let the simulator below rehearse your summer before your roof has to live through it. Set your area, pick your intensity, and run all three methods — then build the one the physics rewards.
Radiant Barrier Simulator
This tool illustrates the physics of Reflectivity vs. Emissivity. It demonstrates why a thin sheet of shiny foil can stop 97% of radiant solar heat from entering your tiny house, but only if installed correctly with a dedicated air gap.
It features a “Heat Ray Visualizer” that shows solar radiation penetrating standard roofing materials versus bouncing off a radiant barrier, and calculates the potential AC energy savings for hot climates like Texas and Florida.
Radiant Barrier Simulator
Reflect solar heat and reduce AC bills in hot climates.
1. Roof Configuration
The Physics of Foil
This is the #1 mistake. Radiant heat must travel through air to be reflected. If you sandwich foil directly between roof sheathing and insulation, heat simply conducts through the foil like a frying pan. You typically need at least 3/4″ air space facing the shiny side.
Standard building materials absorb ~90% of solar heat (Emissivity 0.9). Aluminum foil emits only ~3-5% (Emissivity 0.03). In a tiny house where the roof is just inches from your head, this can drop ceiling temperatures by 20-30°F in summer.



0 Comments