

A cargo trailer can flex all it wants — gravel doesn’t complain. A house is different: drywall cracks, doors stick, seals open and plumbing joints work loose every time the frame bends. Rigidity is the invisible foundation of a tiny house, and it is decided by rails, spacing and one bead of adhesive.
1. At a Glance: Frame Rigidity in Brief
A tiny house frame is a beam that happens to have wheels. Everything above it — subfloor, walls, roof, finishes, plumbing, people — assumes it will not bend, and nearly every mysterious crack, squeak and sticking door in a finished house is that assumption being broken. Rigidity is not one part; it is the product of the main rails, the crossmembers between them, the outriggers that carry the walls, and the subfloor deck tying the whole ladder together. The trailer frame rigidity visualizer below this article isolates the two decisions builders control most directly — crossmember spacing and how the subfloor connects — and this guide works through the rest of the system around them.
| Part | Its job | What weakness looks like |
|---|---|---|
| Main rails | The spine: two long beams that carry the whole house between tongue and axles | Sag and bounce along the length of the floor |
| Crossmembers | Steel rungs spanning between the rails, supporting the deck bay by bay | Local flex and drum-like bounce between supports |
| Outriggers | Short arms reaching out from the rails to carry the wall lines | Edges that dip, walls that lean on a soft foundation |
| Subfloor deck | The plywood platform that ties frame and house together | A floor that works like a trampoline instead of a beam |
| The connection | Screws alone, or glue and screws acting as one composite unit | Layers sliding over each other instead of stiffening each other |
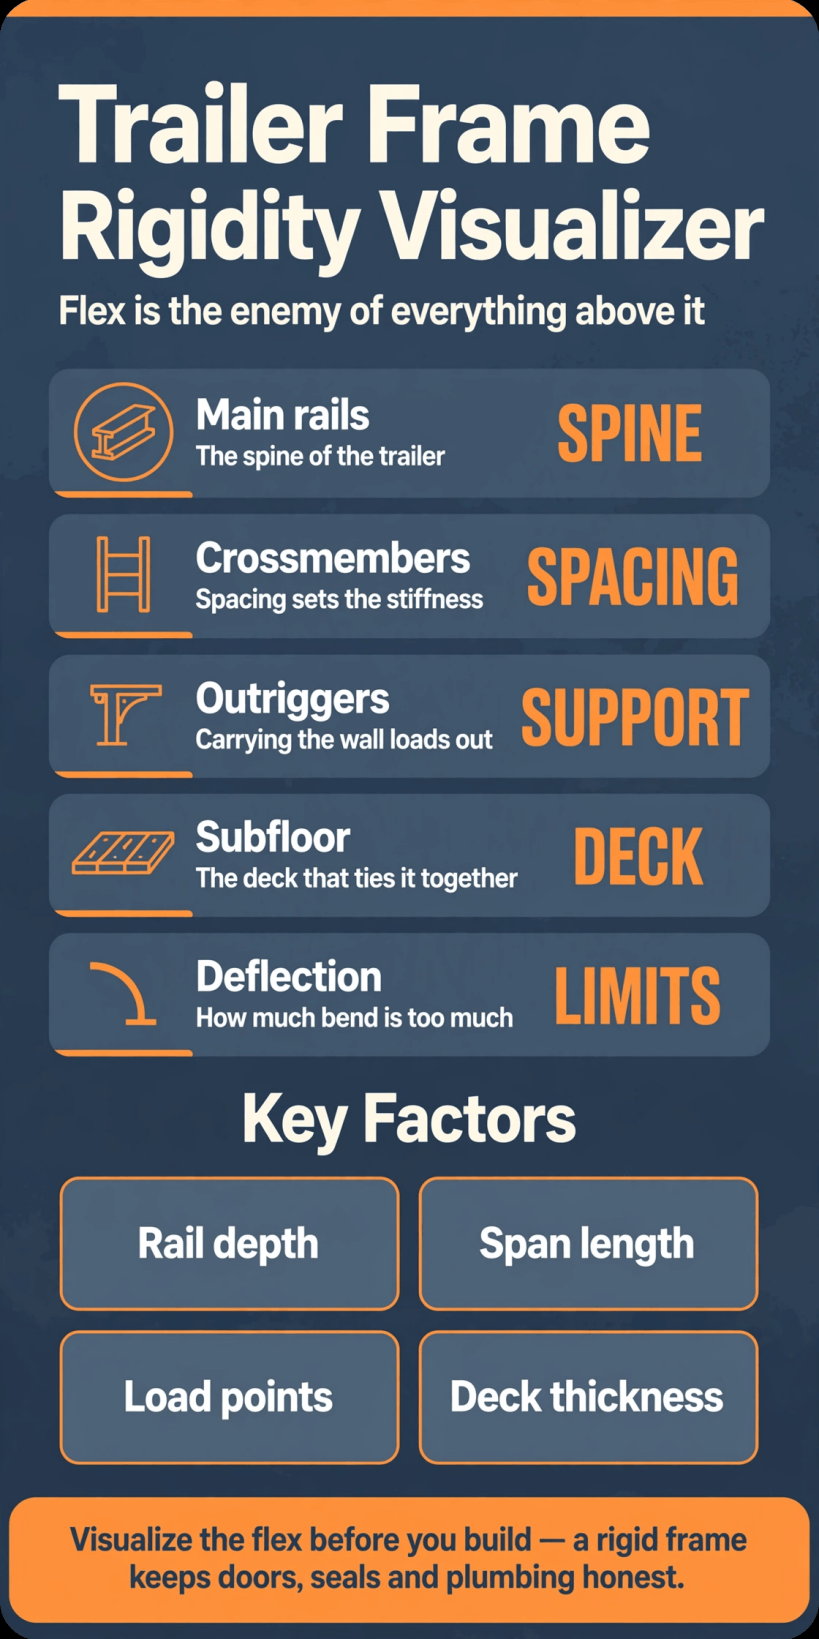
The rigidity system at a glance: rails as the spine, spacing as the stiffness dial, outriggers carrying the walls, and the deck tying it all together.
2. Why Frame Flex Matters in a House
Deflection is the engineer’s word for bending under load, and a trailer frame deflects in two lives. On the road, every bump and pothole twists and bounces the chassis through its suspension. Parked, the same frame carries static loads for years — water tanks, appliances, a cast-iron stove, people concentrated in one corner — often supported at jacks and axles in a completely different pattern than the one it travels on. A frame that is adequate for one life can be marginal in the other.
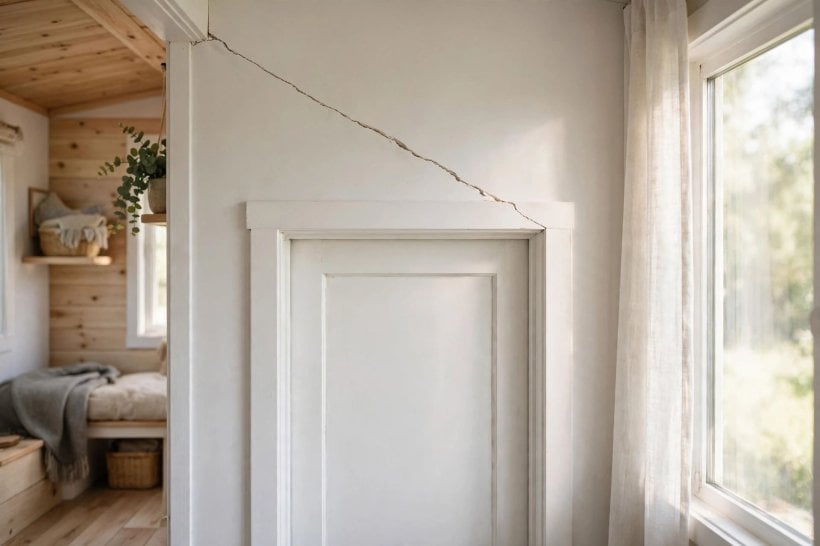
What makes a house different from cargo is brittleness. Freight forgives movement; finishes do not. Drywall joints are the classic first witness — the simulator below asks the question outright: will your drywall crack? Behind it come tile and grout lines, rigid plumbing runs, window and door frames that rack out of square, and sealant joints that split a little further with every journey. None of these failures is dramatic alone. Together they are how a house slowly tells you its foundation moves. The cheaper moment to hear that message is before the walls exist, which is why rigidity deserves the same deliberate planning as the floor plan itself.
3. Frame Anatomy: Rails, Crossmembers and the Support Triangle
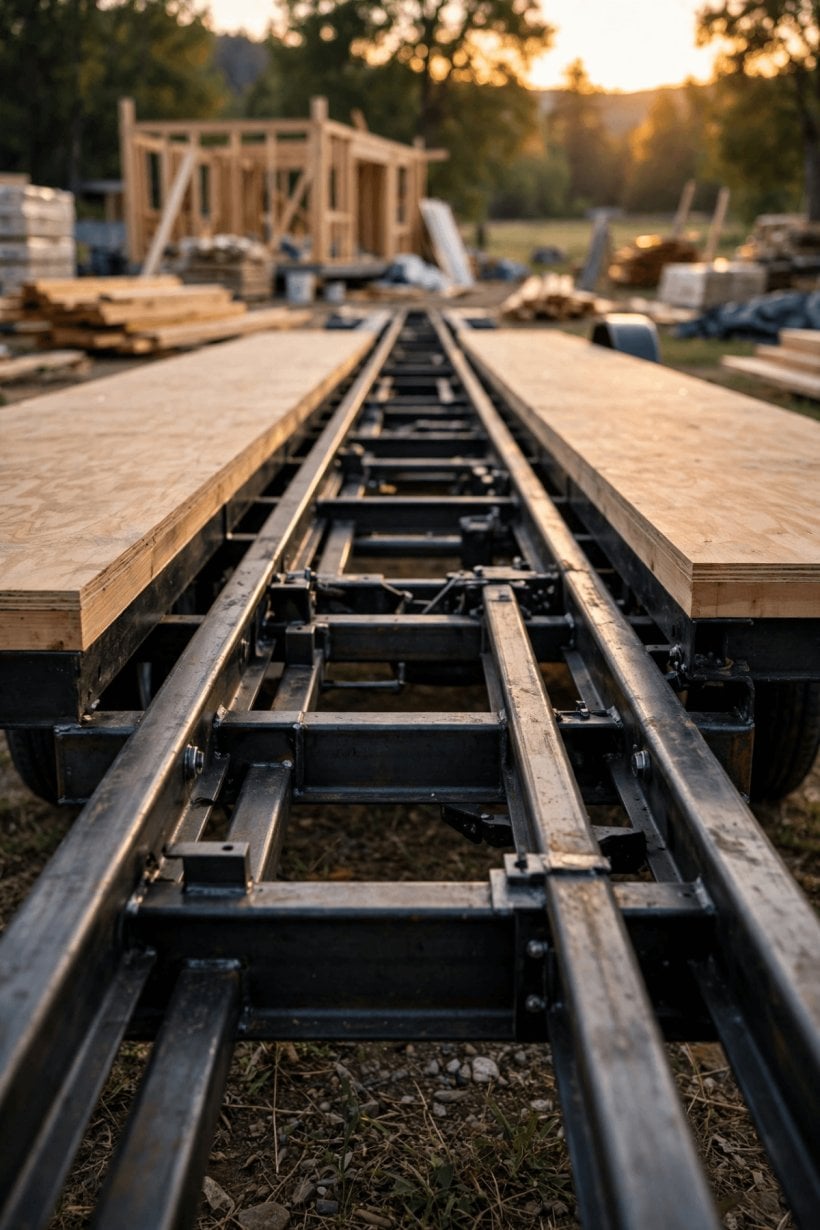
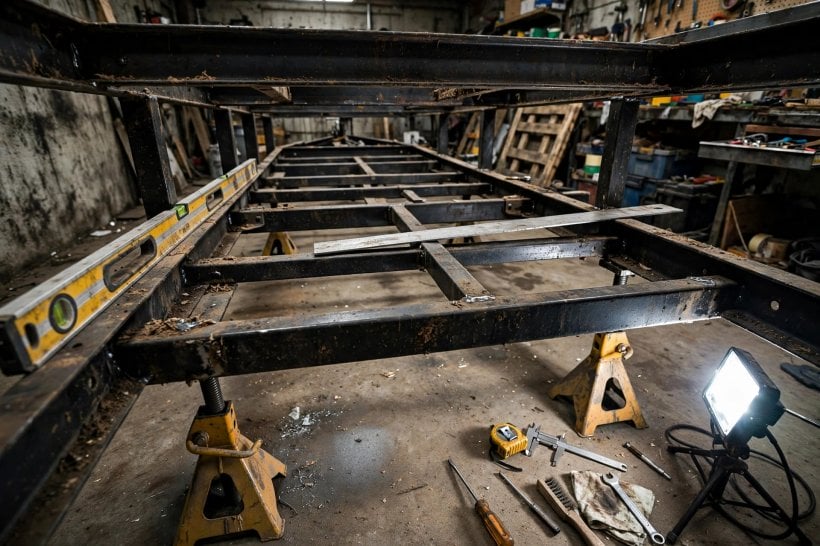
Start at the spine. The two main rails run the length of the trailer and carry everything; their depth is the single biggest geometric lever on stiffness, because a deeper beam resists bending far out of proportion to the steel it adds. Between the rails, crossmembers span side to side like rungs on a ladder, turning two independent beams into one structure and giving the subfloor its support points. At the front, the tongue and its A-frame carry the load forward to the hitch; at the middle, the axle mounting zone carries it down to the wheels.
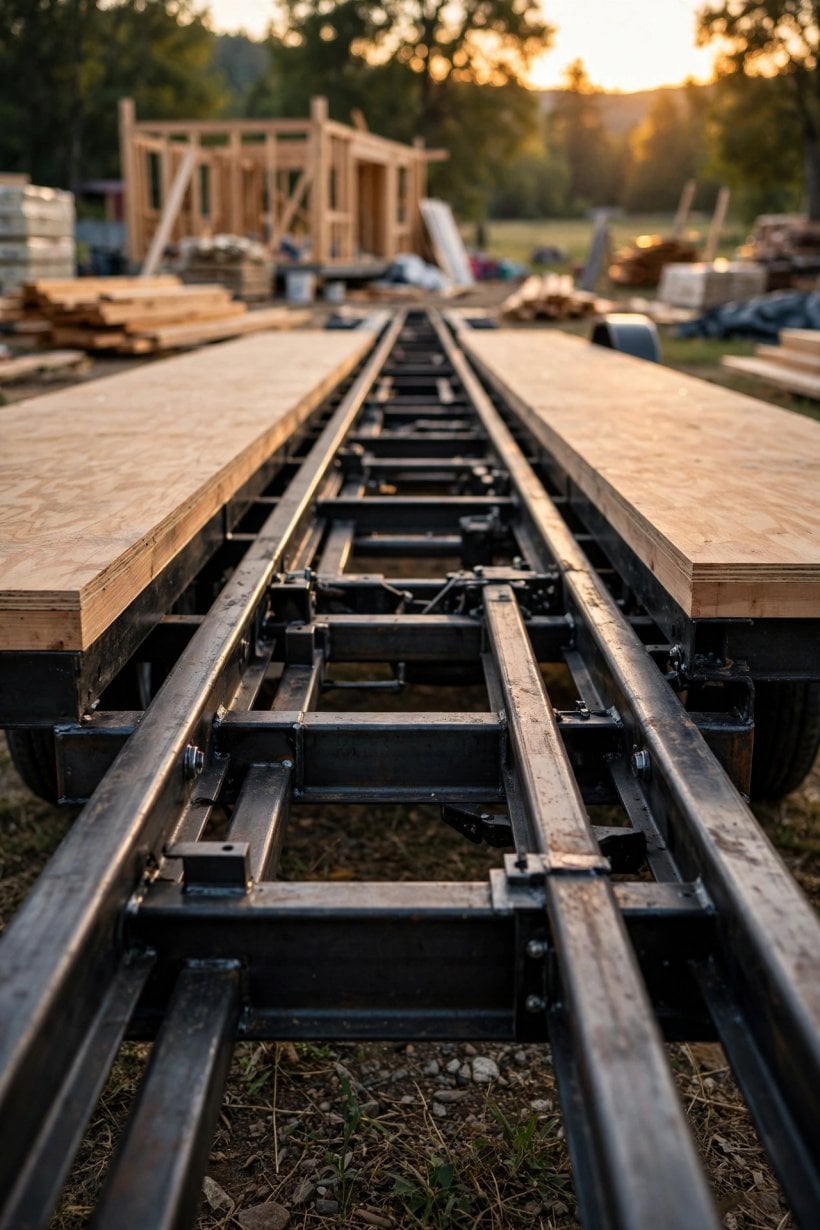
Those support points matter as much as the steel between them: a frame is only ever as stiff as the spans between where it is held up. That is why frame planning and axle planning are the same conversation — our guide to axle placement for tiny house trailers shows how where the axles sit changes the unsupported spans fore and aft, and with them the bending the rails must resist. Read the frame as a whole system — rails, rungs, tongue, axles — and the rest of this guide is just tuning its parts.
4. Crossmember Spacing: The Stiffness Dial
If rail depth is the frame’s backbone, crossmember spacing is its dial. The crossmembers divide the underside of the subfloor into bays, and each bay of decking spans from one support to the next. Wide spacing means long spans: the deck flexes more between rungs, point loads from furniture feet and appliance corners bend it locally, and the whole floor feels less solid underfoot. Close the spacing down and every bay shortens — the deck is supported more often, loads spread across more steel, and the platform starts behaving like a single slab.
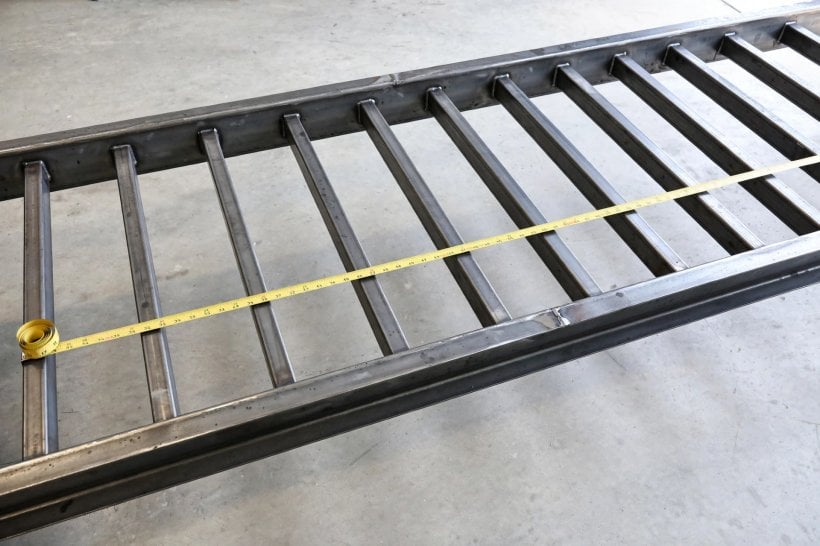
The visualizer below frames the choice exactly as builders meet it: steel framing at 24″ on centre as the standard option, or 16″ on centre as the heavy-duty one. Neither number is magic; the point is the direction of travel. Tighter spacing buys stiffness and deck support with steel and weight, wider spacing saves both and spends rigidity. Everything stacked on top of the deck adds to the same ledger — the layers discussed in this sheathing weight calculator all land, eventually, on these crossmembers.
5. Outriggers: Carrying the Wall Loads Out
Here is the geometric problem outriggers solve. The main rails sit inboard, spaced for the axles and the road — but the walls of the house stand at the full width of the floor, well outside the rails. Something has to reach out and carry them. Outriggers are the short steel arms that cantilever from the rails to the edges of the deck, and the entire weight of the walls and roof travels down through them: wall studs to bottom plate, bottom plate to deck edge, deck edge to outrigger, outrigger to rail.
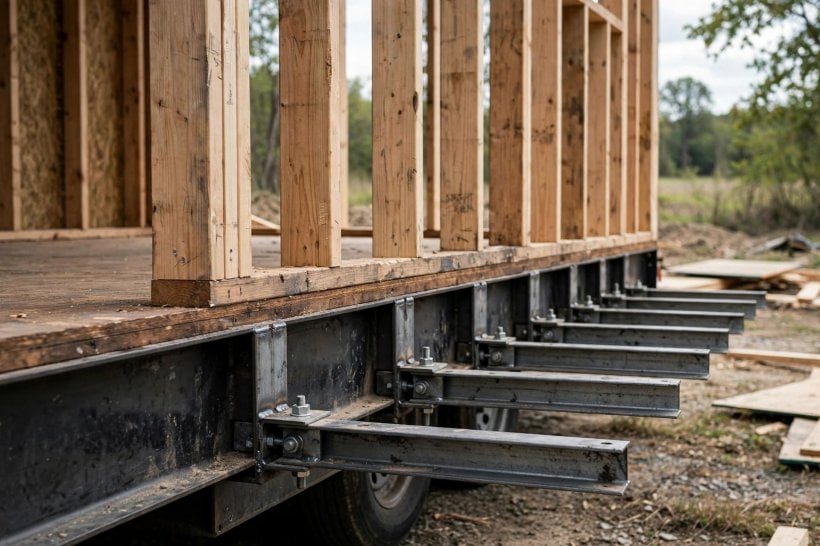
Because they work as small cantilevers, outriggers punish skimping. An undersized or widely spaced outrigger bends a little under its share of the wall, and the symptom appears far from the cause: a floor edge that feels soft, a wall base that never quite sits true, skirting and trim that drift out of line. Spacing outriggers to land under the loads they carry — and treating them as structure, not brackets — keeps the perimeter of the house as honest as its middle.
6. Subfloor Systems: Screws, Glue and Composite Action
The subfloor is where the frame stops being a ladder and becomes a platform — but only if the connection lets it. The original guide beneath this article explains the mechanism plainly. When subfloor is only screwed down, the wood slides slightly over the steel as the frame flexes: two layers bending independently, each doing its own weaker work. When the panels are glued with a heavy-duty construction adhesive — the guide names PL Premium as the example — as well as screwed, wood and steel become one solid unit. Engineers call this composite action, and the tool below puts a striking figure on it: gluing can increase chassis rigidity by up to 400%.
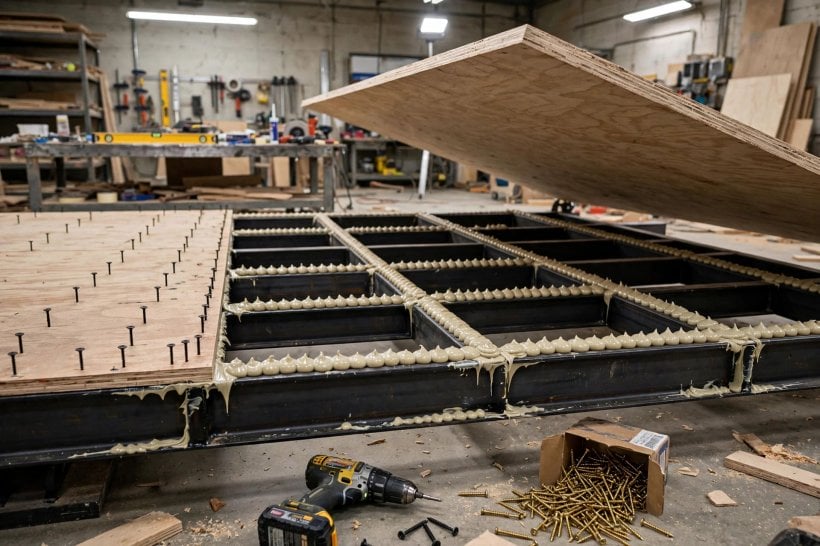
The same section of the guide covers the quieter half of the detail: the thermal break. Steel is cold and wood is warm, so where the two meet, condensation can form. If you are not gluing, a sill gasket or foam tape between frame and subfloor breaks that contact — and the glue line itself acts as a break when you do glue. Skip the break entirely and the guide warns of condensation “ghost lines” marking the frame’s pattern on the underside of the deck, quietly rotting the subfloor from below. The floor build-up continues upward from here — insulation between and above the steel is worked through in our floor insulation calculator for tiny houses — but everything in it depends on this first connection being right.
7. Deflection Symptoms: Reading a Finished House
A finished house reports its frame honestly, if you know the language. The earliest symptom is usually cosmetic: hairline cracks opening at drywall corners and ceiling joints, especially after a tow. Then come the mechanical complaints — a door that latched perfectly in the workshop and now rubs its frame, a window that has gone slightly reluctant, cabinet doors drifting out of alignment. Underfoot, the floor tells its own story: a distinct bounce in mid-span bays, squeaks that migrate, a washing machine that walks more than it should.

Read symptoms by pattern. Cracks that reopen after every journey point at towing flex; a dip that appears only when the tanks are full points at parked load paths; one soft corner points at a local support — an outrigger, a jack, a crossmember bay — rather than the whole frame. The distinction matters because the remedies differ, and because most of them are far easier designed-in than retrofitted. The house is always talking. Rigidity planning is deciding to listen at the drawing stage instead.
8. Steel Choices: Depth, Weight and Honest Trade-Offs
Every rigidity decision eventually bills you in weight, and weight is the tiny house currency that spends fastest. Deeper rails, tighter crossmember spacing, more outriggers — each is genuinely stiffer and genuinely heavier, on a trailer whose total budget is fixed by its axles and tow vehicle. The craft is not maximising stiffness; it is buying the stiffness your finishes need at the lowest weight that honestly delivers it, which is why the subfloor connection in the previous section is such a prized trick: composite action adds rigidity with a tube of adhesive instead of a stack of steel.
Material choice frames the same trade-off. This comparison of steel vs wood framing weight works through what each material costs you per wall, and the frame material analyzer for tiny houses extends the question across the whole structure. Whichever way those answers fall, keep the hierarchy straight: geometry first — rail depth, spans, spacing — because shape delivers more stiffness per kilogram than simply adding more of a weaker layout.
9. Using the Visualizer: Two Decisions, One Road Bump
The trailer frame rigidity visualizer below turns this article into a test bench. It asks for two inputs, the same two this guide keeps returning to. First, the steel framing: 24″ on centre for the standard build, or 16″ on centre for heavy duty. Second, the subfloor connection: screws only, a purely mechanical connection, or glue and screw, which creates the composite action described above. Set both, press “Simulate Road Bump”, and the tool answers with a structural rigidity score and a crack-risk verdict for your drywall and interior — from a warning down to the optimised result, where, in the tool’s words, the settings are optimised and the frame acts as a rigid beam.
Work it in a deliberate order. Run your planned build first, honestly, screws and all. Then change one variable at a time: tighten the spacing and watch the score; restore the spacing and switch the connection instead, and compare which decision bought more. That comparison is the article in miniature — most builders find the connection is the cheapest rigidity they will ever buy. When the frame passes, the companion check is balance: the tongue weight tuner helps confirm the rigid frame is also a correctly loaded one before the house goes on top.
10. Mistakes That Build In the Flex
The common errors repeat reliably. Choosing a frame by price or headline weight alone, without asking how the deck will connect to it. Defaulting to the widest crossmember spacing to save steel, then spending the savings on crack repairs. Screwing the subfloor only, out of a vague feeling that the layers should be free to move — they are, and that is precisely the problem. Forgetting the thermal break and letting condensation ghost lines rot the deck from beneath. Treating outriggers as an afterthought while the walls they carry are anything but. And the quietest mistake of all: assuming a parked house does not flex, when levelling jacks, full tanks and years of static load bend a frame in slow motion just as surely as a pothole does quickly.
Notice what the list never requires: exotic materials or a heavier trailer than the design calls for. Almost every flexibility problem is an ordering problem — a connection chosen by habit, a spacing chosen by default, a support treated as an accessory. Walk the load path once on paper, from the roof ridge down through the walls, outriggers, rails and axles to the ground, and ask at every hand-off what stops that joint from moving. The joints with no good answer are your build list. Answer them while they are still lines on a drawing, and the finished house never has to report them to you in cracks.
Final Considerations
Frame rigidity is the least visible decision in a tiny house and the one every other decision stands on. Rails give the spine, spacing sets the stiffness, outriggers carry the walls honestly to the edges, and a glued subfloor turns the whole assembly from a ladder into a beam. None of it can be admired once the floor is down — it can only be felt, in doors that swing true and joints that stay closed, year after year. Before you commit to a frame, take two minutes with the Chassis Rigidity Simulator below: set your spacing, choose your connection, simulate the road bump, and let the verdict argue with your assumptions while arguing is still free.
Chassis Rigidity Simulator
Chassis Rigidity Simulator
Will your drywall crack? Test your subfloor strategy.
1. Steel Framing
2. Subfloor Connection
Settings optimized. The frame acts as a rigid beam.
The Science of Stiffness
When you only screw subfloor down, the wood slides slightly over the steel as it flexes. When you glue it with heavy-duty construction adhesive (e.g., PL Premium), the wood and steel become one solid unit. This increases chassis rigidity by up to 400%.
Steel is cold; wood is warm. Always apply a Sill Gasket or foam tape between the steel frame and your subfloor if not using glue (though glue acts as a break too). This prevents condensation “ghost lines” from rotting your subfloor from below.


2 Comments