

Walls look like the lightest part of a tiny house — until you add up every square foot of lining, on every wall and across the ceiling too.
The material you skin them with can more than double that total. This guide weighs the four common choices honestly, so the sheathing weight calculator below becomes a decision, not a guess.
1. At a Glance: Sheathing and Lining Weights in Brief
Interior sheathing is the skin you see and touch: the board or panel fixed to the inside face of the frame, behind which sit insulation, wiring and the structure itself. It feels like a finish, but in a house that must stay within a trailer’s limits it behaves like structure — a continuous layer repeated over the largest surface area in the build.
The table below compares the four materials tiny builders reach for most, using the figures the calculator on this page works from. Read the character column as carefully as the weight column: these materials behave differently under vibration, moisture, heat and fasteners, and the right answer is usually a mixture, placed zone by zone.
| Material | Weight per sq ft | Character | Best use |
|---|---|---|---|
| 5/8″ Firecode Drywall | 2.2 lbs | Heavy, fire-resistant board | Only where fire protection is needed, such as behind a wood stove |
| 1/2″ Standard Drywall | 1.7 lbs | Standard residential board, flat and familiar | Parked builds that rarely move, where its joints will stay still |
| 1/2″ Plywood / T&G | 1.5 lbs | Solid wood planks and panels that add rigidity | General wall and ceiling lining that must flex with the road |
| 1/4″ Plywood / Luan | 0.8 lbs | Lightweight skin, the lightest option here | Large wall areas where a thin finish is enough |
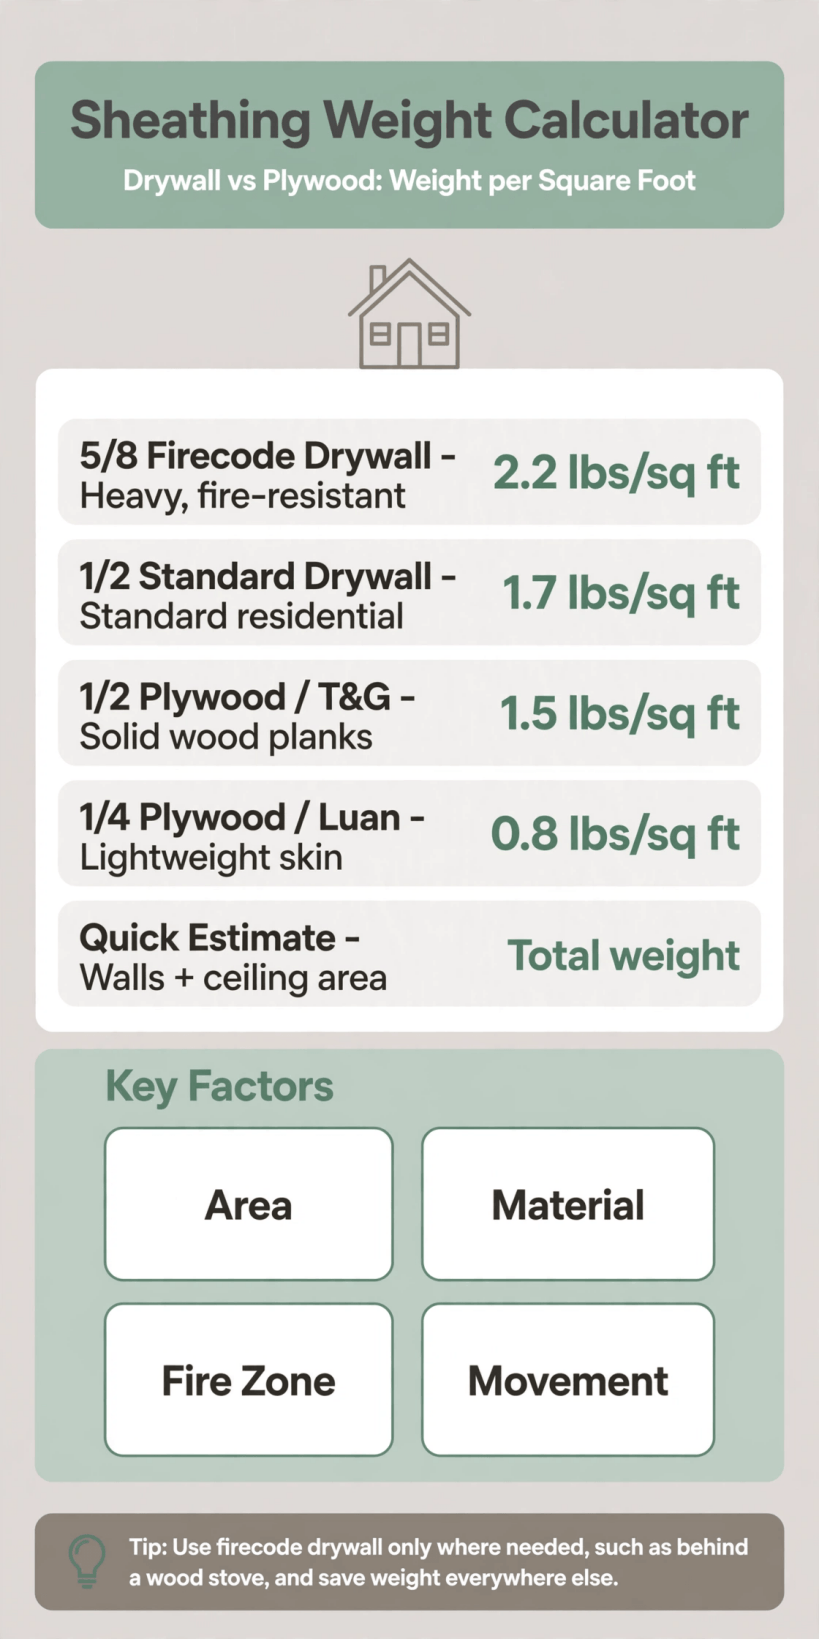
The four linings at a glance: firecode drywall at 2.2 lbs per square foot, standard drywall at 1.7, plywood and tongue-and-groove at 1.5, and thin luan at 0.8.
The spread is the story. Across the full wall and ceiling area of even a small house, the gap between the heaviest and lightest rows is payload spent on plasterboard, or saved for everything else.
2. Why Wall Linings Are a Weight Decision in a Tiny House
In a conventional house, lining weight is almost an irrelevance: the foundation does not care whether the walls wear thick fire-rated board or thin timber. A tiny house on wheels lives under a harder rule — everything must fit inside a fixed total, and the lining covers nearly every interior surface. A small saving per square foot, repeated over walls and ceiling, compounds into a serious saving overall.
That total matters beyond the weighbridge. Weight spread high and evenly still has to be carried, braked and towed, and it interacts with everything else in the build. The framing underneath sets the starting point, which is why many builders weigh their structure first using a steel vs wood framing weight comparison, then treat the lining as the next big lever rather than an afterthought. Keeping track of that distributed load alongside the obvious heavy objects is part of calculating GVWR for tiny homes honestly — weigh it at the design stage, not at the end.
3. Estimating Wall and Ceiling Area Before You Weigh Anything
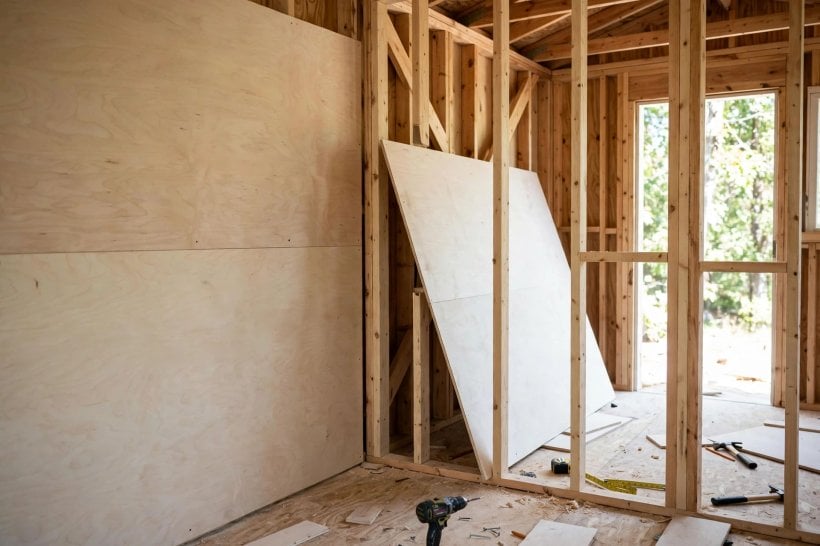
Every weight figure in this topic starts with area. Measure each wall’s length and height, multiply the two, and add the walls together. Then add the ceiling, a substantial surface in its own right and the one most often forgotten. Sloped or vaulted ceilings need their true surface measured along the slope rather than guessed from the floor plan, and lofts add their own soffits and guard walls to the list.
Openings come off the total, but be honest about how much they remove: windows and doors reduce lined area, yet the reveals around them often get lined too. Calculate the gross area first, treat deductions as a small bonus, and zone out areas where tile, splashbacks or shower panels replace the lining.
If final dimensions do not exist yet, the quick estimate built into the tool gives a workable starting figure. As the tool itself explains, it estimates two long walls plus two short walls at 8.5 ft wide, plus the ceiling, from the house’s length and wall height. Use it for early comparisons, then replace it with measured area before ordering. Area errors flow straight through to weight, exactly as they do with a flooring weight calculator, so the tape measure is doing structural work here.
4. Drywall: Cheap, Flat and Heavy — and Prone to Cracking
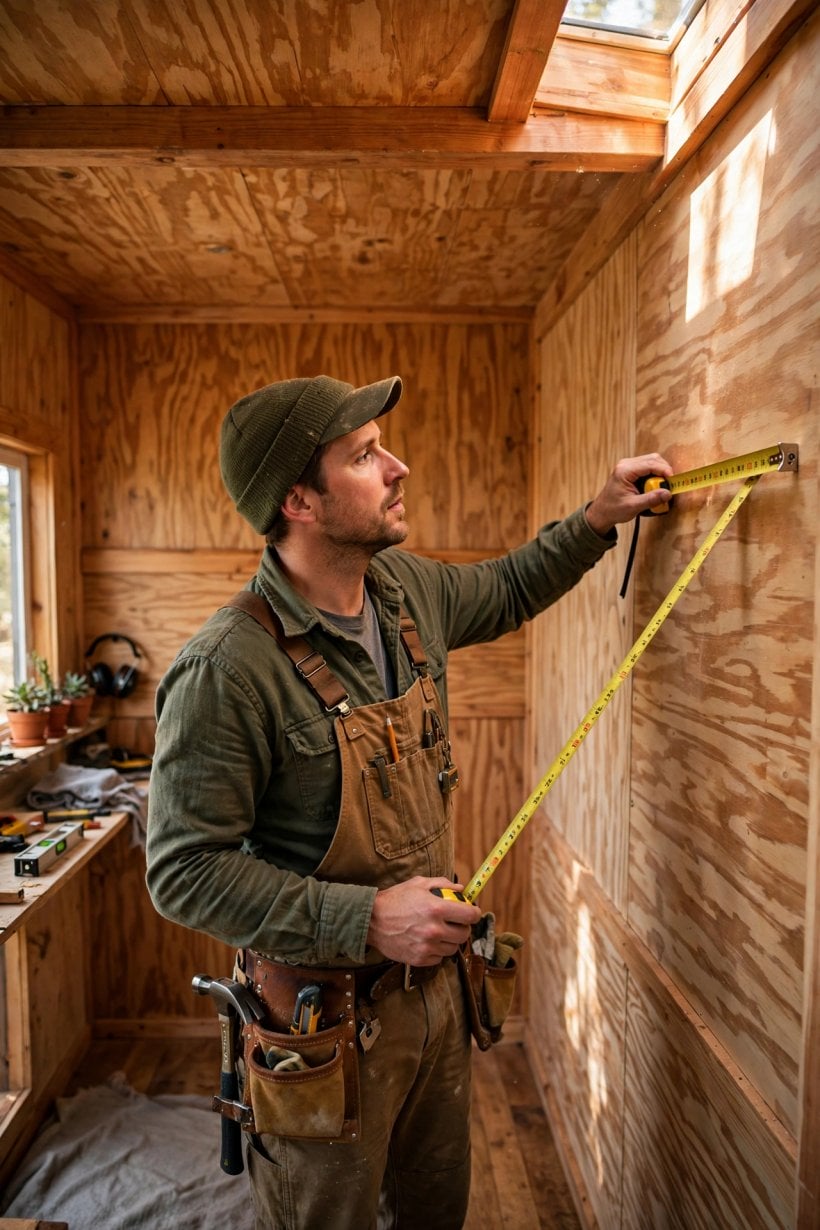
Drywall’s appeal is real. It is cheap, widely available, easy to cut, and produces the flat, seamless painted surface most people picture for a finished room — with fire resistance included. Builders from residential work reach for it automatically, and in a house parked permanently and moved rarely, that instinct can serve well enough.
The problems are weight and movement. At the calculator’s figures, standard drywall is heavier per square foot than solid plywood lining, and the firecode board is the heaviest option in the table by a clear margin. Worse, as the tool’s own analysis puts it, drywall is heavy and brittle: in a moving tiny house, the vibrations of the road often cause the mud and tape joints to crack, requiring constant repairs. The board may survive the journey while the finished surface — the taped seams that make drywall look seamless — quietly fails along every joint, exactly where the eye rests.
So if your house will travel regularly, treat drywall as a specialist material for the few places that genuinely need it. If it will sit still, the cracking argument weakens — but the weight argument remains.
5. Plywood and Tongue-and-Groove: Structure That Flexes
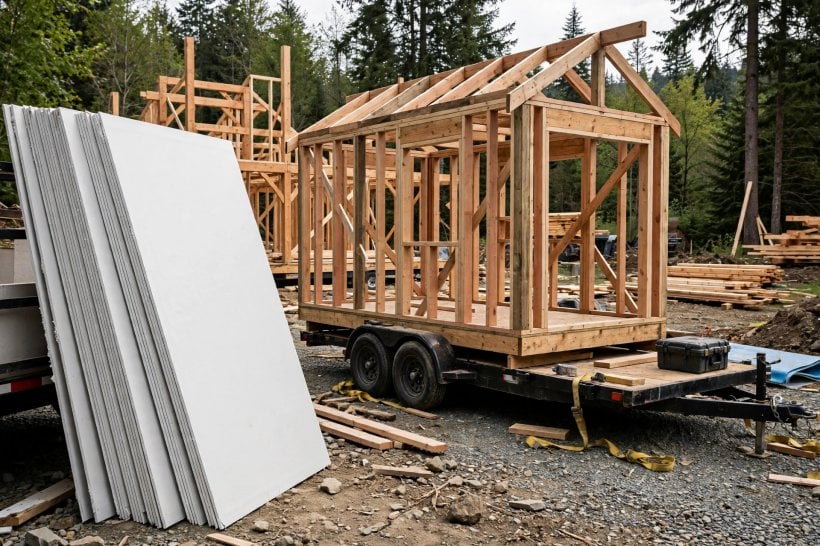
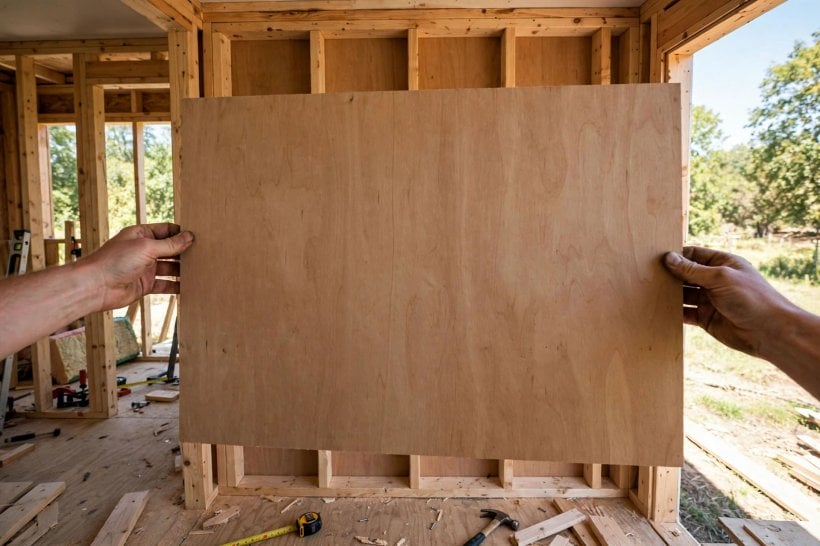
Wood lining answers the movement problem directly. Plywood panels and tongue-and-groove boards are solid wood: they flex with road bumps instead of cracking, as the tool notes, and they bring a benefit drywall never offers — they add structural rigidity, shear strength, to the frame. The skin stops being dead weight and starts working, stiffening the shell it covers.
The two forms differ in character. Sheet plywood covers area quickly, with fewer joints, and takes paint cleanly. Tongue-and-groove boards go up one at a time, forgive small irregularities in the framing, and leave a warm, jointed surface. Both shrug off daily knocks better than a brittle board, and both can be sanded and refinished rather than repaired with filler and tape.
On weight they sit mid-table: lighter than either drywall option, heavier than thin skins. That makes them the natural default for most of the house before zoning the exceptions. The SIPs vs stick framing analyzer is a useful cross-check on how panel construction changes weight and build logic for the shell itself.
6. Thin Luan Skins: The Lightweight Finish
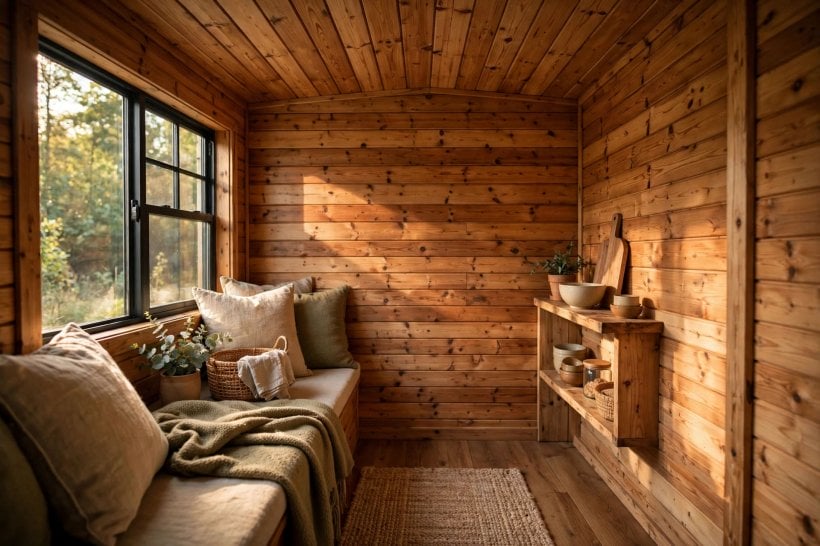
At the bottom of the table sits the lightest option: thin plywood and luan skins, at less than half the weight per square foot of standard drywall in the calculator’s figures. Luan is a thin plywood skin with a smooth, fine-grained face that takes paint well and reads as a clean, simple wall. Fixed over studs, it finishes a surface with remarkably little mass — and across the large, uninterrupted walls and ceilings of a tiny house, that is where the biggest single saving in this topic lives.
The tool’s guidance is refreshingly direct: thin plywood is sufficient for interior aesthetics, and thicker board is only needed where you plan to hang very heavy shelves directly on the lining without hitting studs. That reframes the choice honestly. A wall skin’s job is to close the wall, carry paint or stain, and take everyday contact — not to act as a shelf bracket. Storage should be planned into the framing, with fixings landing on studs or added blocking, the same principle that runs through any sound appliance placement strategy: heavy things get structural support, wherever they live.
Thin skins do ask for respect: they feel less solid to a knock, can telegraph uneven framing, and offer little bite if a fixing misses its stud. None of that disqualifies them from low-duty surfaces — upper walls, ceilings, loft faces and long runs between windows.
7. Fire Zones: When Heavy Board Earns Its Weight
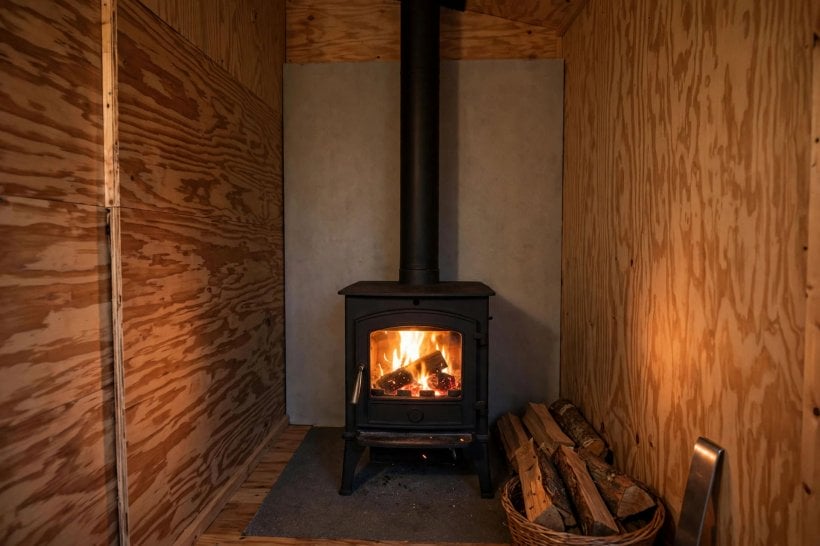
There is one place where the heaviest board in the table is the right answer, and the tool names it plainly: behind a wood stove. Where a lining sits near a heat source, fire resistance stops being a bonus and becomes the point of the material. In that specific zone, the guidance is to use the firecode drywall there — and only there — saving weight everywhere else. It is the clearest example in this topic of zoning: heavy material bought deliberately, in a small area, for a job only it can do, instead of spread across the house by habit.
Plan the fire zone as part of the heating design, not as an afterthought. The area around and behind a stove belongs to a different material conversation — clearances, hearth materials and how heat moves in a small space; our guide to heating a tiny home in winter covers that wider system. For the weight budget, what matters is that the zone is small: a few square feet of heavy board in the right place costs little, while the same board everywhere costs the payload. Walk the house room by room, asking what each surface will face — heat, water, knocks, hanging loads, or nothing much. The answers draw the zoning map.
8. Moisture Behaviour: Bathrooms, Kitchens and Cold Walls
Walls in a tiny house meet more moisture, more closely, than walls in a large one: cooking steam, shower vapour and condensation all land on a small total area of lining. Painted timber and plywood tolerate that life well — they handle humidity, dry out again, and show problems honestly as staining or swelling. Paper-faced boards are less forgiving of repeated wetting, and a lining that stays damp behind a sealed surface can hide trouble until it is advanced.
Detailing matters more than slogans. Vent steam at its source, leave the lining able to dry, and get the layers behind the skin in the right order — the thinking in our vapor barrier placement guide for a tiny house applies directly, because the lining is the last layer of that assembly, not a separate decision. In the shower itself the lining gives way to a dedicated waterproof surface; no board in the table is a shower wall, and zoning the bathroom as an exception protects both the weight budget and the wall.
Ceilings deserve a thought too: warm, moist air rises, and the ceiling over a kitchen or bathroom collects more condensation risk than the walls below it. Timber linings handle that damp-and-dry cycle with little complaint — one more reason they so often end up overhead.
9. Fastening for a House That Moves
A lining is only as good as its fixings once the house starts moving. Road vibration works on every screw and nail, hour after hour, and finds the weak points: fixings into end grain, joints with no backing, panels held so rigidly that they cannot move at all. Wood linings cope well because the material holds a screw firmly and flexes as a system. Boards fixed through to studs, with joints landing on framing rather than floating between supports, travel quietly; floating joints are where rattles, loosening and cracking begin.
Plan the load paths before the lining goes on. Anything heavy that will hang on a wall — cabinets, shelves, a fold-down table — needs blocking added inside the wall at the right heights, so screws land in solid timber and the lining carries only itself, which is all a thin skin should ever be asked to do. It is the same thinking visualised in a tiny house weight distribution diagram, applied at the scale of a single wall: heavy items low, secured, and over the structure.
Leave a little forgiveness in the system, too. Timber moves seasonally with humidity, and a lining fixed with small gaps at corners — covered by trim fixed to one side only — absorbs that movement silently. Aim for a skin firmly held, lightly flexible, and removable in one section if you ever need to reach wiring or plumbing behind it.
10. Mixing Materials by Zone and Using the Calculator
Almost no well-judged tiny house uses one lining everywhere. The pattern from the sections above is a zoned mixture: a light or mid-weight wood skin across the general walls and ceiling, thin luan where the surface does nothing but look calm, solid plywood or tongue-and-groove where knocks and fixings concentrate, and the heavy fire-rated board reserved for the small zone behind the stove. Each material is bought for the job it is best at, and the blended total lands well below the single-material figure for any heavier option — without giving up fire protection, durability, or a solid feel where those matter.
Now run the numbers in the tool below. Enter your total wall and ceiling area — measured as described earlier, or from the quick estimate while the design is young — and it returns the total weight for each material at that area. Compare the extremes first: the gap between lining everything in firecode board and lining it in thin skin is the size of the prize. Then sketch your zoned mixture and sanity-check the blend against the totals either side of it.
Finally, place the result in the whole-house picture: the lining total joins the frame, floor, roof, appliances and stored water in the weight budget, and should be checked against the trailer’s limits on paper, where adjustments are easy. If the total runs heavy, the lining is one of the kindest places to recover weight. Our tongue weight tuner and axle placement guide pick up the story from there.
Final Considerations
Sheathing is a quiet decision with loud consequences. It covers more area than any other finish in the house, so its weight per square foot — modest in isolation — sets a large part of the finished total, and its behaviour under vibration decides whether your walls look finished in five years or permanently under repair. Choose as the evidence points: light where a wall is only a wall, solid where it works, fire-rated only where heat demands it, and fixed always for a house that moves.
Keep the estimate honest, too. Measure the real area including the ceiling, zone the exceptions, and let soft furnishings do some of the softening work a heavy lining is sometimes asked to do — a thermal curtain calculator is a reminder that comfort has lighter levers than board. Run the tool with your own numbers, build the mixture it points to, and the walls will weigh what they should: enough to feel like a house, and not a pound more.
Wall Sheathing Weight Calculator
Wall Sheathing Weight Calculator
Drywall vs. Plywood: How much weight can you save?
Total Wall Area
Enter the total surface area of your walls and ceiling to cover.
Don’t know the area?
Quick Estimate*Estimates 2 long walls + 2 short walls (8.5′ wide) + ceiling.
Weight Comparison
Based on 0 sq ft| Material | Weight / Sq Ft | Total Weight | Status |
|---|---|---|---|
|
5/8″ Firecode Drywall
Heavy, fire-resistant
|
2.2 lbs | 0 lbs | Heaviest |
|
1/2″ Standard Drywall
Standard residential
|
1.7 lbs | 0 lbs | Risk of Cracks |
|
1/2″ Plywood / T&G
Solid wood planks
|
1.5 lbs | 0 lbs | Standard |
|
1/4″ Plywood / Luan
Lightweight skin
|
0.8 lbs | 0 lbs | Best Choice |
Material Analysis: Why Weight Matters
While cheap and fire-resistant, drywall is heavy and brittle. In a moving Tiny House, the vibrations often cause drywall mud/tape joints to crack, requiring constant repairs.
Wood sheathing (Plywood or Tongue & Groove) adds structural rigidity (shear strength) to your frame. It flexes with road bumps instead of cracking.


3 Comments