

This tool is designed to prevent a common and dangerous mistake: using “RV Stabilizer Jacks” (meant only to stop wiggle) to actually lift and level a heavy Tiny House. The calculator determines the specific weight rating required per jack to safely support your home long-term, factoring in a structural safety margin.
A tiny house that sits even slightly out of level complains about it constantly: doors swing on their own, water pools at one end of the shower, cabinets drift open. The fix starts underneath, at the corners — and it starts with choosing hardware that is genuinely rated to hold the house up, not just to stop it wobbling.
1. At a Glance: Choosing Corner Support in Brief
Every corner-support decision comes down to matching three things: how much weight each corner actually carries, what the hardware is rated to do, and whether the job is lifting, leveling or long-term holding. A corner jack stand selector exists because those three numbers are so often confused — a jack sold to stop wiggle gets asked to lift several tons, and it answers by bending. The hardware families below are the ones the tool below weighs your house against; everything that follows in this guide explains how to read them.
| Hardware | Rating in the tool | The job it is actually for |
|---|---|---|
| Standard RV stabilizer | 2,500 lbs | Stopping wiggle only — never lifting the house off its tires |
| Heavy-duty scissor jack | 5,000–7,500 lbs | Leveling lighter builds, when the rating is a true leveling rating |
| Bottle jack + rated stand | 6–12 ton | Lifting heavy houses, then holding them permanently on the stand |
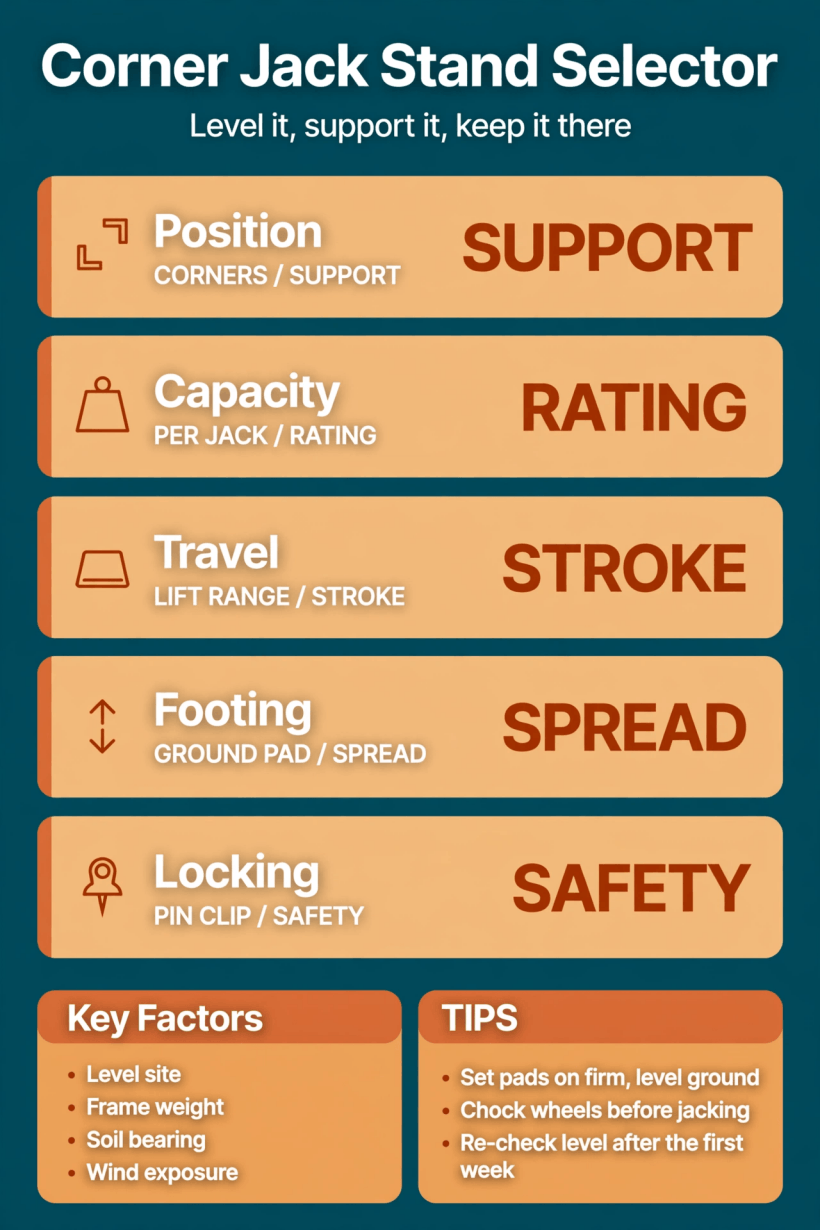
Position, capacity, travel, footing and locking — the five decisions that decide whether a corner stand holds a tiny house safely or slowly gives up.
2. Why Leveling and Support Matter More Than You Think
A parked tiny house is a building, not a vehicle, and buildings are not designed to lean. Even a small slope shows up everywhere: doors that will not stay where you leave them, a shower tray that never quite drains, drawers that creep open, and a refrigerator working against a tilt it was never built for. Level is not cosmetic. It is the condition every fixture, appliance and finish inside the house quietly assumes.
Support matters for a second reason: tires and suspension are not foundations. Left to carry the house indefinitely, tires age, lose pressure and settle unevenly, so a house that starts level does not stay level. Corner stands transfer the load to the ground on a deliberate path, corner by corner, and take the bounce out of the floor at the same time. How that load is shared with the axles depends on the house’s layout, which is why it helps to understand your tiny house weight distribution before choosing where the stands go, and to know your true all-in weight from calculating your tiny home’s GVWR — contents, furniture and water included, exactly as the tool asks.
3. Stand Types: Stabilizers Are Not Supports
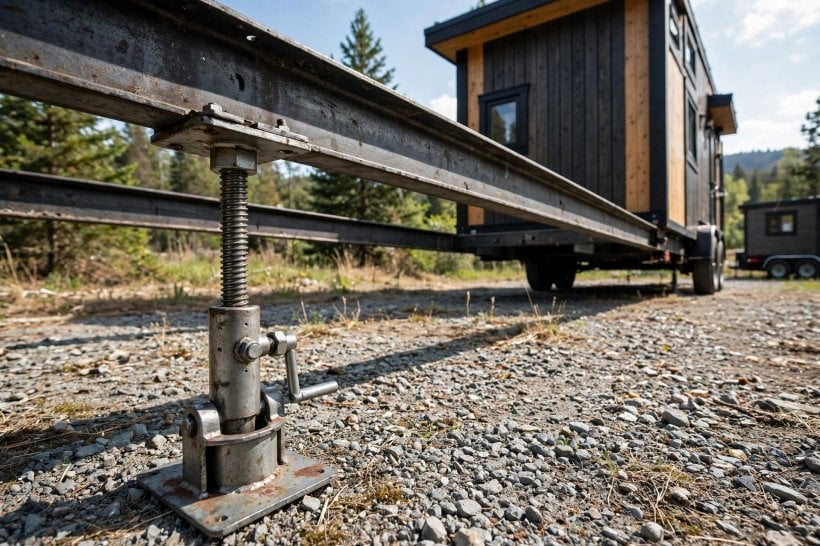
The single most dangerous confusion in this corner of the build is the one the original tool was written to prevent: treating an RV stabilizer jack as a lifting jack. Stabilizers are light arms designed to be snugged against the frame to stop the wiggle and sway of a parked trailer. The tool is blunt about their limit — good only for stopping wiggle, and not to be used to lift the house off its tires, because they buckle under that load.
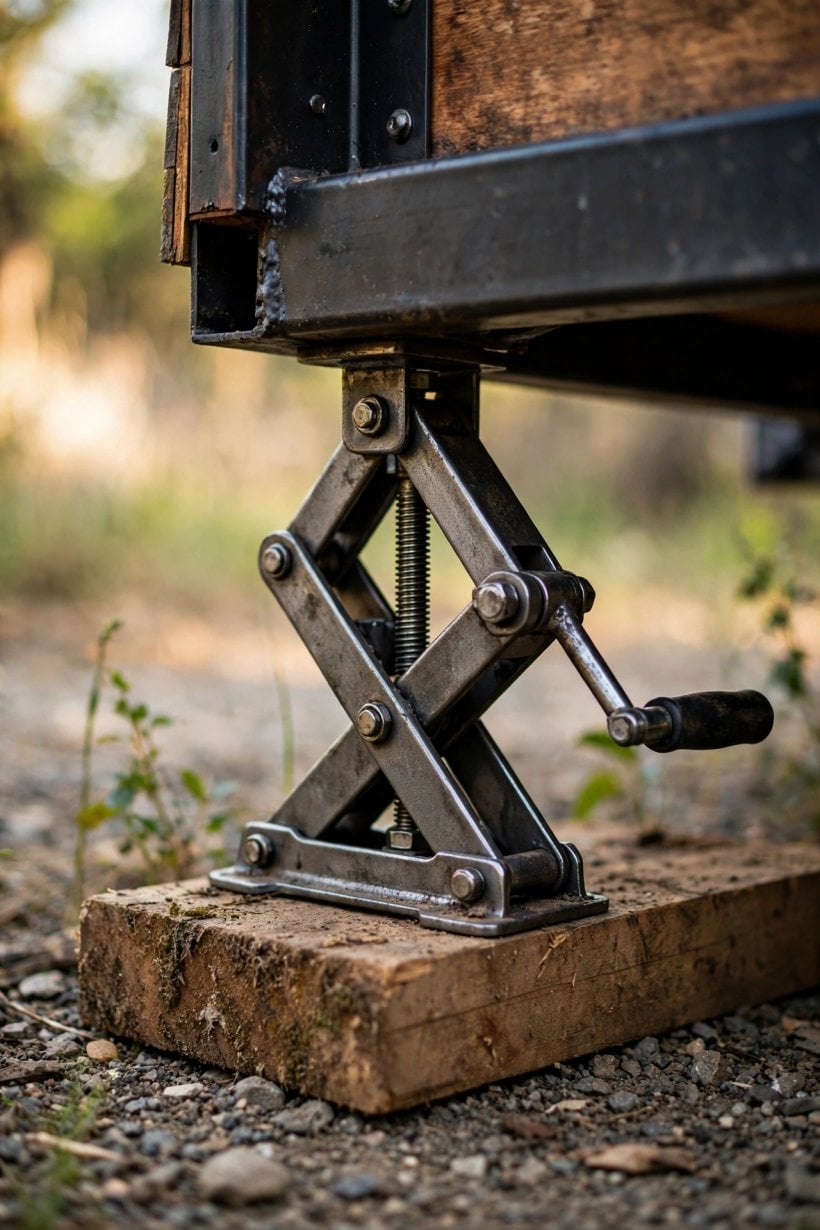
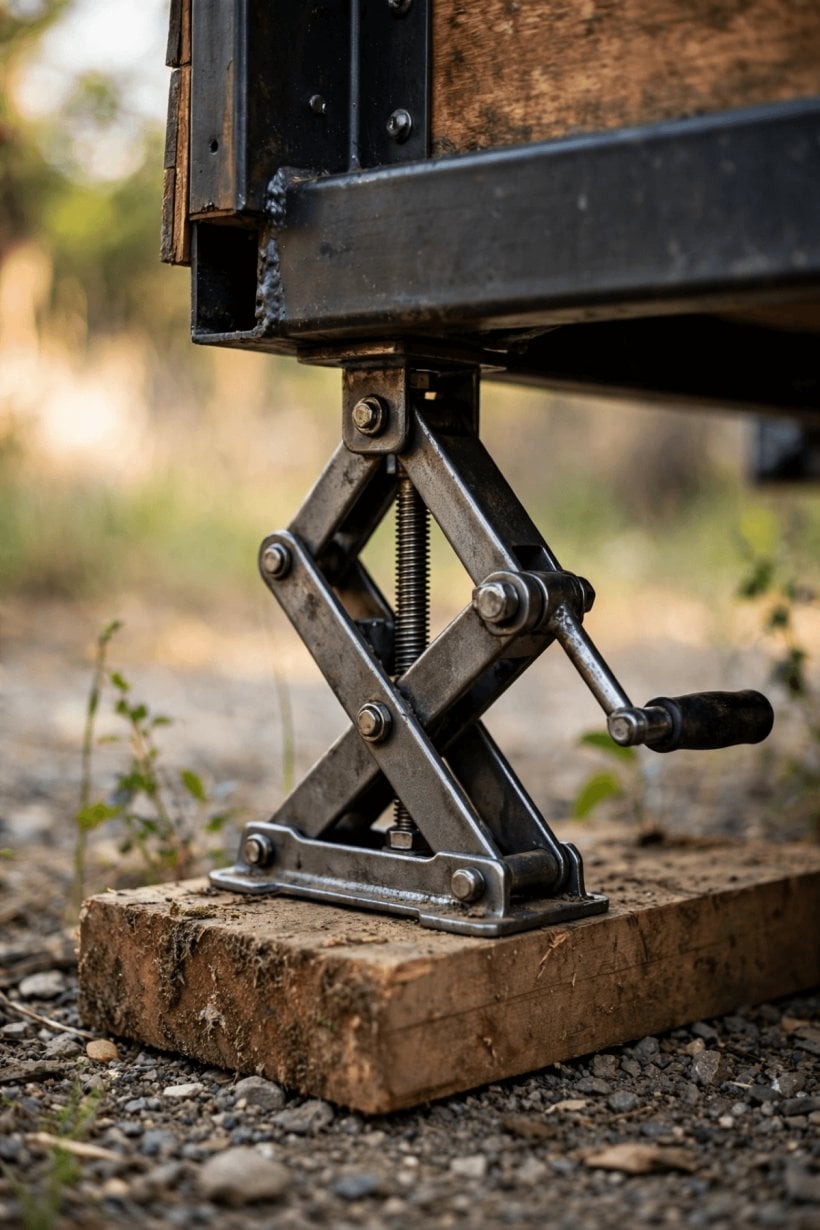
True support hardware is built differently. Heavy-duty scissor jacks use a stouter screw and frame and carry a genuine leveling rating, which makes them suitable for leveling lighter builds. Drop-leg and screw-type stands trade speed for simplicity: a pin or crank sets the height, and the load path is a straight column of steel. At the heavy end, the professional pattern is a two-piece system — a bottle jack does the lifting, then a rated stand is placed and the load settled onto it for permanent support. The lifting tool and the holding tool are different tools, and keeping those jobs separate is the core safety idea of this whole guide.
4. Capacity Per Corner and the Safety Margin
Start with arithmetic, not shopping. Divide the house’s total weight by the number of support points and you have a rough corner load — rough, because no real house balances perfectly, and one corner always carries more than its quarter share. That unevenness is exactly why the rating you buy must sit well above the number you calculated. That gap is what a corner jack stand selector builds in before it recommends anything: the tool applies a structural safety margin of 1.5x, and its example is worth memorising — if your corner weight is 3,000 lbs, do not buy a 3,000 lb jack; buy a 5,000+ lb jack.
The margin is not pessimism. Corrosion, uneven ground and wind loads degrade capacity over time, and a jack working at its absolute limit has nothing left for the day the site floods, the pad settles or a storm leans on the house. Ratings also need reading carefully: a static capacity (what a jack can hold, parked) is not the same as a leveling rating (what it can lift and hold while doing it), and the tool’s hardware notes flag that distinction for scissor jacks specifically. However you spread the load — corner stands plus axle support on a gooseneck vs bumper pull setup, or corners alone — the per-jack rating is the number that keeps the whole system honest. Framing choices move this number more than most people expect, as the steel vs wood framing weight comparison shows.
5. Lift Travel and Frame Height
Capacity decides whether a stand can hold the house; travel decides whether it can reach it. Every stand has a working range — the distance between its fully closed and fully extended heights — and the frame rail it must meet sits at a fixed height above ground that changes with the slope of the site. A stand that is perfect on a flat concrete pad can run out of stroke on a sloping gravel site, left fully extended and wobbling at the top of its range, which is precisely where it is least stable.
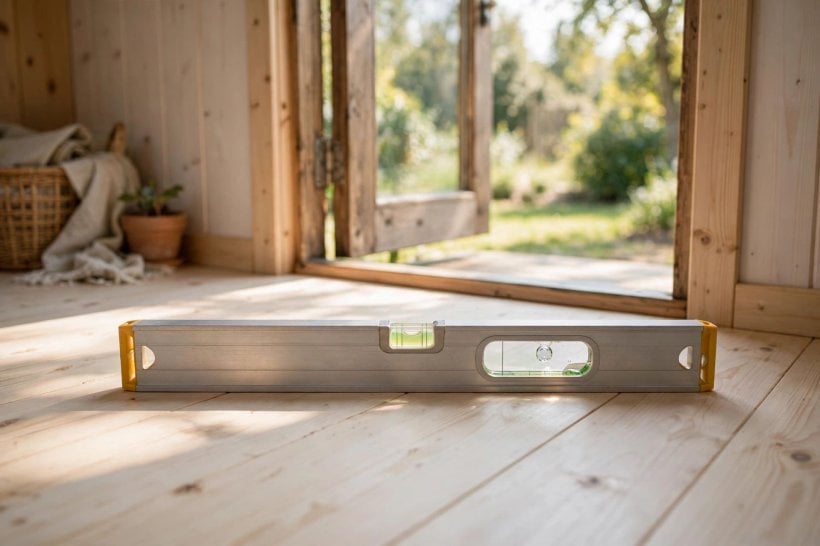
The practical approach is to measure before buying: frame height at each corner, on the actual site, with the house roughly where it will live. Work in the middle of the stand’s range wherever you can, and make up any shortfall with cribbing under the stand — a solid, stacked base — rather than by screwing the stand to its last thread. A long spirit level on the floor inside is the honest check of where you end up, and it is worth remembering that the house only needs the stands to finish the job the site starts: the flatter and firmer the parking spot, the less travel any corner will demand.
6. Four Corners or Six Points?
The tool offers two support strategies, and the choice between them is structural, not a matter of budget: 4 Corners Only, or 6 Points — corners plus axles. Four-corner support is the simpler picture most people imagine, but it asks the frame to span the whole distance between the front and rear stands carrying everything in between, including the heavy middle of the house where kitchens, water and appliances usually live.
The original guide names the failure mode vividly: the “taco” effect. Level a heavy house from the four corners alone and you risk bowing the frame in the middle, like a taco — the ends held up, the centre sagging or straining against the lift. Its rule is equally clear: for houses over 24ft, always support the middle, near the axles, first, then snug up the corners. Six points share the load the way the trailer was designed to carry it, with the axle zone doing the heavy middle work. Where those axles sit relative to the load is a design question of its own, covered in the axle placement guide, and how the supported frame behaves between points connects to the flex questions explored in the trailer frame rigidity and subfloor visualizer. Fine-tuning the balance afterwards is the job of the tongue weight tuner.
7. Footings and Pads: The Ground Is Half the System
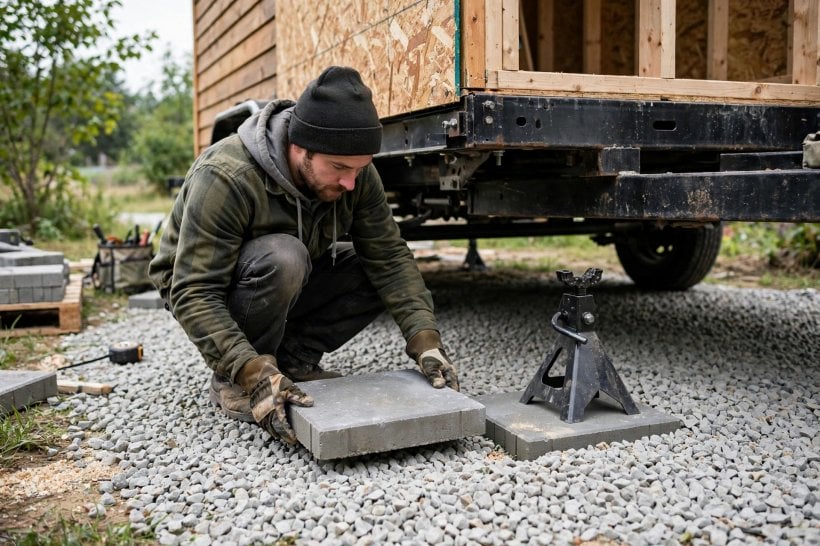
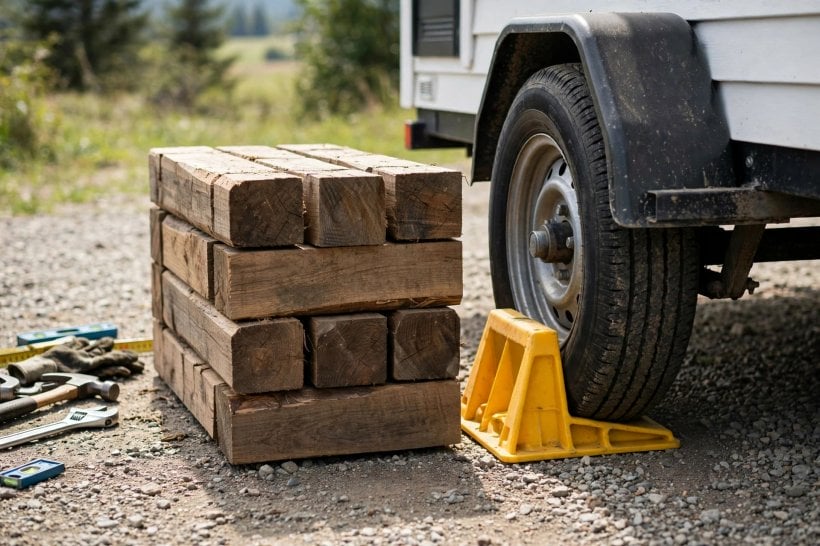
A stand is only as good as what it stands on. All the load of a corner funnels down through a foot that is often no bigger than a saucer, and soft ground answers that pressure by sinking — slowly, unevenly, and usually on the corner you checked least. Pads exist to spread the load: a concrete paver, a purpose-made jack pad, or a solid timber block turns a point load into a patch of pressure the soil can actually bear.
Different sites ask for different footing discipline. On concrete or compacted gravel, a modest pad mainly protects the surface and keeps the foot honest. On grass or soil, the pad needs to be larger, set on a levelled, tamped spot, and checked after rain, when bearing capacity falls away. On sand or soft clay, cribbing — layers of timber stacked crosswise — spreads the load widest of all. Whatever the surface, the rules rhyme: level the spot first, centre the stand on its pad, and never stack loose, rounded or mismatched scraps into a wobbly tower. A corner that sinks a little each week will take the whole house out of level with it.
8. Setting Level, Step by Step
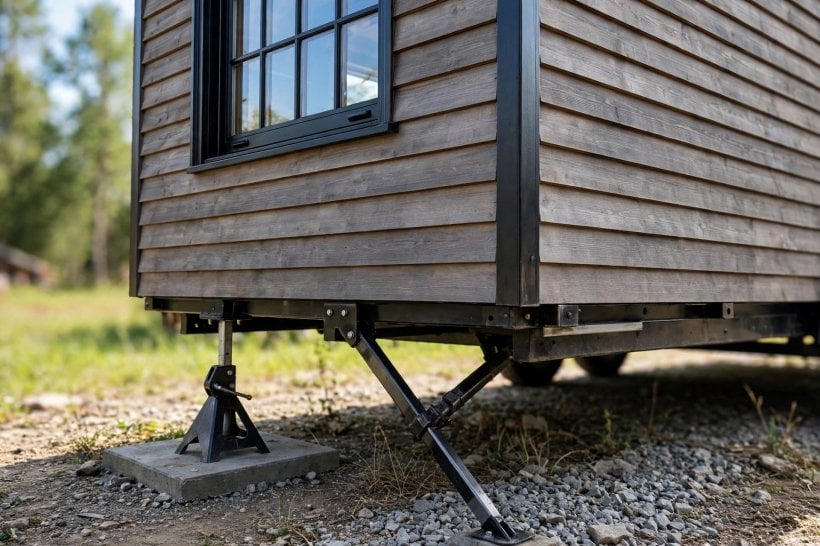
With the hardware chosen and the pads down, the leveling itself is a calm, ordered job. Chock the wheels first — a house that can roll will, usually at the worst moment — and keep the coupler or hitch supported so the front of the trailer is never hanging on the stands alone. If the house is a longer build getting six-point support, set the middle supports near the axles first, as the guide insists, so the frame never bows while the corners come up.
Work in small passes rather than one heroic lift: raise the low corners a little at a time, checking the level front-to-back and side-to-side as you go, and let a bottle jack do any real lifting before settling the weight onto the rated stands. Snug each corner until the bubble centres and the floor feels dead underfoot, then walk the house: doors should swing true and stay put, and the level should agree with itself in more than one spot. The last pass is restraint — a stand cranked past snug is lifting the house off its other supports and quietly re-introducing the strain you were trying to remove.
9. Re-Checks: Settlement, Wind and the First Week
Leveling is not a one-day event. Fresh pads compress their bedding, soil consolidates under new loads, and timber cribbing settles into itself, so a house that was perfect on Friday can be a few millimetres proud by the following week. The infographic’s closing tip is the habit that keeps the system honest: re-check the level after the first week, then again after the first heavy rain, and seasonally after that.
Wind is the other slow variable. An exposed site leans on a tall tiny house constantly, and while good corner support shrugs off ordinary weather, repeated rocking works threads loose and walks feet across pads. After any serious storm, walk the corners: stands still plumb, pins and locks still seated, pads still centred, no fresh gaps between foot and ground. The re-check takes ten minutes with a level and a torch, and it is also the moment to test the everyday witnesses — the door that used to swing shut on its own is the cheapest level gauge you own.
10. Mistakes That Bend Jacks and Bow Frames
Almost every failure in this system is one of the mistakes the original tool was built to head off. The first is the founding error: using RV stabilizer jacks to lift and level a heavy house, when they are only meant to stop wiggle — they buckle, and the tool marks them plainly: do not use them to lift the house off its tires. The second is maxing out a rating: buying the jack whose number exactly equals the corner load, leaving nothing for corrosion, uneven ground and wind, when the 1.5x safety factor exists precisely because real sites are not laboratory floors.
The third is the taco: leveling a long, heavy house from the corners alone and bowing the frame in the middle, instead of supporting near the axles first on houses over 24ft. The quieter mistakes follow behind — pads skipped on soft ground, stands run to the very top of their travel instead of cribbing beneath them, wheels left unchocked, corners cranked past snug until one stand carries a neighbour’s share too. None of these need new equipment to avoid. They need the load counted honestly, the margin respected, and the right tool on each corner.
Final Considerations
Corner support is unglamorous, invisible and absolutely foundational: every comfortable day inside a parked tiny house rests on four to six pieces of steel and the pads beneath them. Choose support hardware by rating, not by label; keep the 1.5x margin; lift with a jack and hold with a stand; support the middle of long houses before the corners; and re-check after the first week. Run your own numbers through the Jack Stand Selector below — it takes your total house weight and support strategy and returns the per-jack rating your corners actually need.
Jack Stand Selector
Jack Stand Selector
Don’t bend your jacks! Calculate the safe load rating.
1. House Details
Include contents (furniture, water, etc).
*Diagram shows side view. Multiply by 2 for total jacks.
Recommended Hardware
Good only for stopping wiggle. DO NOT USE to lift the house off tires. Will buckle under load.
Suitable for leveling lighter builds. Look for “Leveling” rating, not just static capacity.
The professional choice for heavy tiny homes. Use a bottle jack to lift, then place a 6-ton stand for permanent support.
Crucial Concept: Stabilizing vs. Leveling
If you try to level a heavy house using only the 4 corners, you risk bowing the frame in the middle (like a taco). For houses over 24ft, always support the middle (near axles) first, then snug up the corners.
Never max out a jack. If your corner weight is 3,000 lbs, don’t buy a 3,000 lb jack. Buy a 5,000+ lb jack. Corrosion, uneven ground, and wind loads degrade capacity over time.



0 Comments