

Every tiny house wall has one place where the studs simply stop: the wheel well. The tires cut into the floor plan, the wall loses its support, and the roof load above has nowhere to go — unless a header bridges the gap. Here is how that opening works, how the span is measured, and how the beam, the jack studs and the fender box each do their part.
1. At a Glance: An Opening You Didn’t Choose
Structurally, a wheel well is an opening, no different from a wide window or a door: studs are cut short, and a beam — the header — carries the wall and roof load across the gap and hands it to posts on either side. A wheel well header calculator exists to size that beam against the one measurement that drives everything else, the clear span between its supports, which on a tiny house trailer is set by the axle layout rather than by anything in the floor plan. Get the span and the beam right and the wall above the wheels behaves as if the gap were never there; get them wrong and the failure announces itself as a sagging roof line directly over the tires.
| Factor | What it captures | Why it matters |
|---|---|---|
| Span | The clear opening the axle layout leaves in the wall | The single biggest driver of header size |
| Header | Doubled lumber on edge bridging the gap | Carries the interrupted studs’ load sideways |
| Load | The wall and roof weight tributary to the opening | Decides how hard the beam has to work |
| Jack studs | The posts under each end of the header | Deliver the load down to the trailer frame |
| Fender box | The steel enclosure around the tire | Clearance and weather only — never structure |
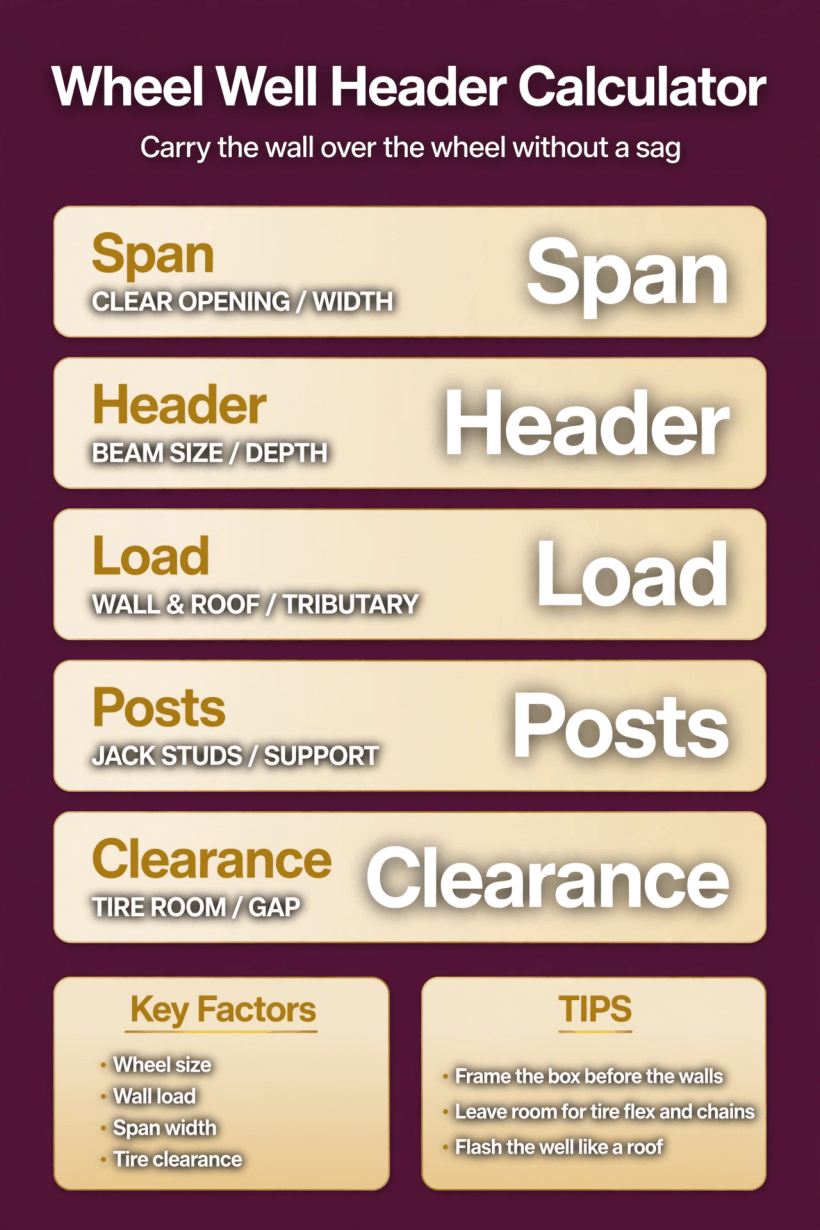
Span, header, load, posts and clearance: the five decisions that decide whether the wall over your wheels stays straight.
2. Why the Wheel Well Interrupts the Wall
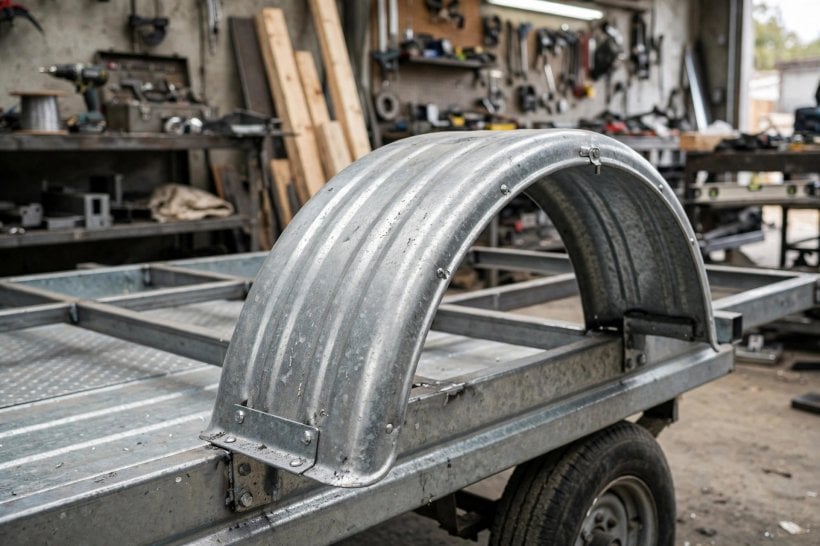
A tiny house wall is a line of studs sharing the roof load between them, and that line works only while it is continuous. The wheels break it. Because the trailer’s tires rise into the floor plan, the wall that sits over them cannot run its studs down to the floor in the usual way — the lower portion of the wall is occupied by the fender box, and every stud that would have stood over the wheels has to stop short at header height. The result is a genuine structural gap in the most literal sense: a length of wall with nothing under it, exactly as if a wide window had been cut into a load-bearing wall.
What makes the wheel well trickier than a window is that you do not choose where it goes. A window opening is placed where the plan wants light; the wheel opening is placed where the axles are, and axle position is fixed by towing balance long before the walls are framed — the reasoning in our axle placement guide shows why the axles cannot simply move to suit the framing. The opening also lands low, where the wall is doing its ordinary work of carrying the top plate, the ceiling and the roof above, so the interruption has to be bridged deliberately rather than trimmed around.
3. What the Header Carries
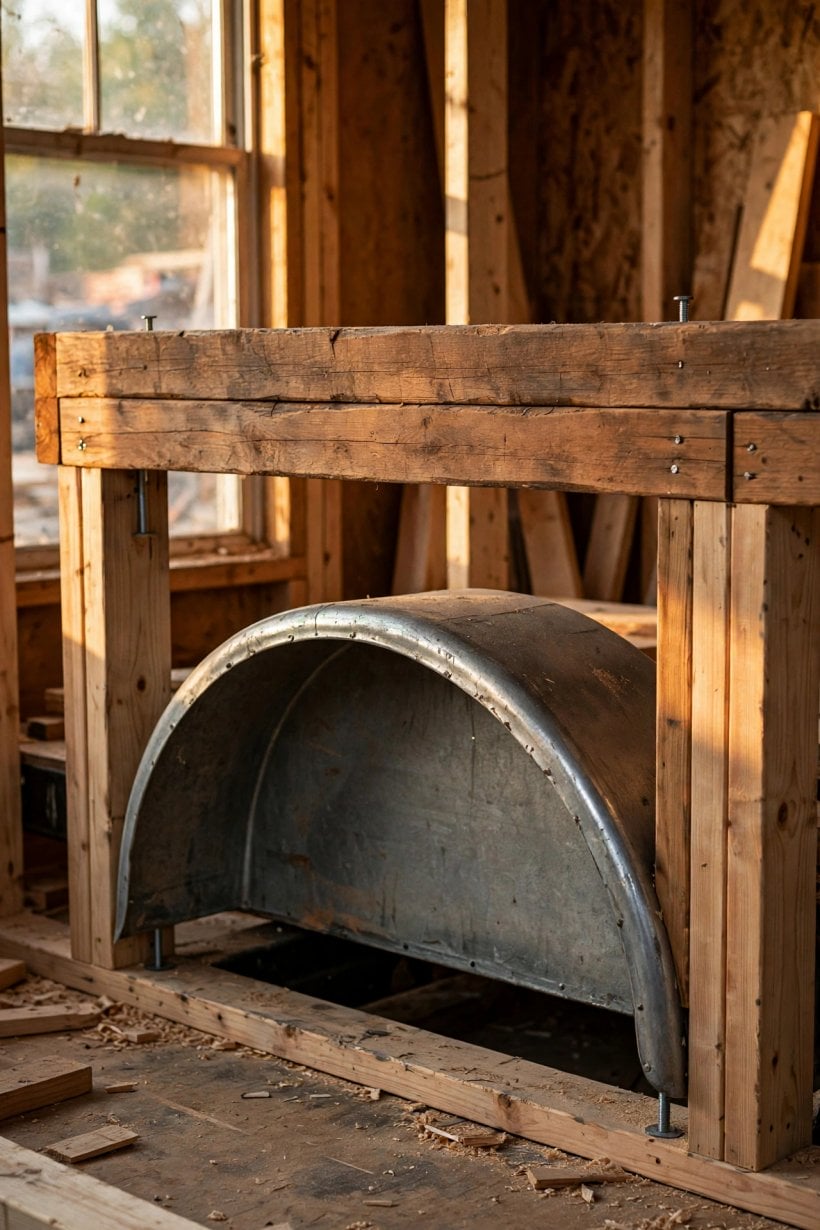
The header’s job is collection and delivery. Above the opening, the shortened studs and the top plate still receive the same wall and roof load they would have carried anywhere else along the wall — the share of the roof that is tributary to that stretch of wall does not disappear just because the support below it did. The header gathers all of it, spans horizontally across the gap, and delivers the combined load to its two ends. Instead of a line of studs each carrying a small share straight down, the load travels sideways along the beam and then down through two concentrated points.
That concentration is why the wheel well deserves more care than its size suggests. The beam itself is also part of the weight budget: doubled framing over both wells adds up, and on a house where every pound is counted against the trailer’s rating — the discipline behind calculating GVWR for tiny homes — the header should be big enough for the span and no bigger. The same accounting applies to everything above it, which is why builders weighing their wall assemblies with a sheathing weight calculator tend to find the wheel well section is one of the heaviest stretches of wall in the house.
4. Measuring the Clear Span
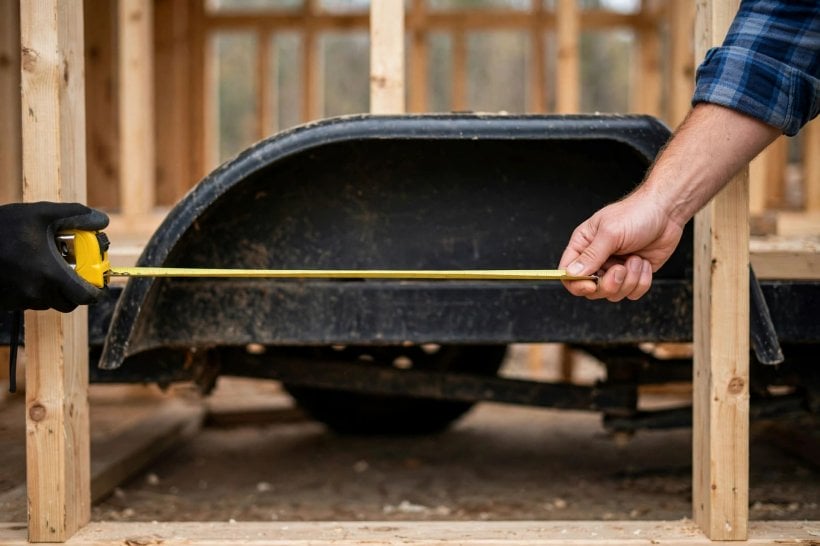
Span is the input everything else follows from, and it means one specific thing: the clear opening between the inside faces of the jack studs that will carry the header. It is not the width of the fender, not the distance between tire centres, and not a number taken from the trailer brochure. On real trailers the opening is set by the axle layout. The calculator below works with the three layouts tiny houses actually use: a single axle leaves a span of roughly 36 inches, a standard tandem runs about 64 to 72 inches, and a triple axle stretches to roughly 96 inches — a heavy gap by any standard.
Measure your own trailer, because fender boxes vary and the header is built to the opening as framed, not as advertised. Measure at the height the header will actually sit — typically just above the fender box, as the tool’s diagram notes — and measure both wells, since a trailer that has lived a little may not be perfectly symmetrical. A span measured generously costs you a slightly deeper beam; a span measured short costs you a beam that does not reach its bearings. When the measurement falls between the tool’s layouts, treat it as the larger one.
5. Sizing Logic: Depth Does the Work
Header sizing follows one principle that surprises new framers: depth matters far more than width. A beam resists bending mostly through its vertical dimension, which is why the calculator’s material choices are all doubled lumber placed on edge — a double 2×4 rated weak, a double 2×6 as the standard, a double 2×8 strong, and a double 2×10 for heavy duty. Laying the same boards flat would waste most of their strength; standing them on edge and doubling them is what turns ordinary framing lumber into a beam.
The tool pairs those sizes with simplified maximum spans for carrying roof load: the double 2×4 only suits the shortest single-axle gap of about 36 inches, the double 2×6 reaches roughly 55 inches, the double 2×8 covers about 75 inches — enough for the standard tandem — and the double 2×10 handles the full 96 inches of a triple. Treat those as the tool’s own working limits rather than universal law: the pattern behind them is the lesson. Each step up in depth buys a disproportionate step up in span, and the failure being avoided is not usually a dramatic break but deflection — a beam that bends a little more every season until the roof line over the wheels visibly dips. Builders comparing framing materials will find the weight side of the same trade-off in our steel vs wood framing weight comparison.
6. Jack Studs and the Continuous Load Path
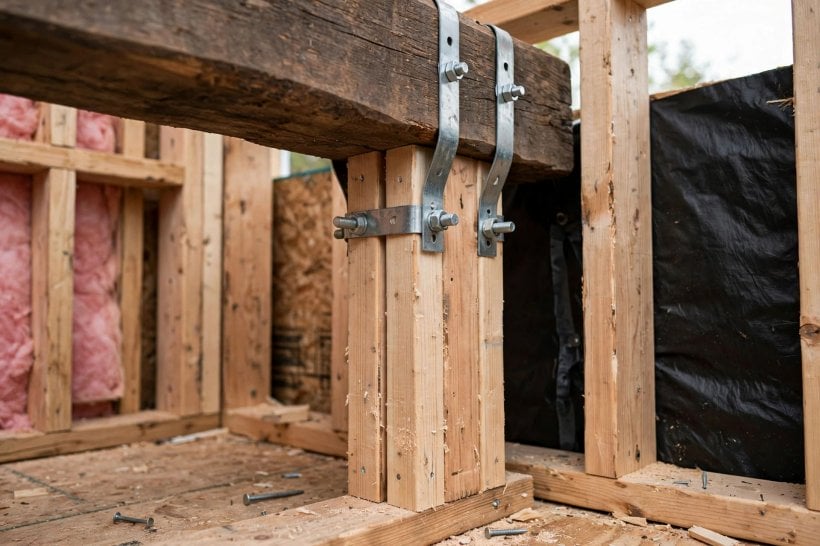
A header is only as good as what it stands on. Under each end of the beam sit the jack studs — the posts that receive the concentrated load and carry it down through the bottom plate to the trailer frame. Beside them, full-height king studs frame the opening and give the jacks something to be fastened to. The load path has to be continuous and it has to be wood (or steel framing) all the way: header to jack stud, jack stud to plate, plate to trailer frame, with no step in that chain resting on anything that was not designed to carry it.
The original guide is blunt about the commonest break in the chain: do not rest the header on the fender box. The fender is usually thin sheet metal — an enclosure, not a structure — and a beam bearing on it will slowly crush its way down. The second half of the connection is uplift. A house that travels meets highway winds that try to lift the wall off its supports, so the header is tied to the jack studs with metal straps — the Simpson straps the original names — rather than relying on nails and gravity. That tied, continuous path is also what keeps the wall stiff in transit, a relationship explored in the trailer frame rigidity and subfloor visualizer, and it keeps the load honest in the sense mapped by the tiny house weight distribution diagram: weight should arrive at the frame where the frame expects it.
7. Building the Well Box: Clearance, Flashing and Insulation
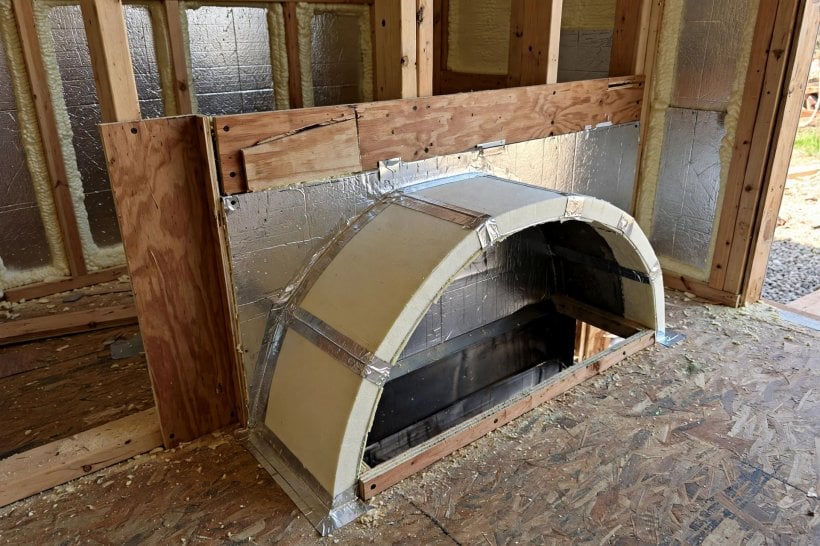
Around the tire sits the fender box, and building it well is a three-part job. The first part is clearance. The tire is not a static object: it flexes under load, the suspension lets it travel up and down, and in winter it may carry chains. The box has to clear the tire through all of that movement, not just as the trailer sits empty in the workshop, which is why the infographic’s advice is to frame the box before the walls — clearances are easy to adjust while the box is still a separate piece of work and miserable to fix once the wall is closed over it.
The second part is water. The underside of a wheel well lives in a permanent storm of road spray, so the box and its junctions are flashed like a roof: laps that shed water outward, sealed seams, and no horizontal surface where spray can pool against the wall framing. The third part is warmth. A thin steel box inside the wall is a cold bridge and a condensation magnet, so the box gets insulated as part of the wall assembly, with the interior lining fitted over it as a finished surface. None of this makes the box structure — it remains the tire’s enclosure — but a dry, insulated, correctly cleared box is what lets the structure around it stay dry and sound.
8. Interior Finishes Over the Well: Benches and Boxes
Inside the house, the fender box does not disappear — it arrives in the room as a lump, typically somewhere along the wall where furniture wanted to be. Experienced builders treat that lump as a furnishing opportunity rather than a defect. A boxed wheel well at sitting height becomes a bench seat with storage inside it, one of the most useful pieces of furniture a tiny house can have. Run a counter or a bed platform over it and the box vanishes into the furniture line entirely; build it as a step and it can even serve the climb up to a loft.
Two habits make these finishes work. First, finish the box to the same standard as the room around it — lined, trimmed and painted or clad like cabinetry — because a roughly carpentered lump reads as a mistake while a crisp one reads as design. Second, keep it openable. Tires need servicing, valve stems need reaching and the well should be inspectable, so bench tops and box lids over a wheel well are better hinged or screwed than glued and buried. The well you can open is the well whose small leak or rubbing tire gets noticed in the driveway instead of on the highway.
9. Tire Clearance and Suspension Travel
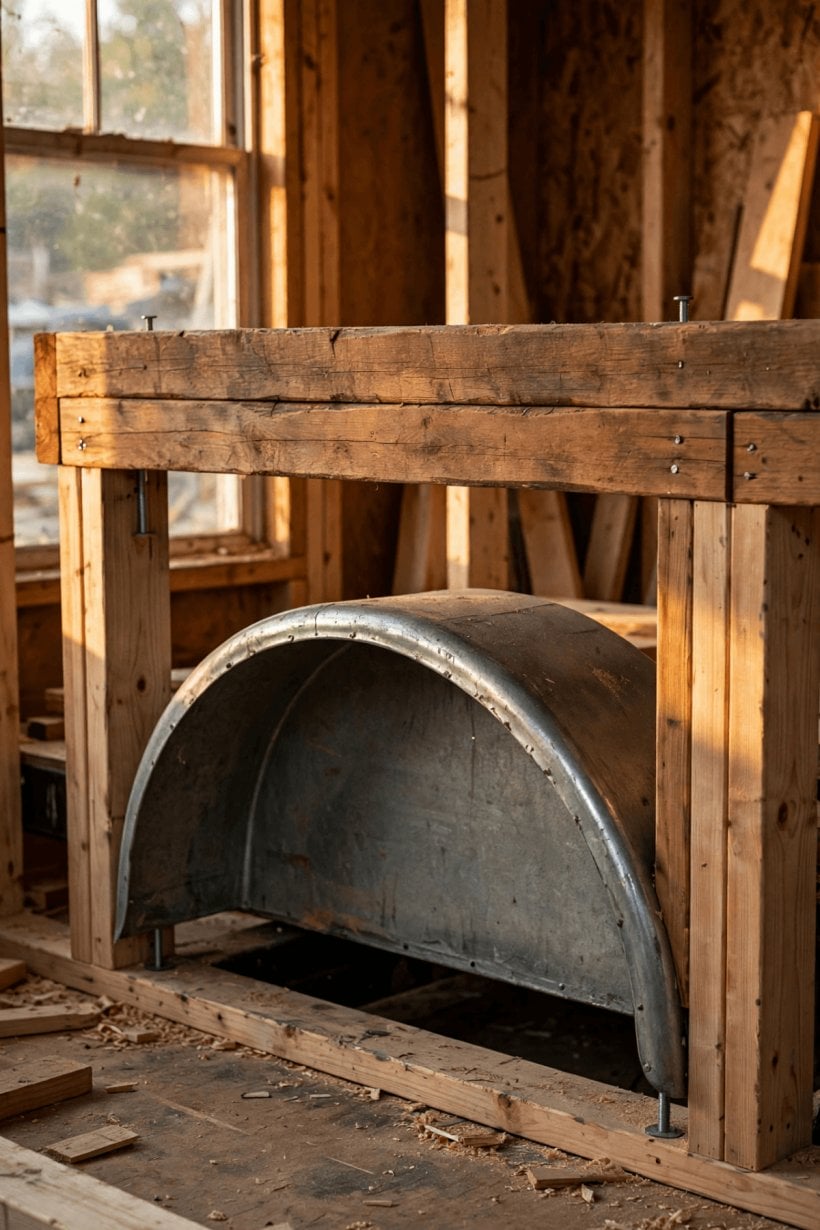
Clearance deserves its own pass because it is the dimension builders most often check in the wrong condition. The gap that matters is the gap at full suspension travel — when the trailer is loaded to travelling weight and a bump drives the tire upward — not the generous space visible under an empty shell on a lift. Sidewall flex closes the gap sideways at the same time, and a tire running slightly soft sits wider and taller than its printed size suggests. The calculator’s clearance factor exists for exactly this reason: the box and the header above it must be placed for the tire’s worst day, not its best.
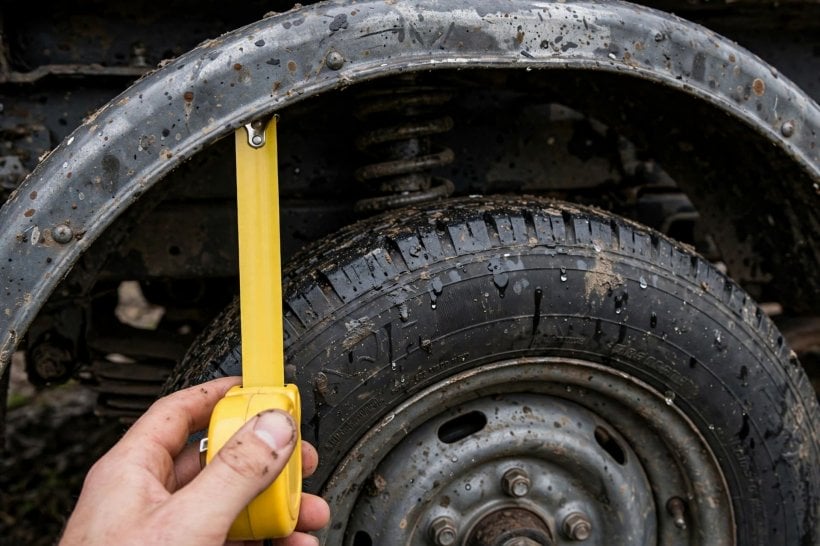
Check the finished clearance physically before the interior lining closes the box: load the trailer realistically, work the suspension if you can, and run a tape or a clearance gauge over the top and both sides of each tire. Remember that clearance mistakes here are not cosmetic — a tire that kisses the box on every bump will wear through its own sidewall or the box, whichever is softer. While the tape is out, the same measuring session is a good moment to sanity-check the loads the finished house will put on the hitch with the tongue weight tuner, since the framing decisions around the wells are part of the same weight story.
10. Using the Calculator, and the Mistakes It Catches
Working the wheel well header calculator below takes seconds. Choose the axle layout that matches your trailer — single, tandem or triple — then pick the header material you intend to build with, and press Check Integrity. The visualiser draws your opening, sets the jack studs, shows the roof load arriving on the beam, and returns a plain verdict: PASSED with a straight, green header, or FAILURE with the beam sagging red in the middle. If your first choice fails, step up one depth and test again; the right answer is the smallest header that passes, not the largest one available.
The mistakes the tool is built to catch are the ones this article has circled throughout. Sizing by habit — a double 2×6 under every well — fails the moment a tandem span stretches past its limit. Bearing the header on the fender box instead of on jack studs removes the load path entirely. Forgetting the straps leaves uplift to chance. Measuring the span from a brochure instead of from the framed opening builds the wrong beam with great confidence. And treating clearance as an afterthought — boxing the well tight around a stationary tire — guarantees contact once the suspension starts working. Every one of those errors is cheap on paper and expensive in a finished wall.
Final Considerations
The wheel well is the one opening in a tiny house wall that nobody chose, and it is unforgiving of casual framing. Treat it exactly like the wide window it structurally is: measure the clear span honestly, stand a doubled header on edge across it, land that header on jack studs with a strapped, continuous load path to the trailer frame, and keep the fender box in its proper role of clearance and weather. Run your own span and material through the guide below before you cut a single board.
Wheel Well Header Guide
This tool demystifies one of the trickiest parts of tiny house framing: the wheel wells. Since the trailer wheels cut into your floor plan, you have to cut your wall studs short. This creates a structural gap exactly like a window or door.
The calculator helps builders size the “Header” (the beam bridging that gap) correctly to prevent the roof from sagging over the tires.
Wheel Well Header Guide
Bridge the gap: Frame over axles without sagging.
1. The Gap (Span)
Lumber placed on edge.
*Visual simplified. Typically, the header sits just above the fender box.
It’s Just Like a Door
Structurally, a wheel well is identical to a window or door opening. You are removing studs that carry roof load. Therefore, you must install a Header to transfer that weight horizontally to the “Jack Studs” on either side of the wheels.
Don’t just rest the header on the fender box! The fender is usually thin sheet metal. The weight must be carried by wood framing all the way down to the trailer frame. Use Simpson Straps to tie the header to the jack studs to prevent uplift.


0 Comments